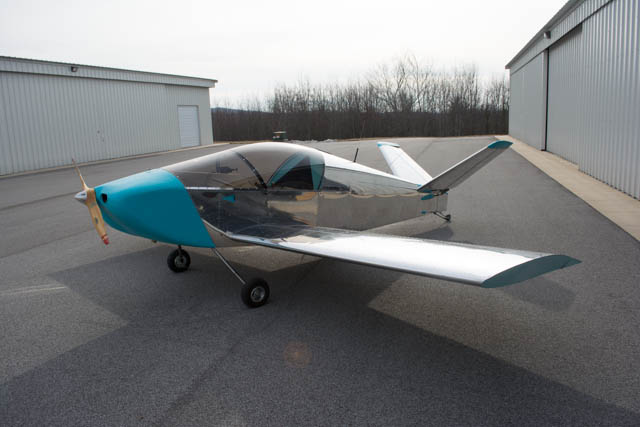
Total Build Time: 1331 Hours
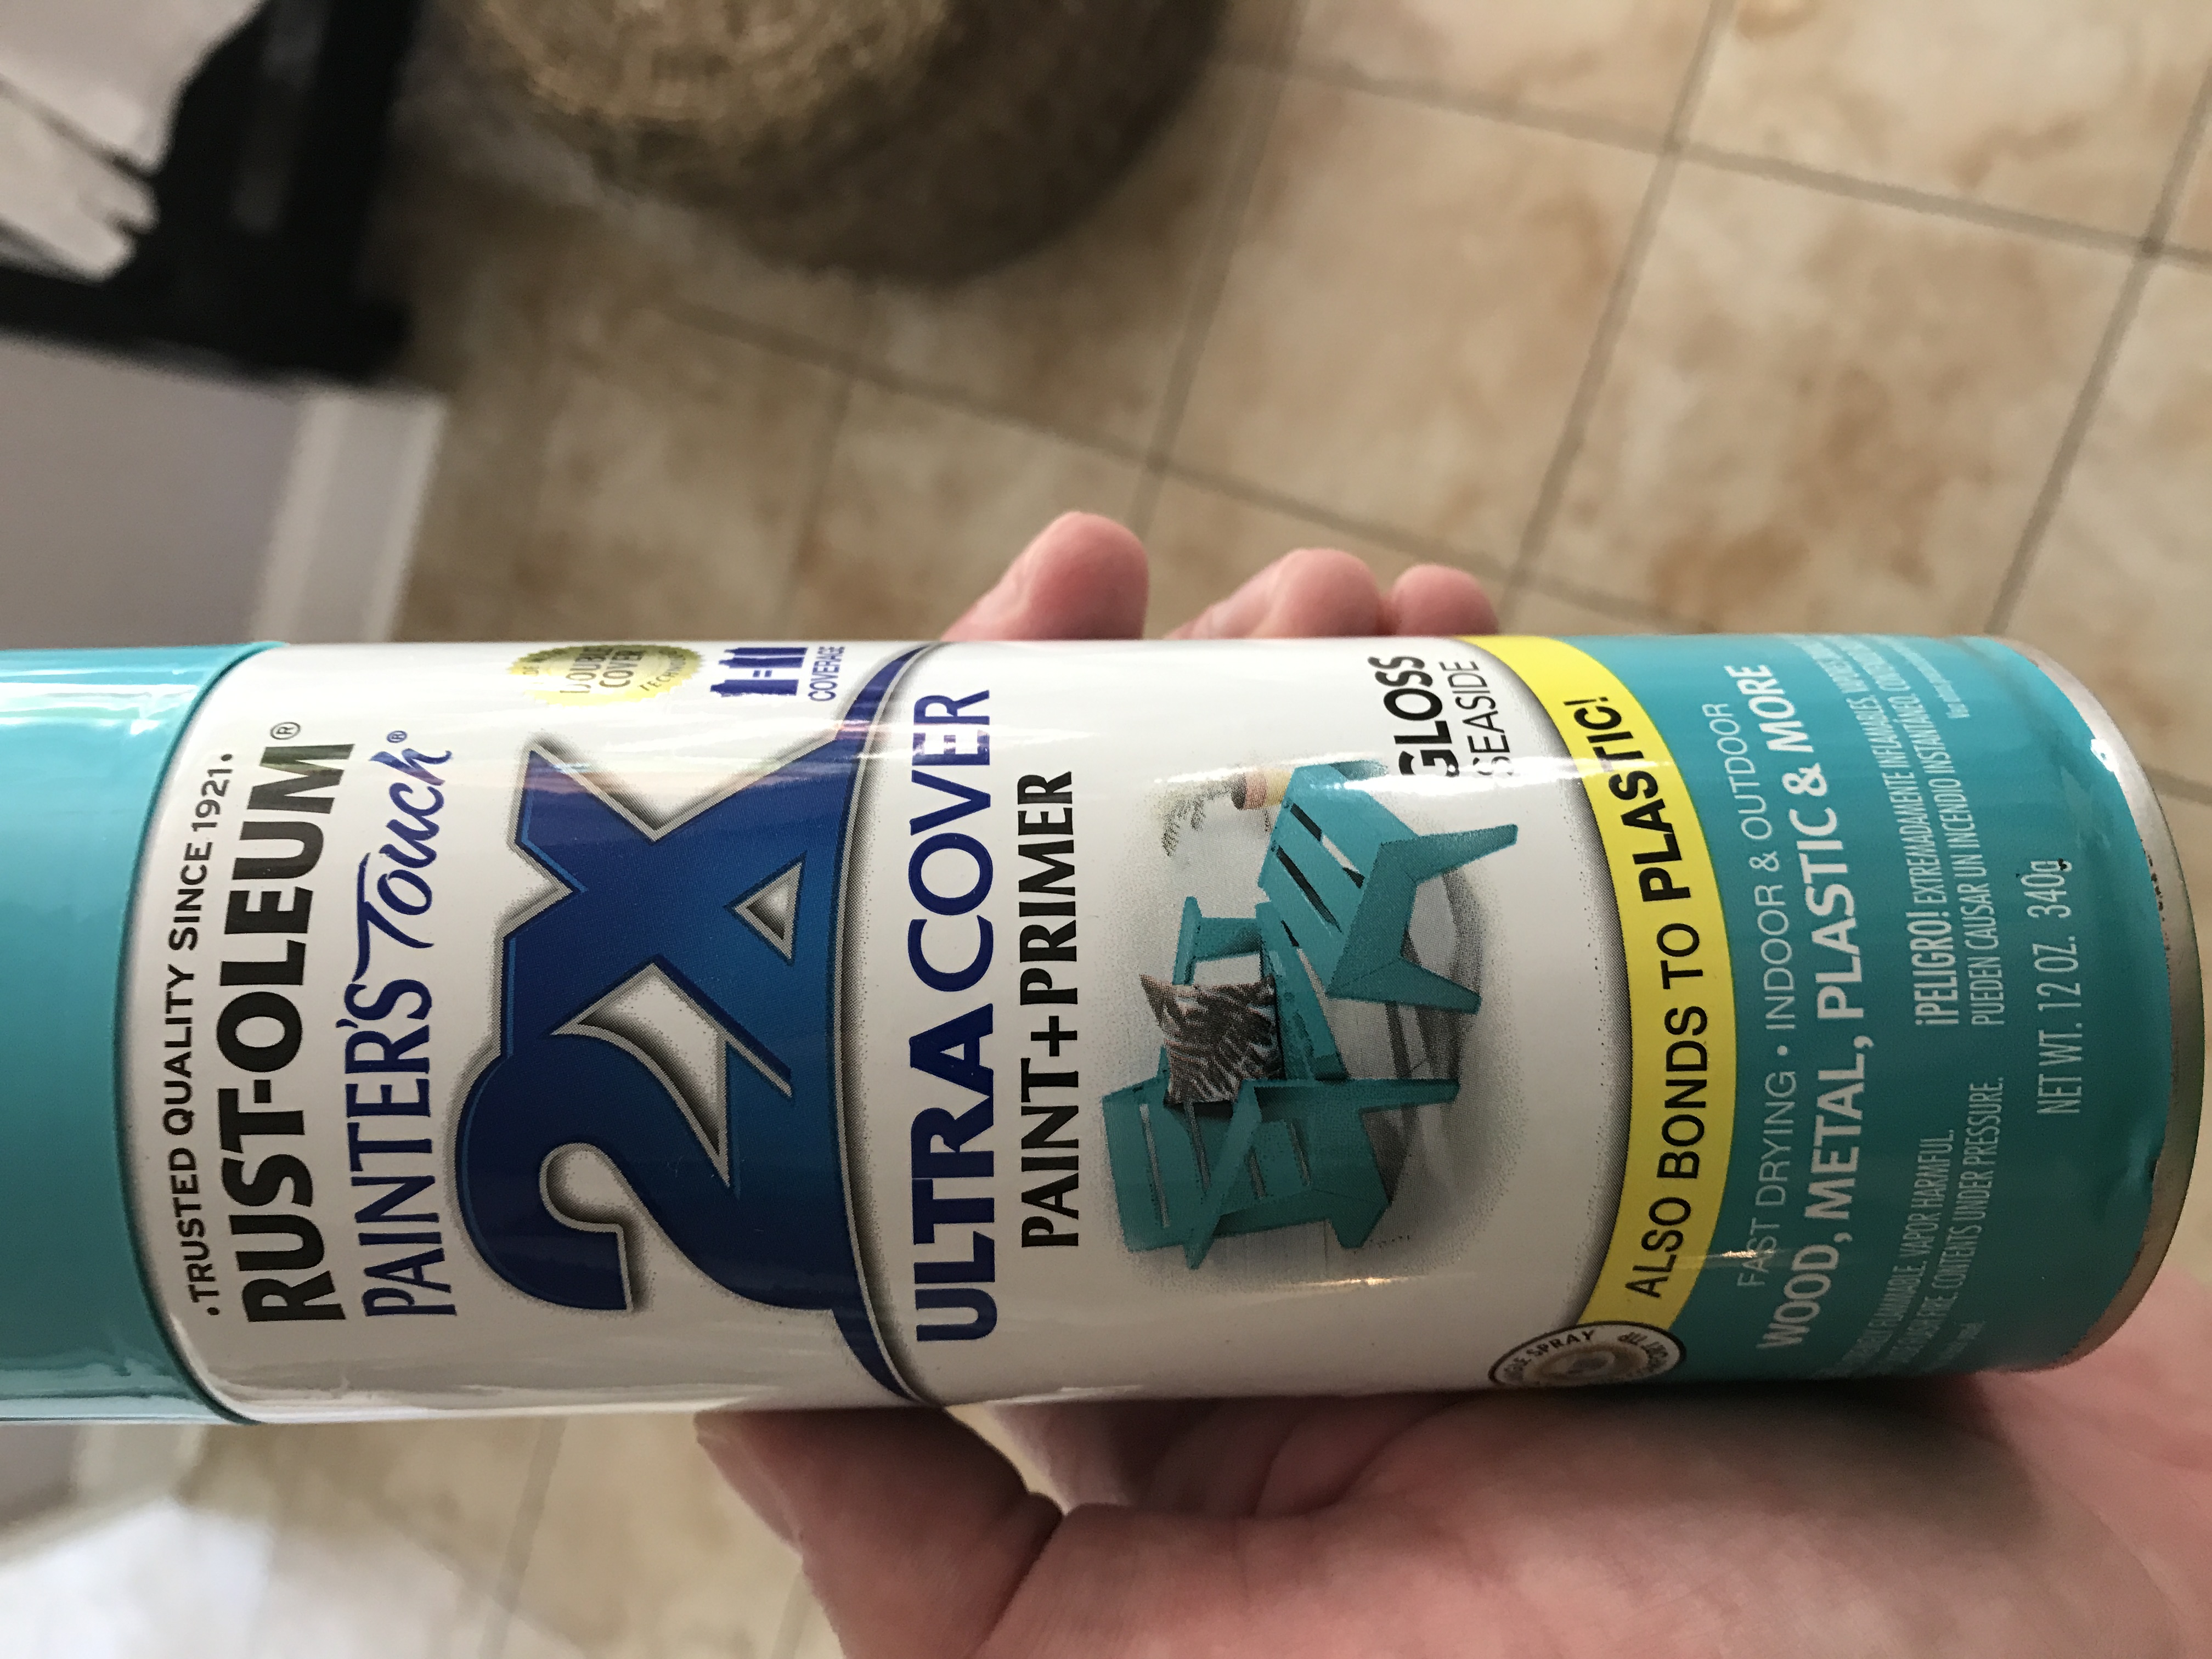
The paint color I decided to use on all my fiberglass/plastic parts was a basic rattle-can Rustoleum paint+primer in a blue color called Seaside. For all the aluminum parts, I also used Rustoleum self-etching primer as a base coat.
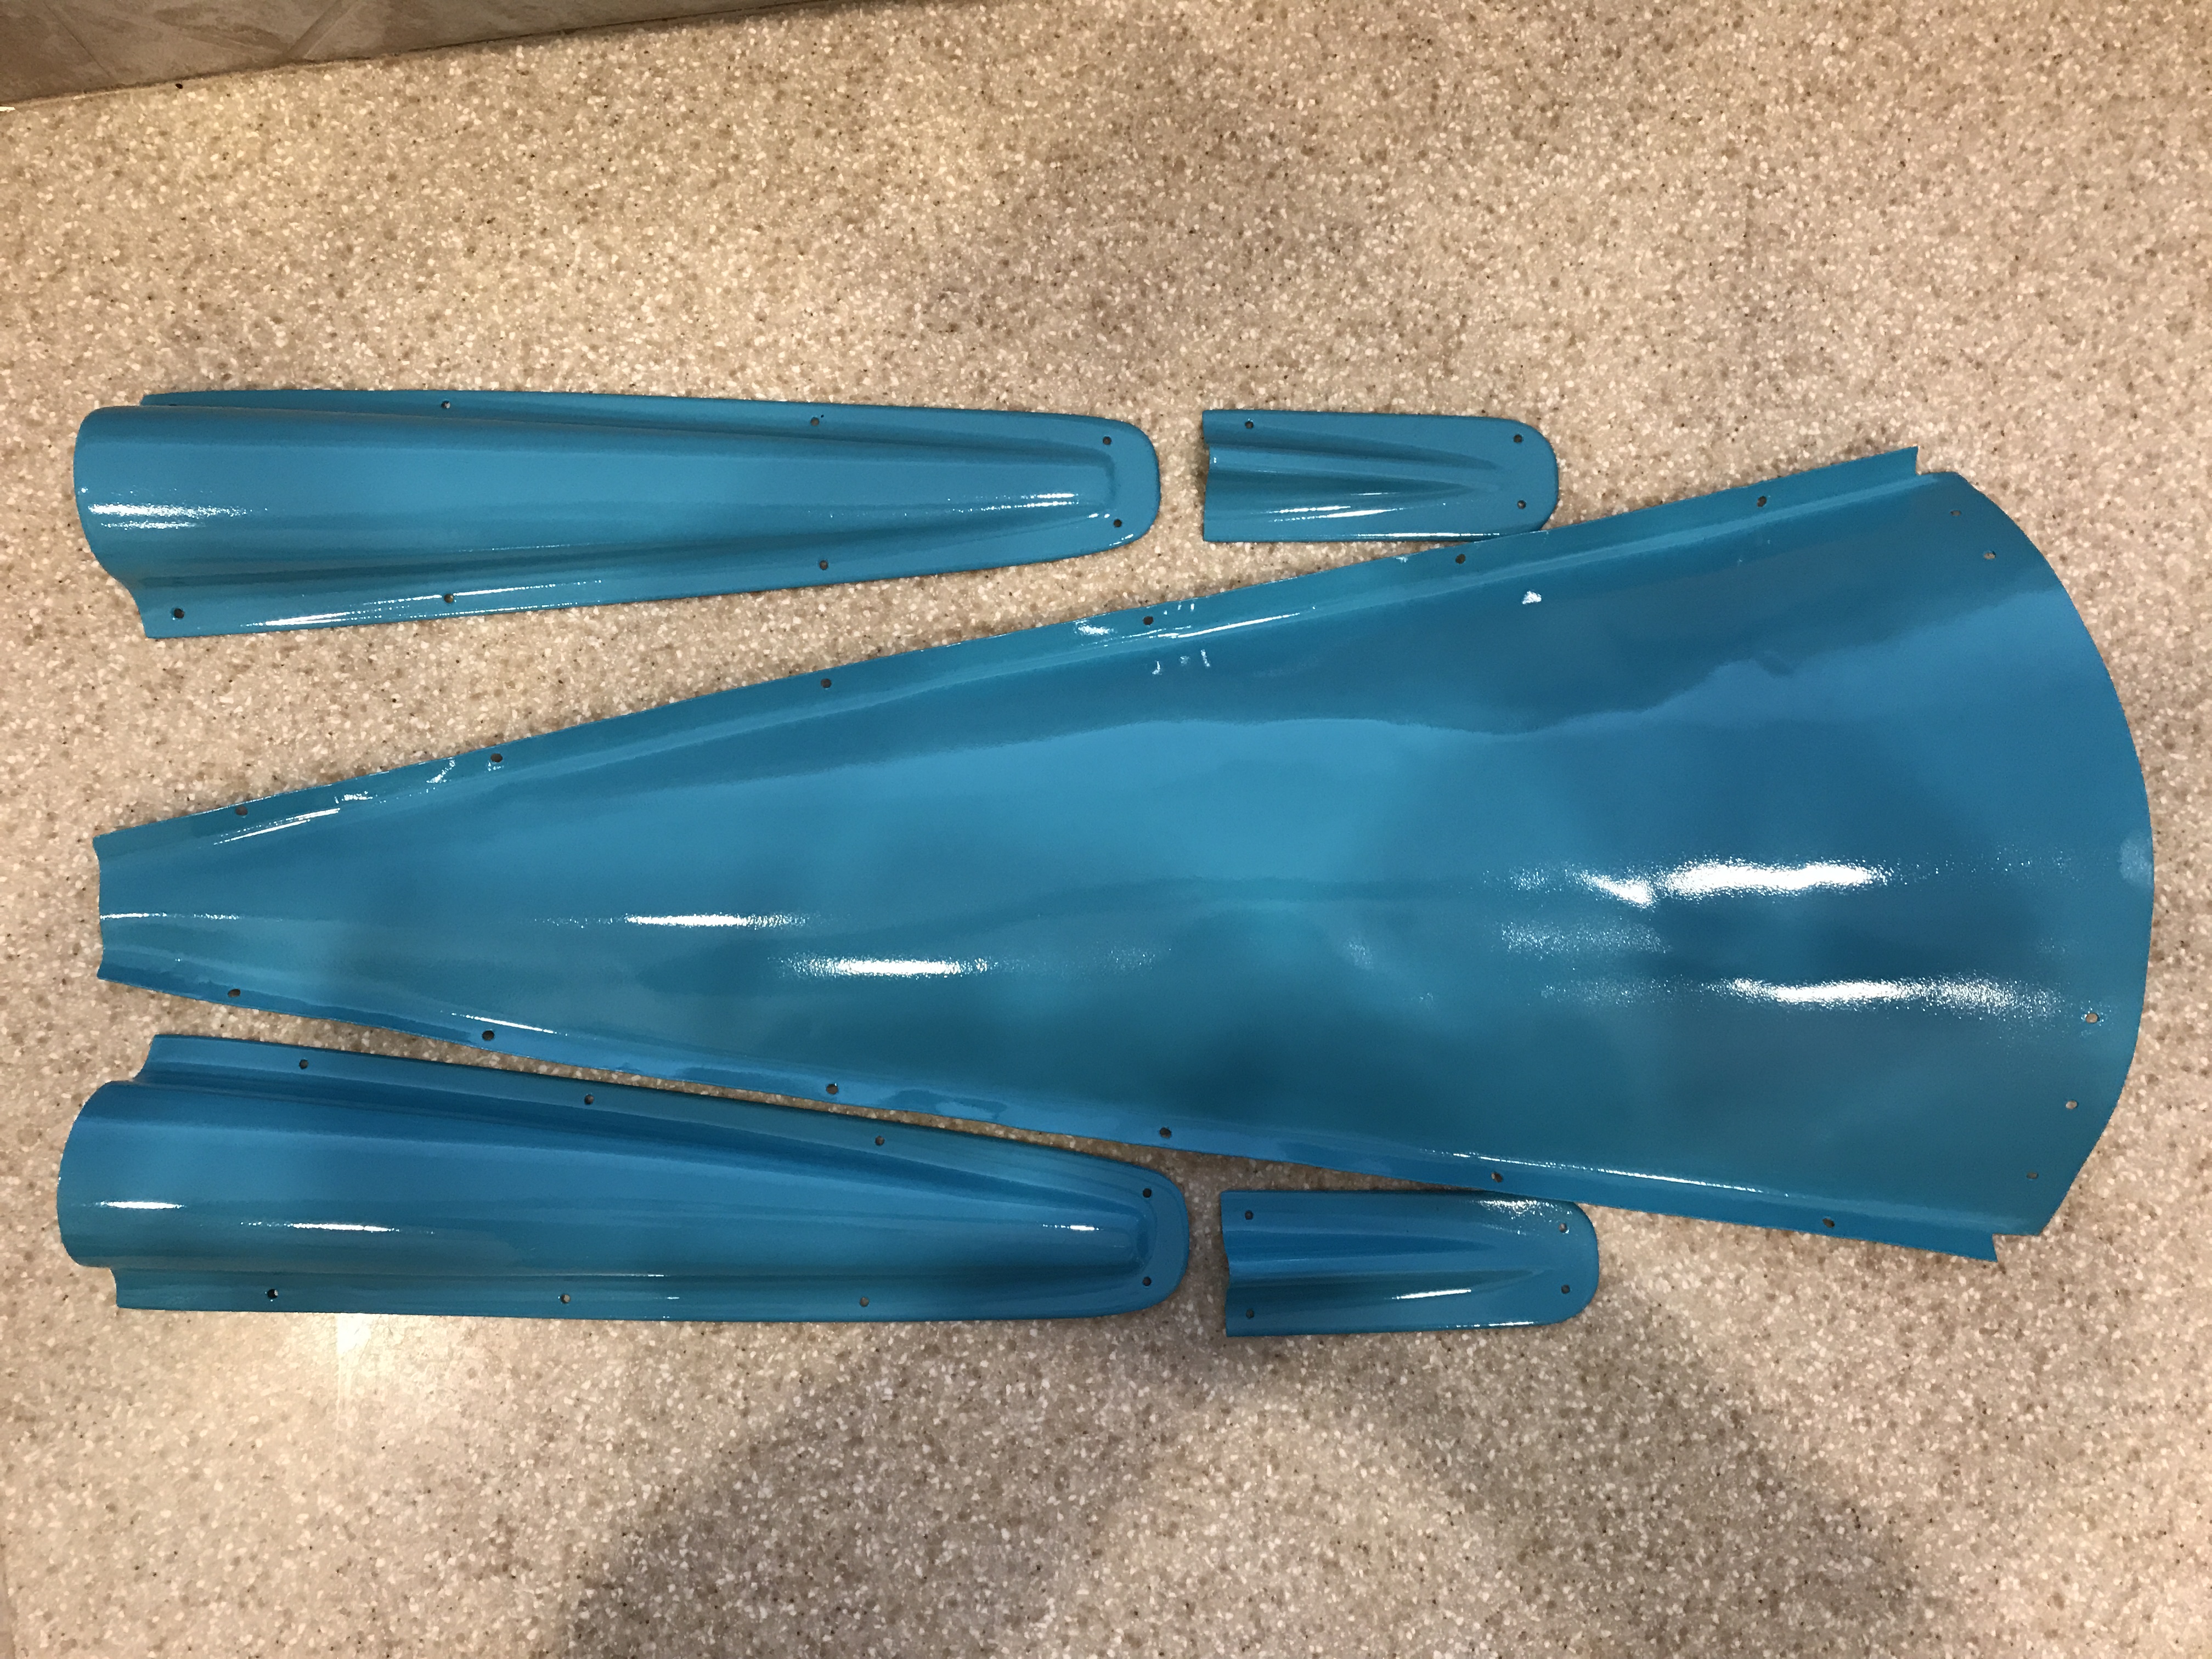
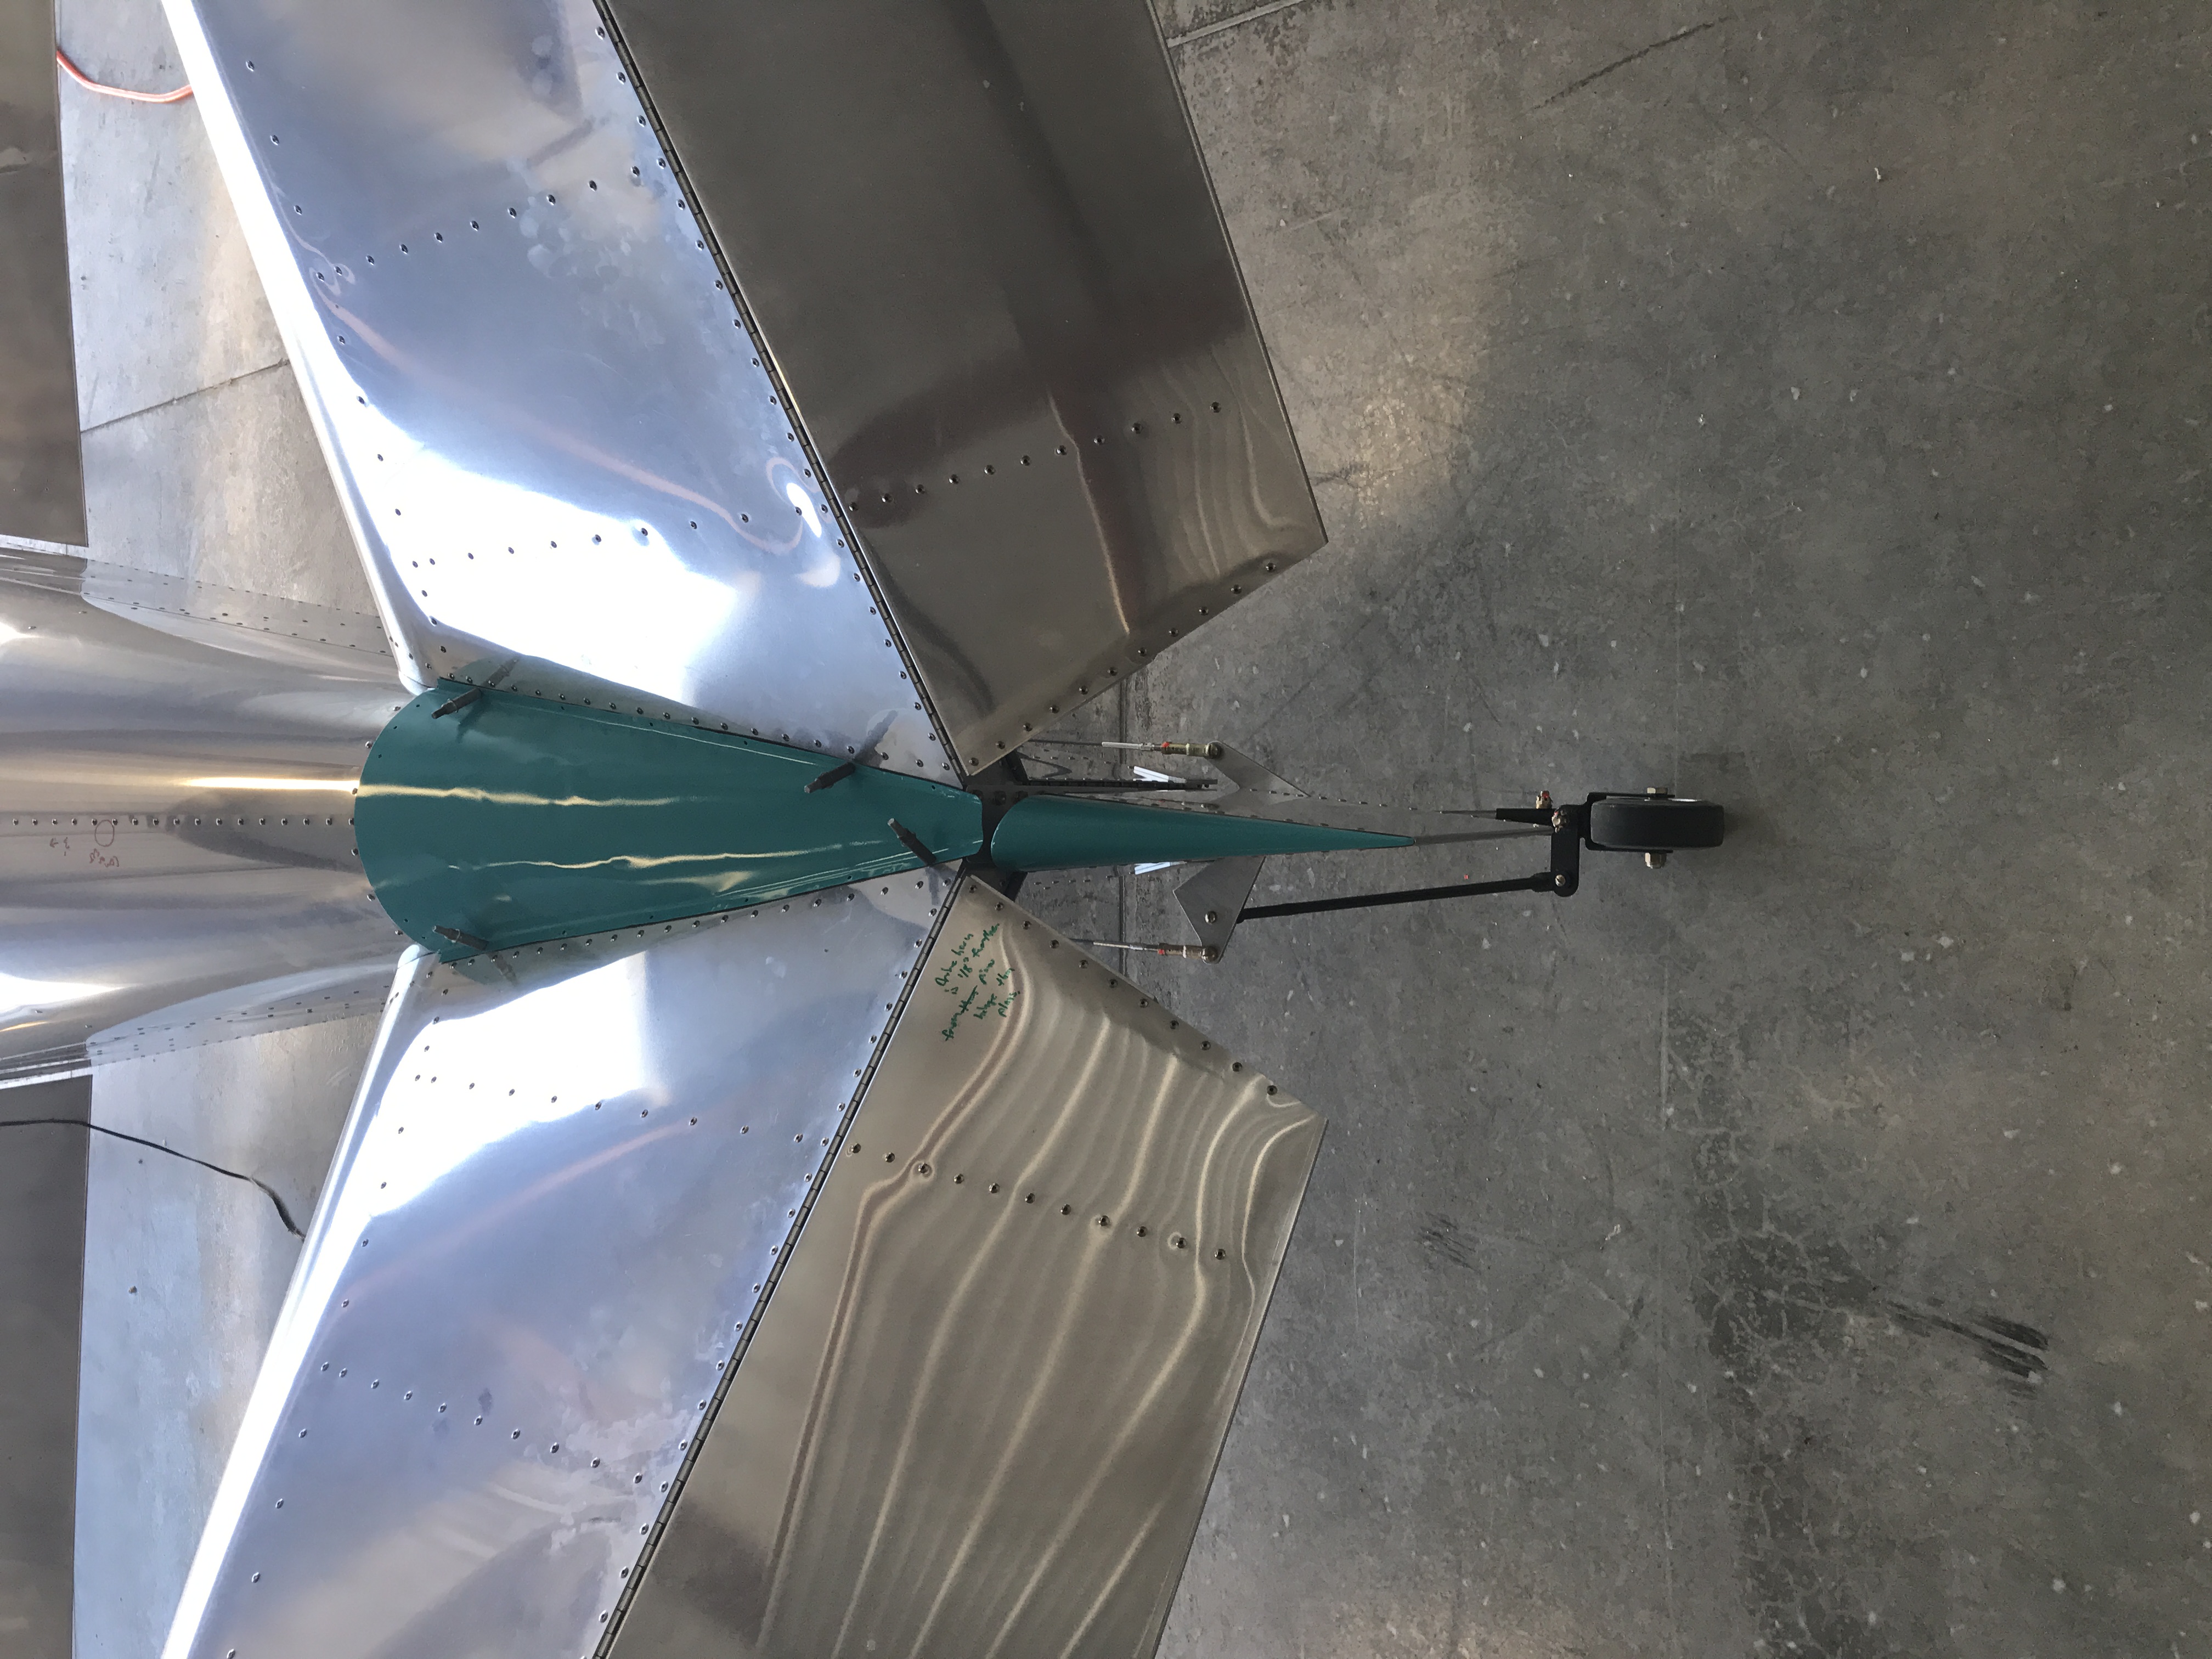
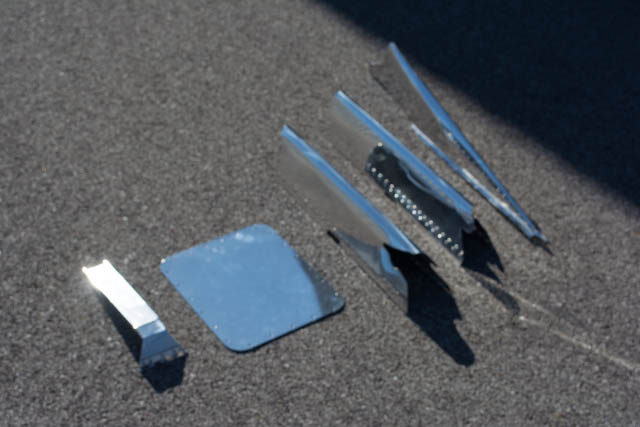
My first parts to be painted were the tail fairings. These were pretty easy parts to paint and didn’t require much prep work.
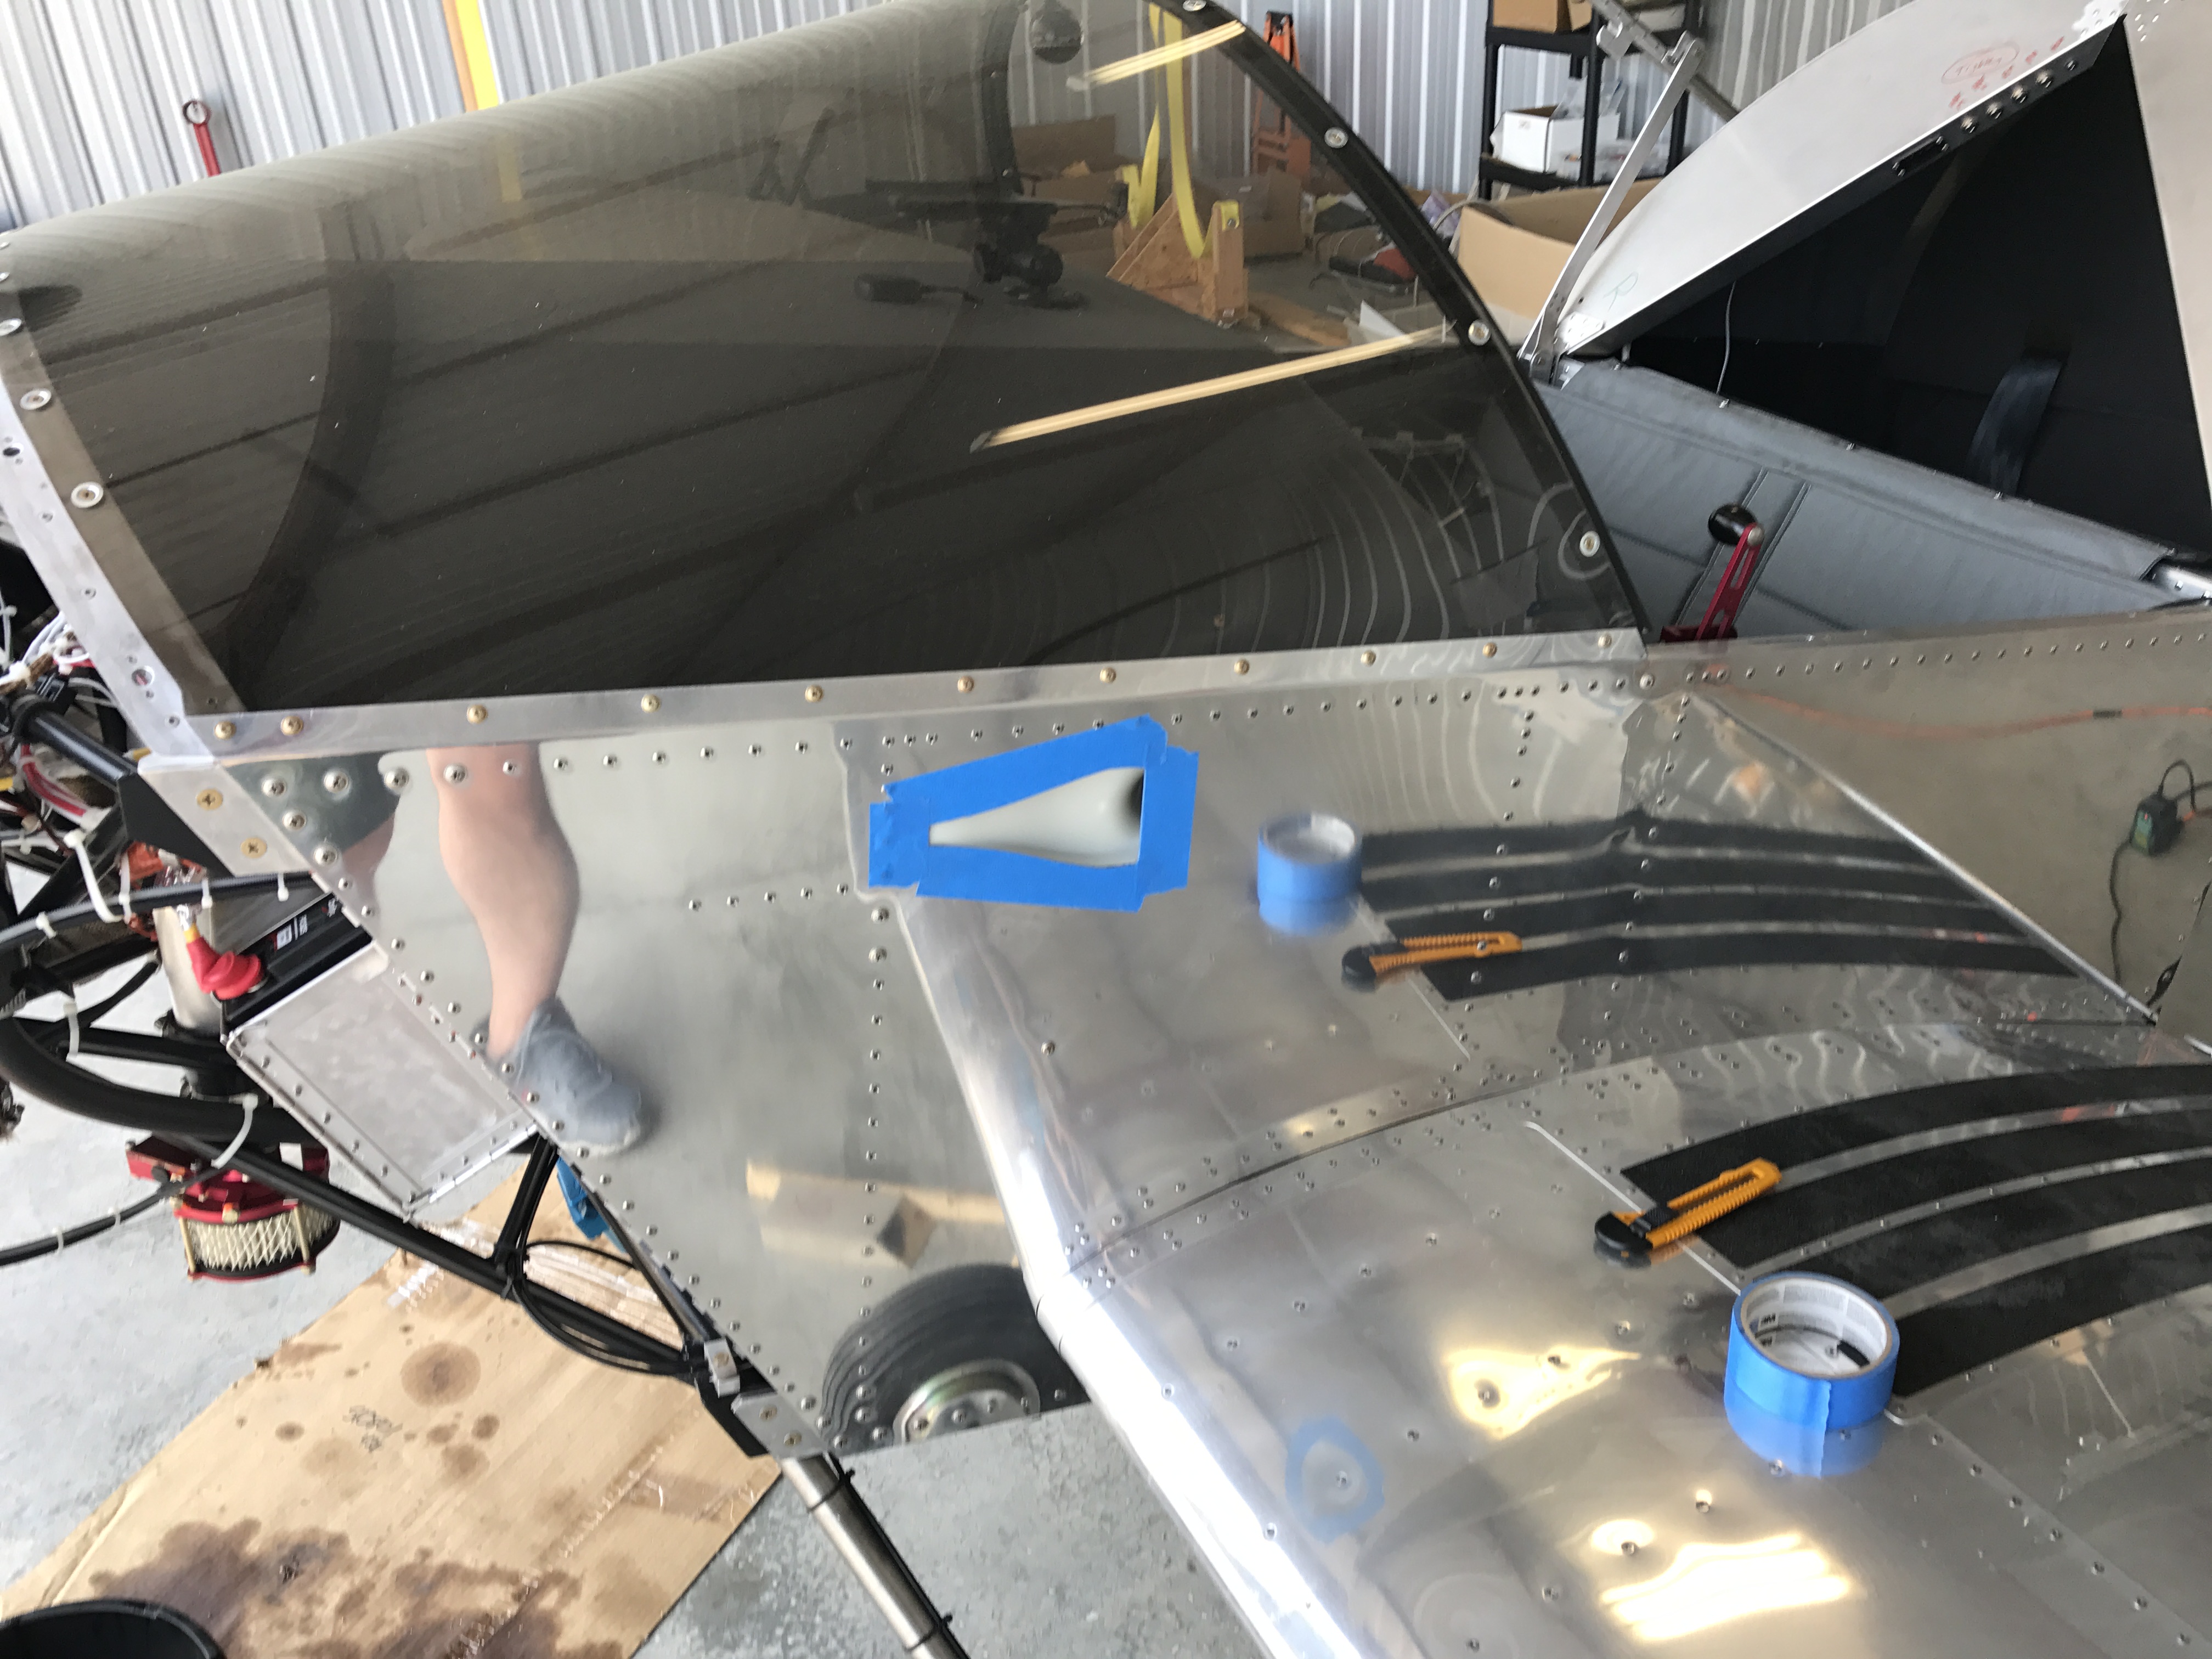
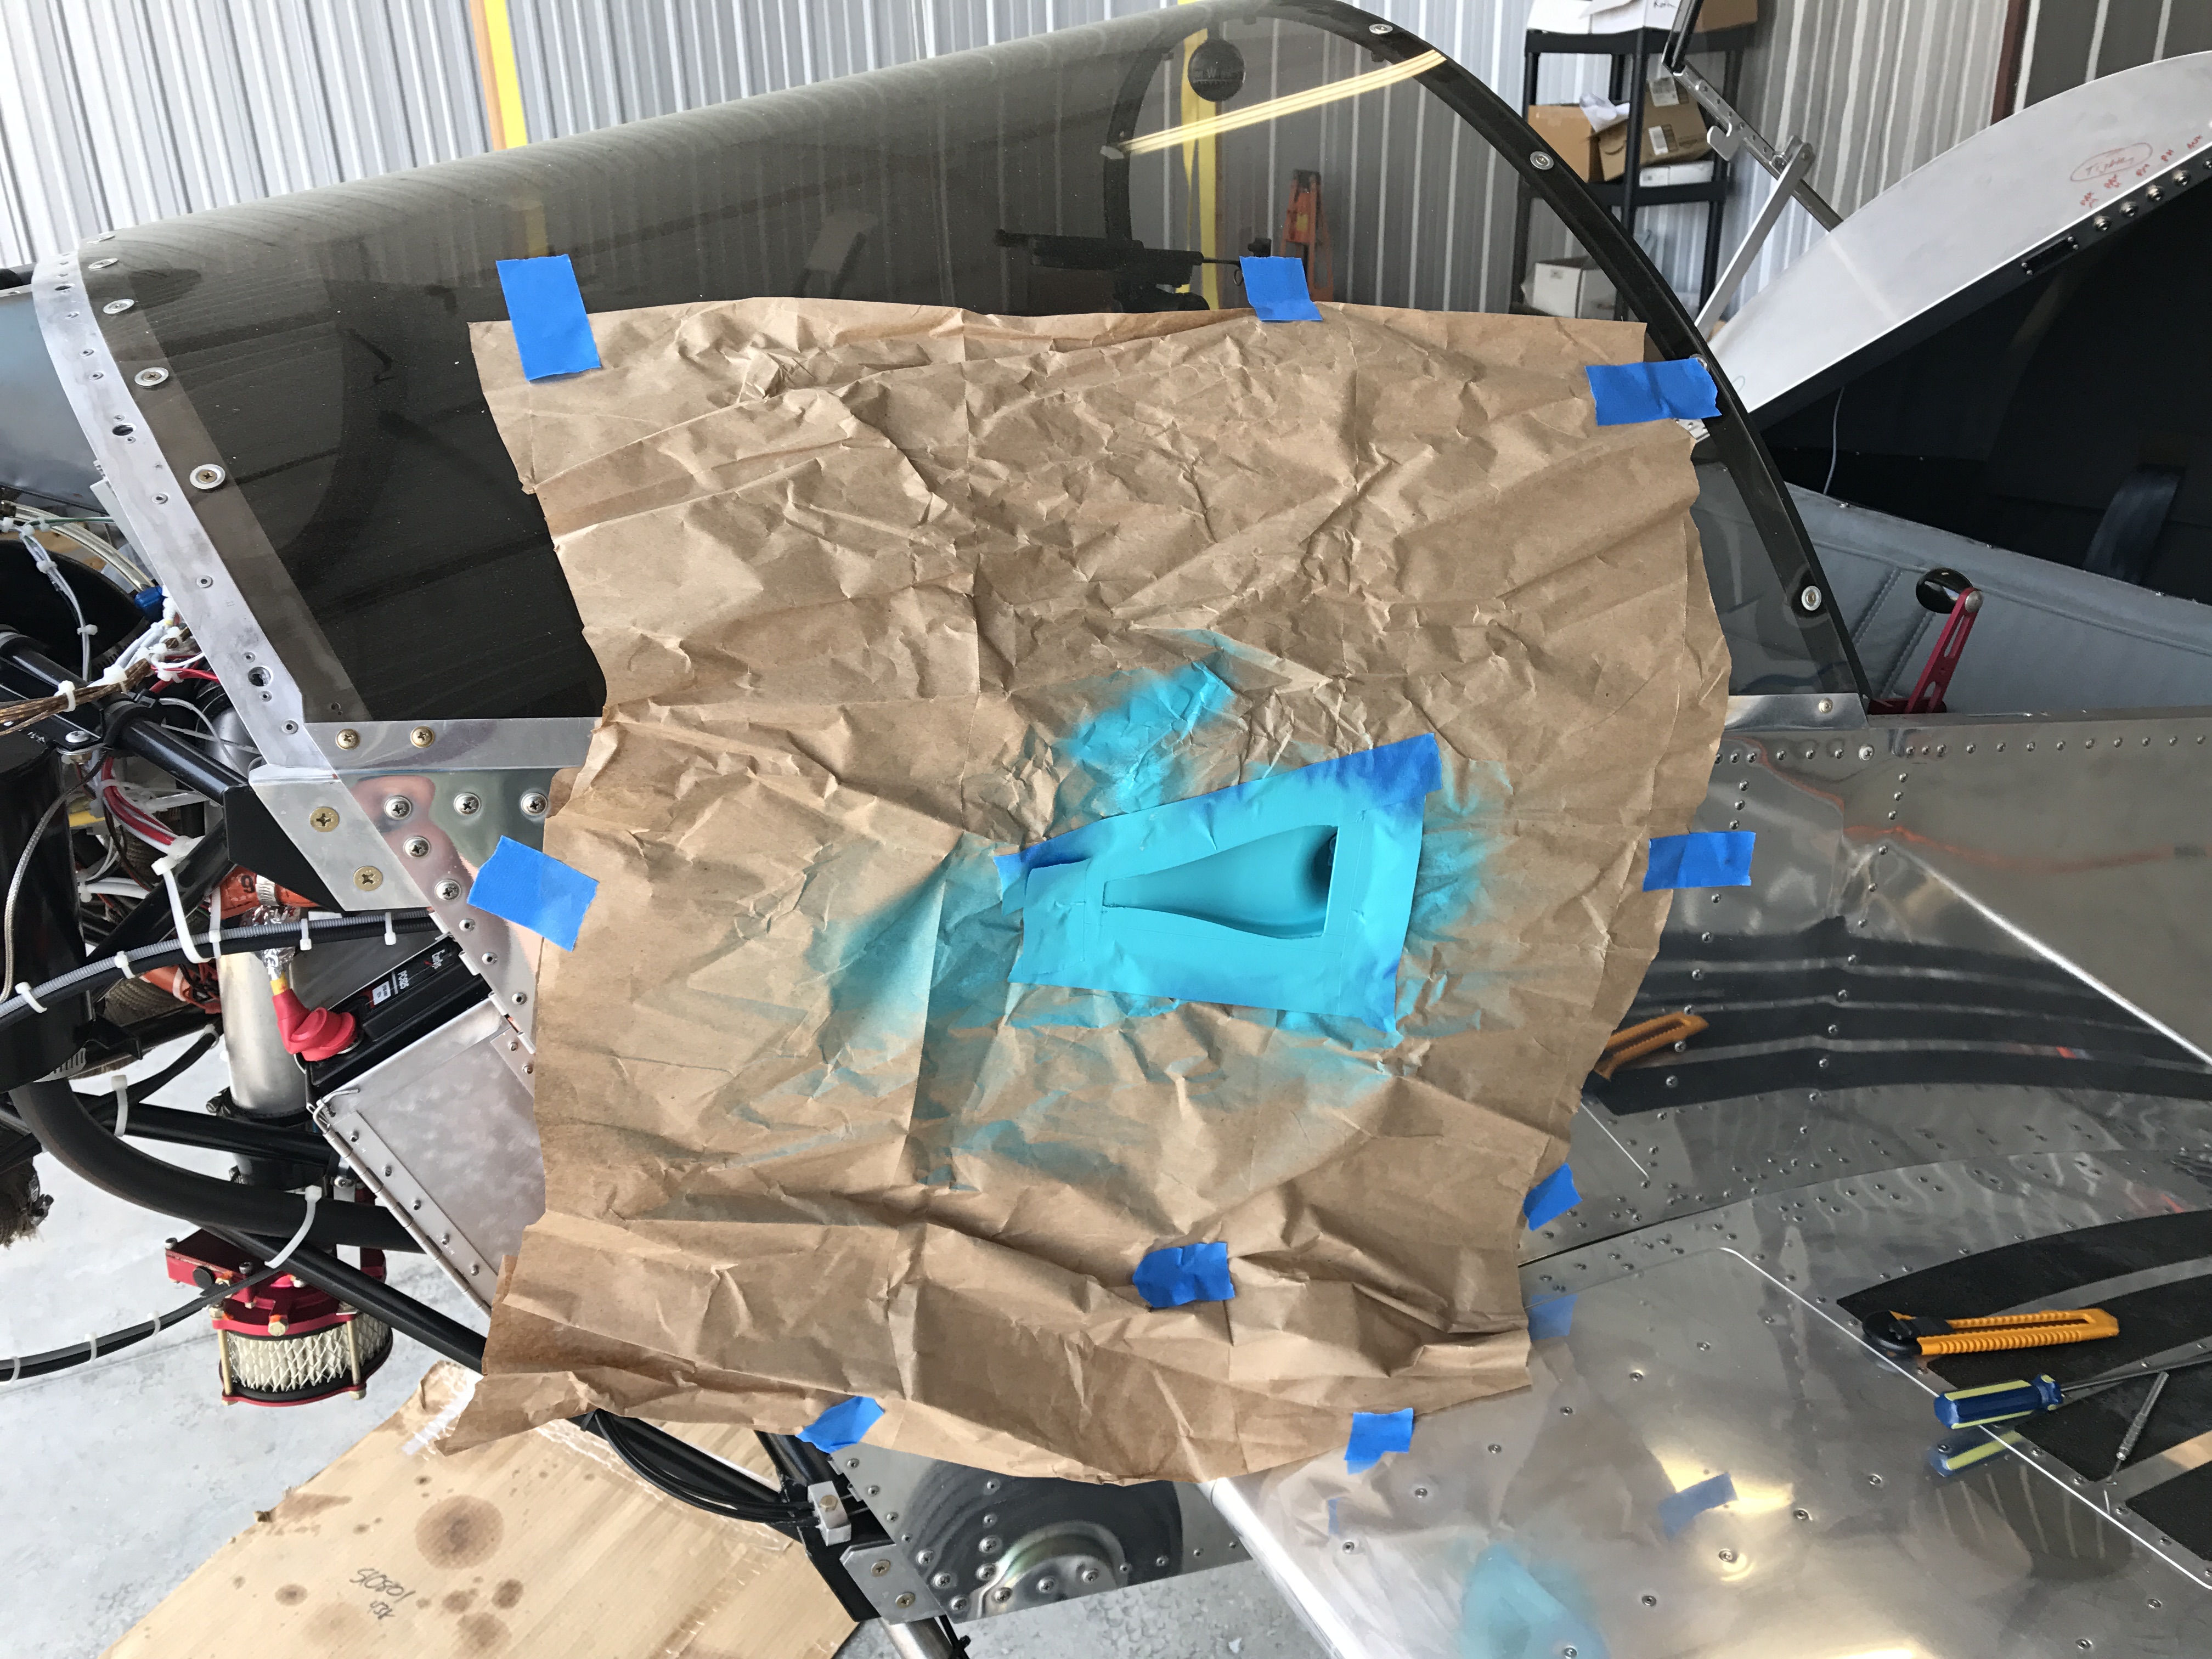
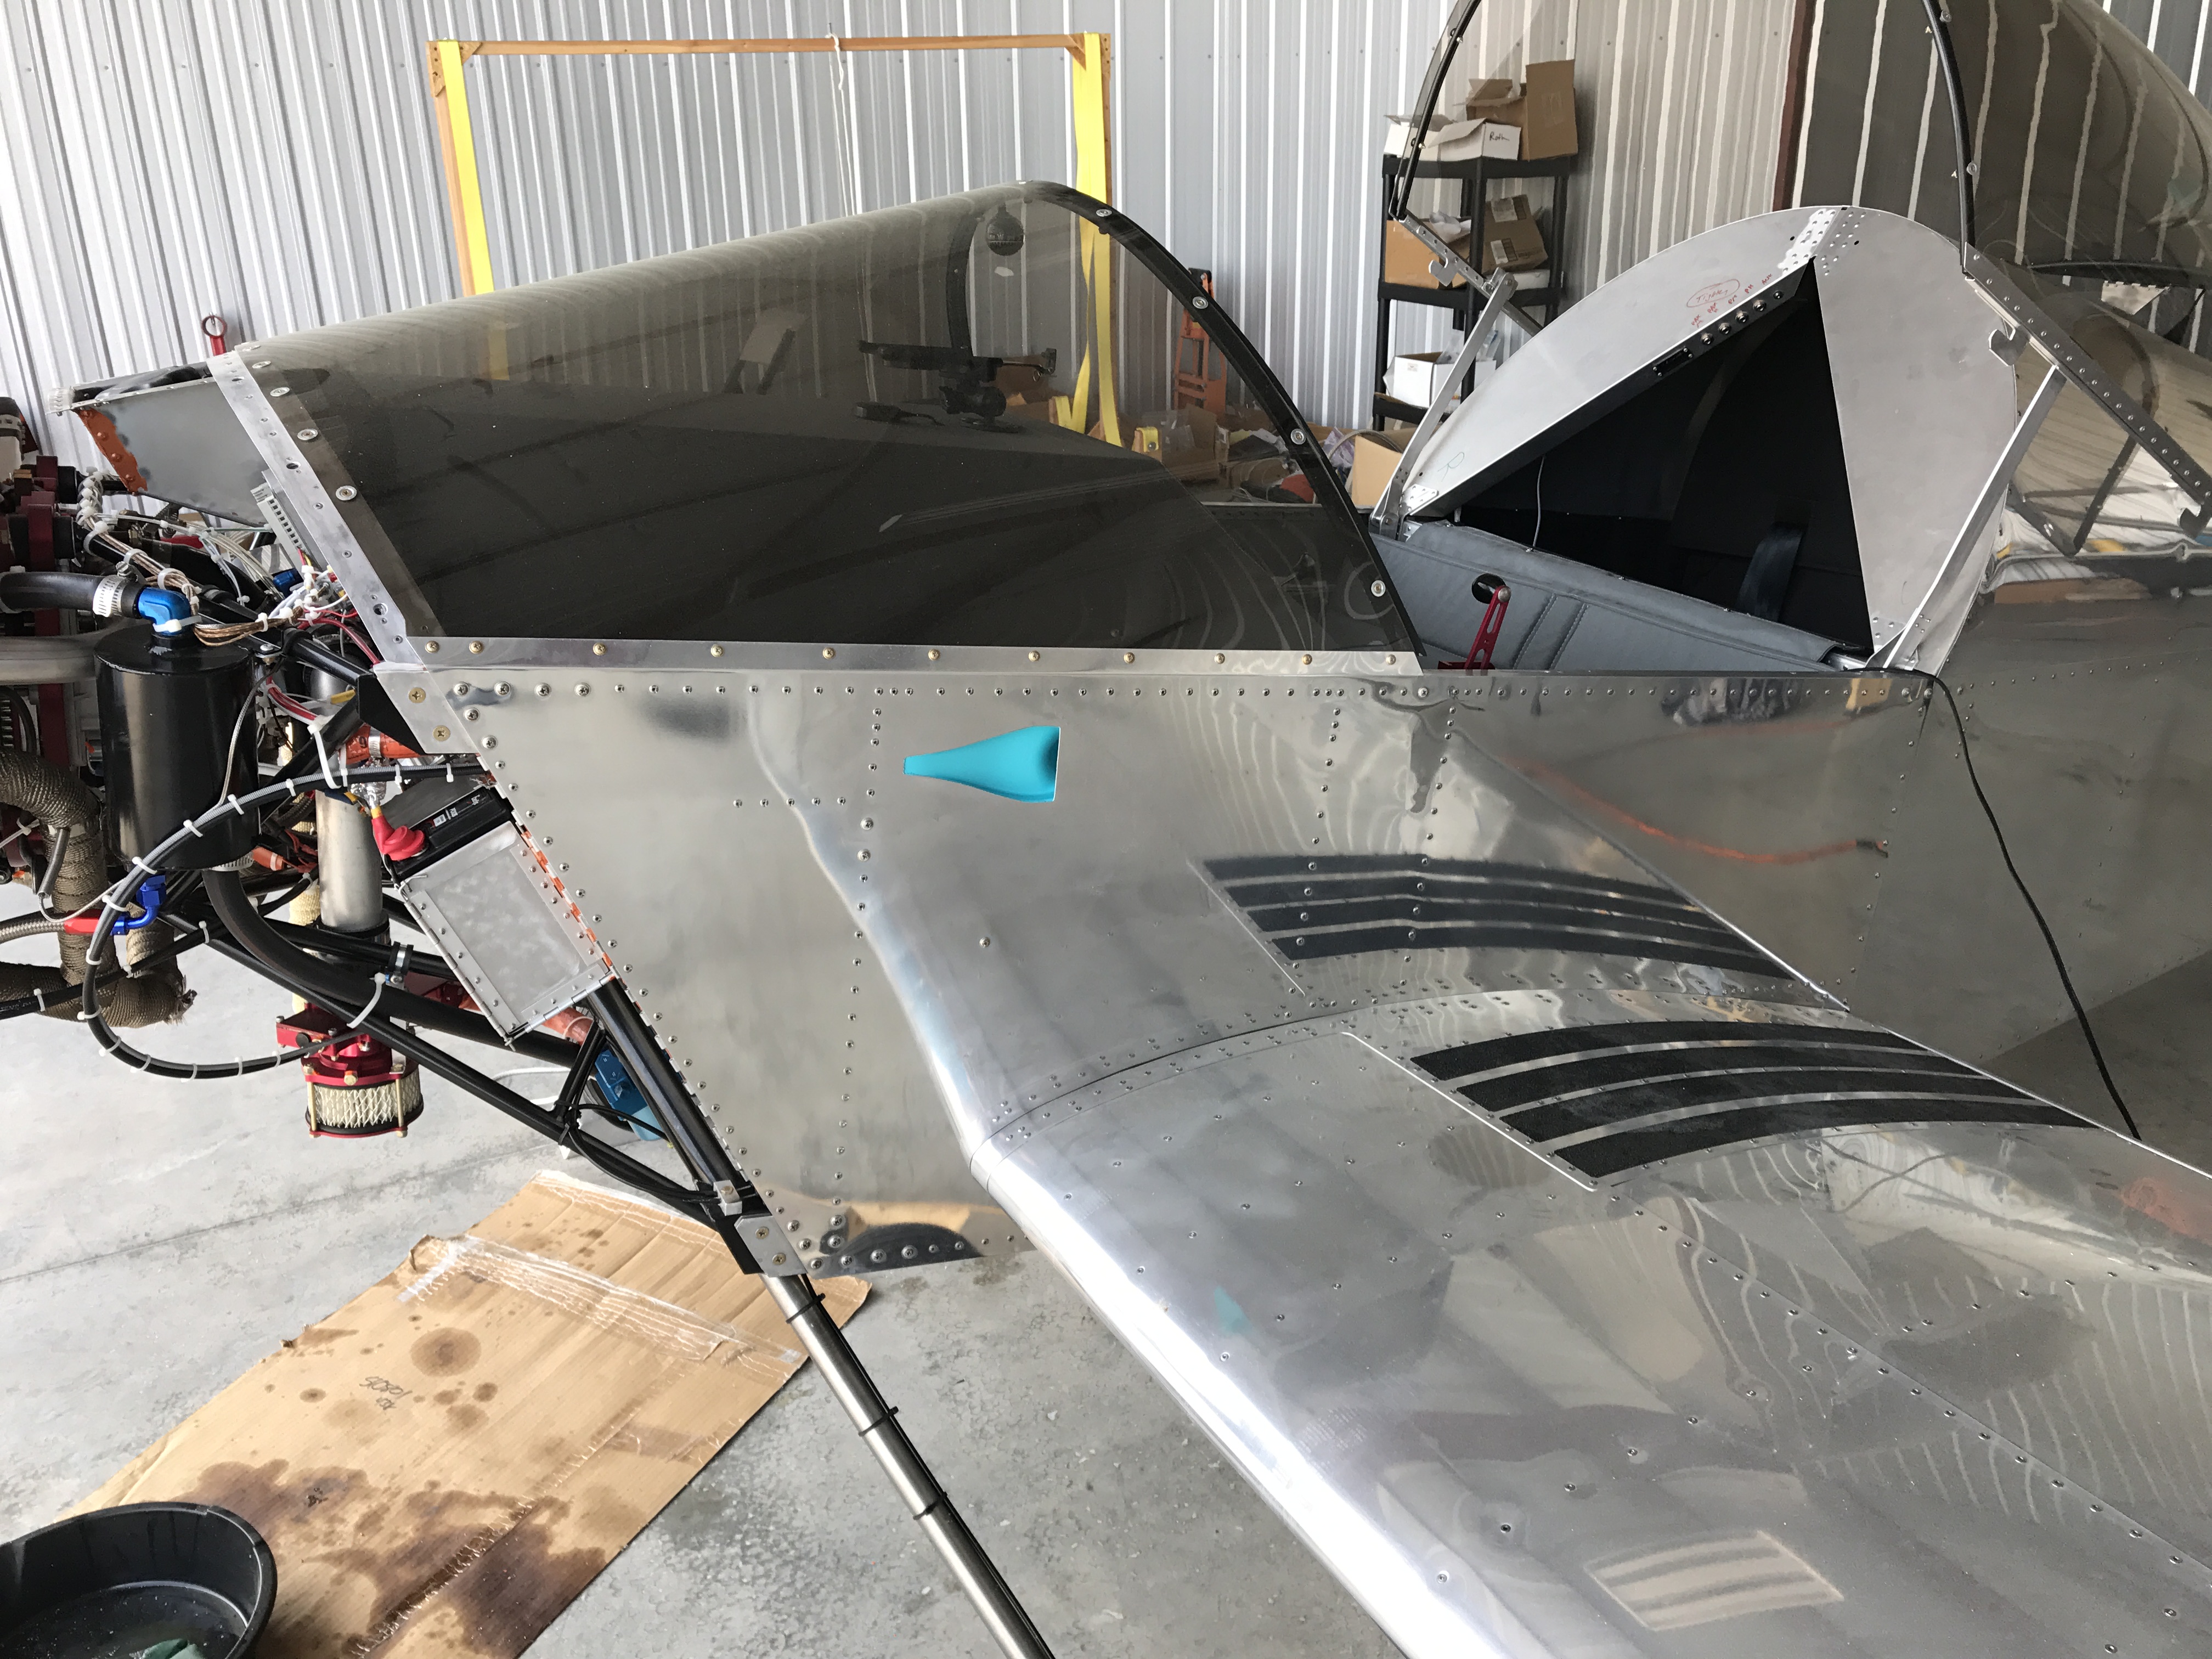
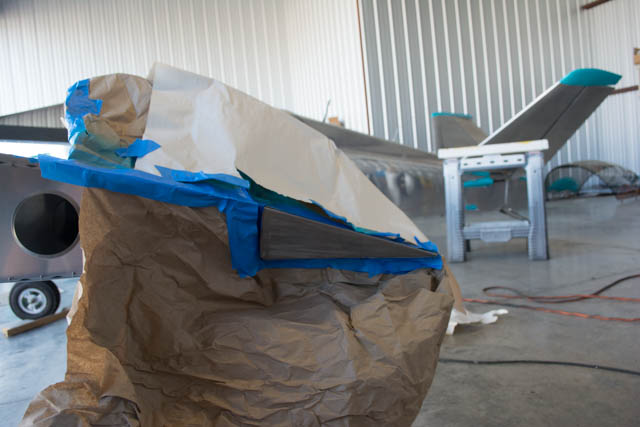
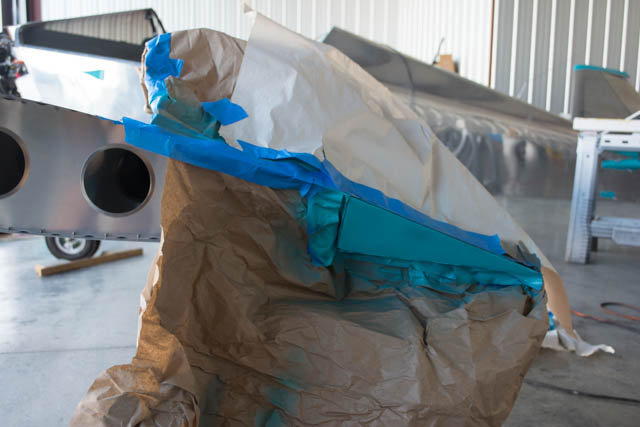
Next I masked and painted my cockpit air ventilation inlets:
Masking/priming/painting the aileron tips.
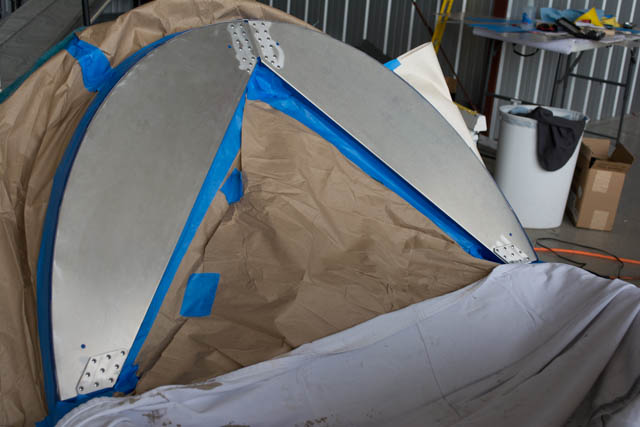
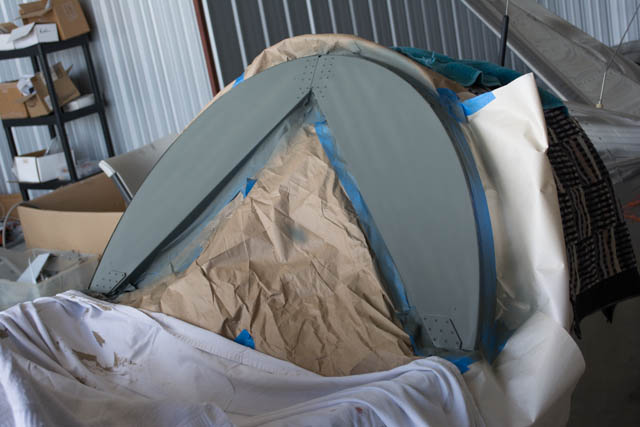
Masking/priming/painting the turtledeck former.
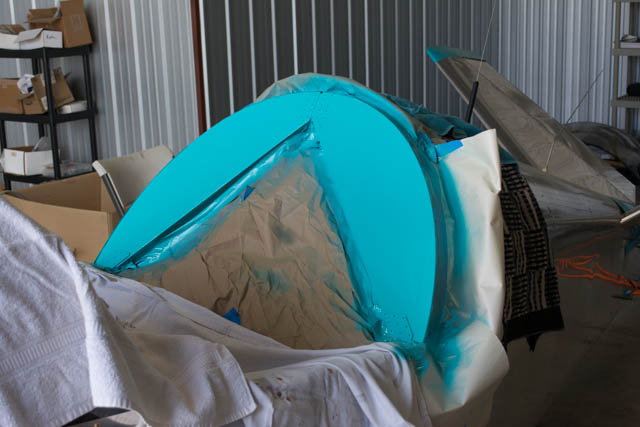

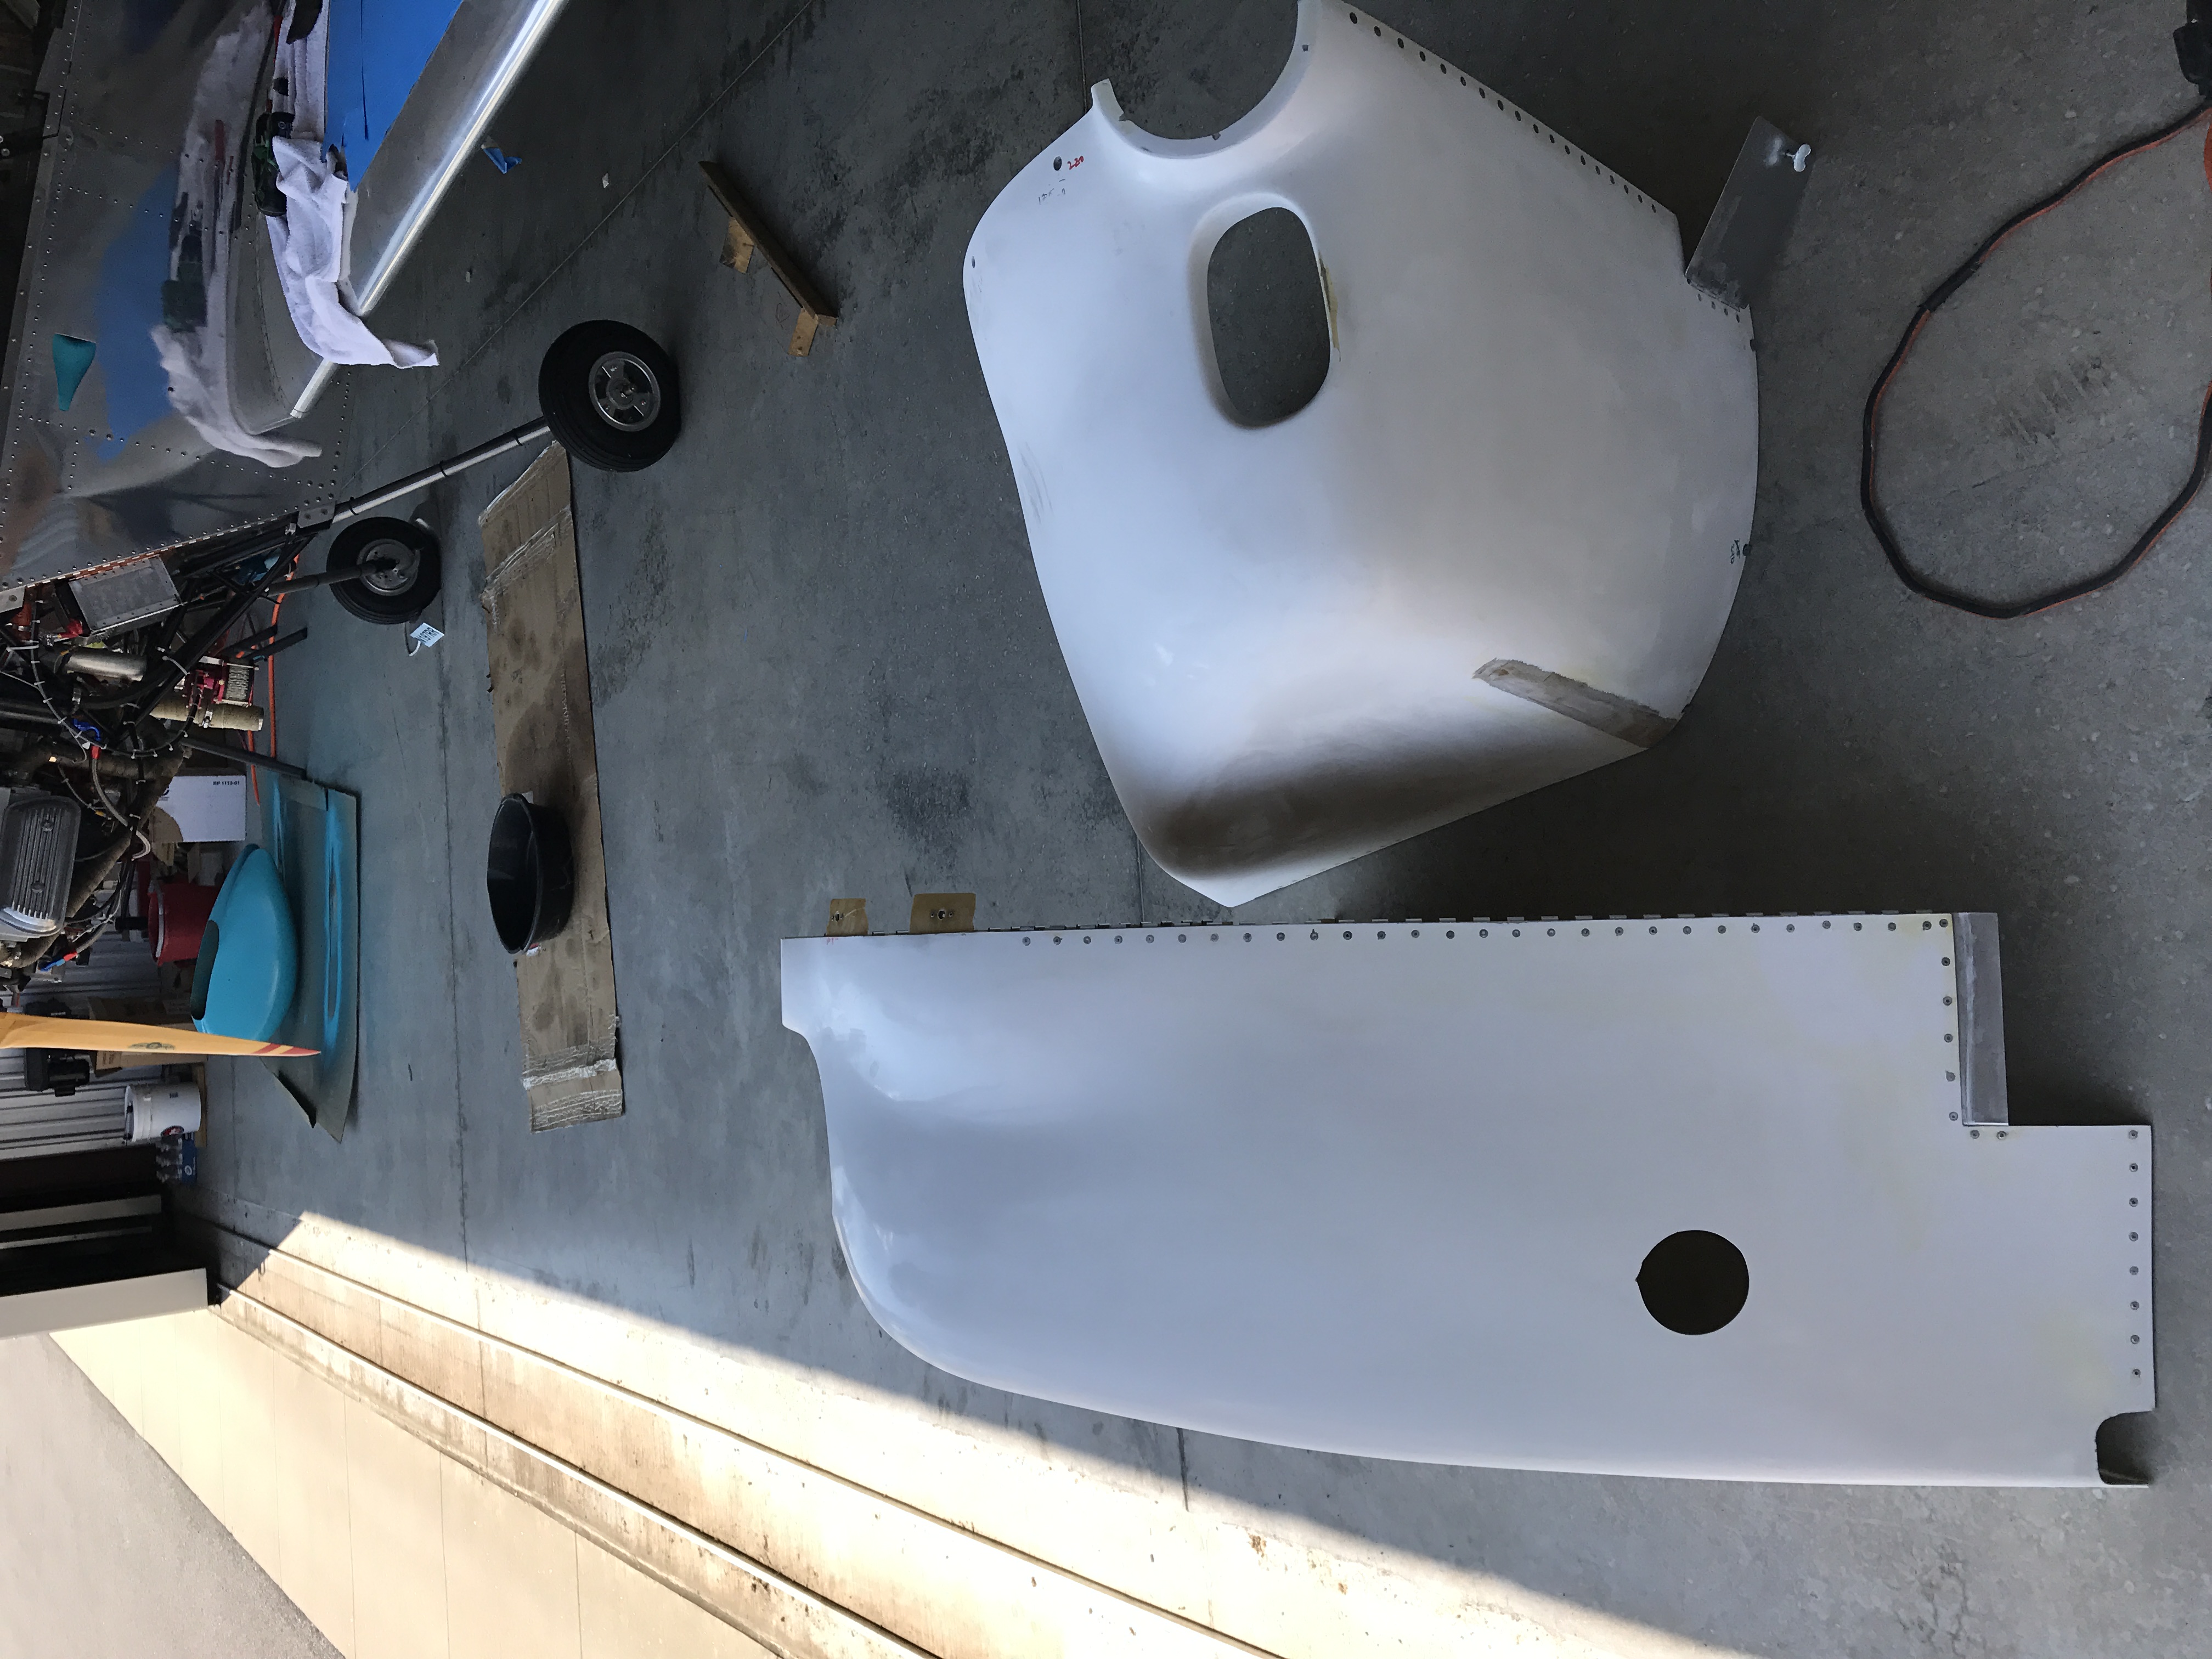
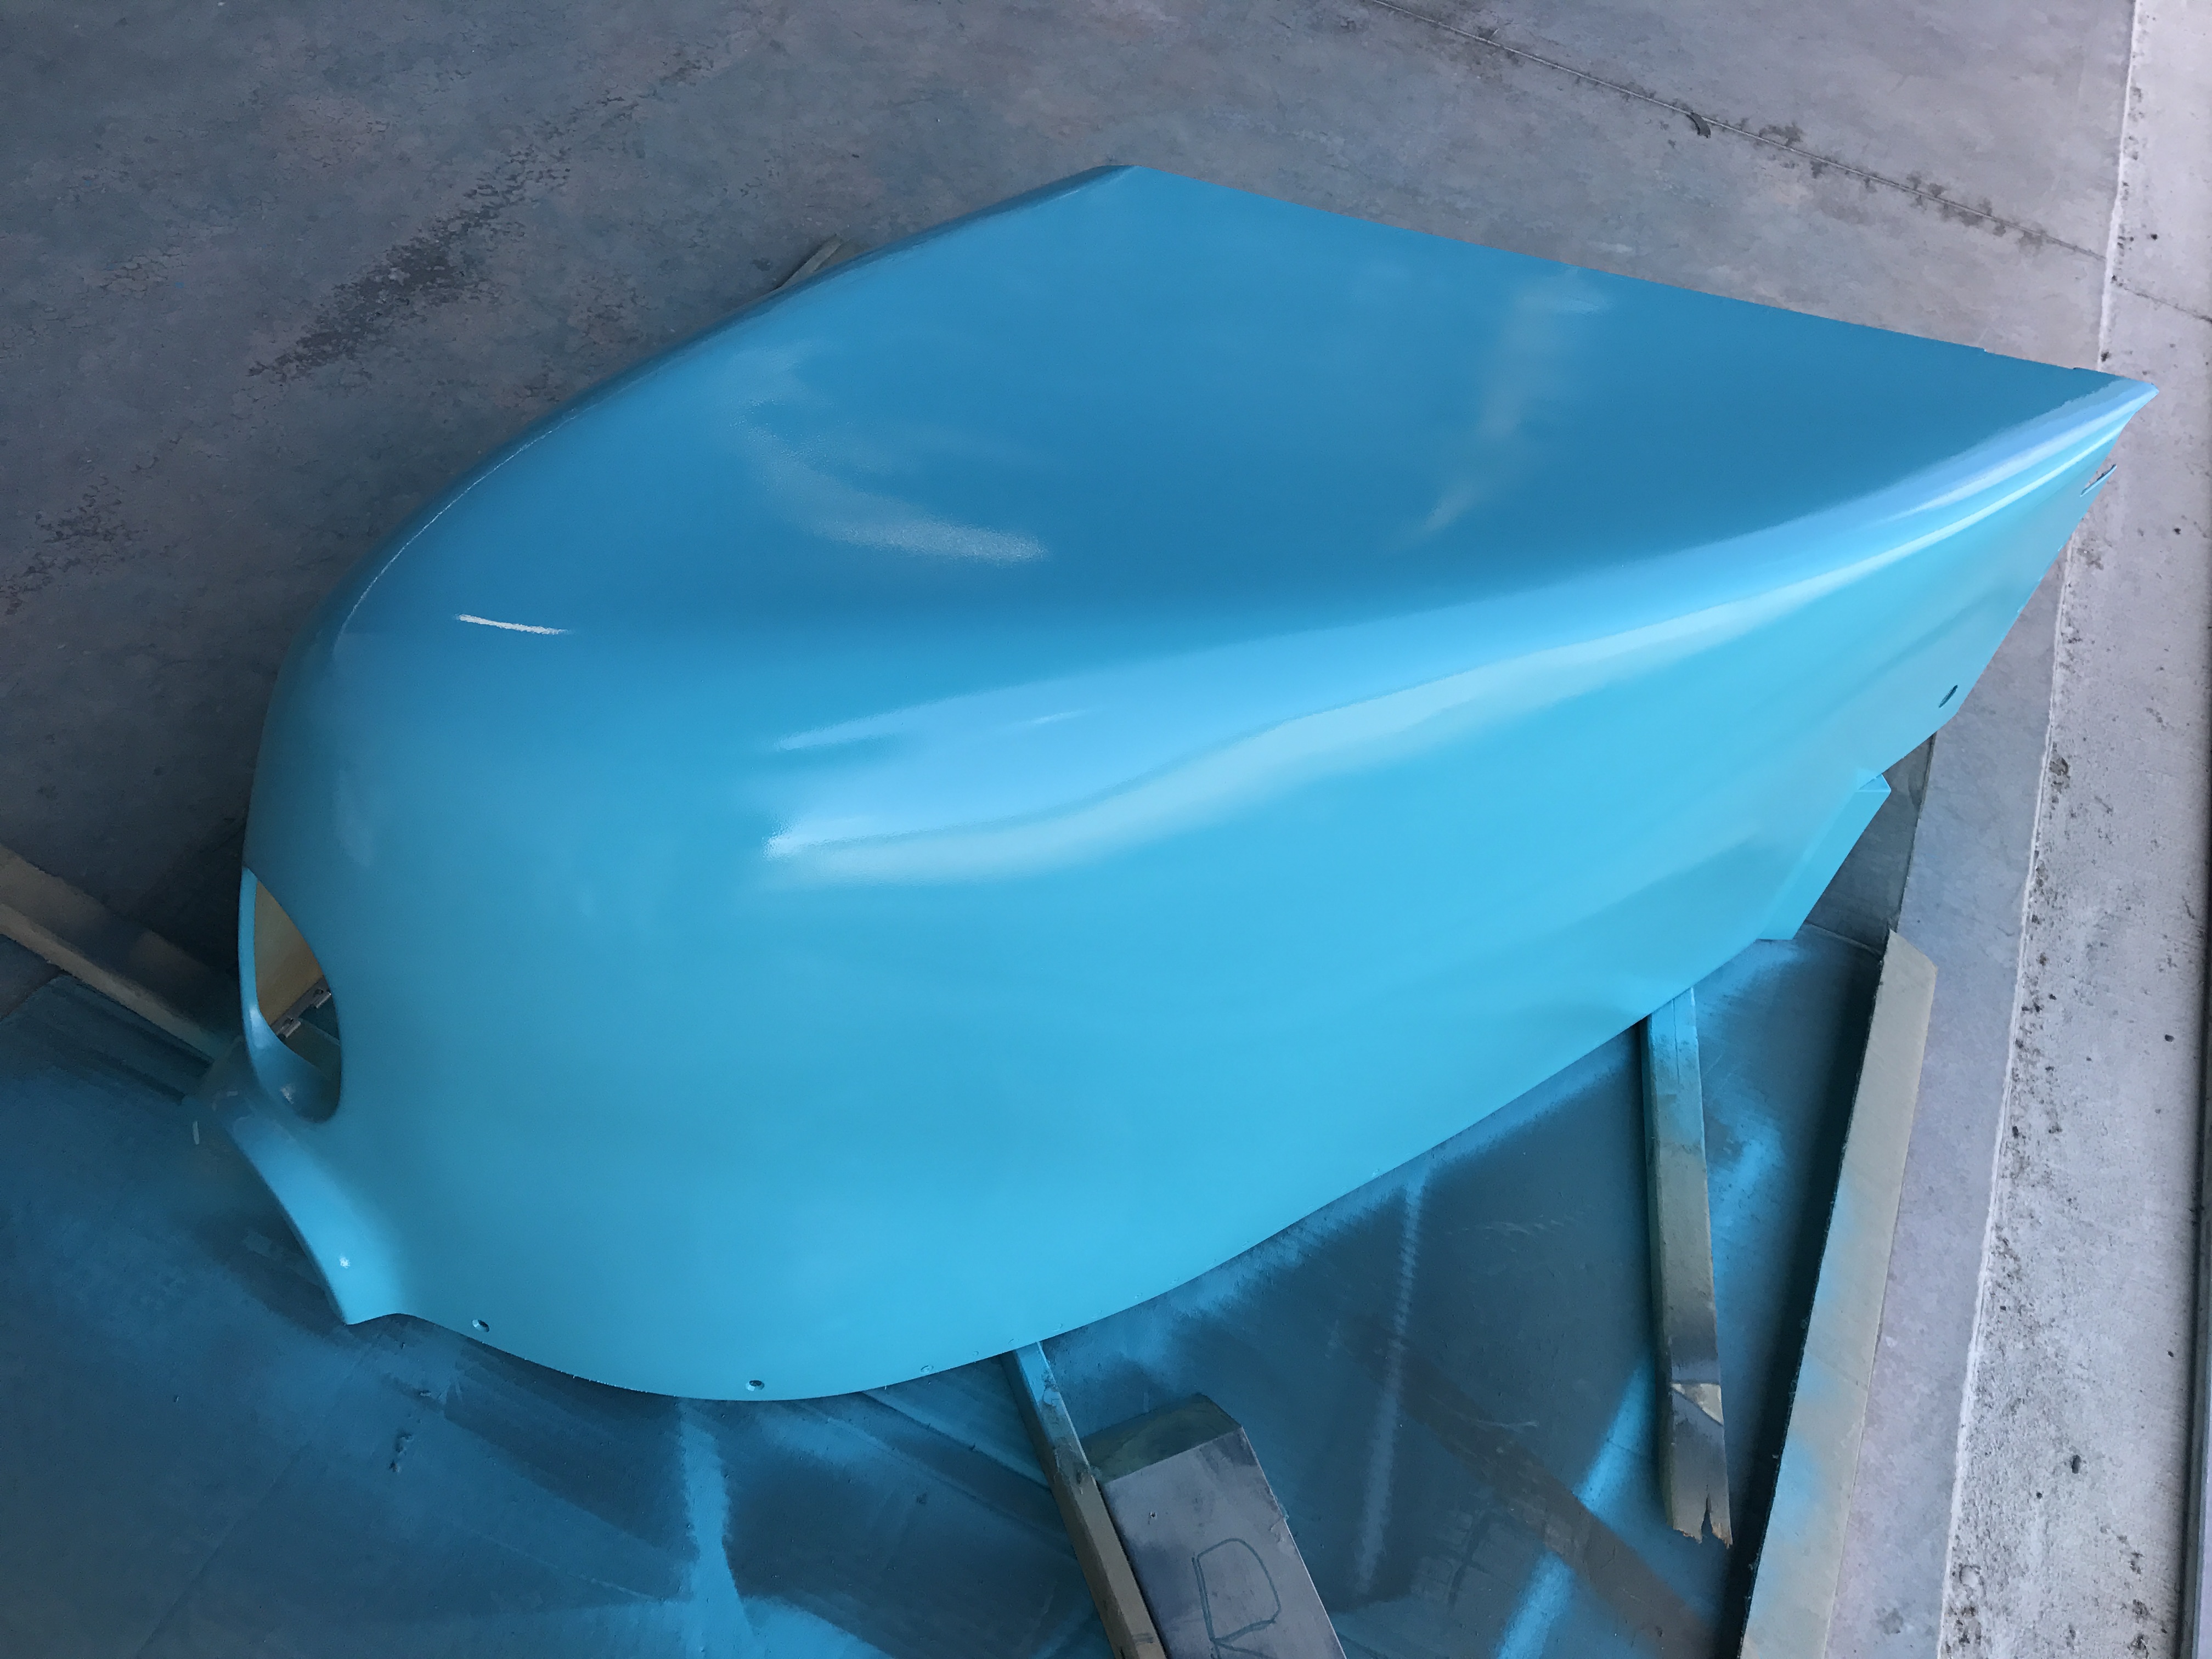
The engine cowling (and wheel pants) took quite a bit more work than any of the other paintable parts. I did a fair amount of fiberglass filling/sanding, including filling in the flush rivets so they would disappear after the paint was added.
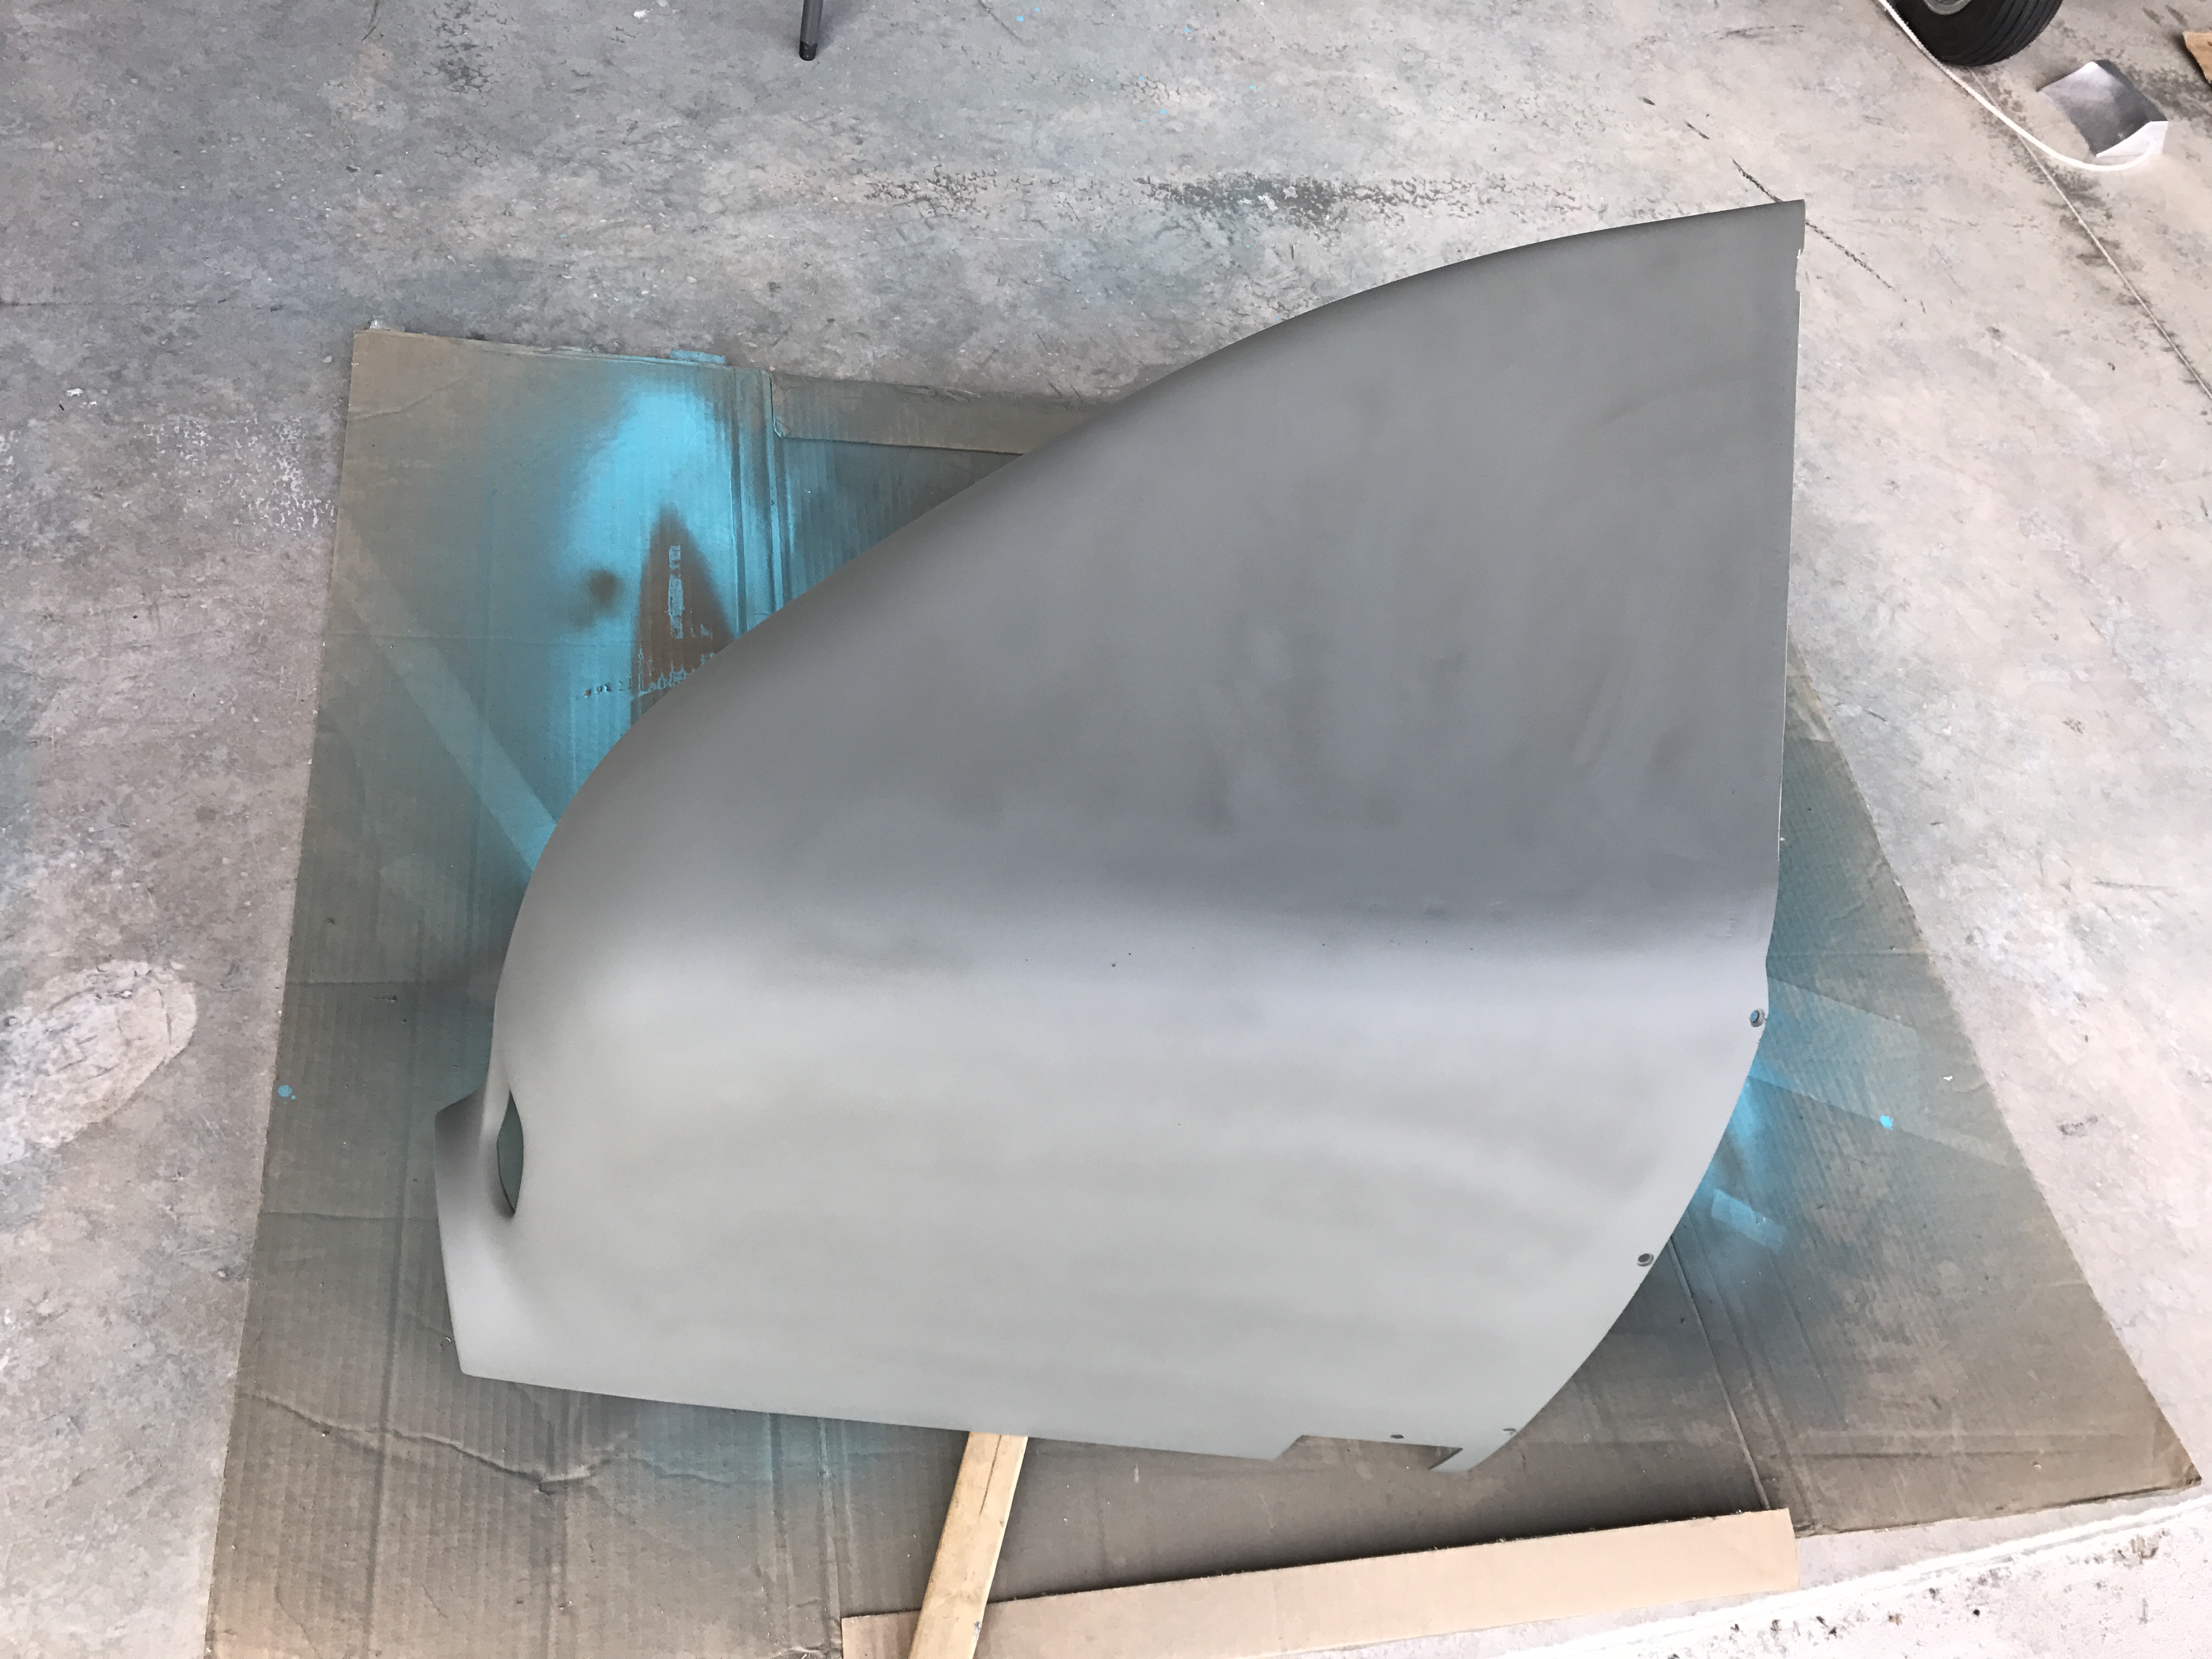
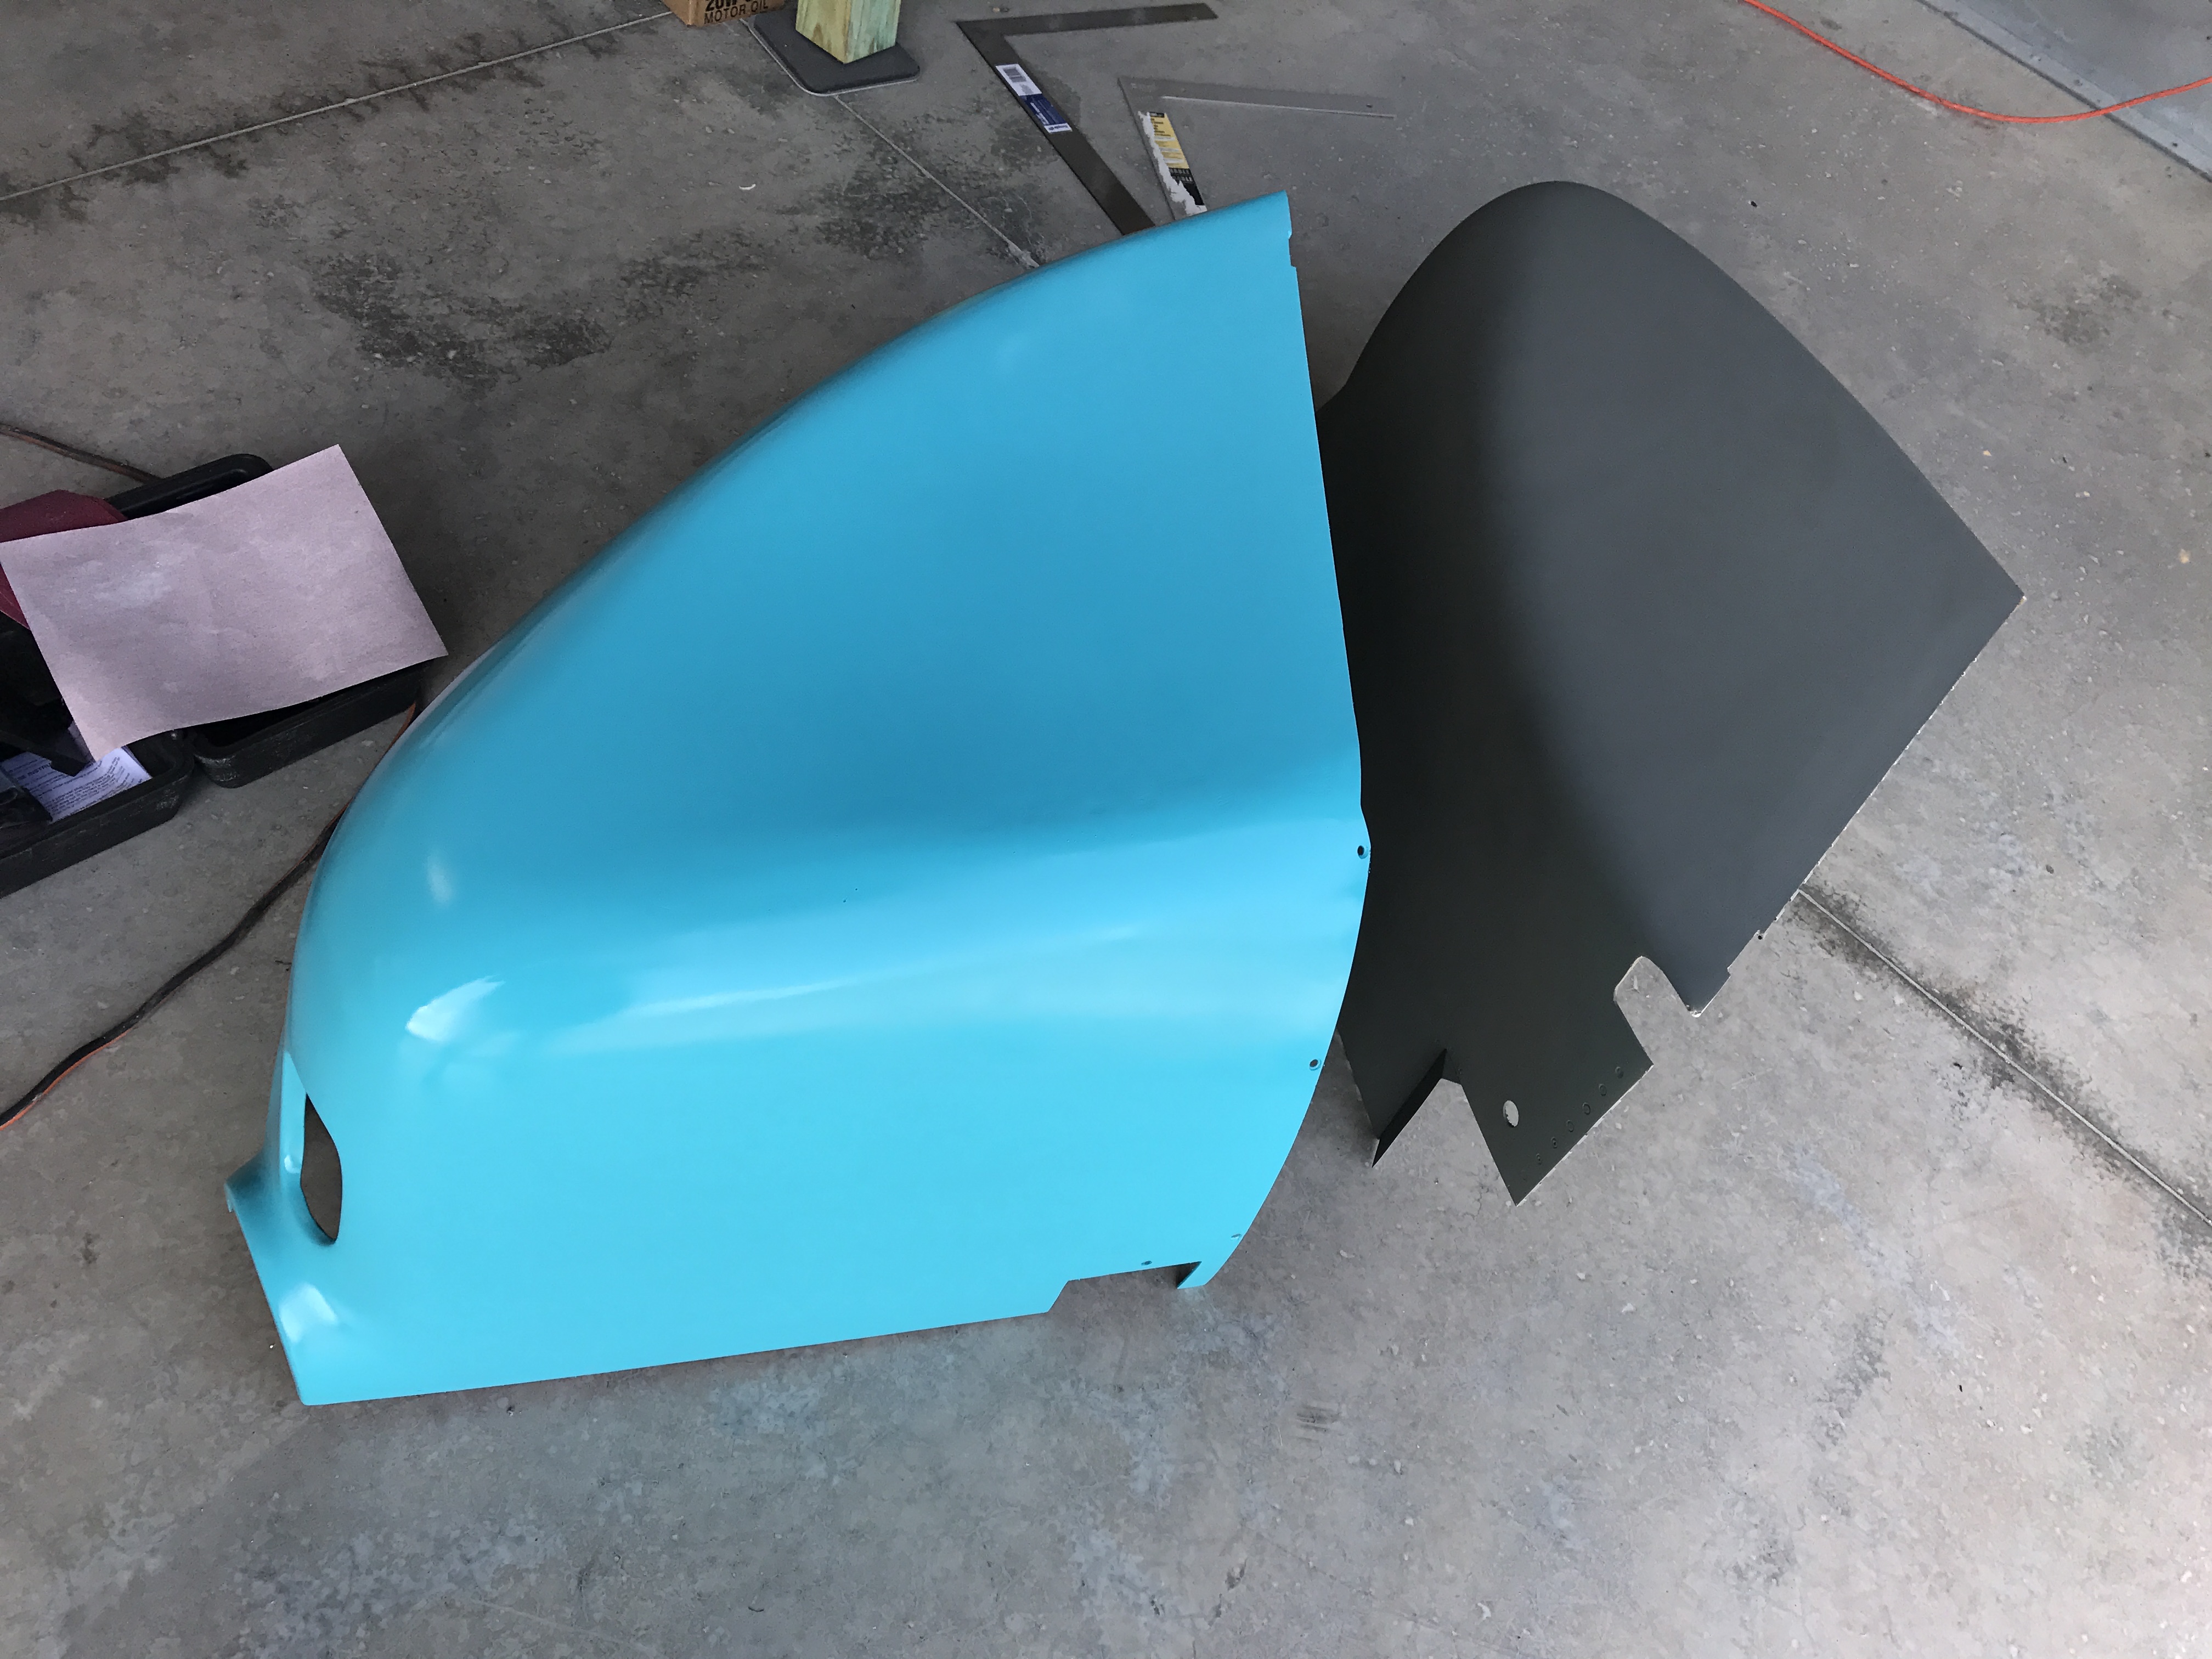
Primed vs Painted cowling
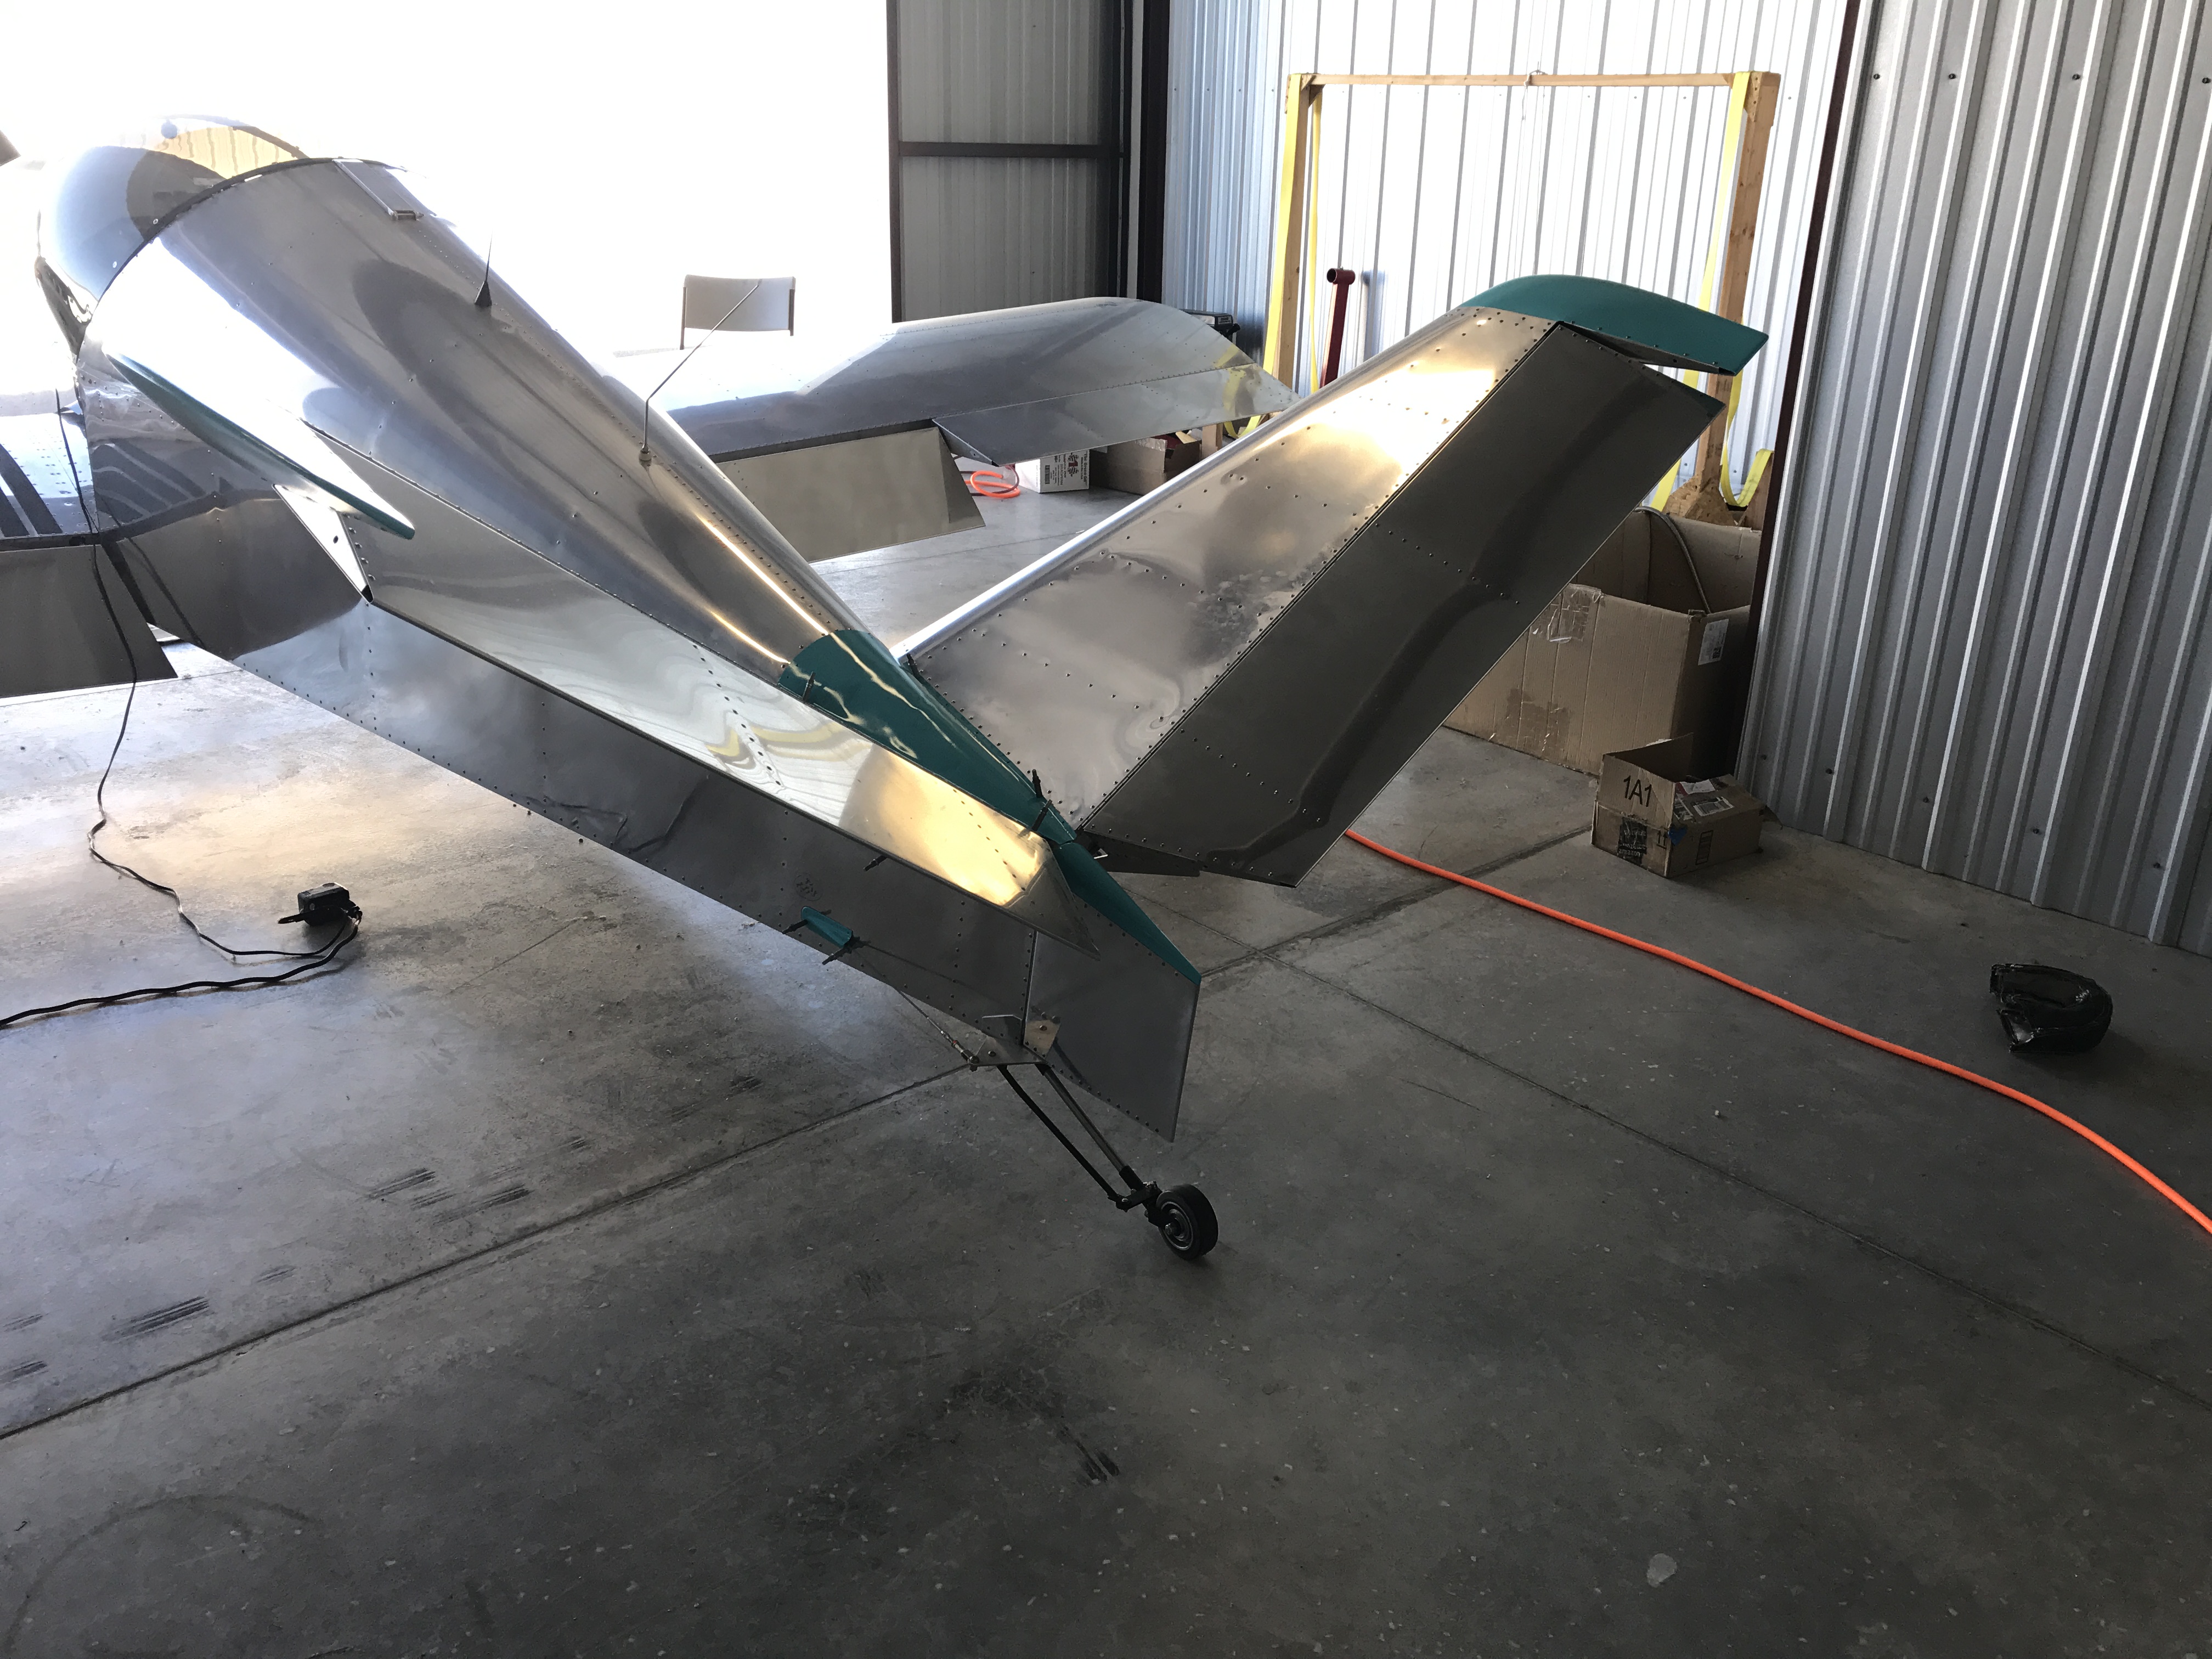
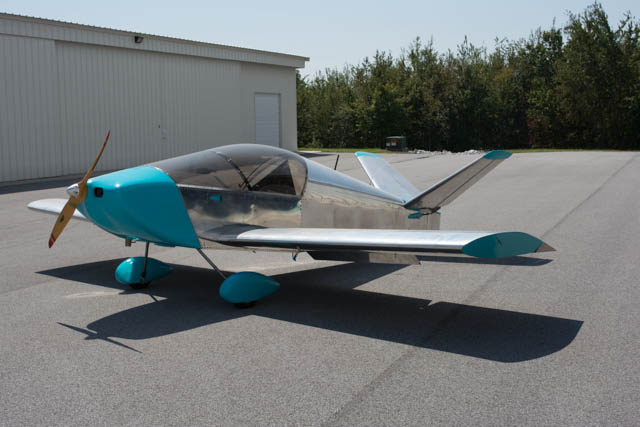
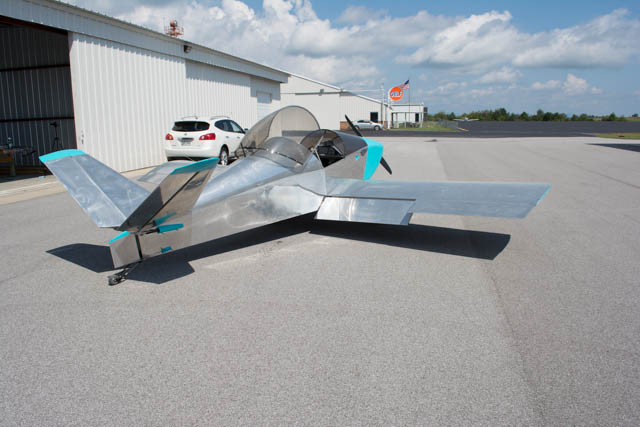
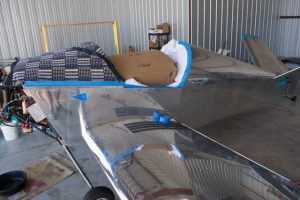
Here are some pictures with the painted parts installed, prior to additional polishing.


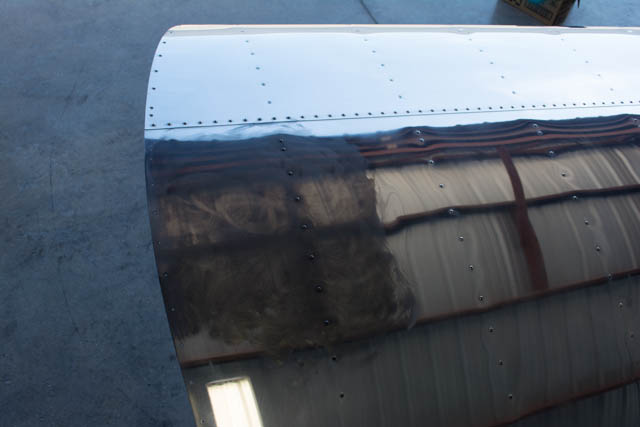
I then polished the entire aircraft. During the build, I polished all the skins using Nuvite F9 several times. I now did a full pass on the aircraft using Nuvite C. I did some tests with Nuvite S as well, but found that it didn’t do much more than remove some holograms from the reflective surface (which would indeed give a showroom-like appearance), but wanted to press forward with progress by settling with the excellent look of Nuvite C. Some progress pics.
This first pic is fairly striking… what it shows is the difference between freshly-polished Nuvite C (upper and left-side), and 3-year old Nuvite F9 (bottom-right side.)

Polished fairing parts.

Protecting the windscreen, removal of canopy and protection of cockpit from the mess of polishing.
Some comparitive tests of Nuvite S vs Nuvite C. In the below photos, Nuvite S is the grey patch, about to be polished.
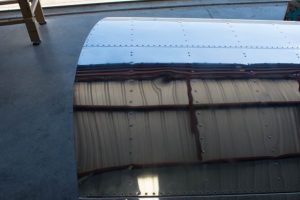
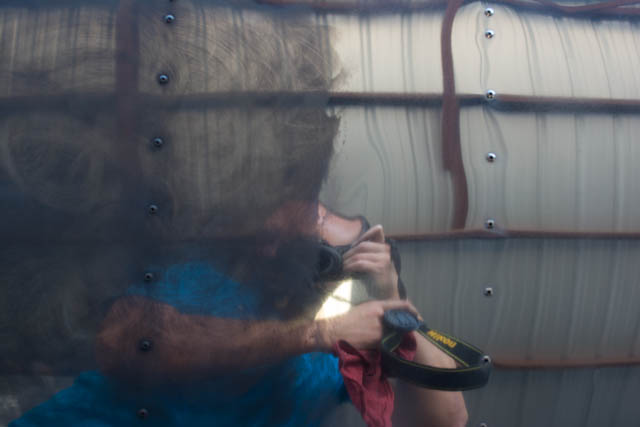
There was a VERY subtle visual difference between C and S (reduction in holograms as I stated earlier), and I decided the effort was not worth it at this point. Sidenote: that little swirl on the left side of the last pic is indeed a very subtle dent in the skin, once that I’d never even noticed before polishing to this extent. Polishing really does bring out the best/worst in appearance!
Here’s a pic of the plane back in daylight after polish (no wheel fairings.) I’m quite pleased with the result!