

Total Build Time: 1100 Hours.
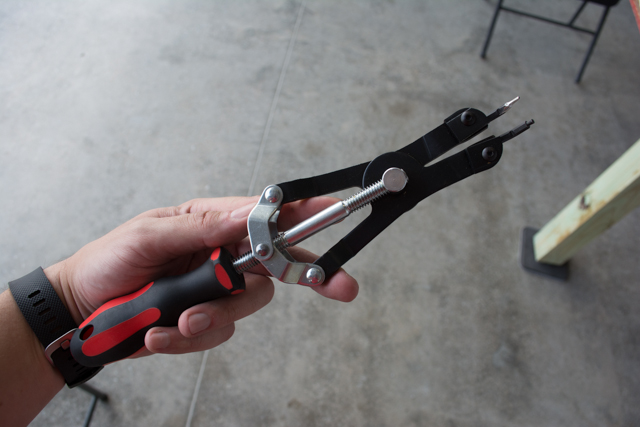
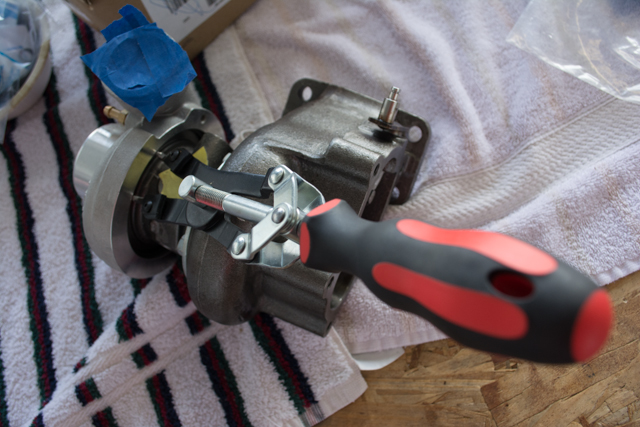
Installation of my exhaust mainfold and turbocharger began with “clocking” the turbo. Basically, orienting the 3 sections of the turbo housing correctly (the turbine section, center oil section, and the compressor section.) This required some heavy duty snap ring pliers. I had to file down the tips of the pliers slightly to fit into the snap ring that must be compressed in order to rotate the housing.

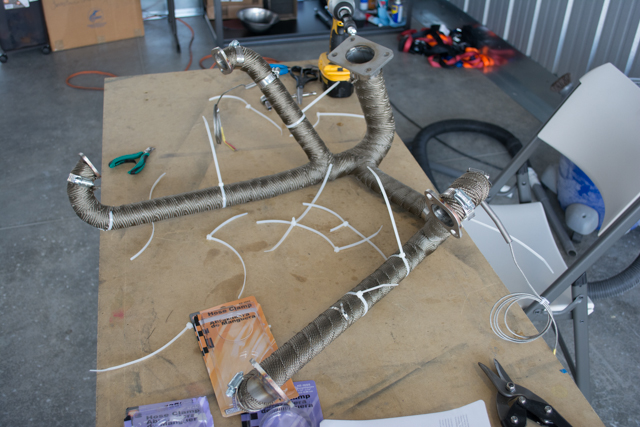
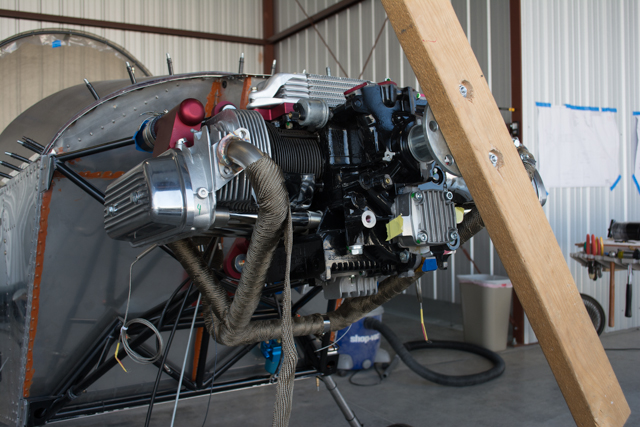
With the turbo properly “clocked”, I began preparing the exhaust manifold for installation. This started with drilling holes for my 2 EGT probes for the rear 2 cylinders on the engine. I could have installed 4 EGT probes but felt this was overkill. Once the probes were located, I wrapped the exhaust in fiberglass exhaust wrap provided in the kit (this wrap helps keep the engine compartment cool.)
Zip ties held the wrap in position as I applied it, they are removed later after I installed hose clamps to secure the wrap in place.
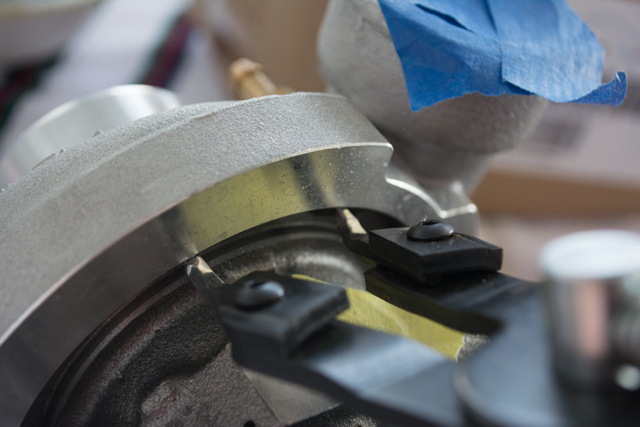
Next I installed the exhaust manifold to the engine. It was not an exact perfect fit, I found that I had to attach the manifold to the right side cylinders first due to a slight difference in the angle of the flanges, then slightly bend the left side upwards to bolt it to the left side cylinder heads.
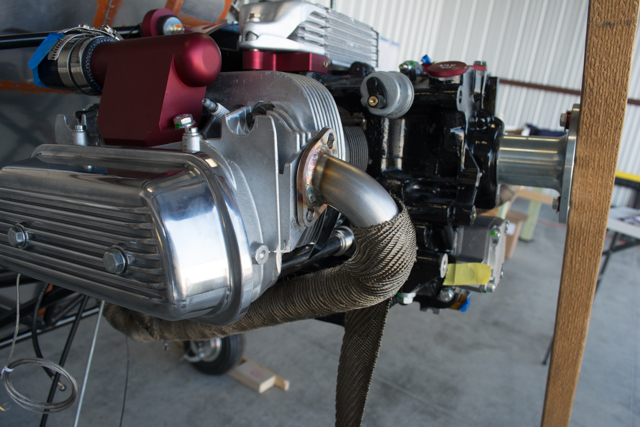
I used straps to help pull the manifold into position for the bolts, since I was working alone.

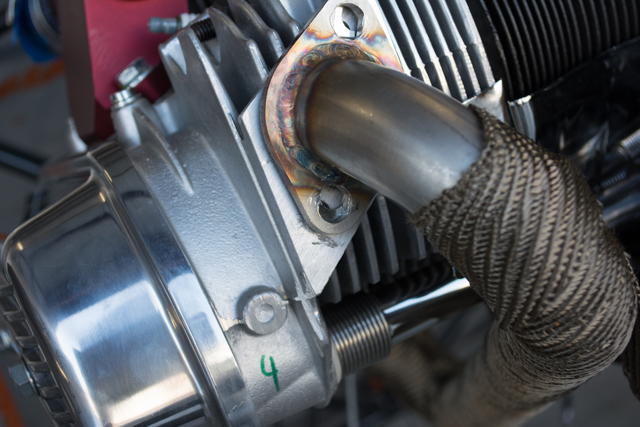
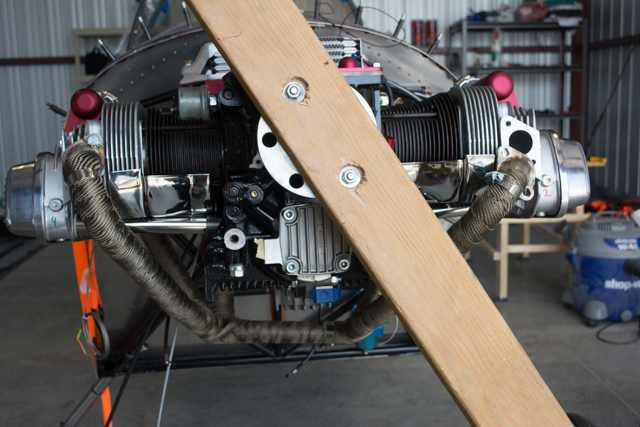
The picture below shows the right-side manifold attached (left side of the picture) and the left-side manifold not attached. This slight angle was due to the flanges on the manifold not being perfectly aligned with my engine, but at this point it was easy enough to lift the left-side and bolt it in place (much easier than doing the left side first and not having the leverage to twist the flanges into position on the right side.)
I had to be very careful not to cross-thread the bolts into the aluminum cylinder heads while applying pressure to keep the manifold in position.
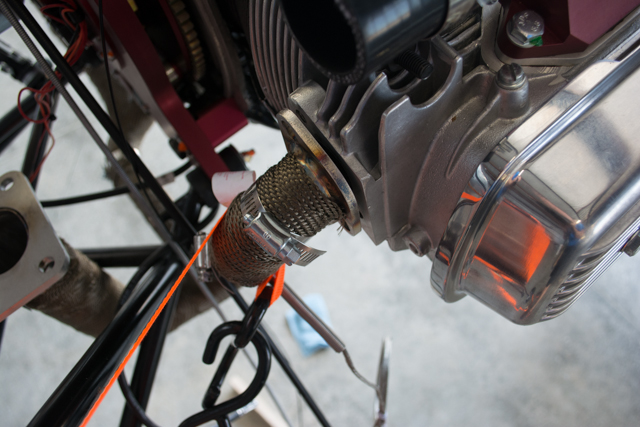
Finally, I installed the turbocharger itself, and the waste-gate actuator.

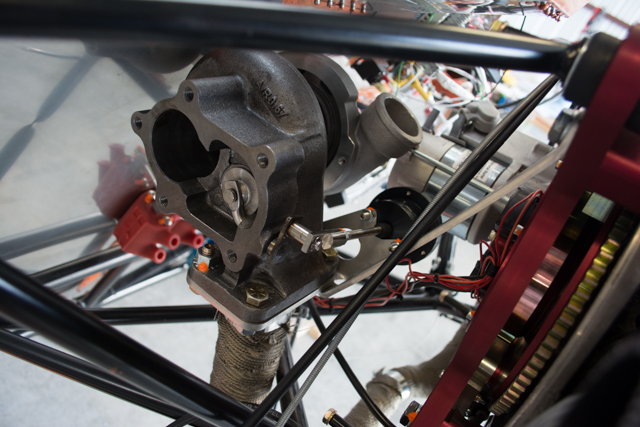
I have not yet installed the down-pipe from the turbo exhaust because I ran out of insulation wrap.