Total build time: 1086 Hours.
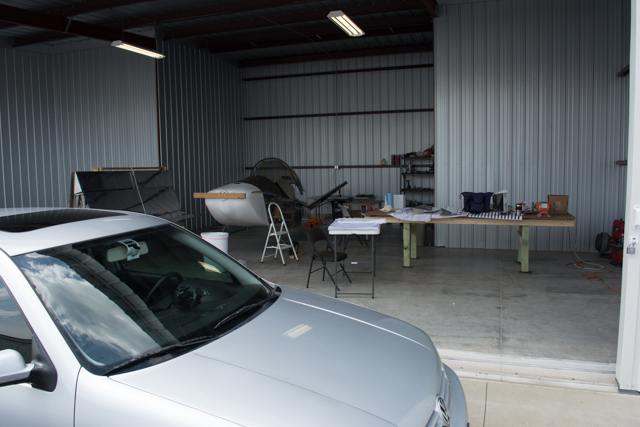
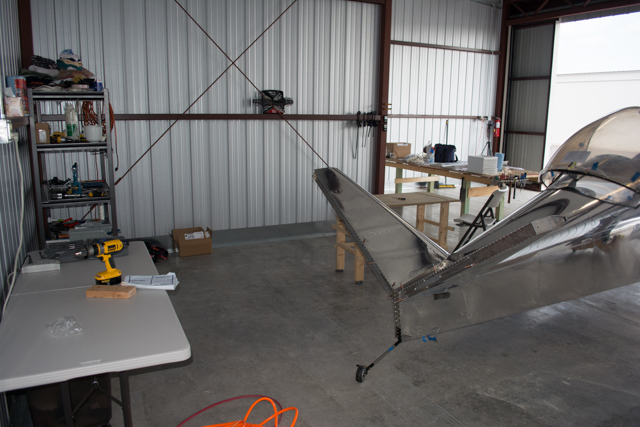
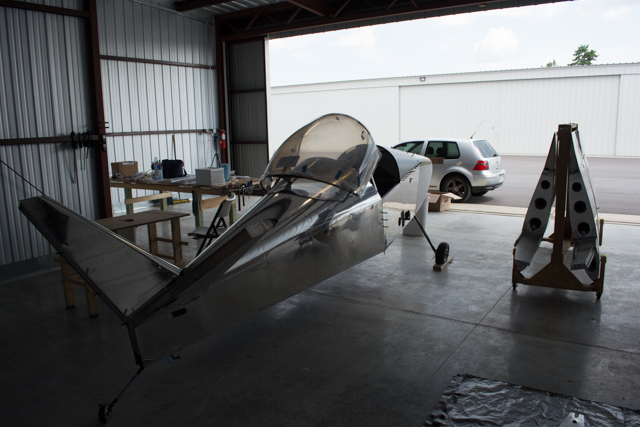
This post marks a milestone in the build… successfully moving the aircraft from my basement to its new home in a hangar in Rockwood, TN. Airport identifier is KRKW.
Back in December 2013 I made a post on this blog about my future plans to remove a relatively completed fuselage from my basement. Link to the post here: http://www.rynoth.com/wordpress/waiex/2013/12/20/aircraft-in-a-basement/
As it turns out, after having installed the french door in my basement, I had more clearance than I’d planned for to remove the fuselage from the basement. The width of the wheels was tight to the width of the door, but with some clever maneuvering it worked out.
This move began with a lot of research into how best to trailer the aircraft. I researched local options for flatbed trailers, but ultimately the trailers I could rent locally needed a large truck to haul them (10,000lb hauling capacity minimum) which I did not have easy access to. Also, using a flatbed trailer would most likely mean that I needed to make multiple trips to the airport (fuselage, then wings, then workbench,) which was approximately 35 miles from my home (mostly interstate highway). Additionally, an open trailer meant the possibility of road debris damaging the airframe.
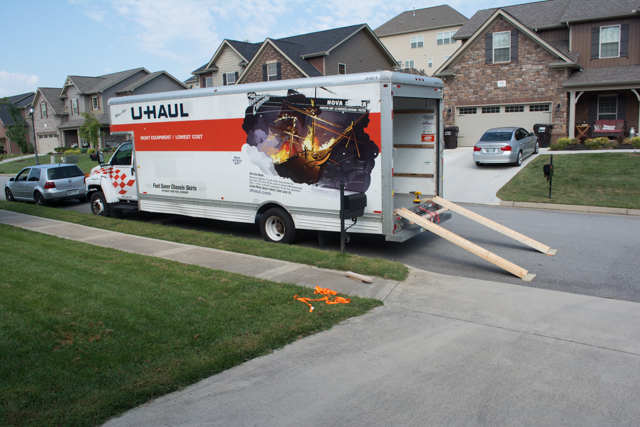
I ultimately decided to trailer my aircraft in a 26-foot Uhaul truck. After measuring the dimensions of the truck, I determined that I could fit the 3 largest objects in my workshop: the fuselage, the wing rack + wings, and my 4x10ft workbench into 1 load to the airport.
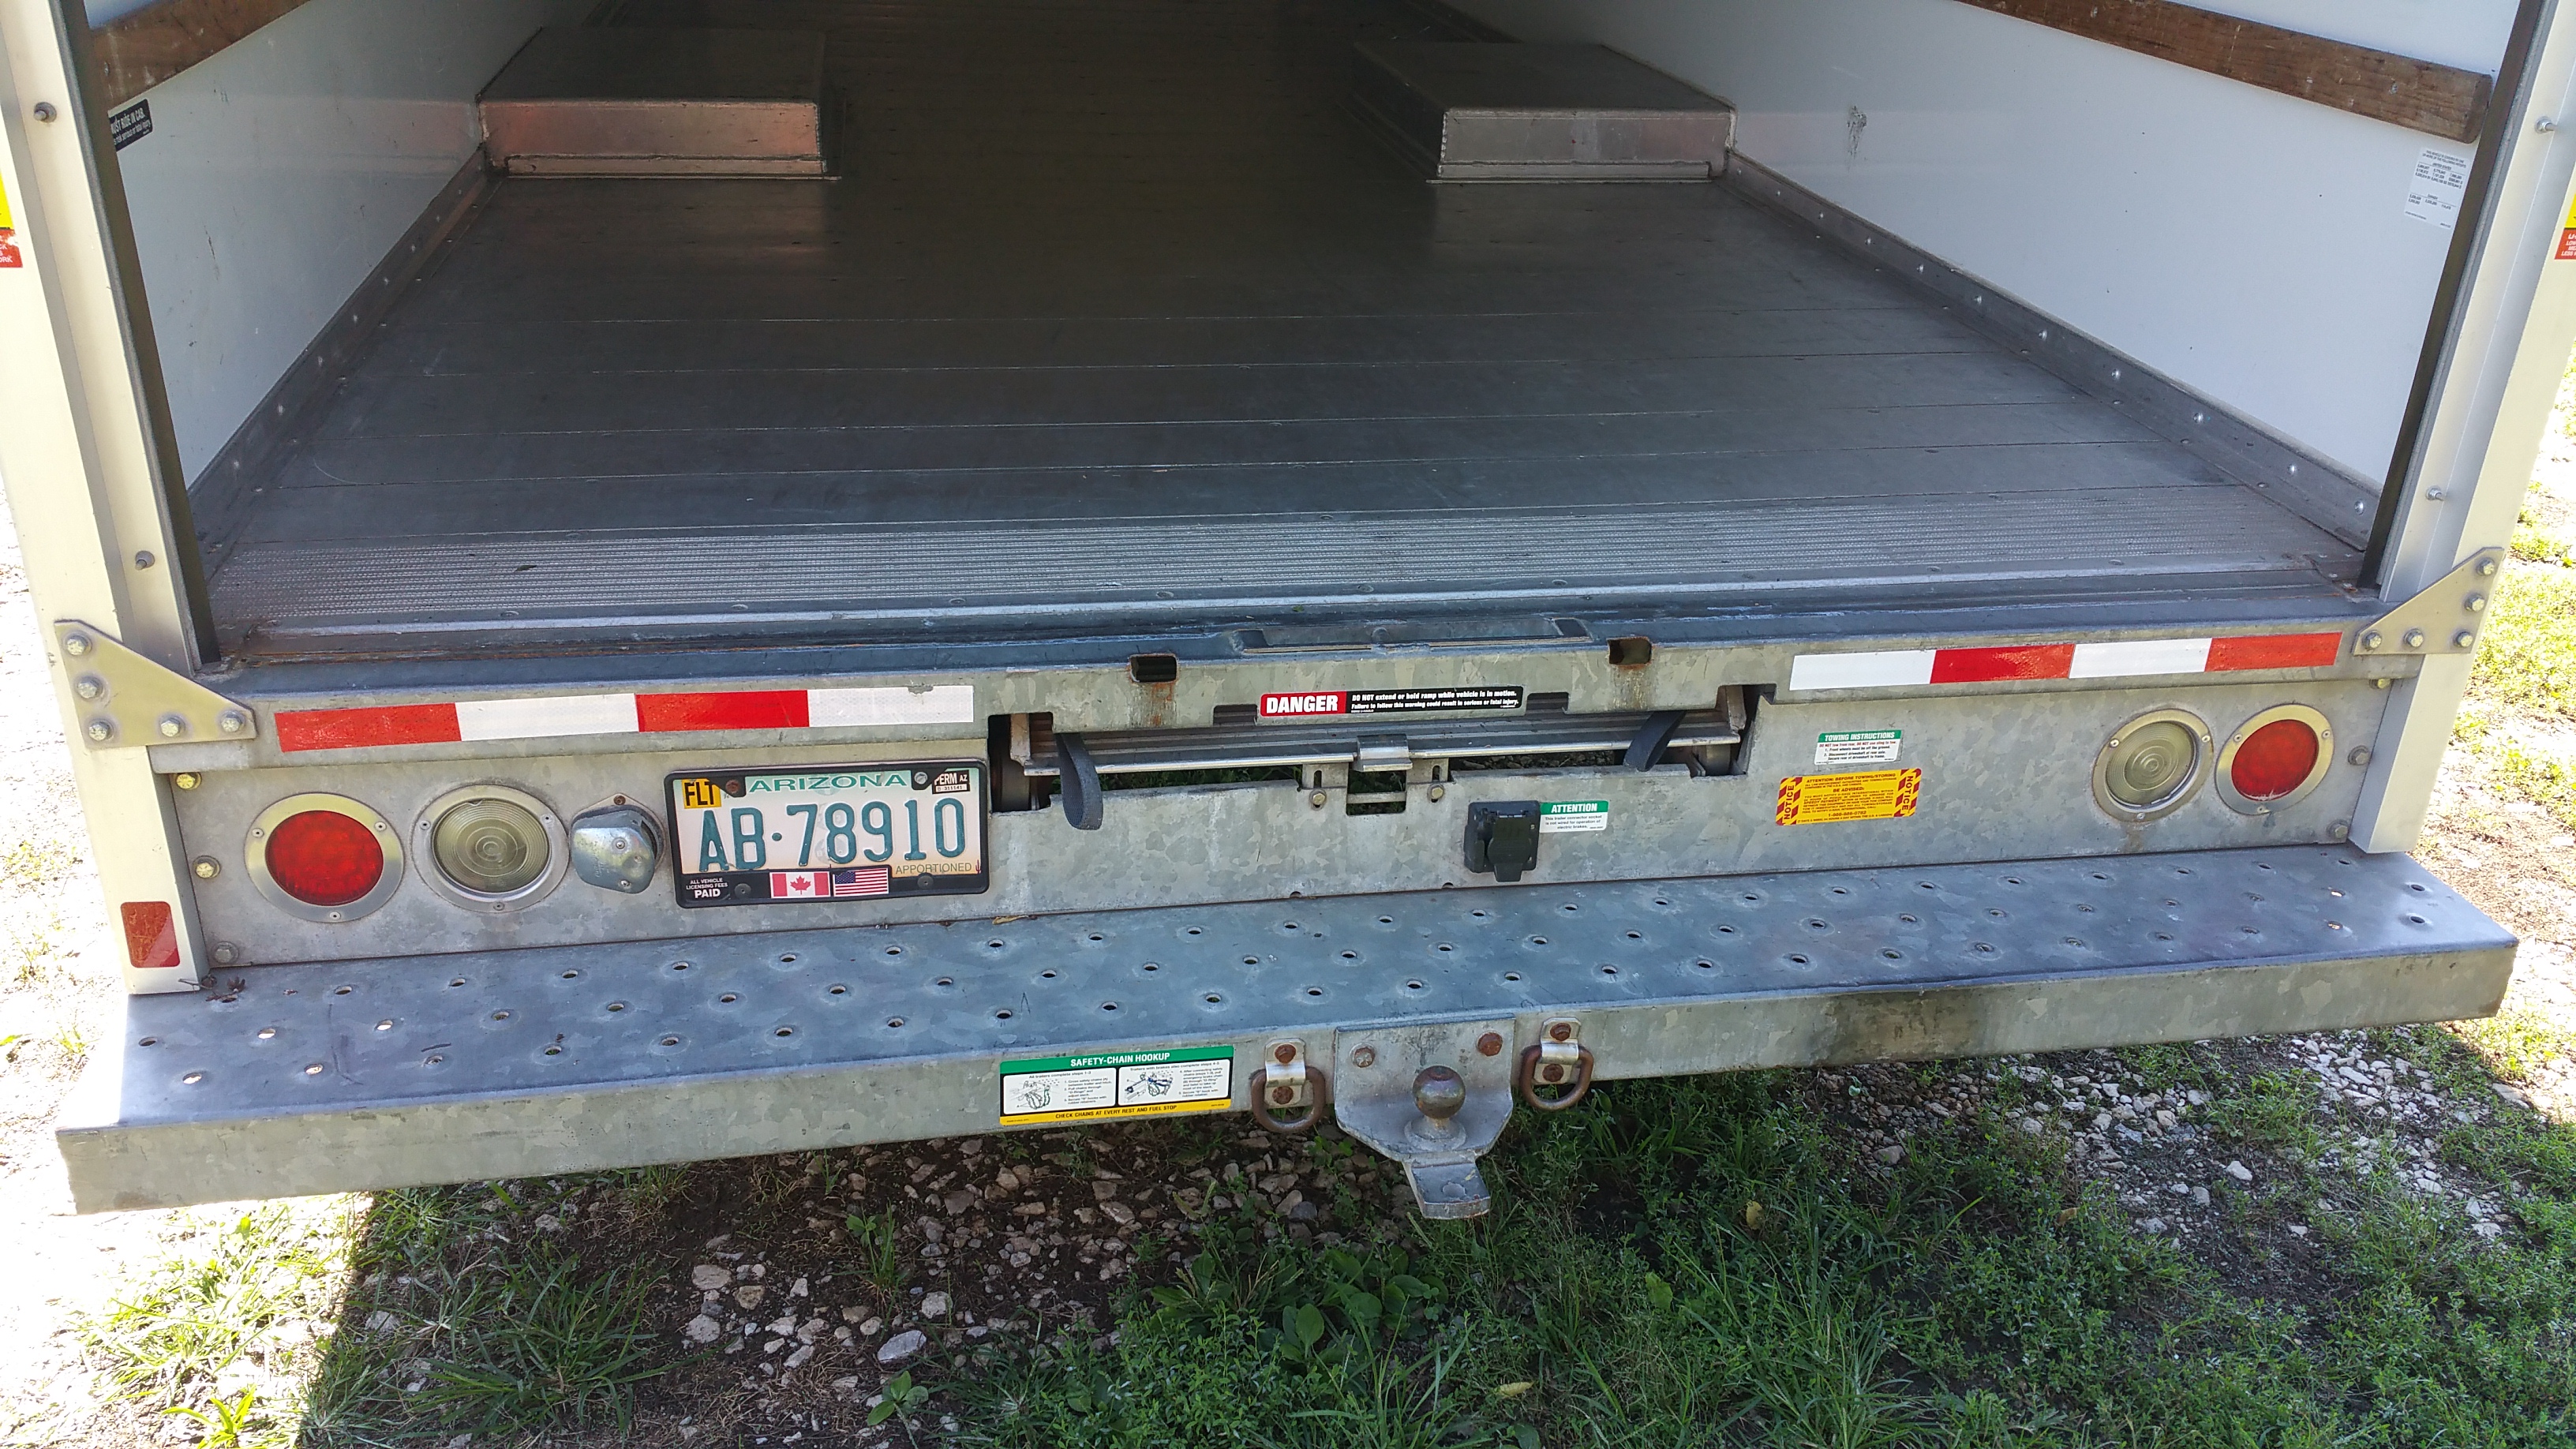
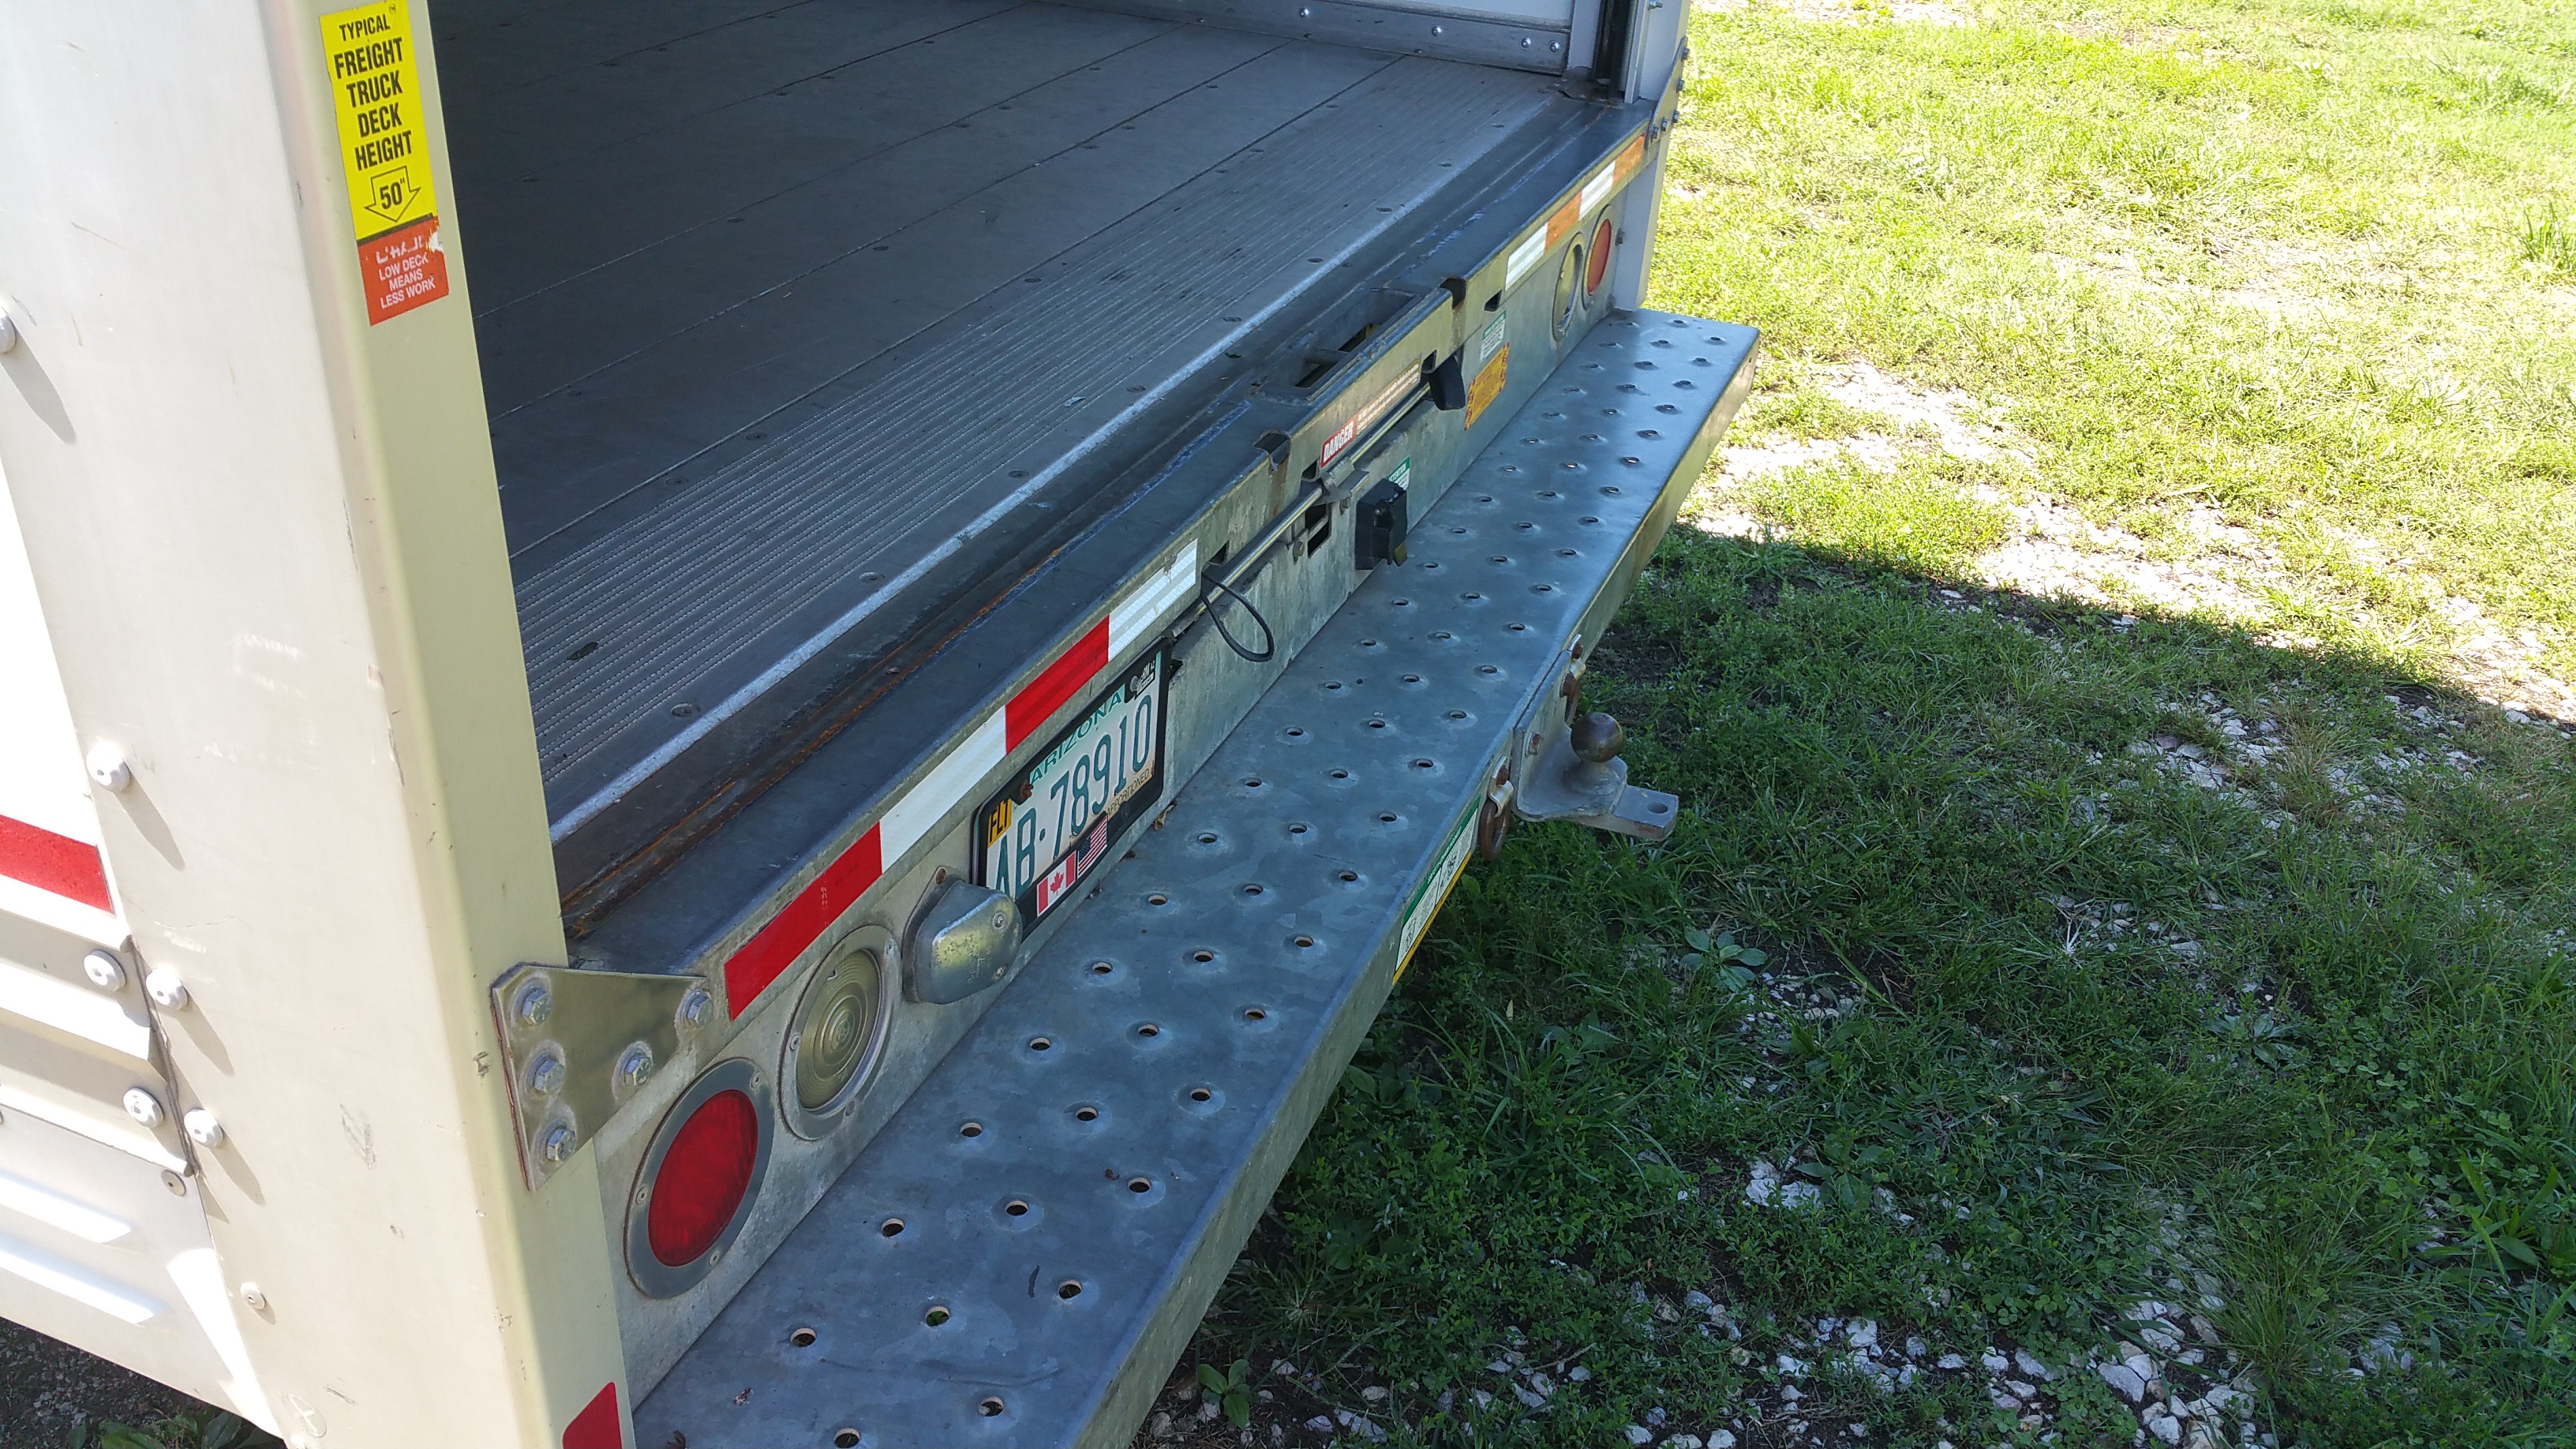
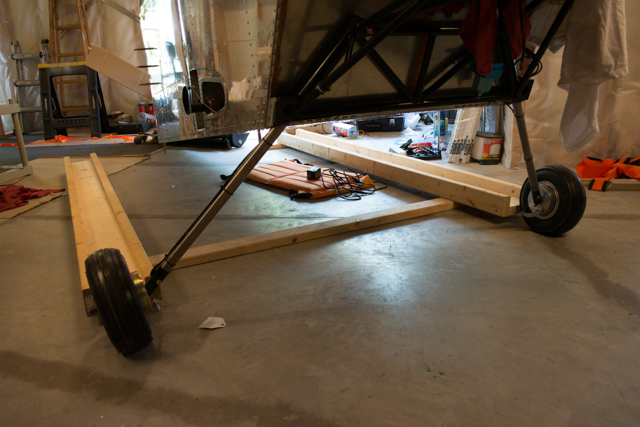
The wings and workbench seemed easy enough to load, but the loading of the fuselage was critical and needed some proper planning. I had considered removing the engine to lighten the load of the fuselage, but didn’t see how that would make the overall situation any easier. The engine itself is a very heavy object to move and would require its own crating/packaging, and removing it from the airframe would be a setback in progress. I decided that leaving the engine attached to the fuselage was both safer and easier, but I needed to develop a plan to safely ramp the heavy fuselage up into the 29″ height of the Uhaul trailer. I set my adjustable sawhorse to 29″ to experiment with this ramp.
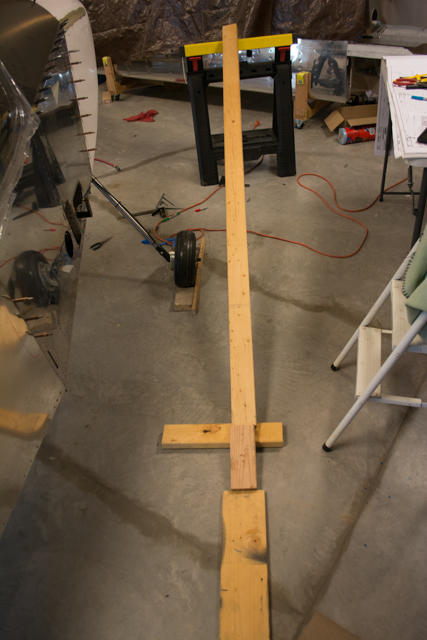
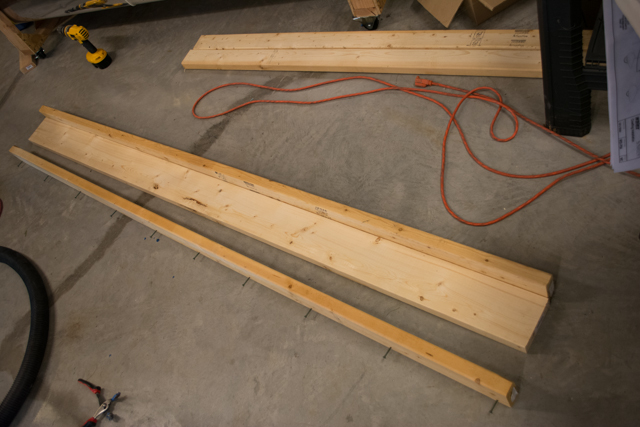
I decided that having 8 foot-long ramps gave a reasonable loading angle for the fuselage. I constructed these ramps using 8-foot-long 2×6 lumber as a base, with 8-foot-long 2×4 screwed to the sides (I used about 1 screw per foot) to create a sort of I-beam for each wheel. I’ll note here that having 10ft long boards would be even easier, but the size of my car (VW GTI) made the acquisition of 8ft lumber more practical.
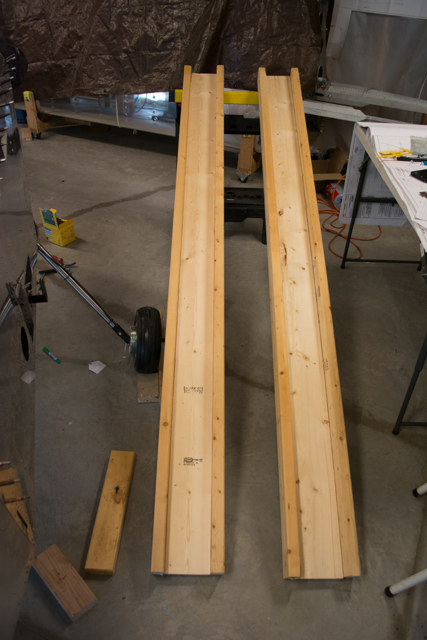
I pre-measured the width between my main wheels. This was a bit tricky, since the wheels themselves are significantly cambered (i.e. finding the “center” of the track of the wheel isn’t obvious.) The purpose of this measurement was to accurately attach a cross-member (2×4) that I could use to secure the ramp to the U-haul truck. By securing the ramp, I wouldn’t have to worry about slippage during loading.
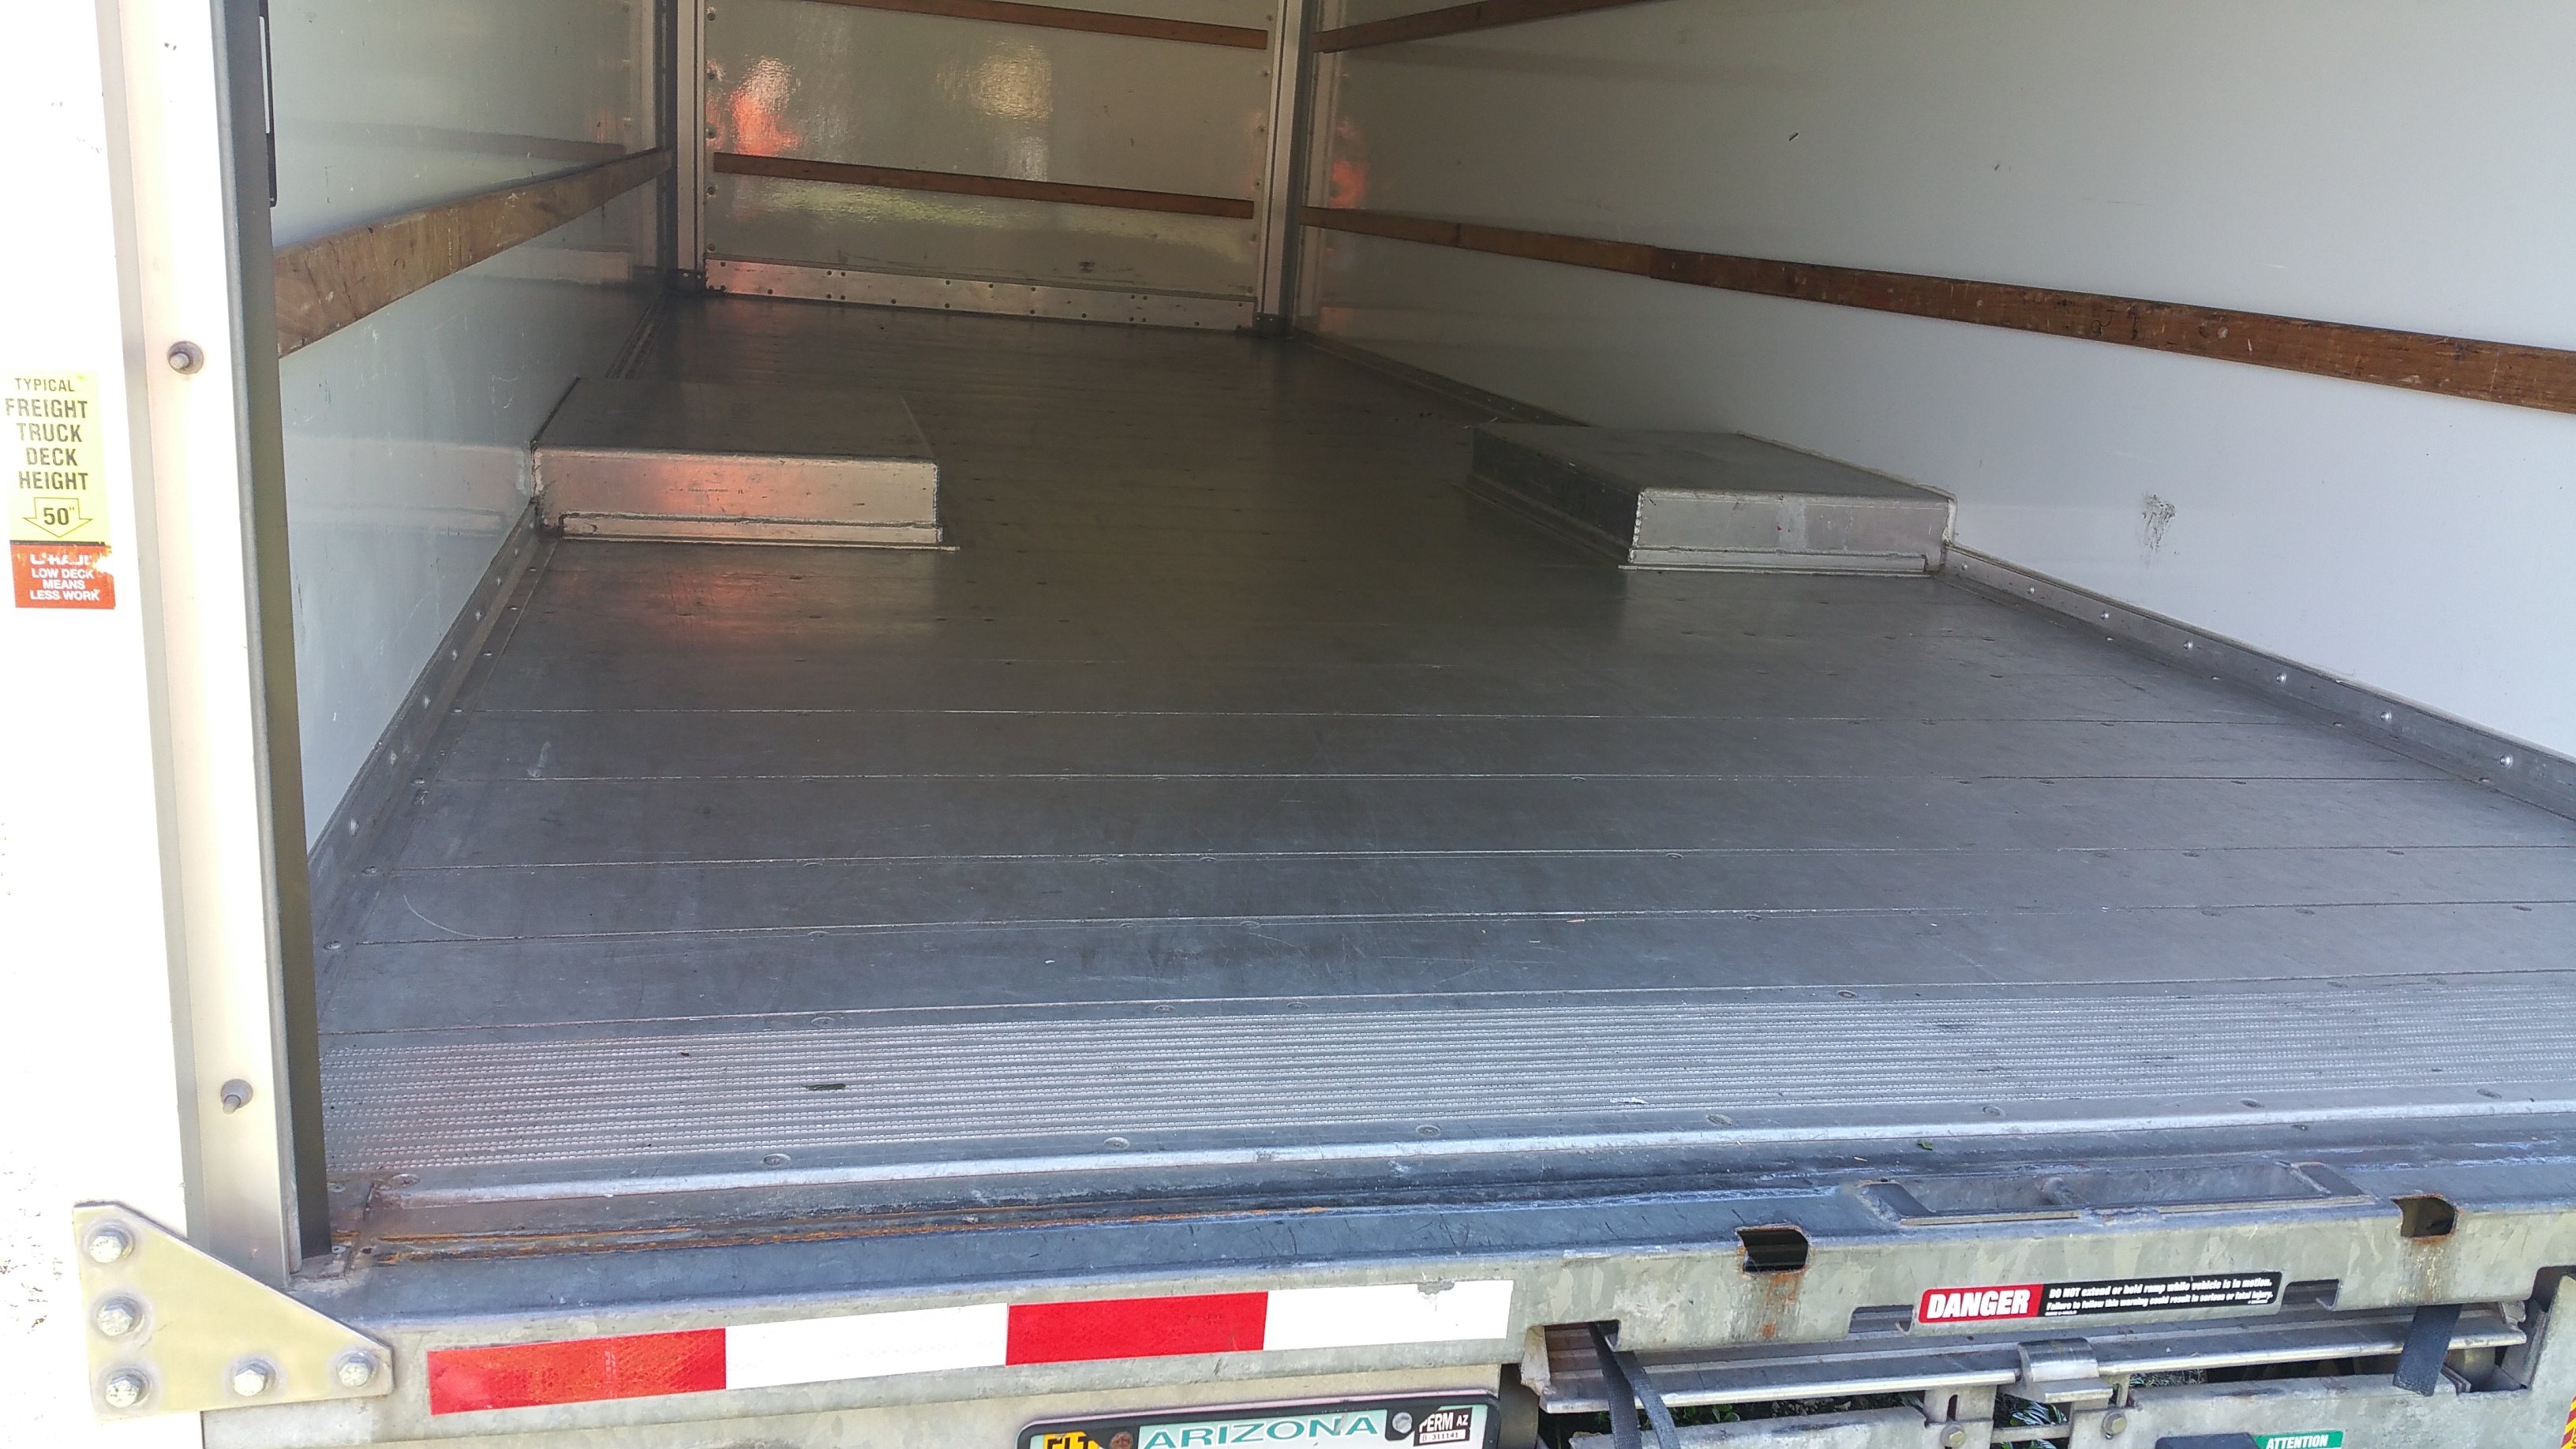
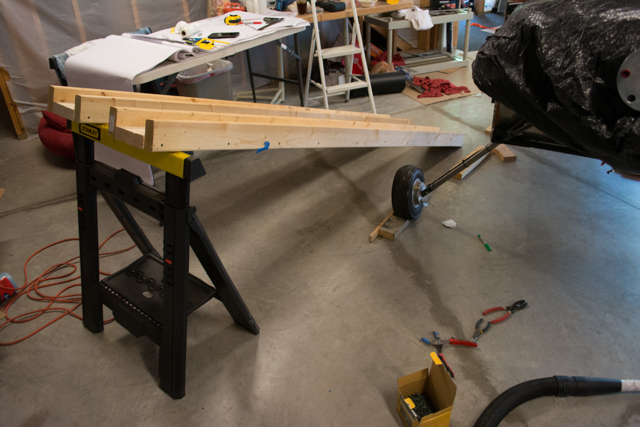
The following 2 pictures show a trial fitment of my ramps secured with straps (via my 2×4 cross-beam) to the truck.
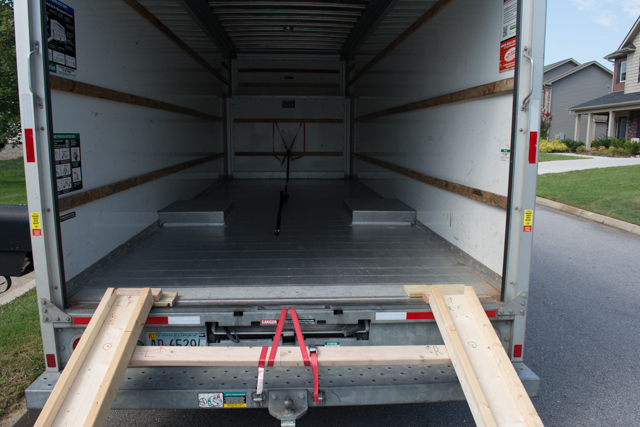
I could have attached an additional cross-beam at the bottom of the ramp to make it square, but didn’t deem this necessary. The ramps could “float” to the width of the wheels at the bottom, and my single cross-beam was easily removable via one screw in each ramp after loading the fuselage into the truck (allowing for easy transport, then reassembly for the dismount of the fuselage from the truck.)
Next came moving the fuselage out of the basement.
At 2:50 into the following video, you can view all the pictures and video taken during the extraction of my aircraft from my basement.
I did not end up taking any additional photos inside of the truck after the aircraft was loaded, however I’ll note here that I strapped the aft end of the fuselage to the legs of the upside-down workbench within the truck. As for the wings, I strapped the wing rack to the truck, and secured the wings to the rack, with extra padding around all of the contact points between the wings and rack. I did not directly secure the wings to the truck.
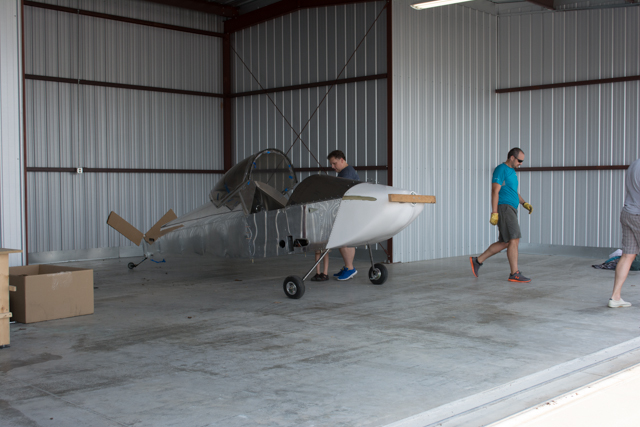
Also not pictured was an elaborate “winch” setup that was inside the truck to pull the tail in, but this proved to be totally unnecessary. 2 strong bodies on the front of the fuselage (on the “prop”) plus myself directing things from the tail was more than enough to both load and unload the fuselage with the engine attached.
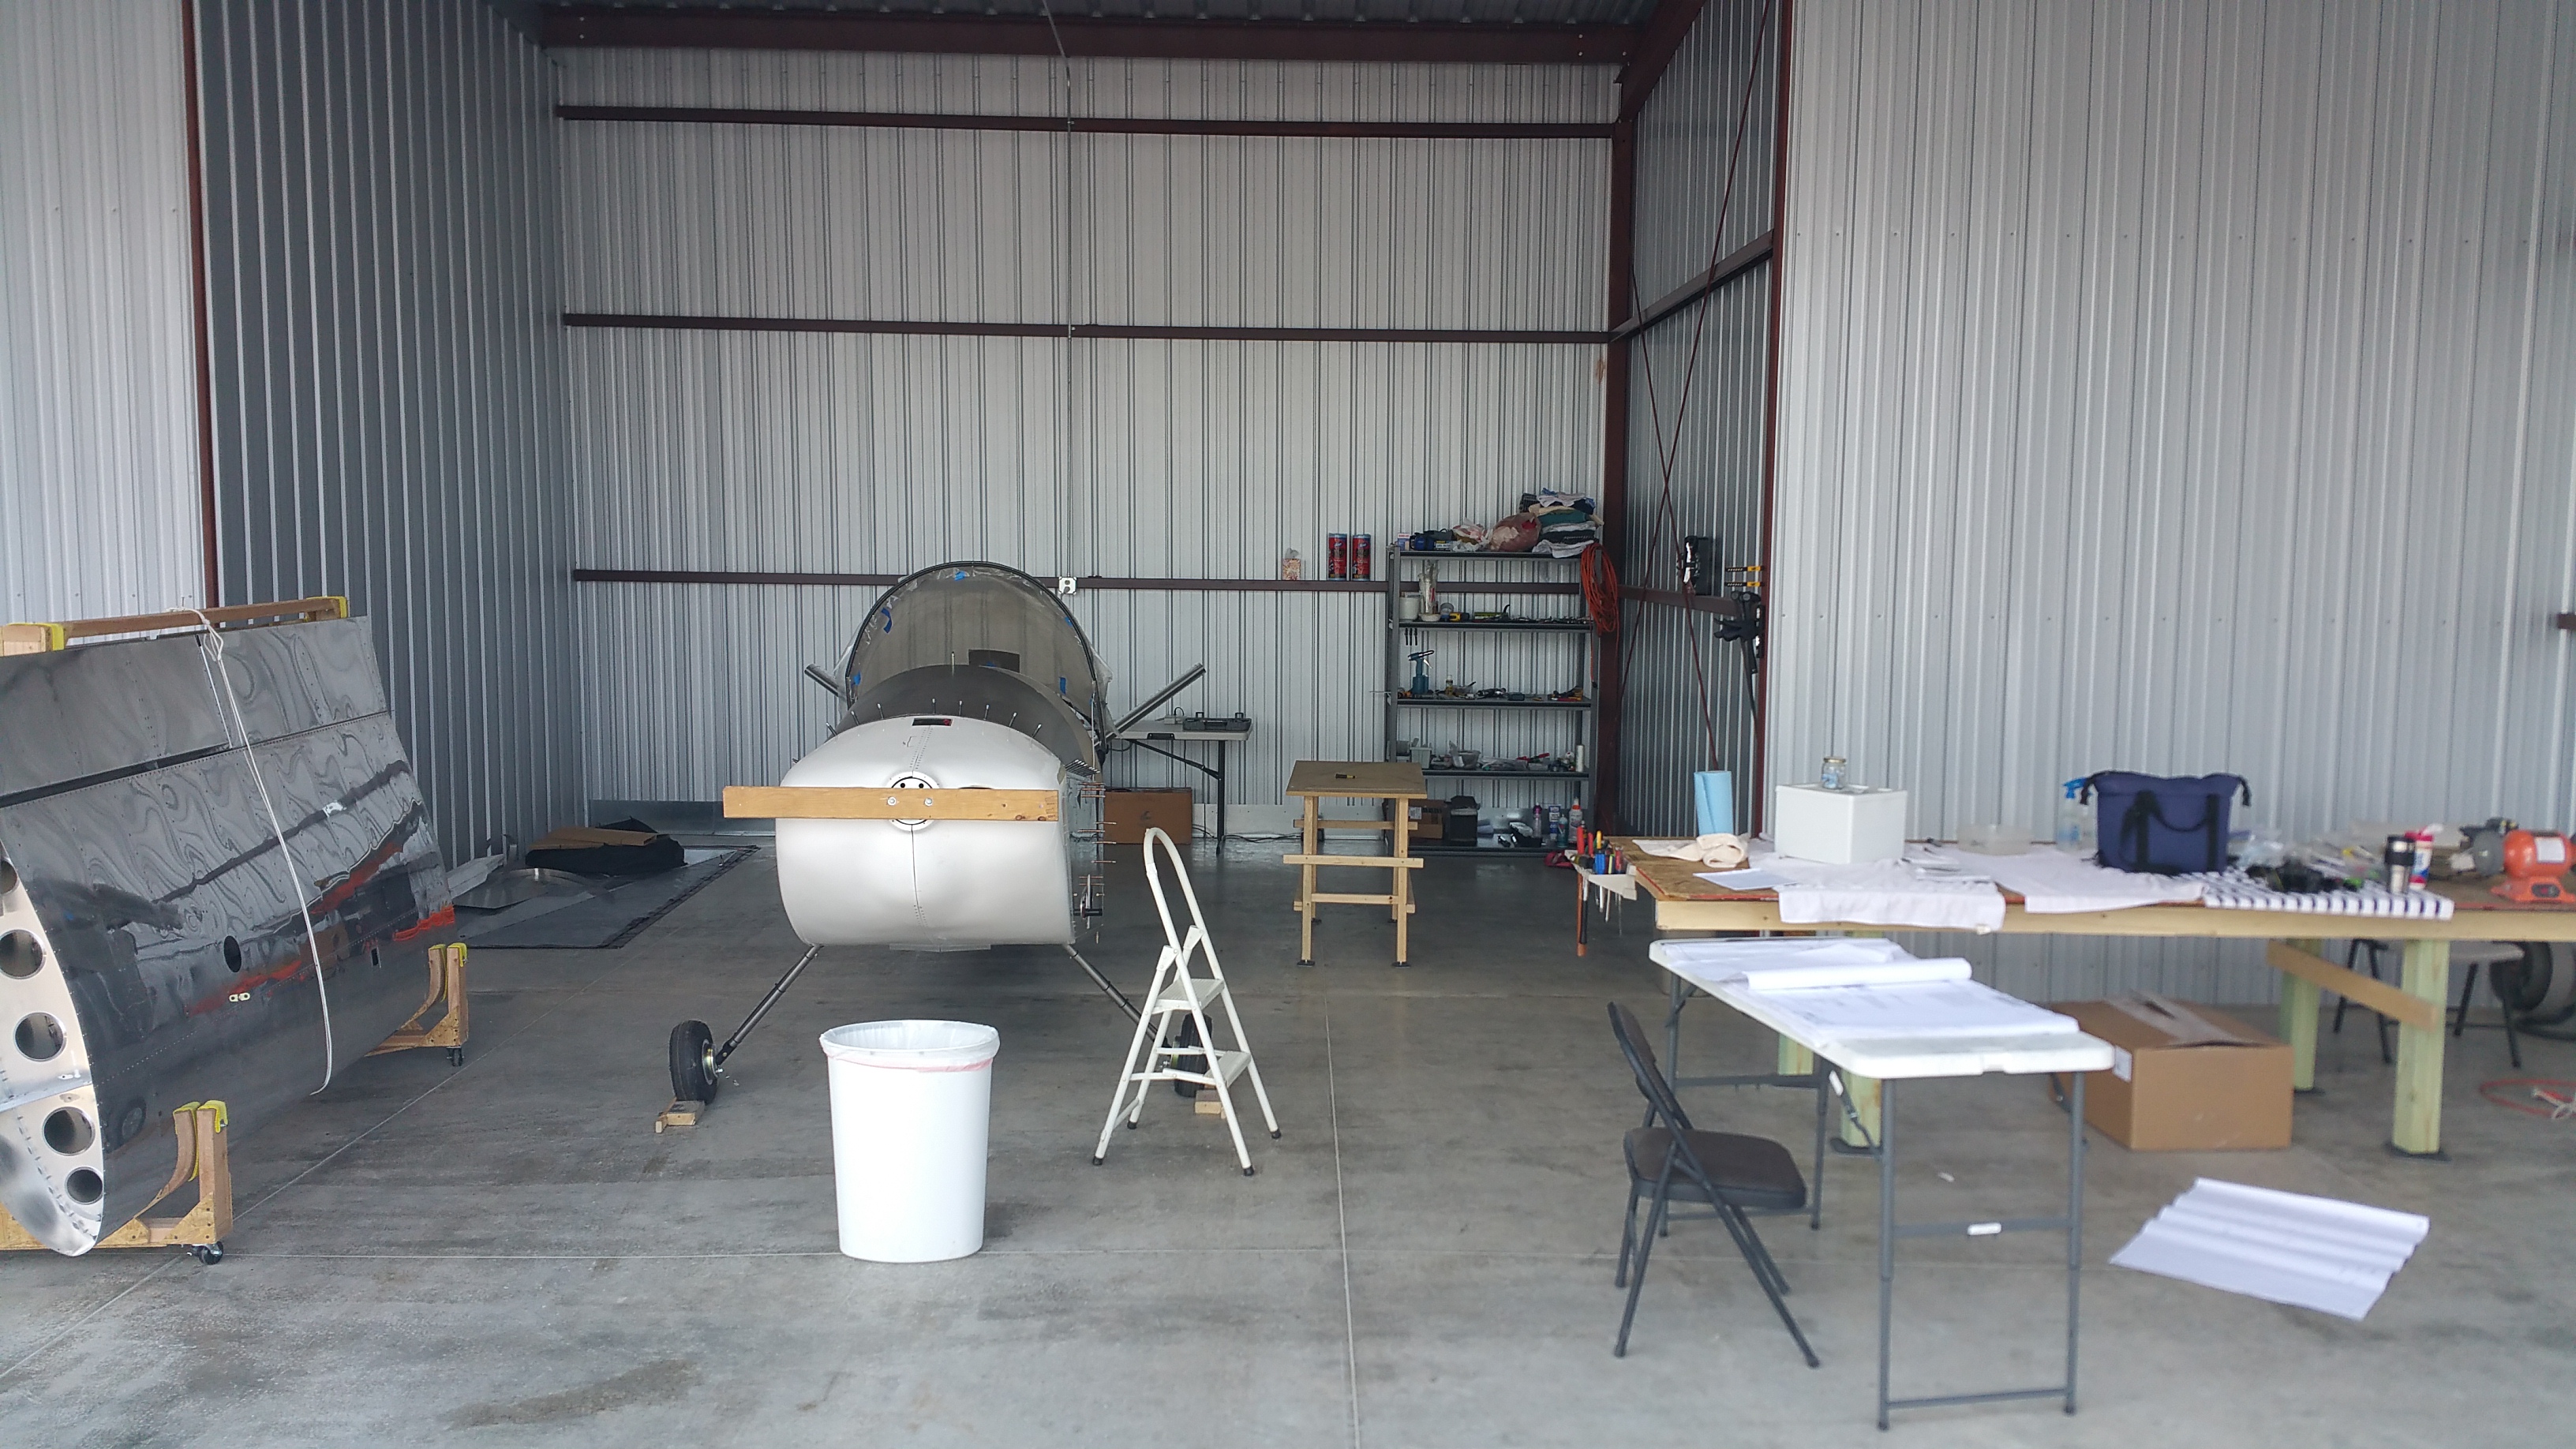
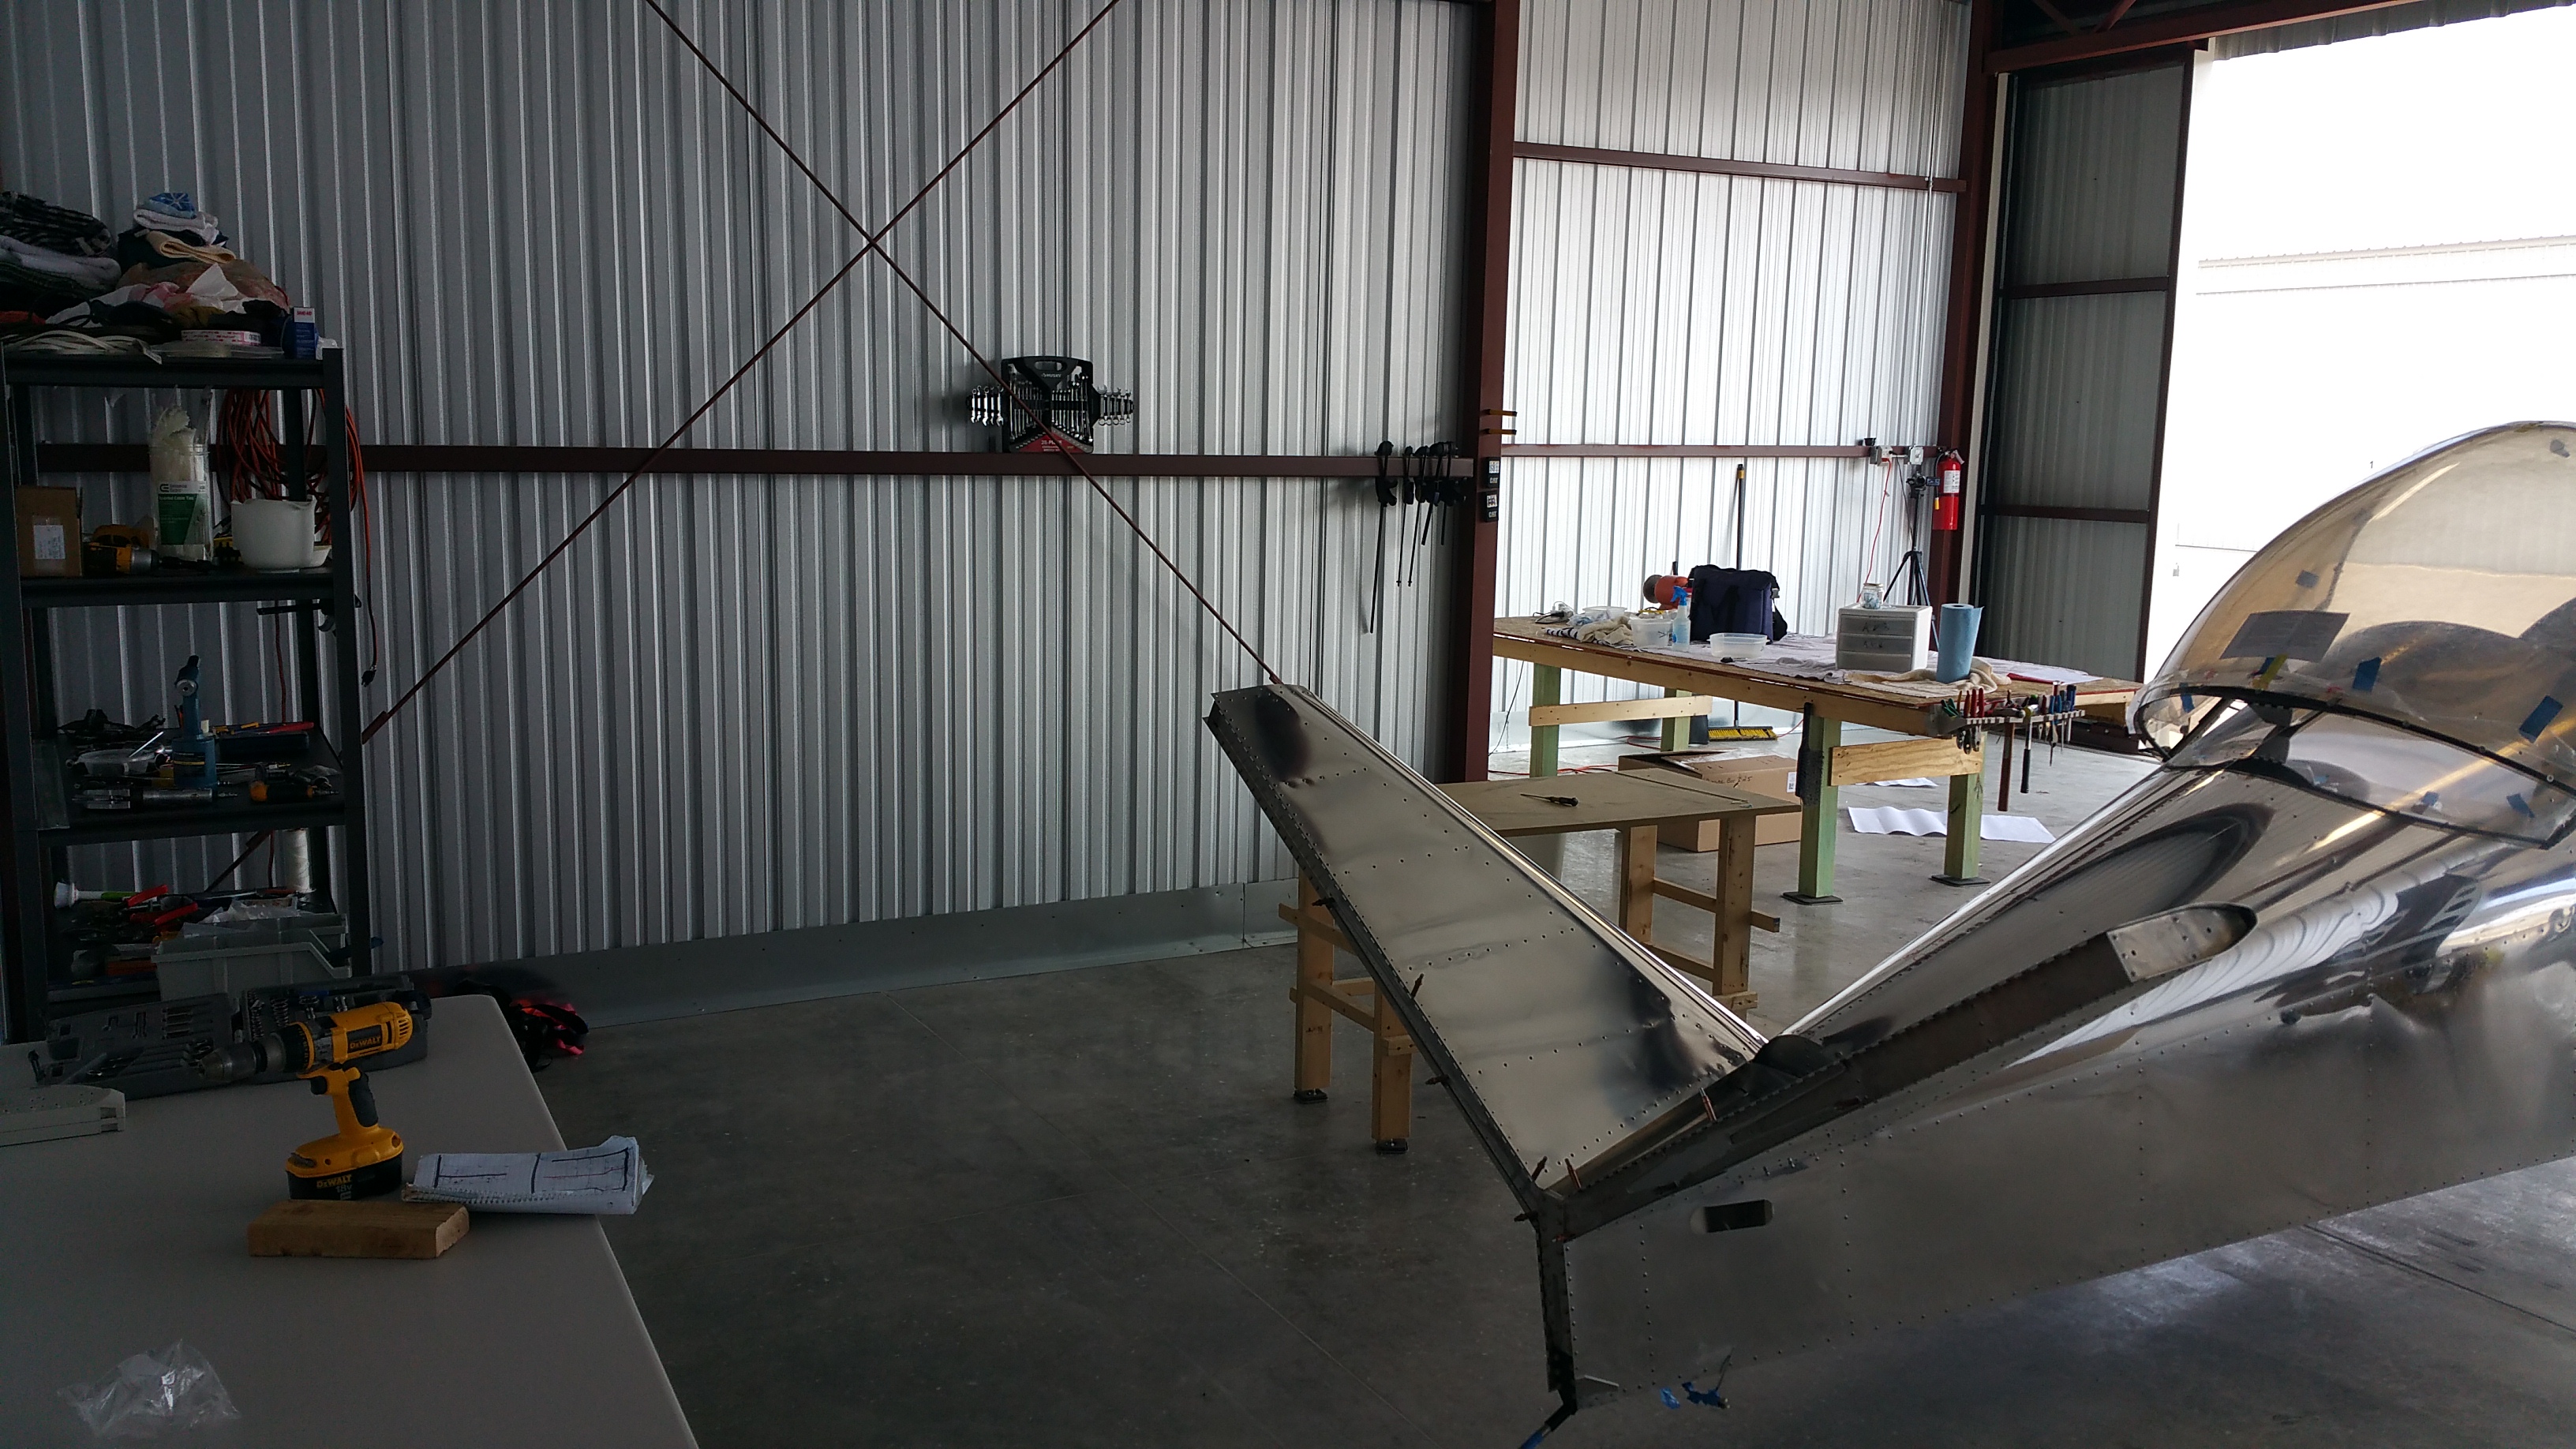
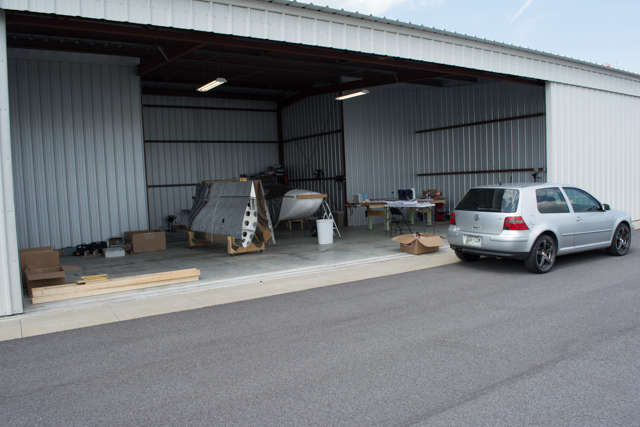
End result, aircraft safely arrived at its new home at the airport!