Total Build Time: 1130 Hours.
The engine baffles took me far more time to complete than I expected (about 30 hours.) My primary concern when installing the baffles was to get a very tight seal between baffles and cowling in order to maximize cooling airflow over the cylinders and cylinder heads to keep engine temperatures under control.
Worth mentioning is that I did NOT make the lower-center cutout (beneath the prop hub) into the cowling per the plans for cooling airflow over the bottom of the engine, after having conversations with Sonex. Since the oil cooler is top-mounted in the Aerovee-turbo installation, maximizing airflow over the top of the engine (thus pushing pressurized cooling air through the cylinders/heads/oil cooler) has a higher priority than adding air to the bottom of the engine block (which may reduce pressurized cooling air over the cylinders.)
I ordered the laser-cut fence baffle kit from Sonex. I found the instructions to be very lacking in explanation and found some great help on the sonexbuilders.com forum, however this part of the build turned out to be seat-of-the pants. Almost as much as installing instruments and electrical, I had to use my own judgement (versus following a set of plans) to devise a way to install the baffle system.
The instructions in the baffle kit start with making prescribed bends in the various sheet metal parts. I did these bends without a proper bending brake, instead using the edge of a workbench with clamped angles to hold the parts in position.
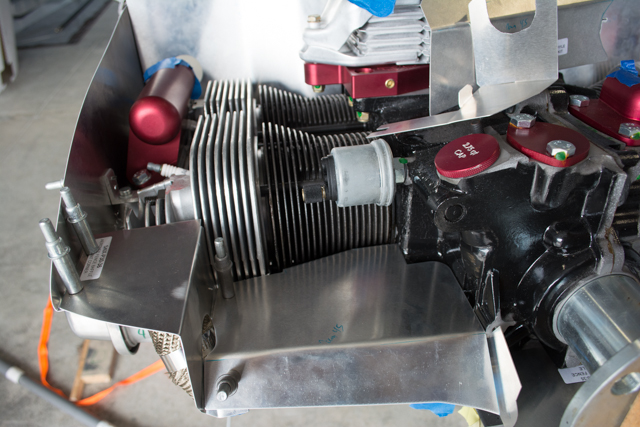
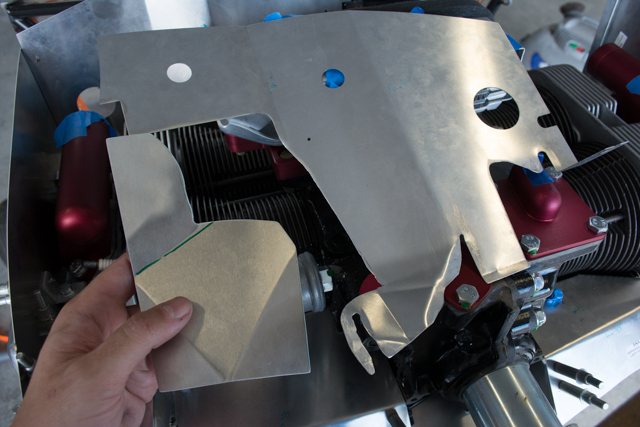
Much of the forward part of the baffle kit seemed to fit poorly compared to what the plans suggested. It ended up being mostly a custom fit based on my own judgement.
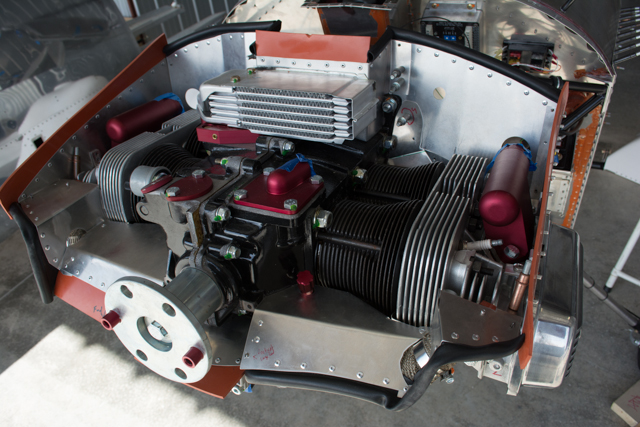
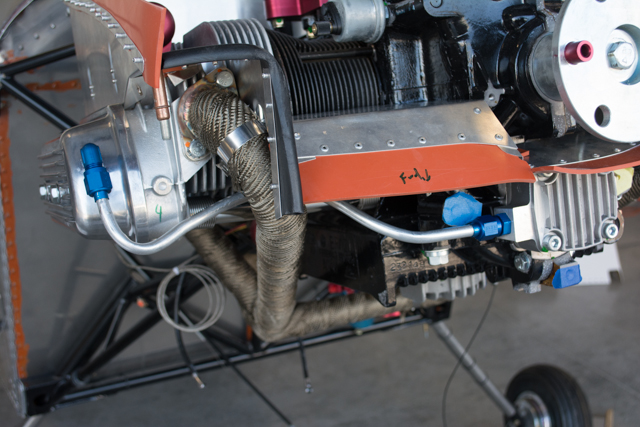
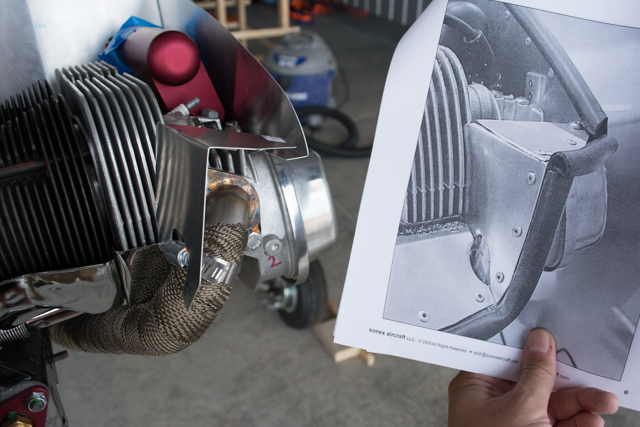
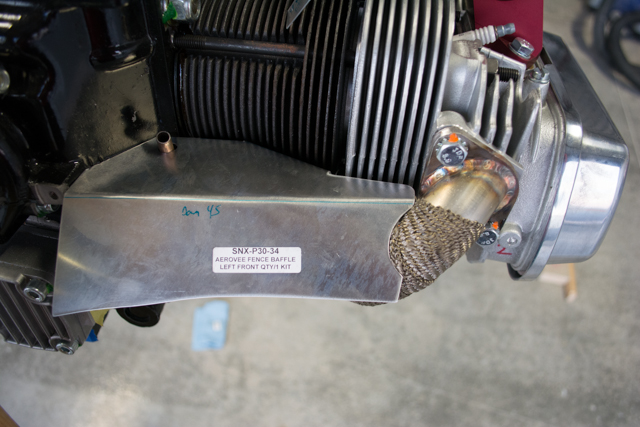
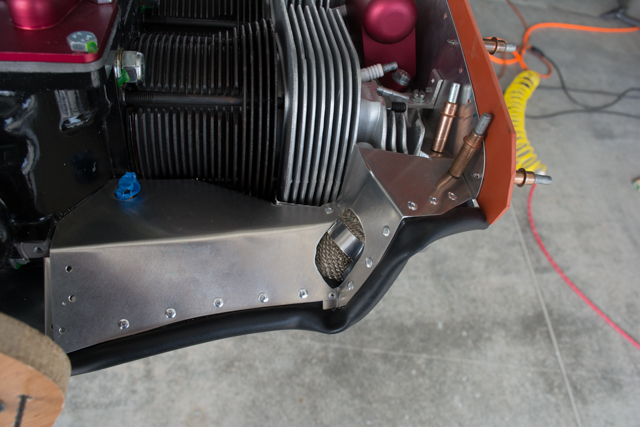
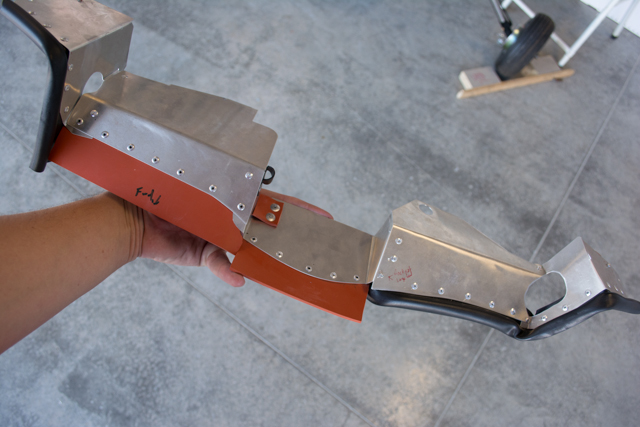
The picture below shows the actual fit of the forward-left baffle compared to the picture in the plans. I believe the kit I was sent was not optimized for the turbo exhaust, thus there was some interference between the baffle and the turbo exhaust manifold.
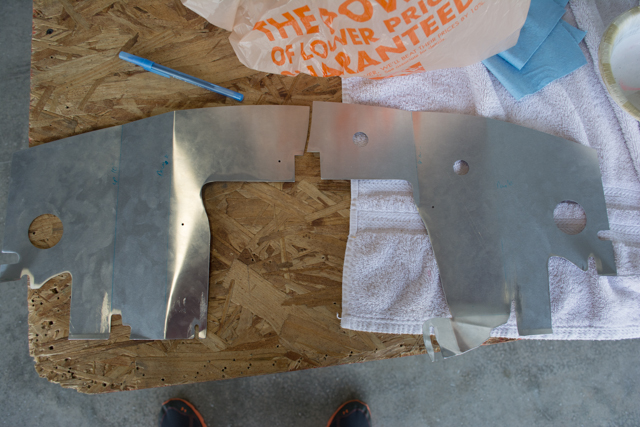
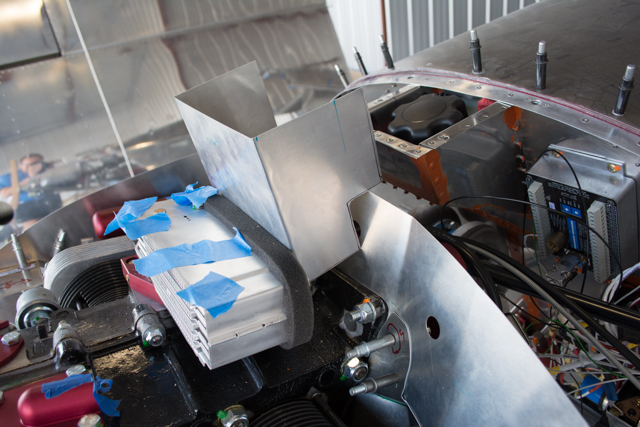
Additionally, there was no guidance in my kit for the top-mount oil cooler that is standard in the turbo. I ended up cutting the rear baffle apart in preparation for baffles around the oil cooler.
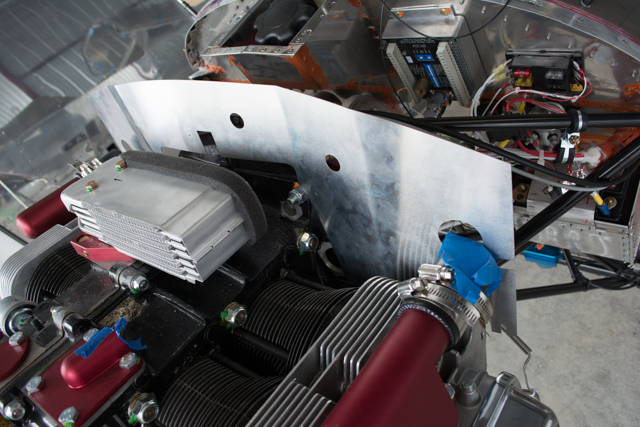
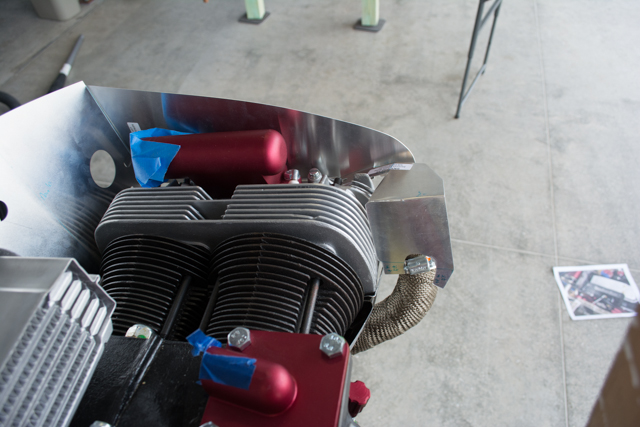
Per guidance I received on the sonexbuilders.com forum (versus no guidance in the plans) I bent and installed the baffles in a fashion to direct cooling air within the “super tins” installed around the cylinders and cylinder heads.
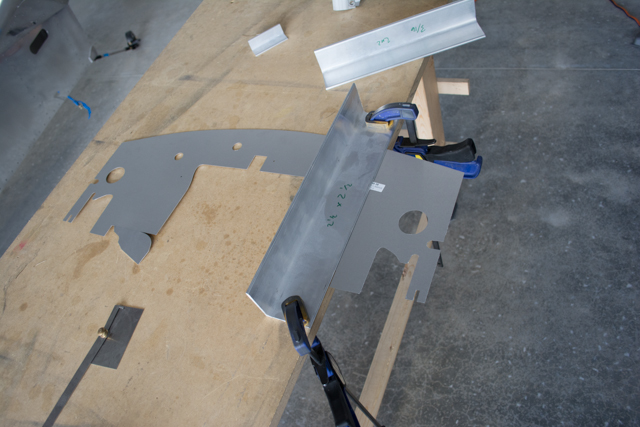
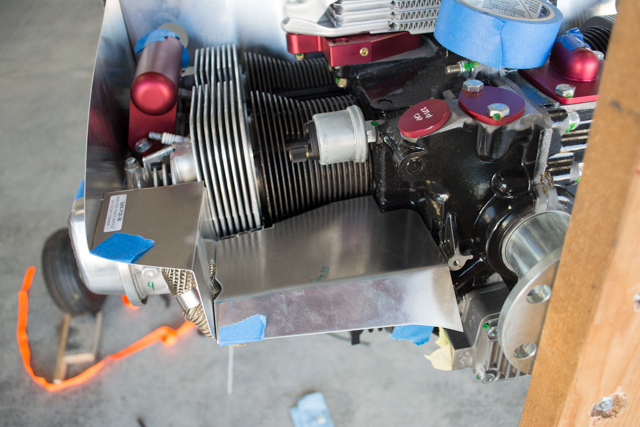
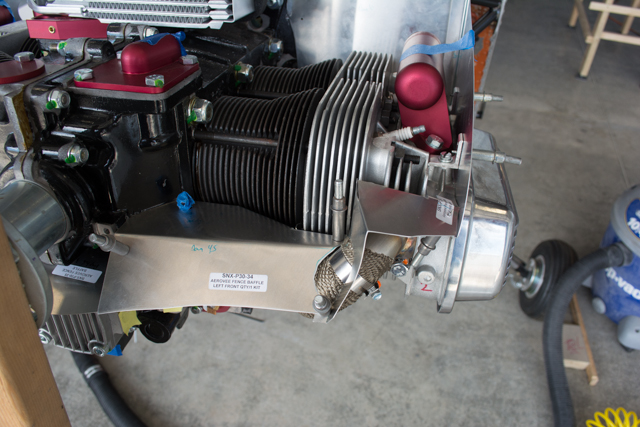
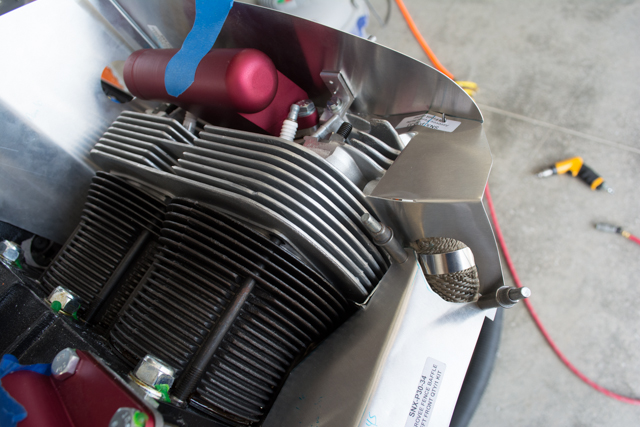
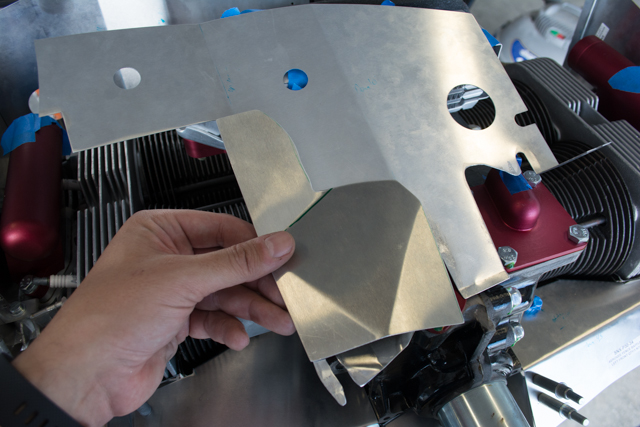
Here are some more pics of fitting the forward baffles.
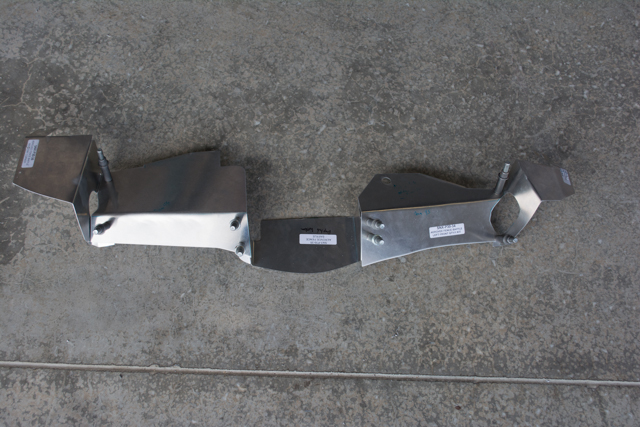
Forward baffles clecoed together.
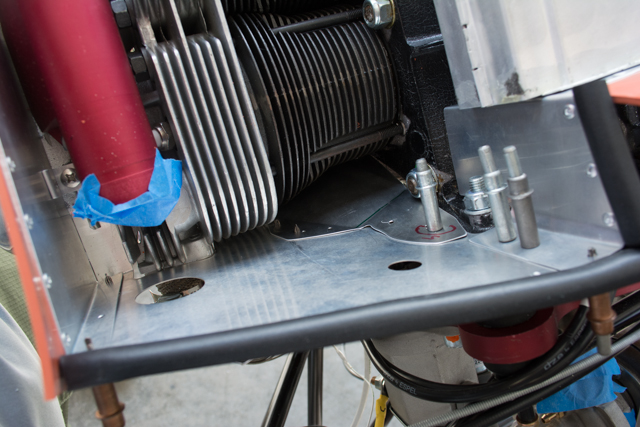
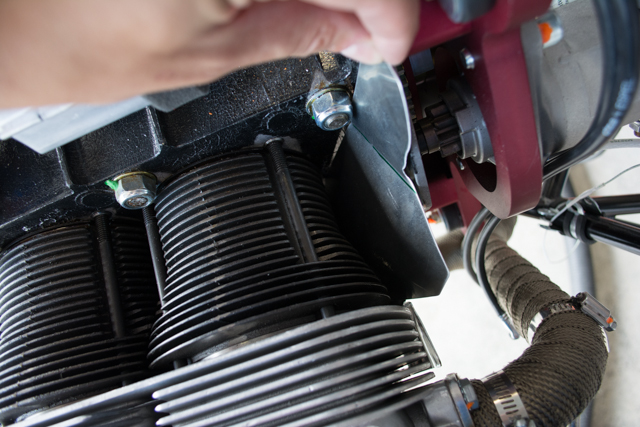
I ended up cutting away much of the lower part of the left-side aft baffle and fabricating a new part that would be riveted to the existing part. The idea was to ease installation while providing maximum cooling airflow to the left-rear cylinder.
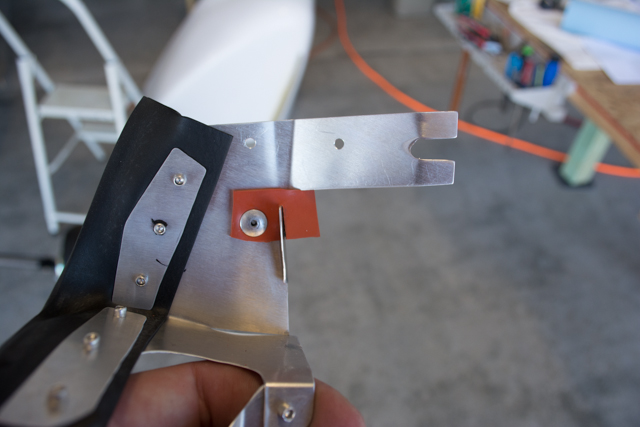
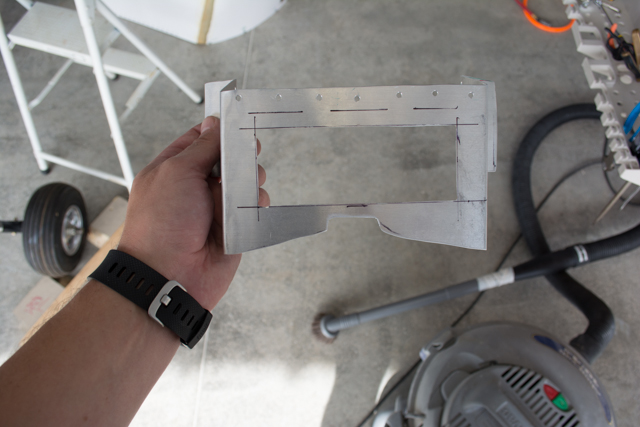
Next I used a cardboard cutout (along with some pictures and plans pages sent by a sonexbuilders.com post) to plan for the oil cooler baffles.
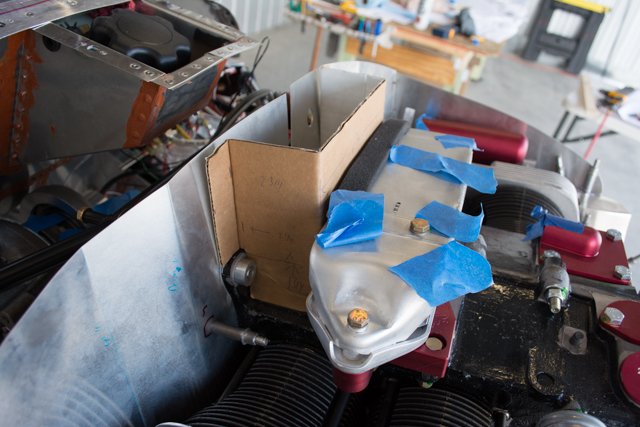
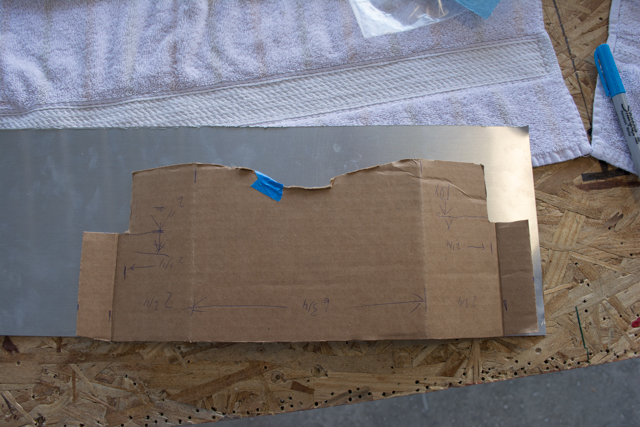
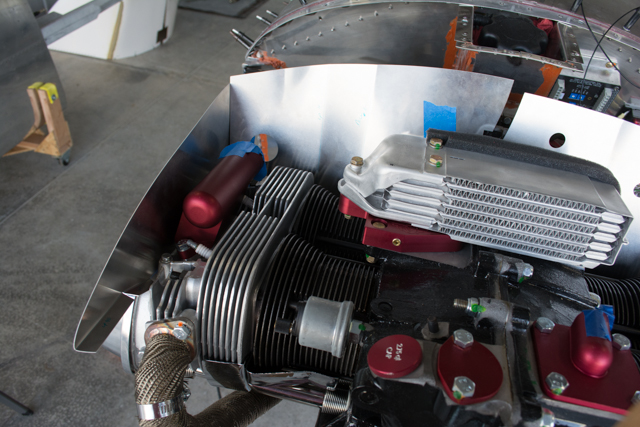
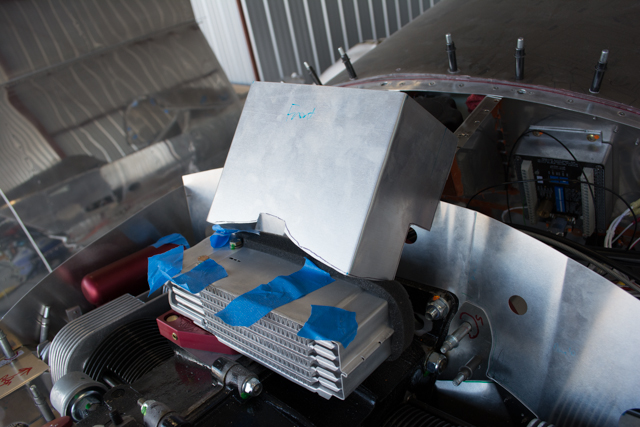
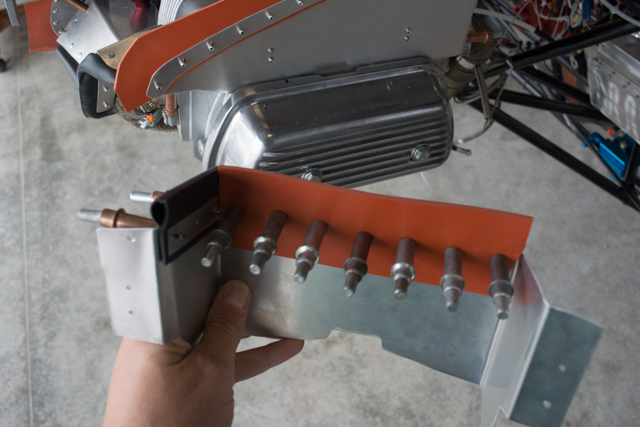
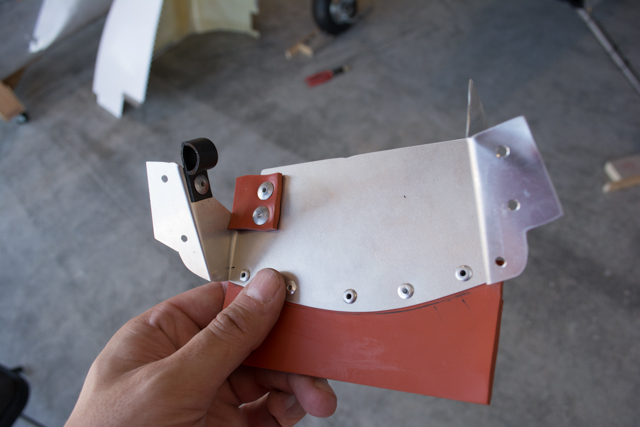
I then fabricated baffles for the oil cooler.
Once I had all of the aluminum relatively fit for the fence baffles, I installed the left-side cowling and trimmed the baffles to achieve as near to 1/2″ gap as I could (this was very tricky.) Then I began installing silicon baffle seals to create an air-tight fit to the cowling.

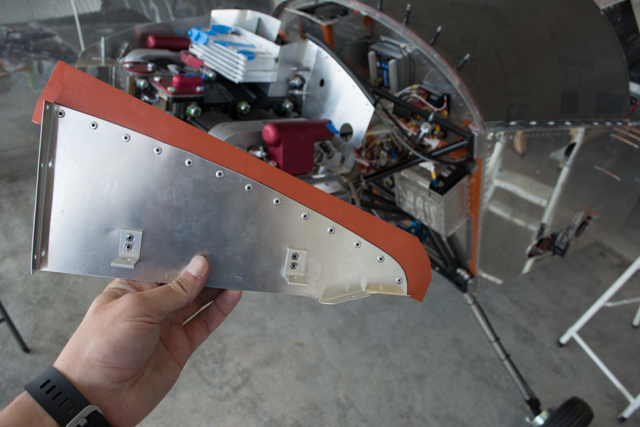
I used the (kit-provided) D-shaped black baffle seals where they seemed appropriate, and used 1/8″ x 2″ red silicon baffle seals from Aircraft Spruce when I needed more robust and/or variable depth (length) seals where appropriate.
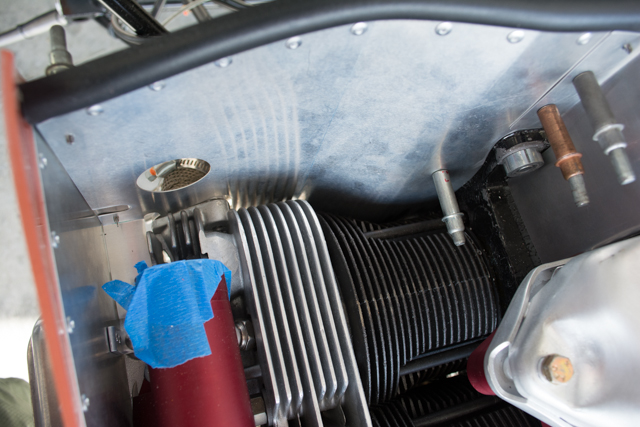
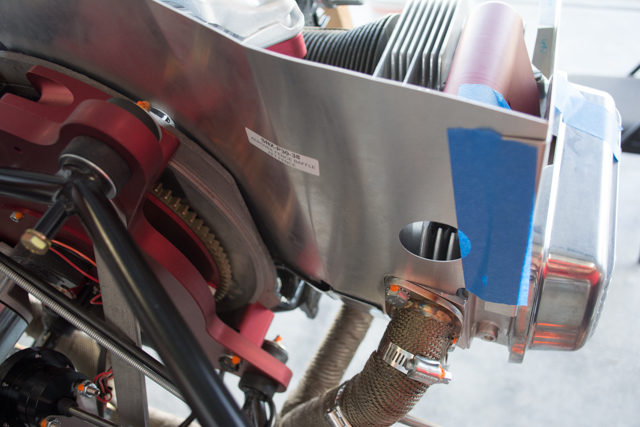
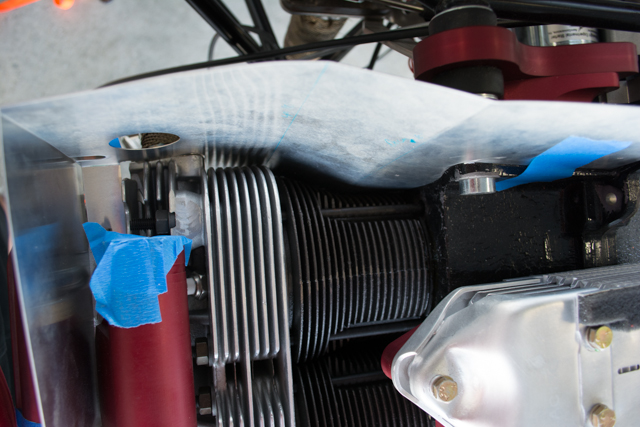
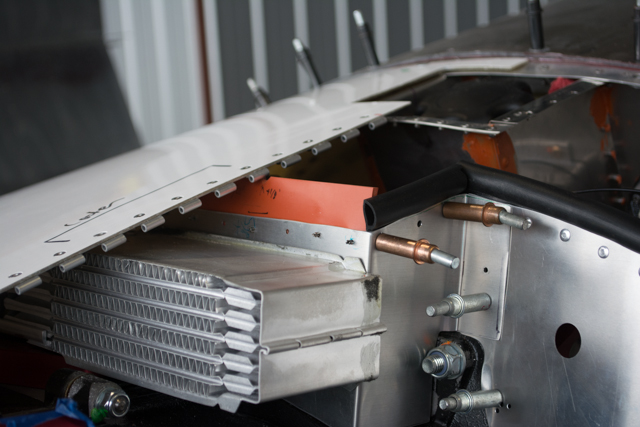
Here are a couple pics of the left cowling installed with baffle seals:
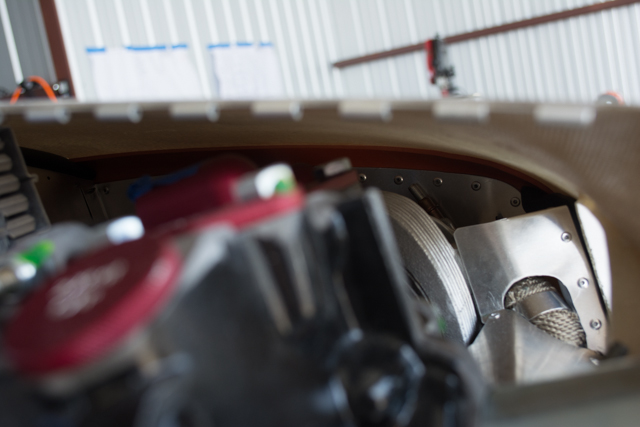
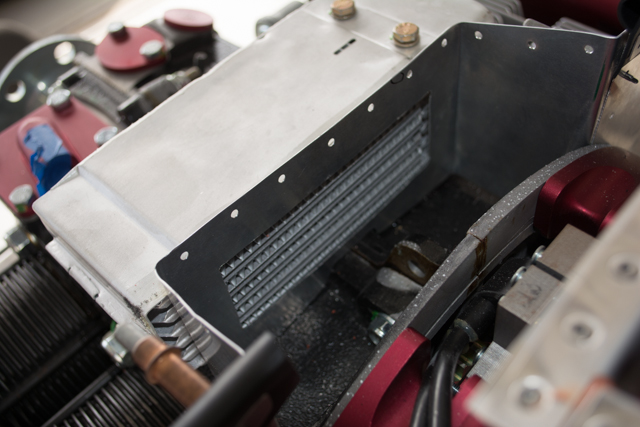
Next I did the baffle seals around the oil cooler. This proved tricky to achieve a good seal, with the piano hinge causing some interference along the seam between left and right side engine cowling. I’ll note here that I ended up making the orange center seal even larger (taller) than these pictures in order to make an even better seal to the upper cowling.
The right-side of the engine baffles followed the same routine: trim the aluminum and install baffles for a good seal with the cowling. Once that was done, I may have gone overboard by installing some small snips of baffle seal to some open points in the baffles. Again, my intention was to maximize cooling airflow.
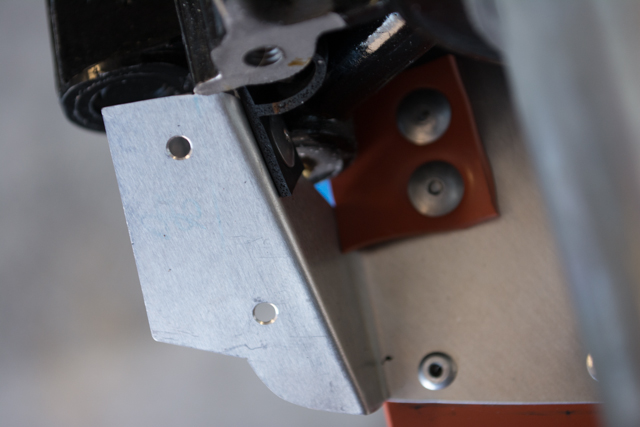

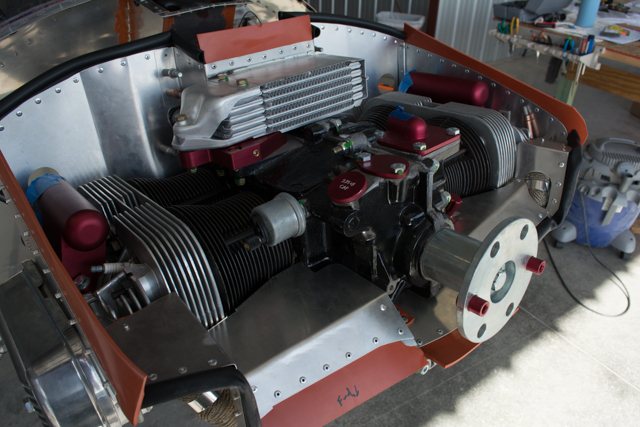
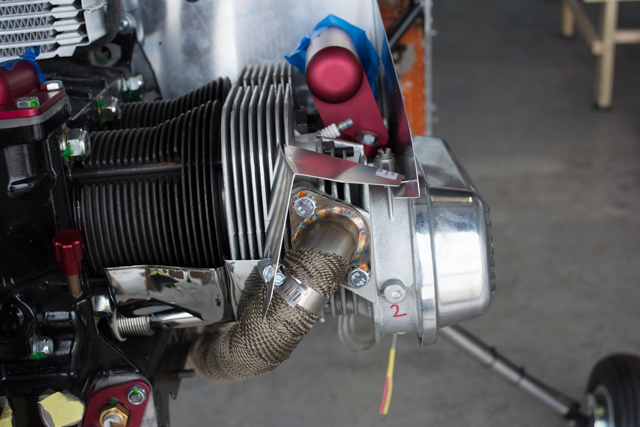
Here’s a pic of the finished forward lip of the baffles.
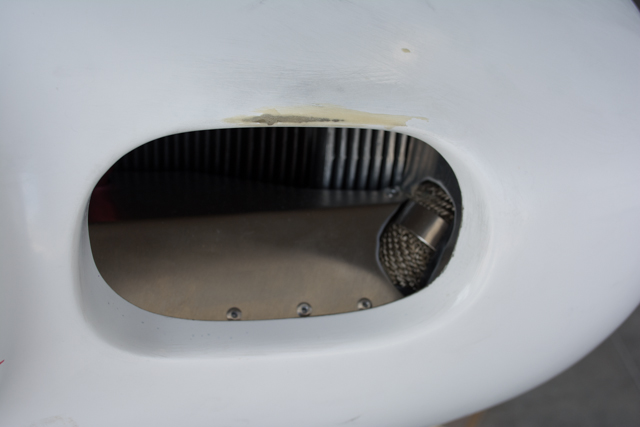
Finally, I cut the opening for the cooling air from the oil cooler.
Here are some pics of my baffles (mostly) installed.