

Total Build Time: 1041 Hours.
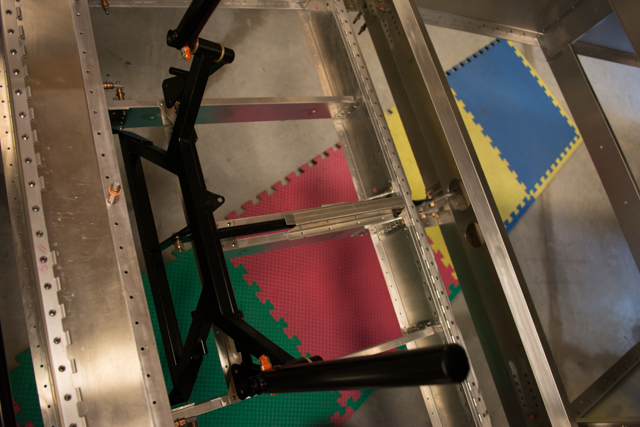
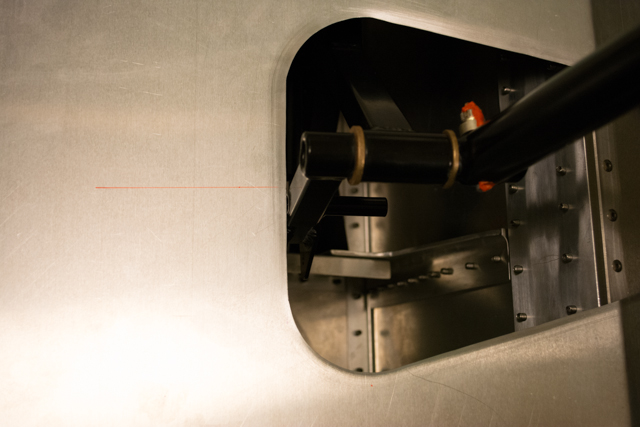
Initially I found that, per the plans, the positioning of the stick-to-idler pushrod was offset in such a way that it would interfere with the path through the seat pan itself. In the below pictures you can see the angle of the pushrod.
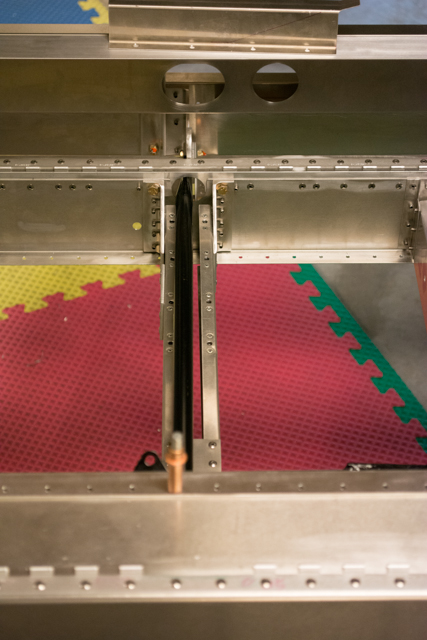
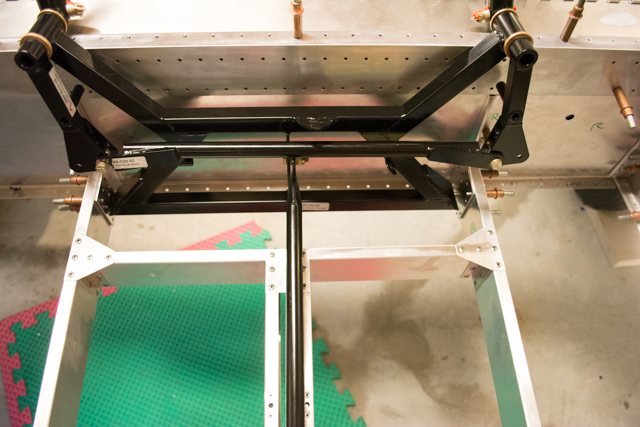
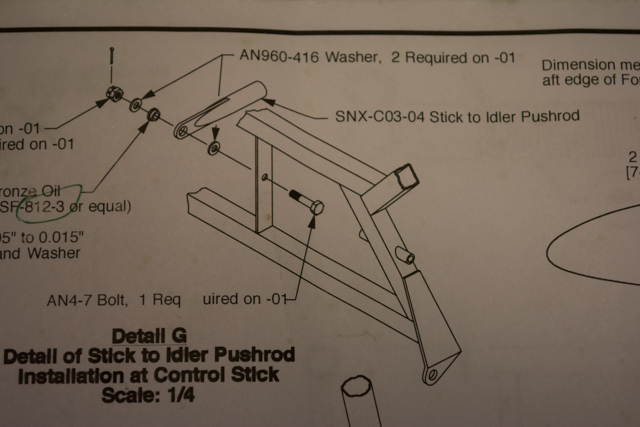
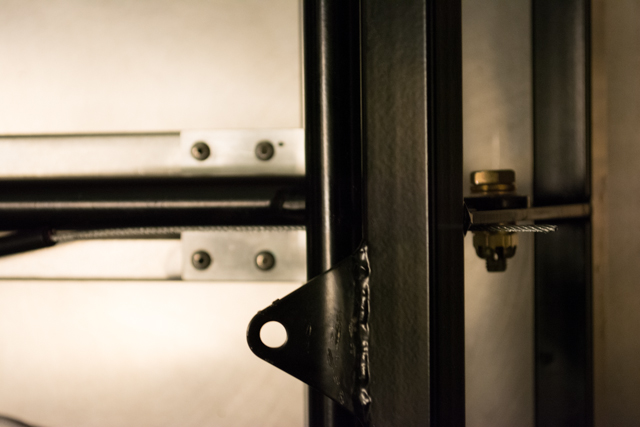
I did confirm that this setup matched what the plans show:
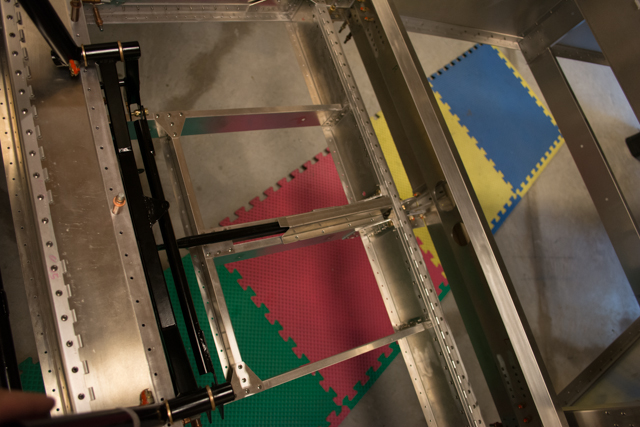
However I saw no issue in locating the pushrod on the left side of the center of the control stick, which positions the pushrod straight down the center of the airframe (and within the hat that protects the pushrod within the seat sling.)
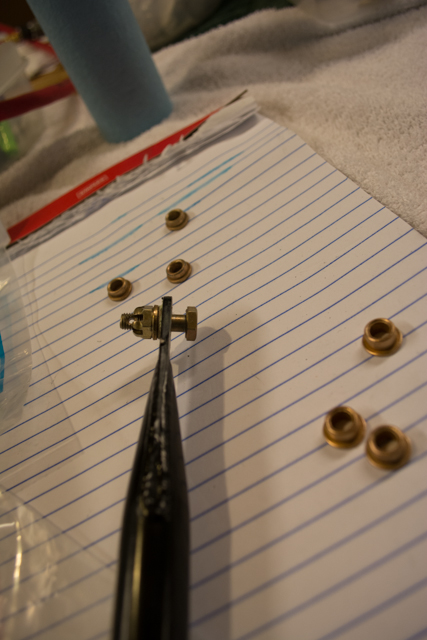
I did find that the brass oil-impregnated bushings provided in the hardware kit I purchased from Aircraft Spruce were too short. Per the plans, it’s important that the brass bushings provide some clearance between the steel pushrods and the steel/aluminum parts that they are bolted to, such that the bushing rotates within the pushrod (and the pushrod doesn’t rub against the part they are attached to.)
I purchased longer bushings and used a grinder to reduce the lengths for proper clearance.
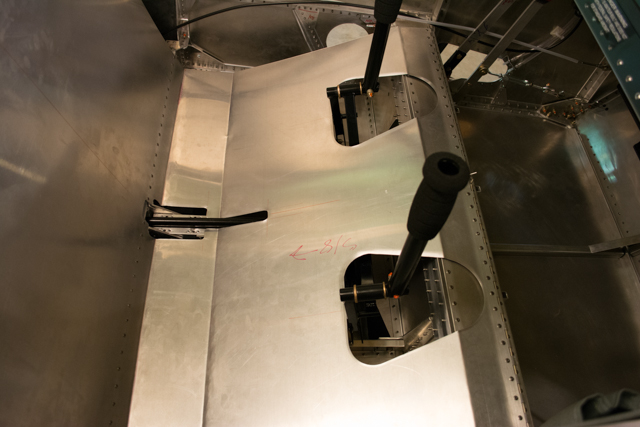
I did not take pictures of the rigging of the elevator idler-to-mixer pushrod, but the progress that follows describes an issue I ran into between the seat pan and the control sticks. I did need to slightly enlarge the holes through the aft spar carry through to prevent contact at max elevator deflection.
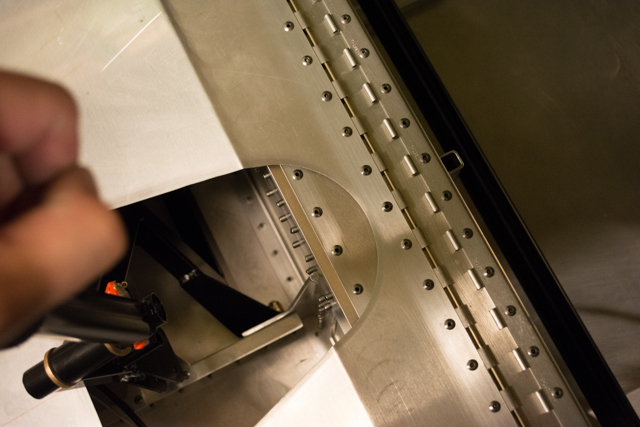
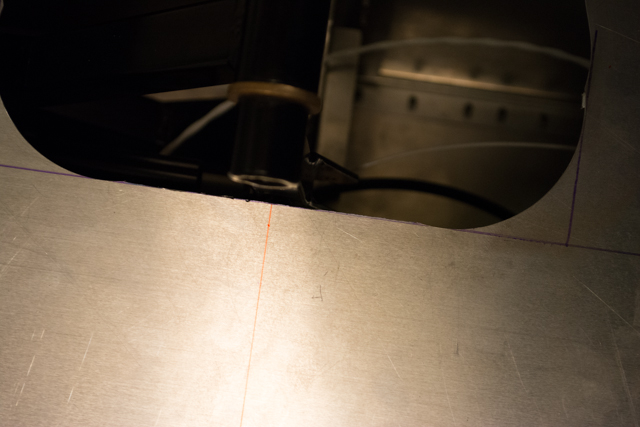
When pulled to the full aft (nose-up) position, the control stick contacts the seat pan with the holes cut per the plans. This meant I needed to enlarge the holes in the seat pan for full deflection of the pitch control.
To measure the amount of clearance needed, I removed the piano hinge pins between the seat pan and the spar tunnel, and pulled the control stick full aft. The displacement of the piano hinges gave me a good measurement of the additional clearance needed.
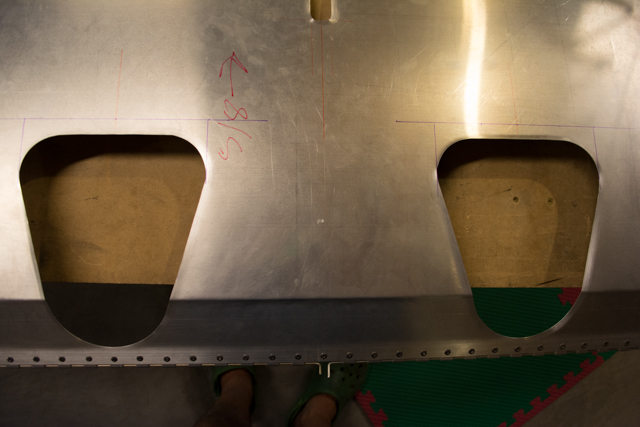
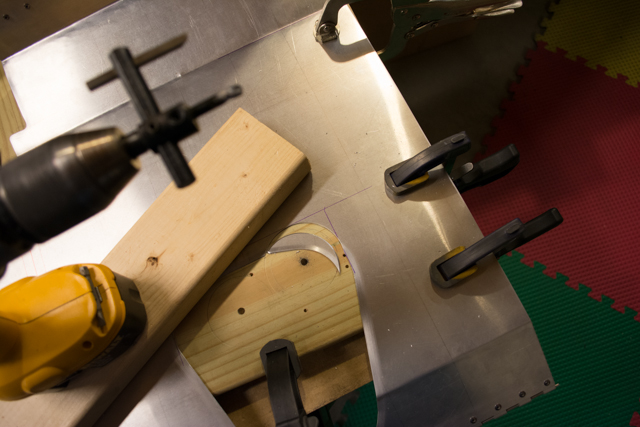
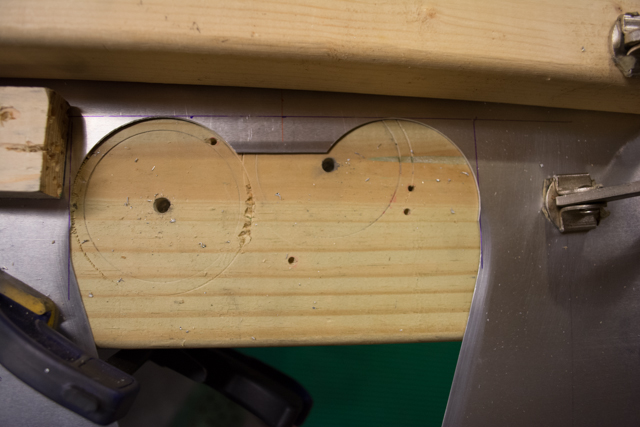
The measurement ended up being 5/8 of an inch. Here’s the seat pan marked and ready to cut.
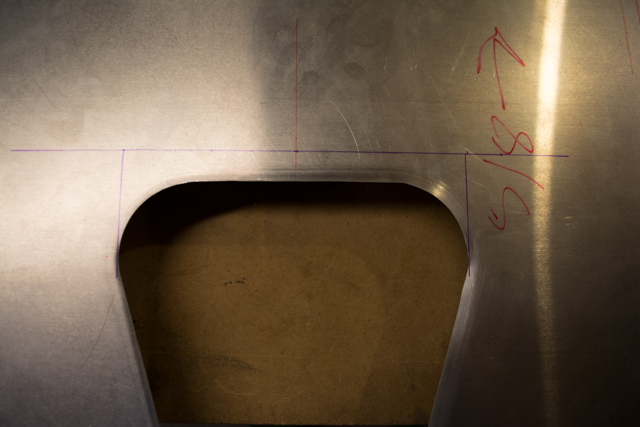
Following are pictures of the cutting process. I used a fly cutter followed by a dremel/files/scotchbrite pads on both sides.
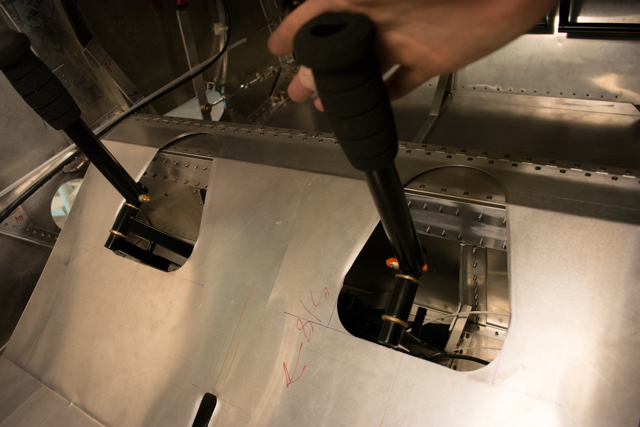
With the seat pan holes enlarged, the control stick now has full travel.
I will note here that the triangular trim tab attachment on the control stick is making contact with the bottom of the seat pan when I sit in the seat with my upholstery installed. Interestingly, it does not make contact when I sit in the seat without upholstery/padding. My plan is to bend the triangular tab as far down as I can once I attach and fully rig the ailerons. Since this tab does interfere (acts as a stop) to the aileron movement of the control yoke, I’ll wait until the ailerons are fully attached to determine the maximum deflection needed in the controls, and then bend the tab just shy of interfering with max deflection.
Hi RYAN, thank you a lot for your posts, it’s very helpful for me! I had some difficulties that you have encounter and describe, but What about the idler to mixer pushrod? I had to reduce it about 11/16 and modify a little the end of the weld (mixer side)
Good job you’ve done!
Olivier