Total Build Time: 1036 Hours.
As my final task before permanently installing the forward fuselage floor, I decided to install 3 square attach points to the forward side of the spar tunnel (just below my knees when sitting) to allow for the future installation of cup holders or a storage pouch of some sort. The reason for this is that no fasteners can protrude into the spar tunnel itself (or they would interfere with the wing spars themselves within the tunnel), so pre-installing these attach points using flush rivets will give me a mounting point in the future for whatever I might like to add.
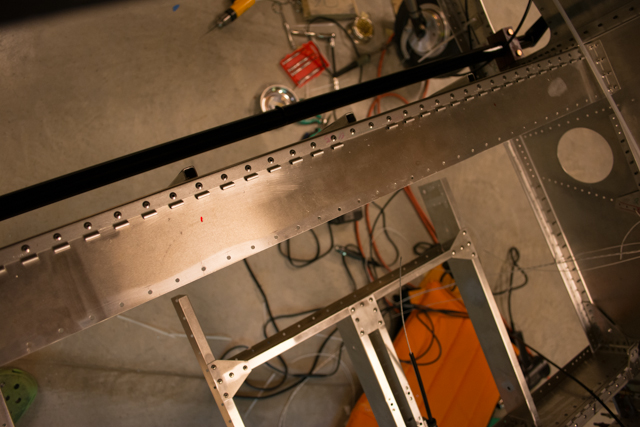
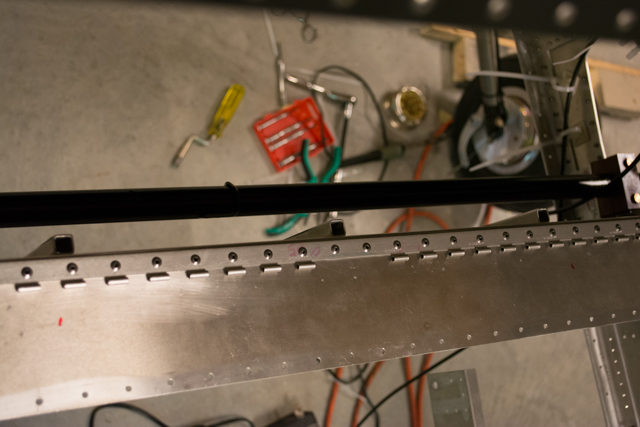
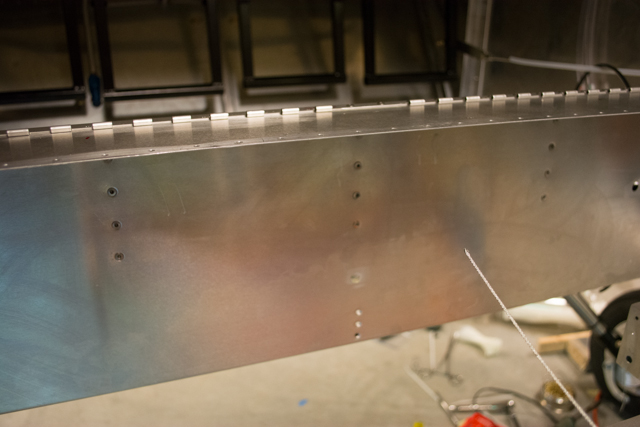
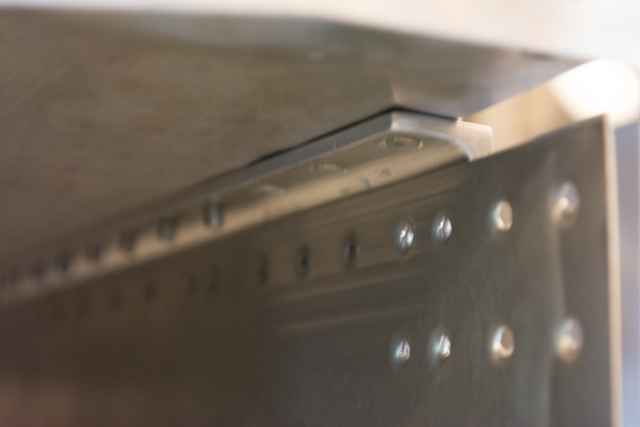
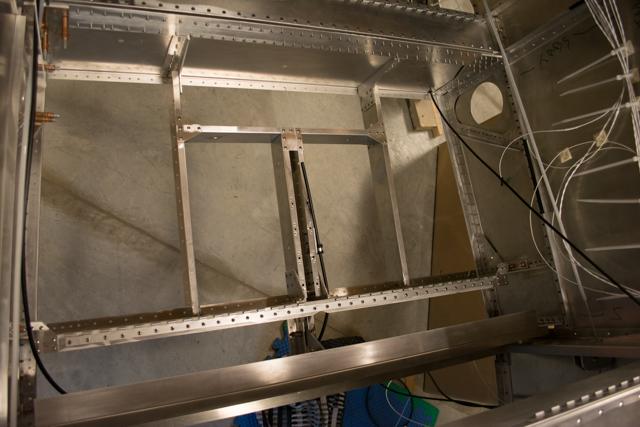
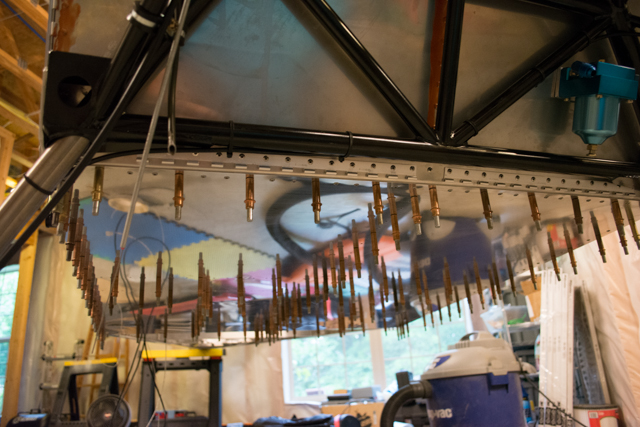
In the below picture, you can see the 3 square aluminum attach points just above the black flap drive tube:

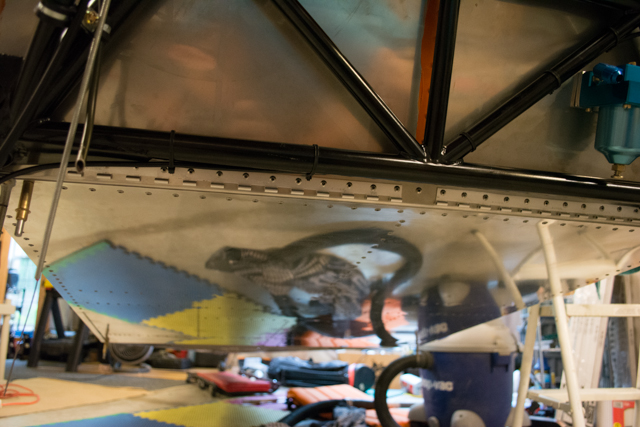
Here’s a view from above:
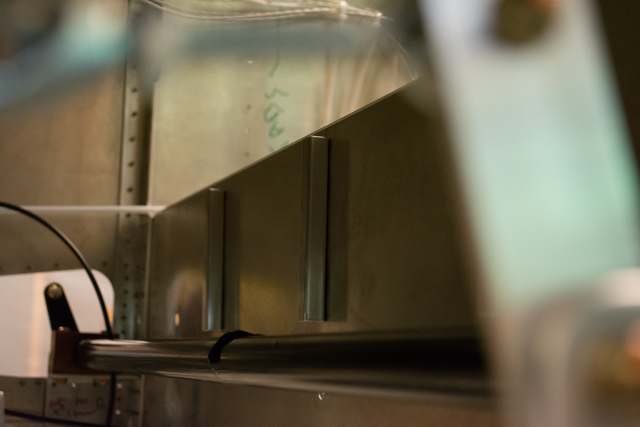
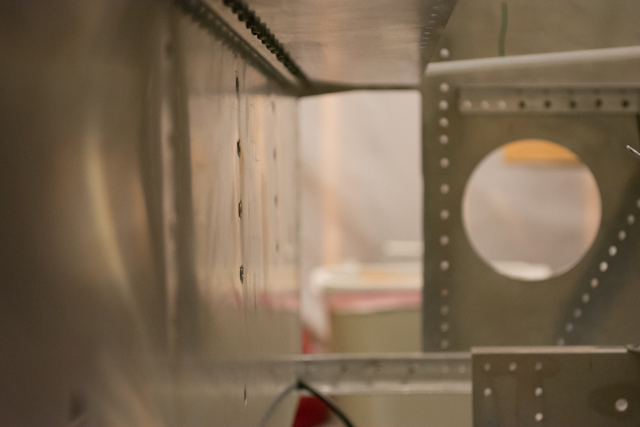
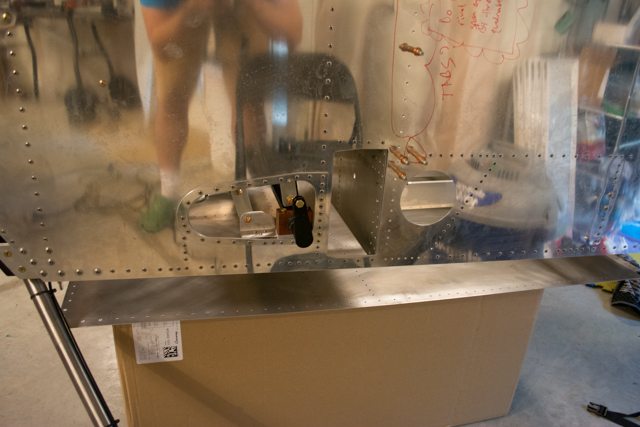
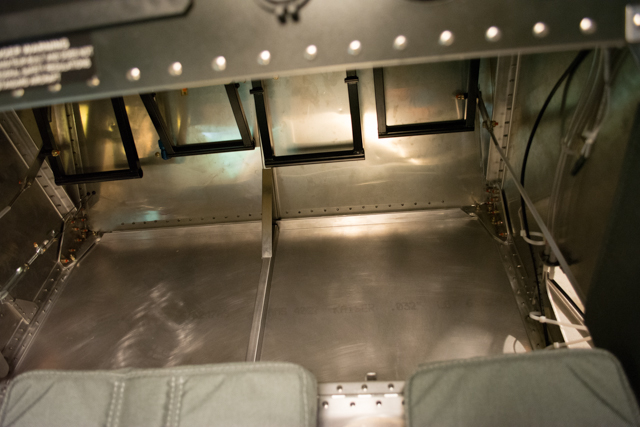
And finally here’s a view from the inside of the spar tunnel (the aft side of the tunnel not installed yet) showing the 4 flush rivets that hold each square attach point in place:
Next comes the final installation of the aft spar tunnel. Per the plans, I countersink and dimple the aft spar tunnel to the specs required for my tail-wheel aircraft configuration (tri-gear aircraft use a different pattern of fasteners.)
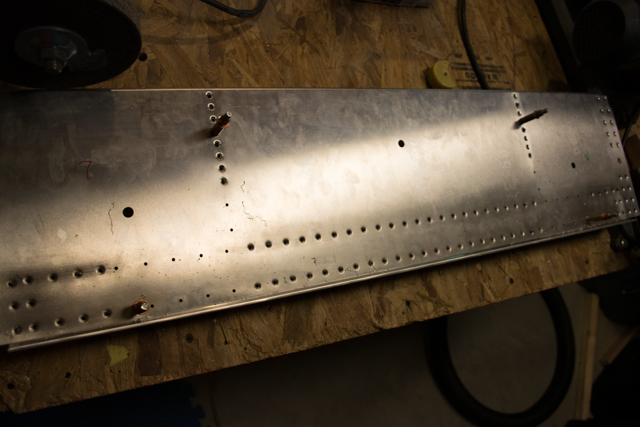
When installing the aft spar tunnel, there are 6 solid rivets that actually have the shop side of the rivet (the pointy end) bucked into a countersunk hole, to provide for a flush finish inside the spar tunnel.
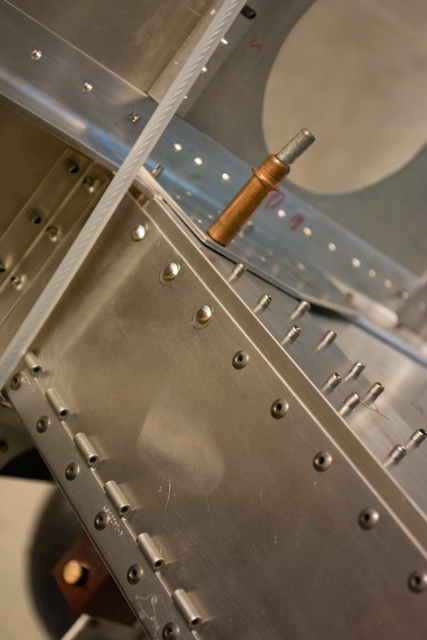
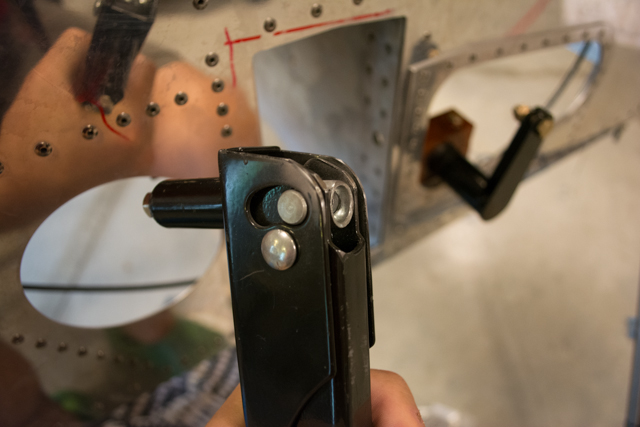
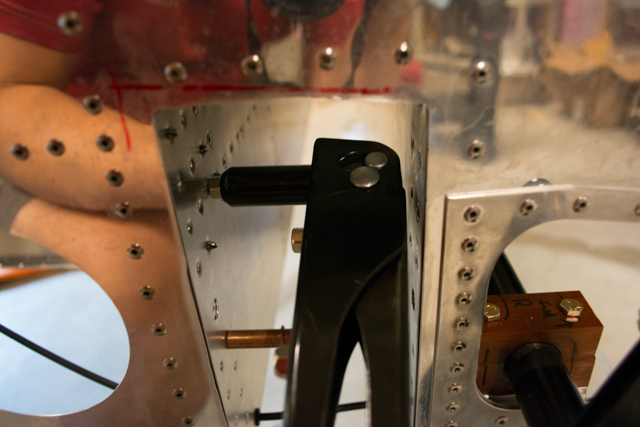
In order to pull all of the pop rivets within the spar tunnel, I had to slightly grind away part of the head of my Harbor Freight cheapo rivet puller, which allowed me to wedge it into the tunnel.
Next comes the fuselage floor. Here are the last shots I took of my basement floor from the area above the seats.
I polished the floor to Nuvite C grade prior to installing.
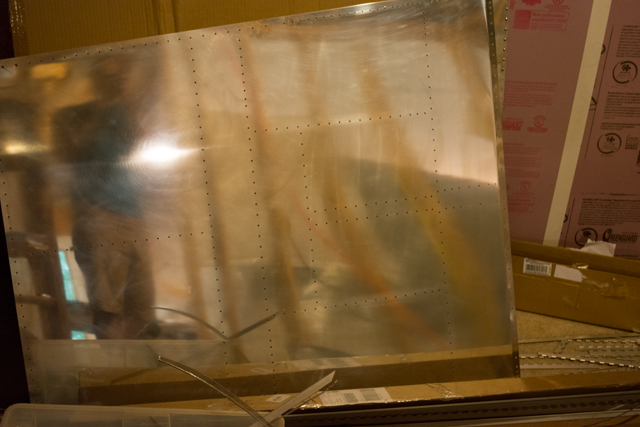
I propped the floor onto a cardboard box and slid it underneath the fuselage.
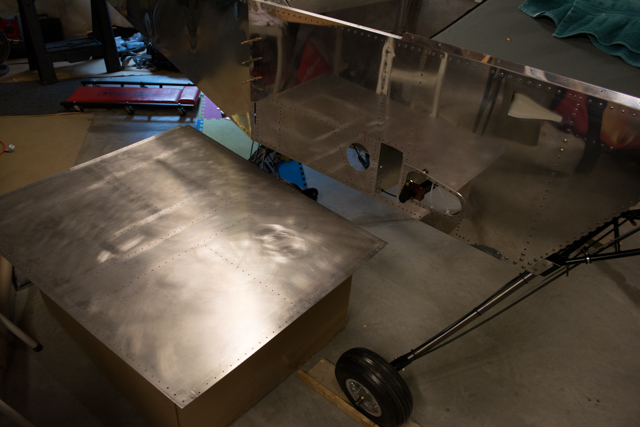
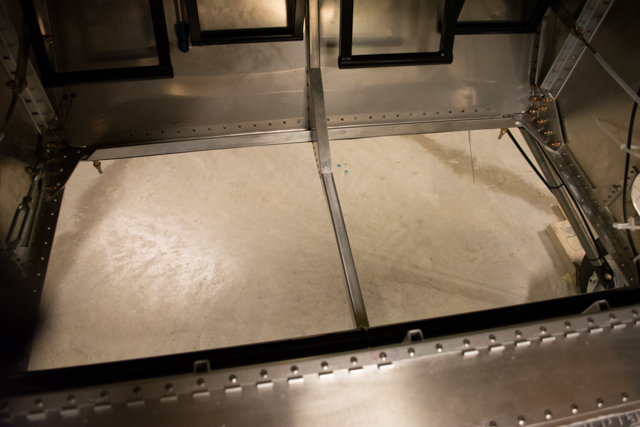
And clecoed it in place:
Finally, rivets. This was an intense arm workout, riveting against gravity is real work.
The forward fuselage has a floor!
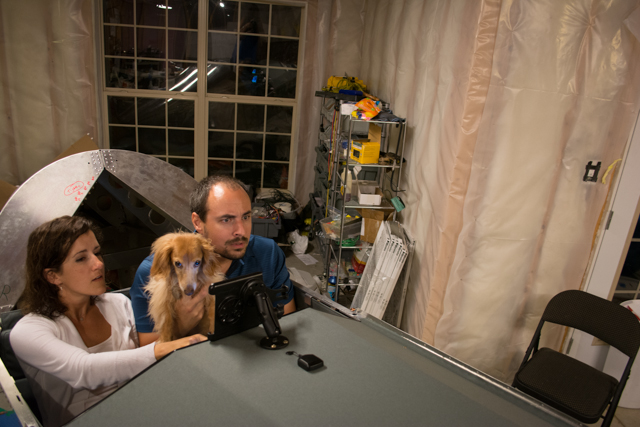
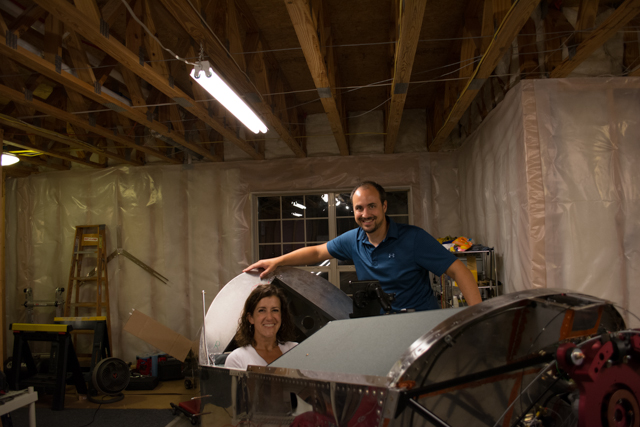
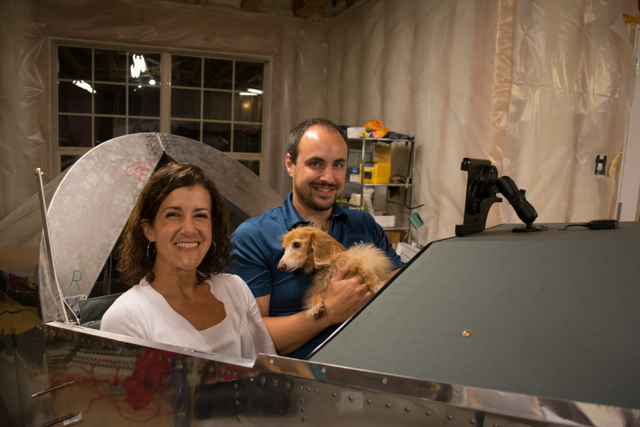
Now for a bunch of photos of a great milestone… sitting in the plane on the landing gear. Once before we sat in the plane when it was on blocks on the concrete, but this time it is the plane (on its wheels) holding Jessie and I for the first time.
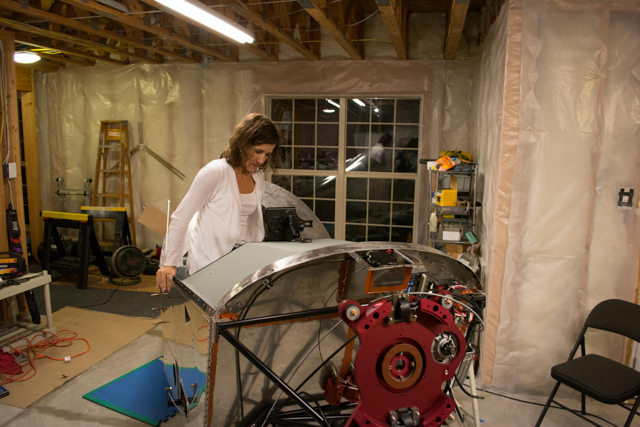


Something suspicious on the horizon…….