

Total Build Time: 1044 Hours.
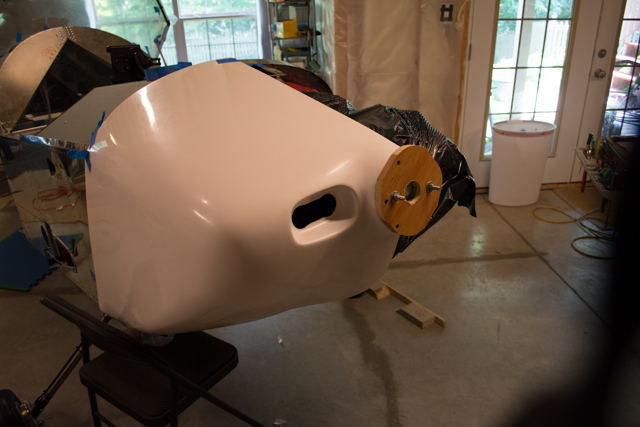
The fiberglass engine cowling shrouds the engine compartment and becomes the nose of the airplane. This was the last large component of my airplane that I wanted to complete prior to moving it to the airport/hangar for final assembly.
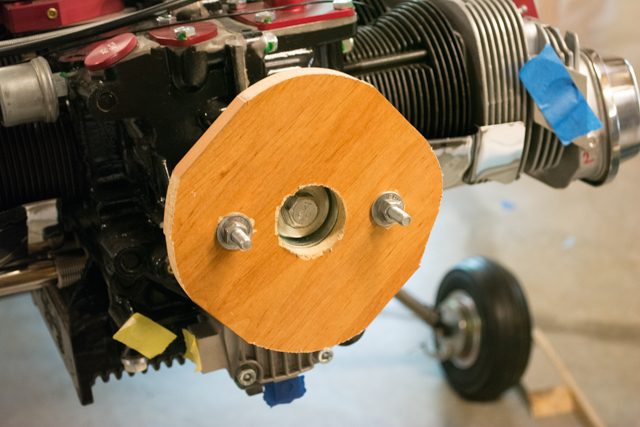
Following the assembly instructions provided by Sonex, I began by fabricating a wooden fixture to attach to the propeller hub that would act as a fixed point. By attaching the cowling to his fixture, the result would be a cowling fitment that was close to the propeller and prop hub without interfering with either.
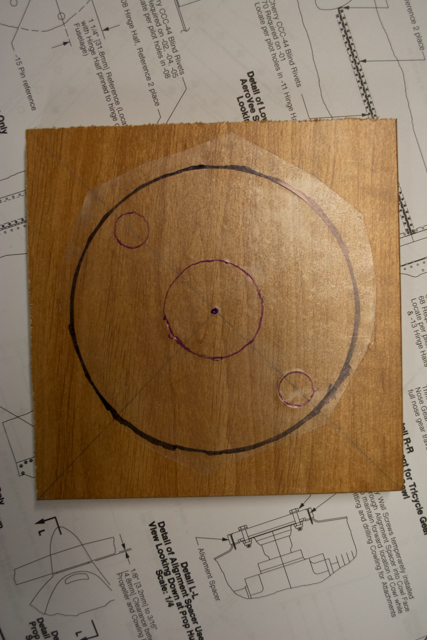
I used some “magic cover” transparent tape to create a template of the prop hub.

I then removed the tape and applied it to the wood block.
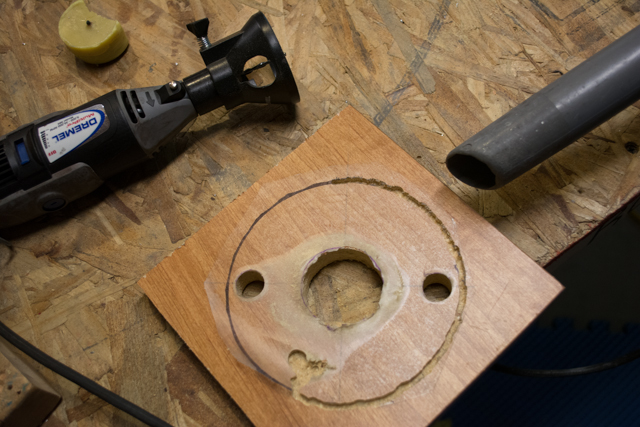
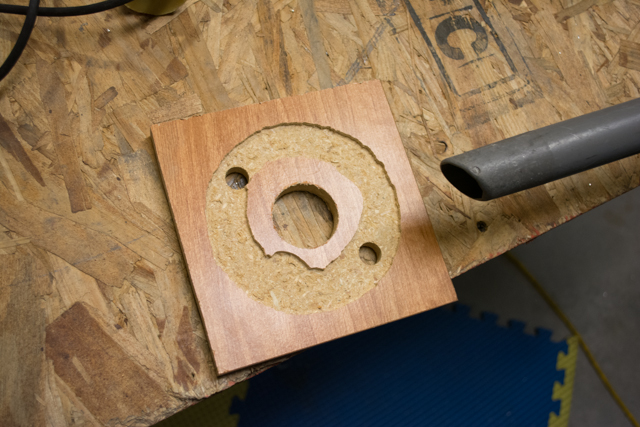
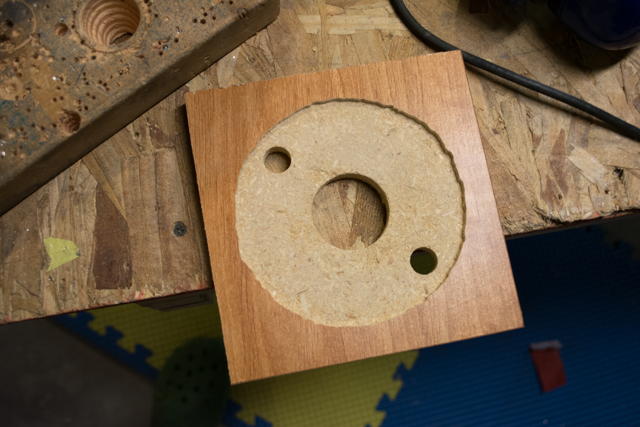
Using a dremel as a router, I systematically carved out the recess within the wooden plate to create a setback for the cowling to attach to.
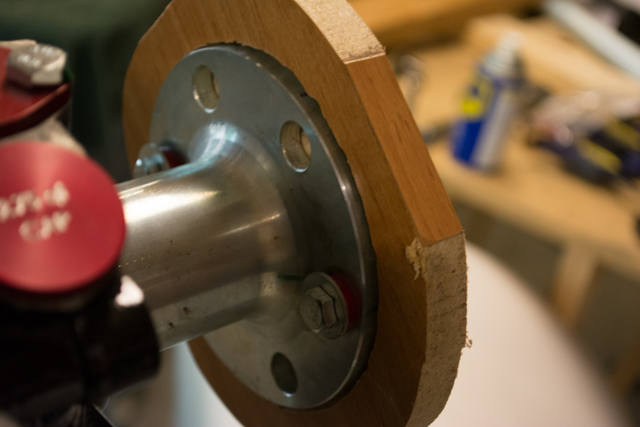
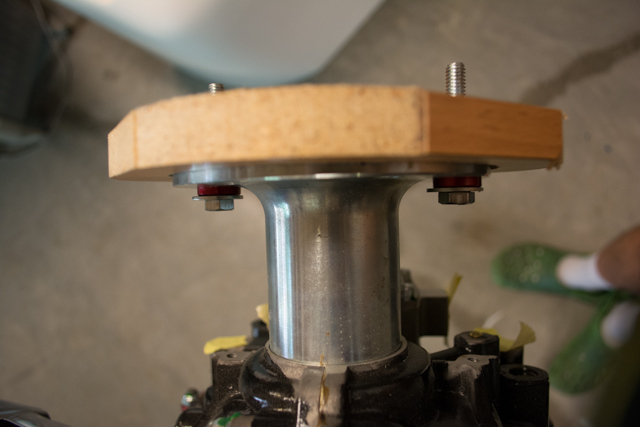
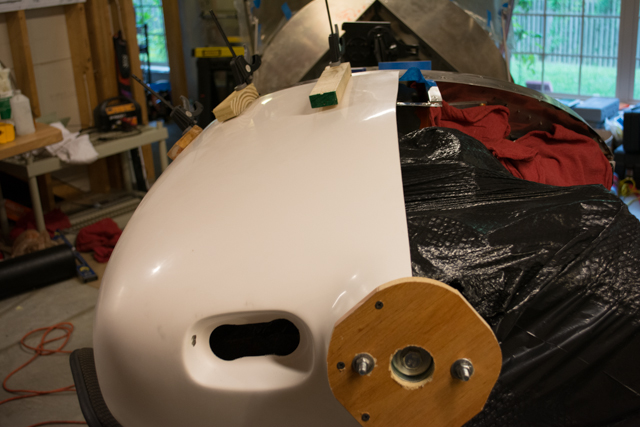
I then bolted the wooden plate to the prop hub.
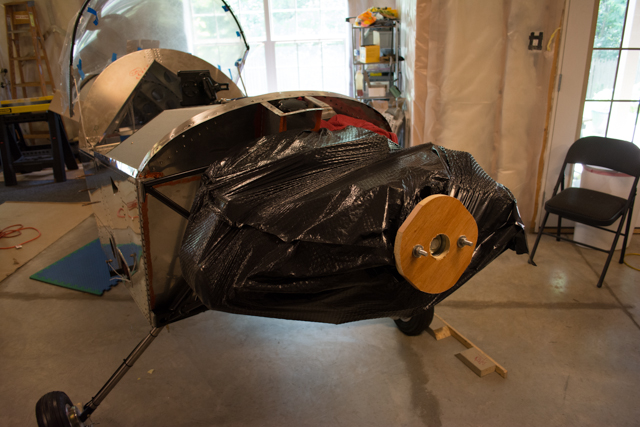
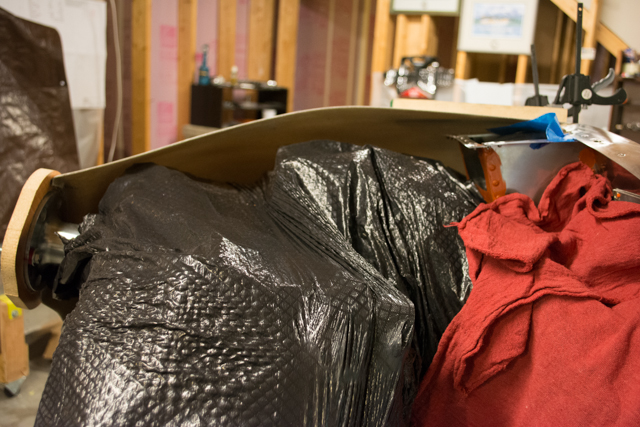
I wrapped the engine compartment in trash bags and rags to help protect from fiberglass dust.
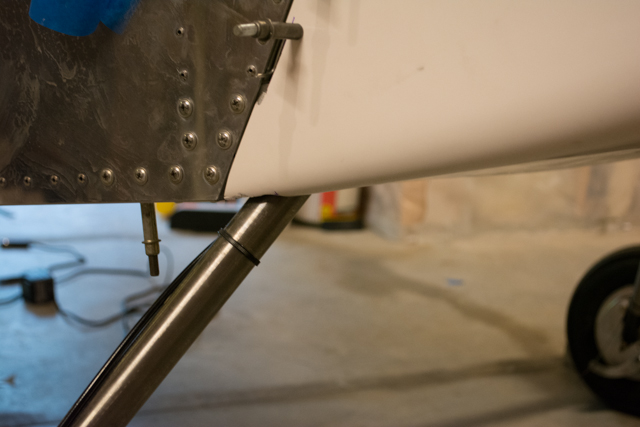
The first cut I made in the fiberglass was to clear the right gear leg on the right side cowling.
I then taped the side of the cowl in place and used drywall screws to secure it to the wooden plate.
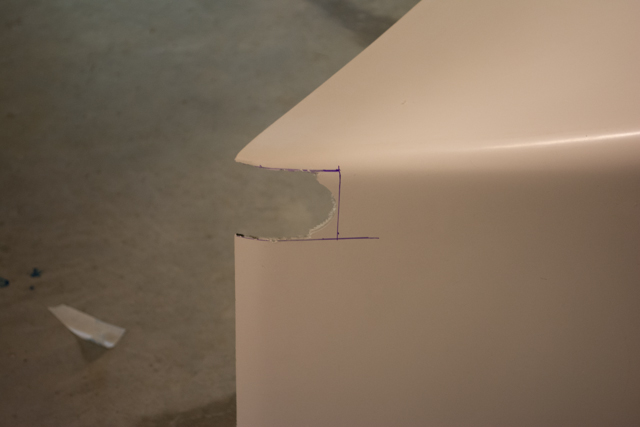
Next came the trimming of the side of the cowling to match the side panel of the fuselage. I also cut a clearance notch at the bottom of the piano hinge to allow for insertion/removal of the piano hinge pin.
I used back-lighting from a flashlight to locate the pilot holes in the piano hinge.
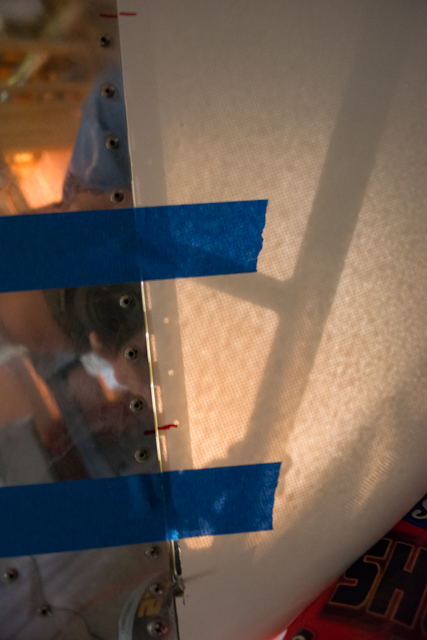
Once I had the side hinge clecoed in place, it became apparent that the pre-formed shape of the engine cowling was over-sized for my aircraft. In researching other builder experiences, this is apparently a very common issue.
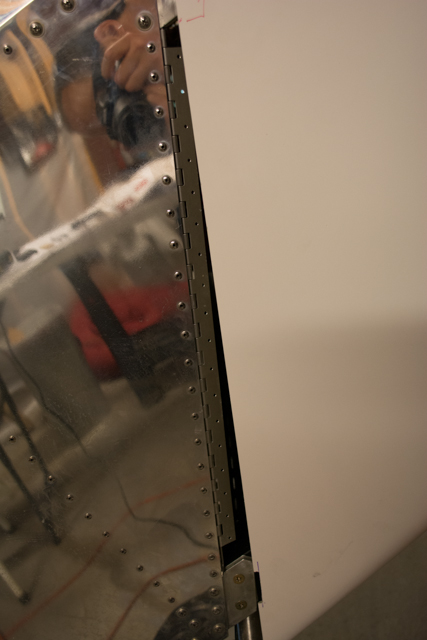
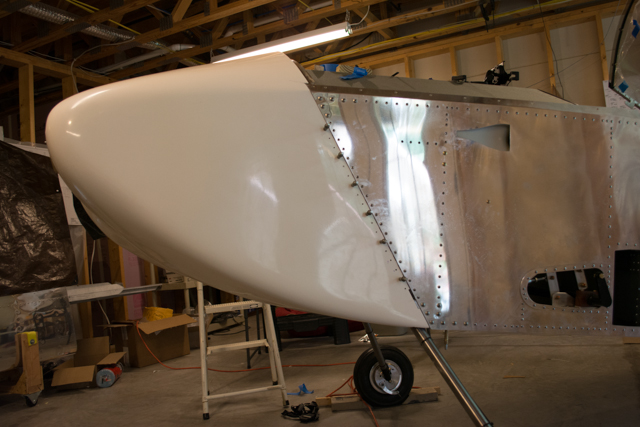
For reference, I took the following picture to show that I had properly trimmed the side of the cowling enough to make the bottom of the cowling relatively flush with the bottom of the fuselage.
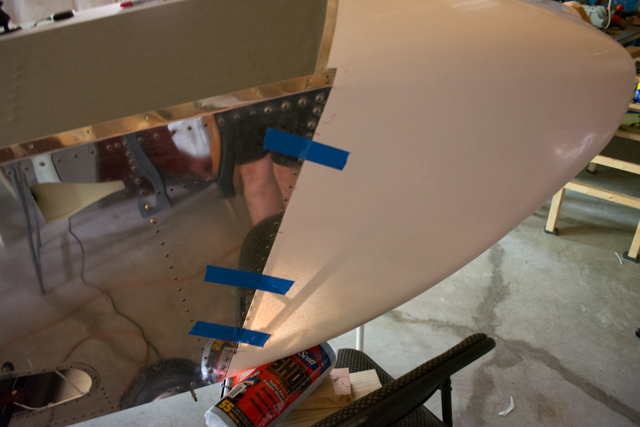
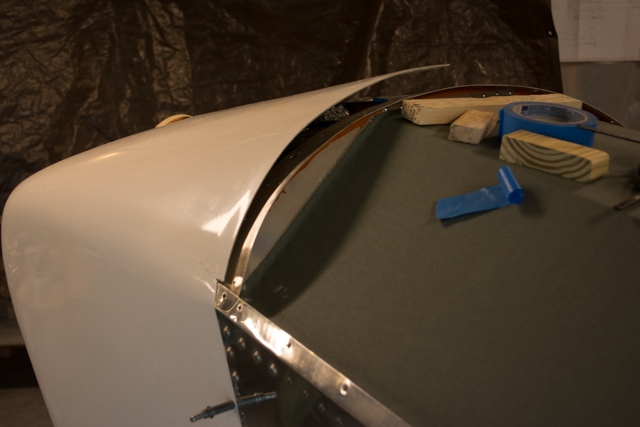
Below is a picture of the top of the cowling with the right side pinned into place.
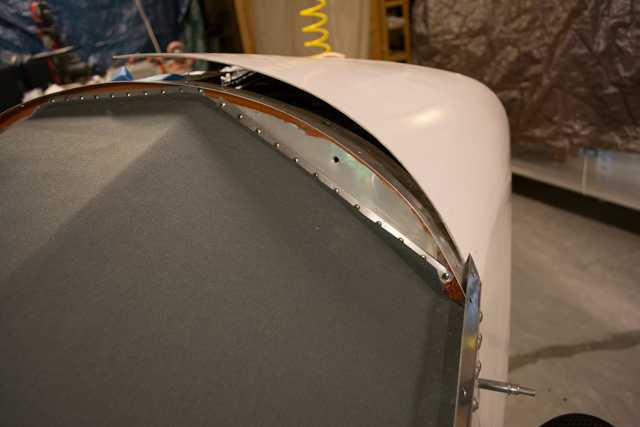
When I clamp the top of the cowling near the centerline to the windshield bow strap, there is a large bulge.
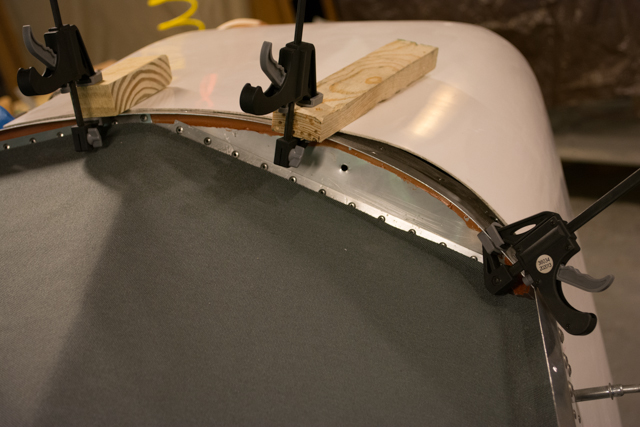
When I clamp the cowling to provide a smooth curve, it pinches the cowling along the centerline, between the firewall and the prop hub.
Note the bulge between the windshield strap/firewall and the prop hub.
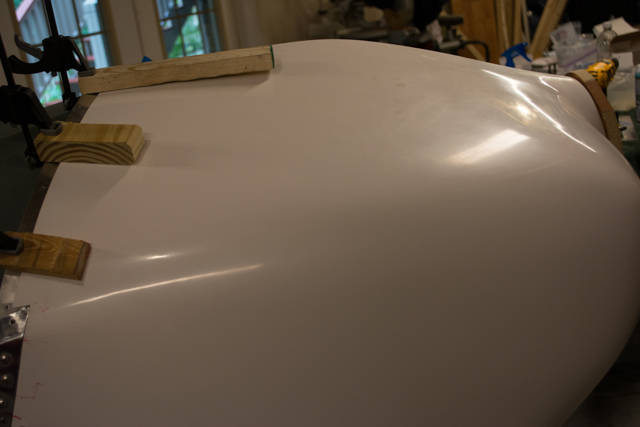
That bulge was actually pushing very hard against my wooden fixture on the prop hub. If I removed my wooden plate and allowed the cowling to relax, it would have placed the front of the cowling directly in the path of the propeller.
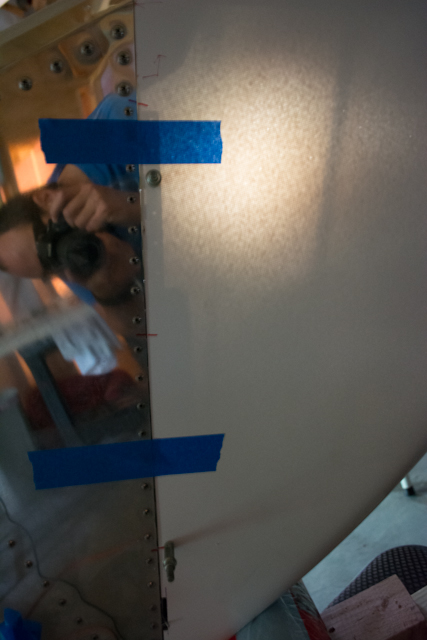
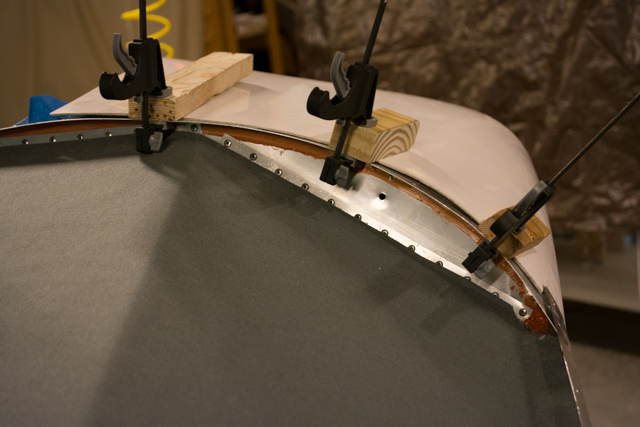
Here are some additional pictures of the left side showing the same issue:
If you look closely in the pictures above and below, you can see the bend line in the fiberglass matching the bend line in the fuselage side panel for the windscreen. Also note the smooth line of flow from the cowling to the bottom of the fuselage. Some builders have suggested that continuing to cut material from the bottom of the cowling to raise the cowling vertically will help with the arc at the top, but you can see that any higher and the bend line in the cowling will be above the curving windshield itself.
This is a problem that will need to be solved by learning how to work with fiberglass.