

Total Build Time: 640 Hours.
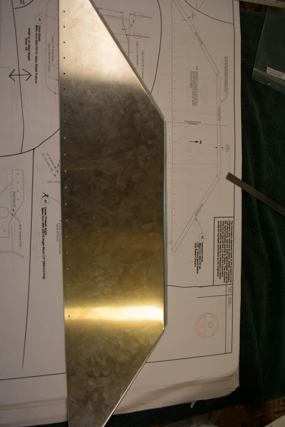
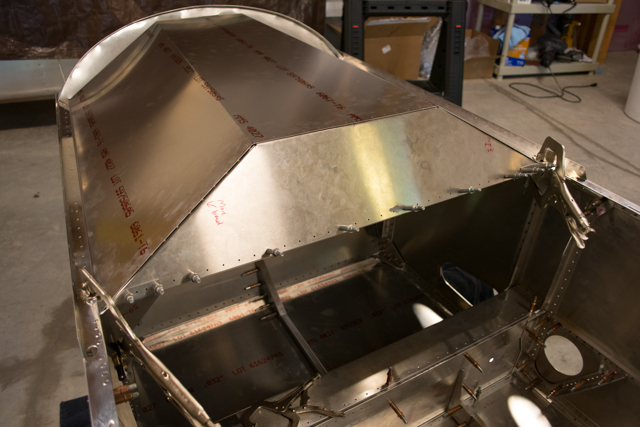
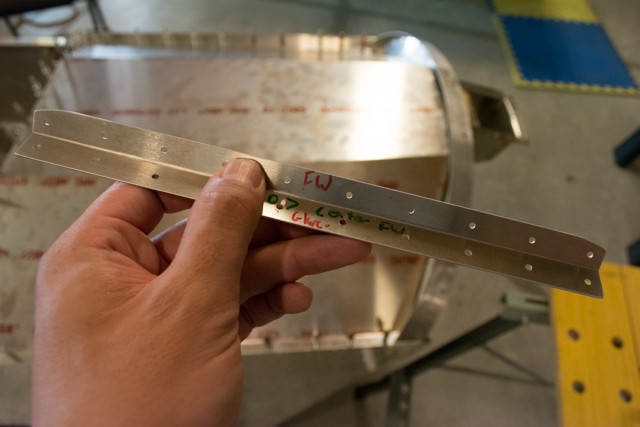
The glare-shield is essentially the dashboard of the aircraft… it lies behind/above the instrument panel and connects the area between the instrument panel and the firewall. It’s somewhat ironic that it’s called a glare-shield in my aircraft, since the usual purpose of a glare-shield is to reduce the glare from the sun on the instruments, in a similar way that the bill of a baseball-cap shields your eyes. In my case, the glare-shield does no such glare-shielding, but it’s still the term for the “dashboard” in an aircraft.
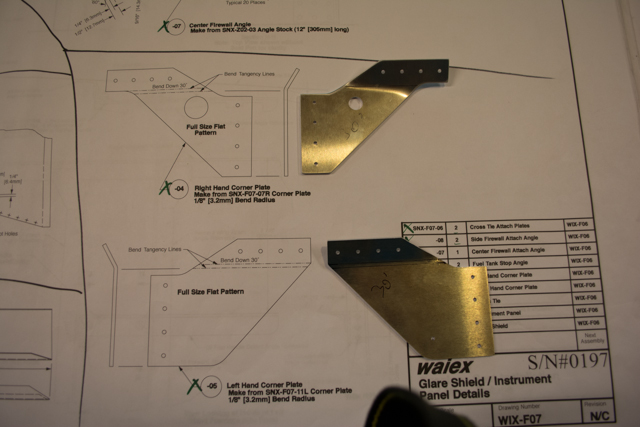
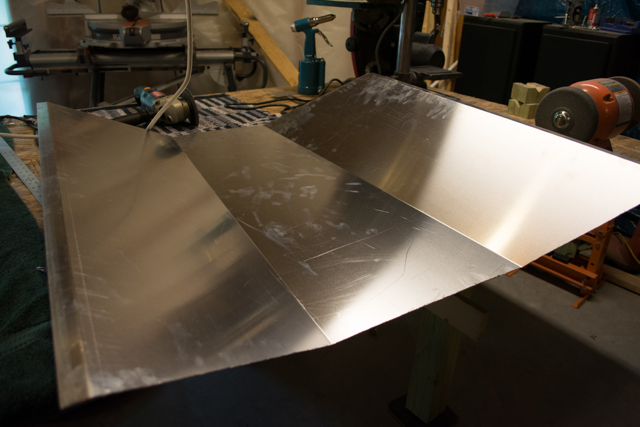
To begin this process, I bent the flanges in the instrument panel (using my trusty “hammer it over the corner of my workbench” method.) I also used my hydraulic press to bend the plates that hold the sides of the instrument panel in position.
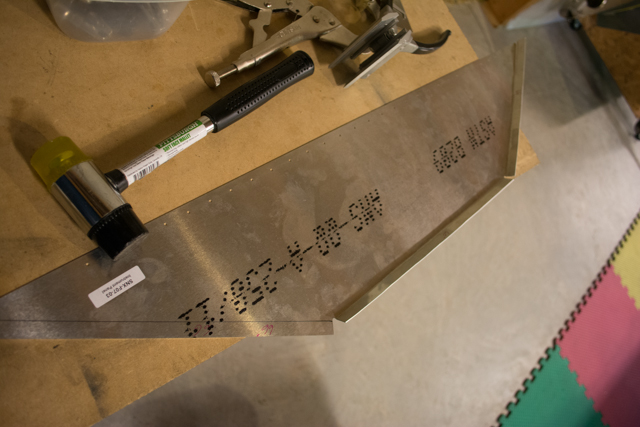
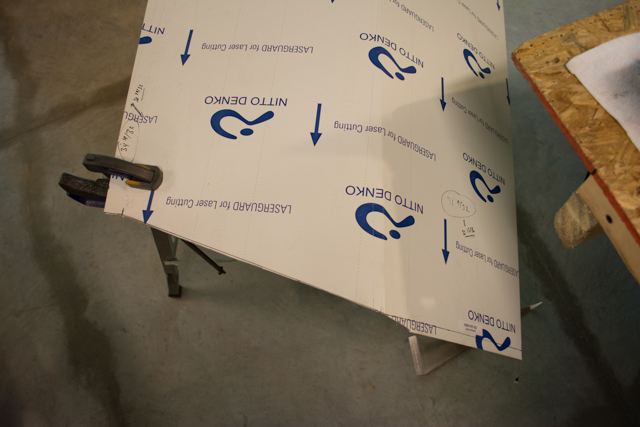
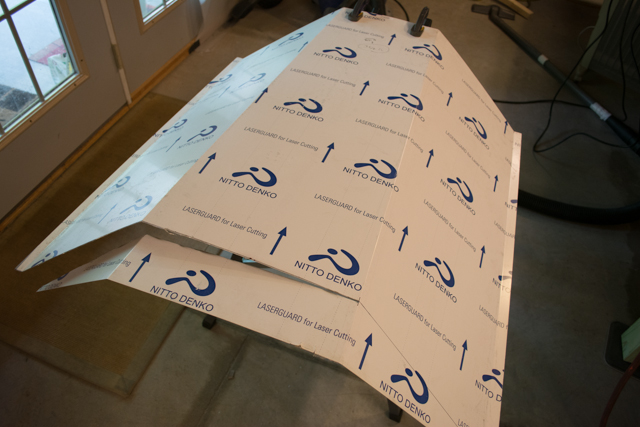
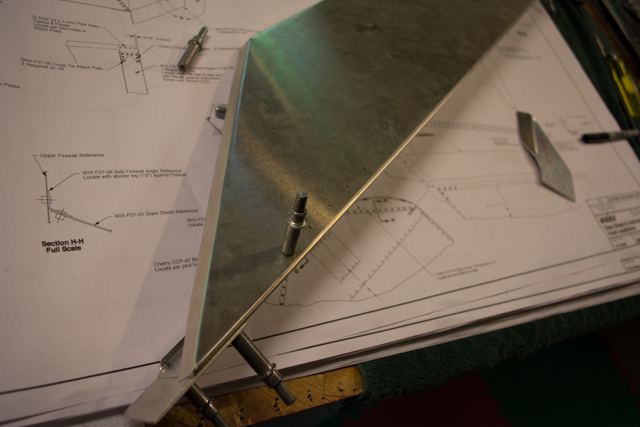
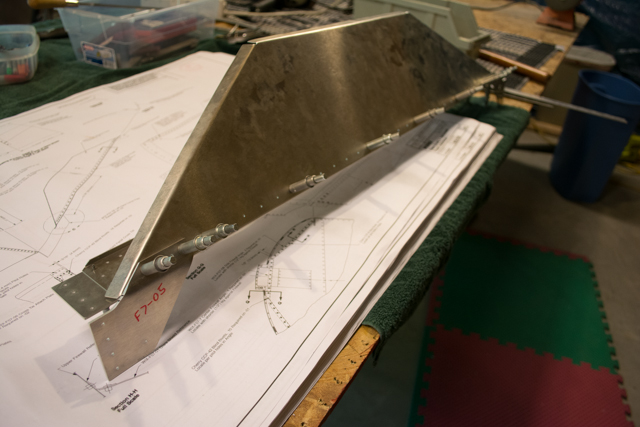
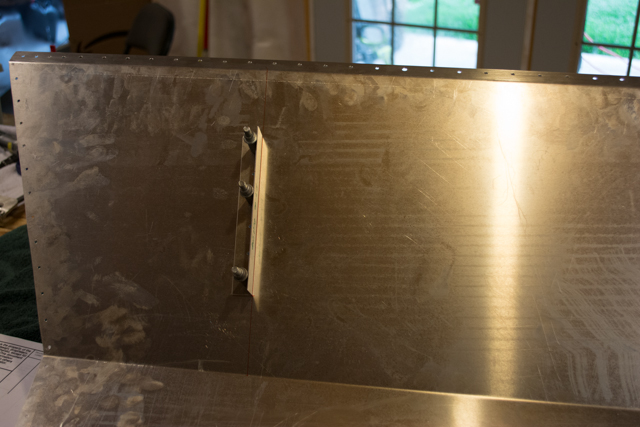
I then performed measured cuts into the pre-bent glare-shield from the kit, by progressively clamping it to a table and using my cutoff tool. Wear ear protection if you do this. Very noisy!

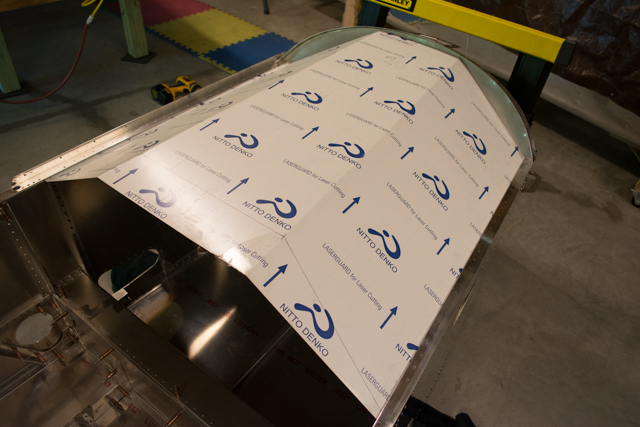
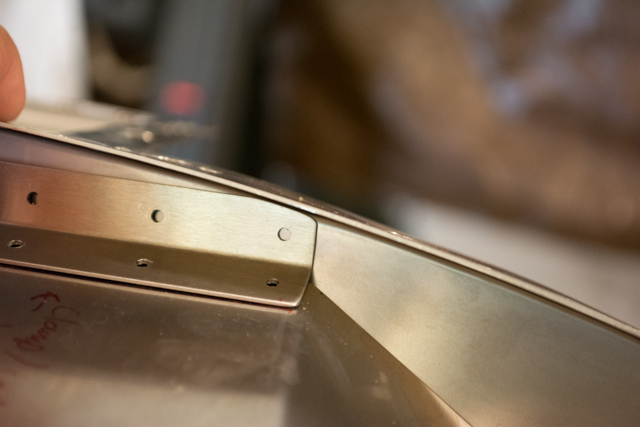
Here I test fitment of the forward cuts of the glare-shield against the upper firewall.
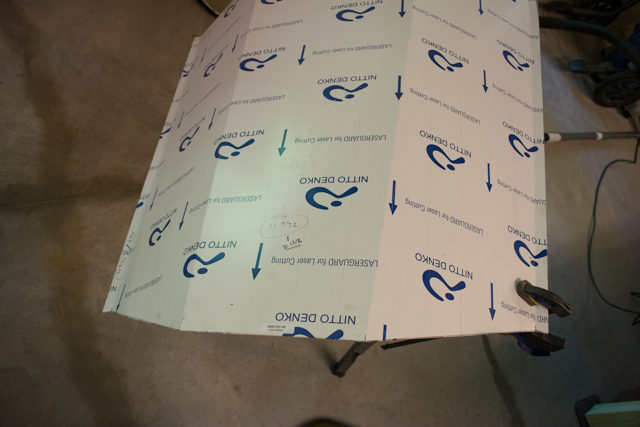
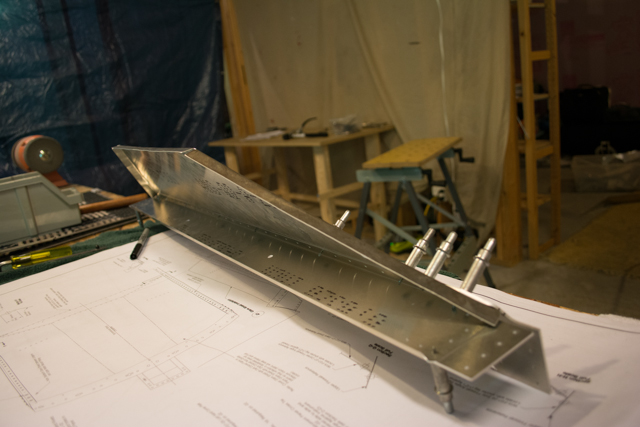
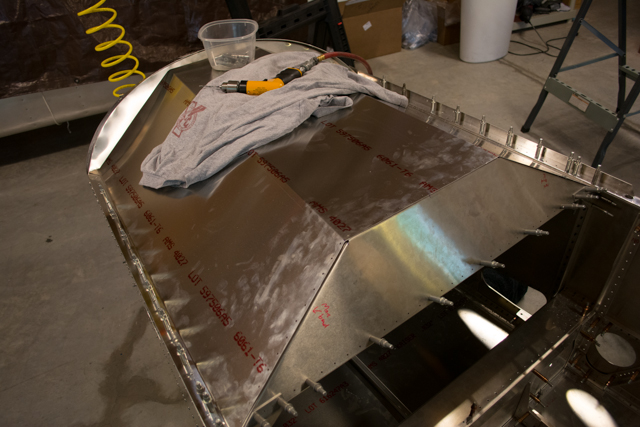
Then I resume cutting the aft part of the glare-shield.
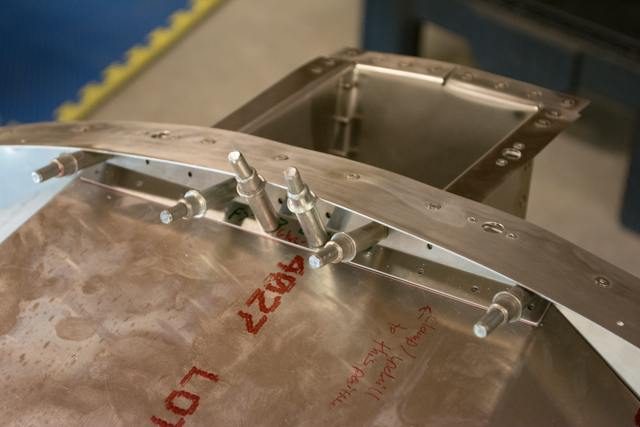
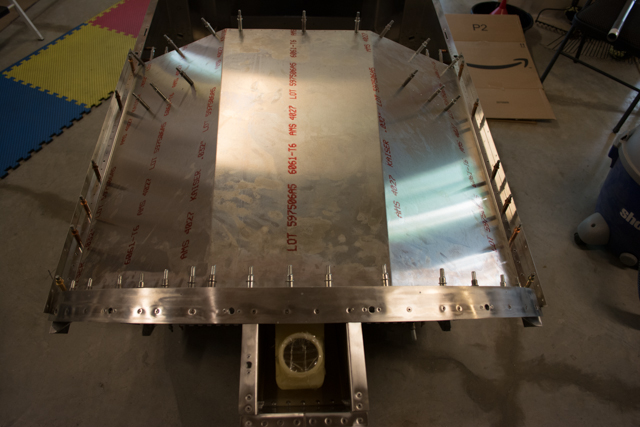
I then pilot-drill holes in the glare-shield, instrument panel, attach angles and match them all up:
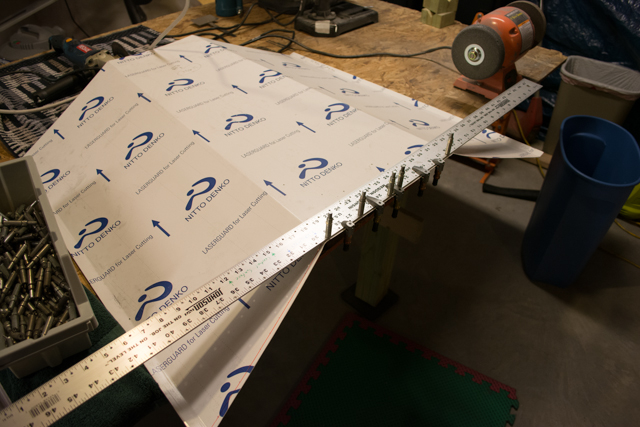
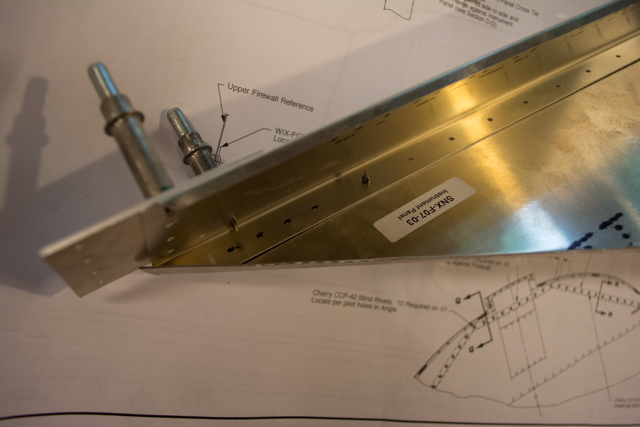
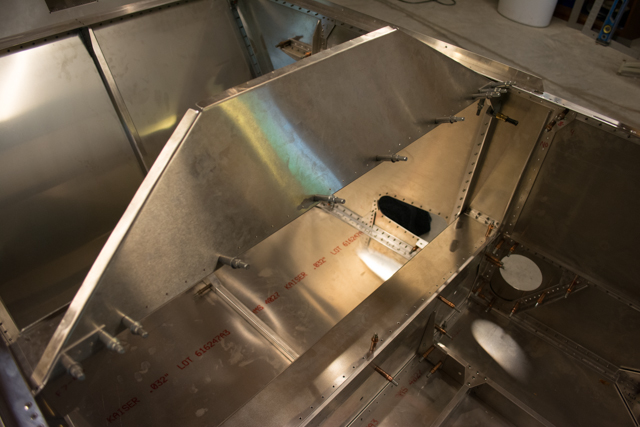
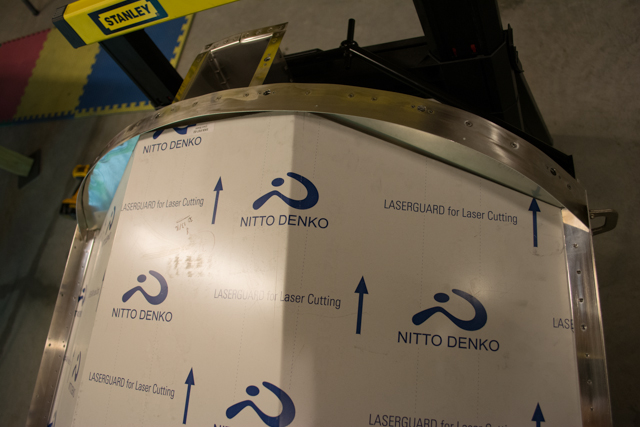
Next comes drilling the glare-shield to the upper longerons:
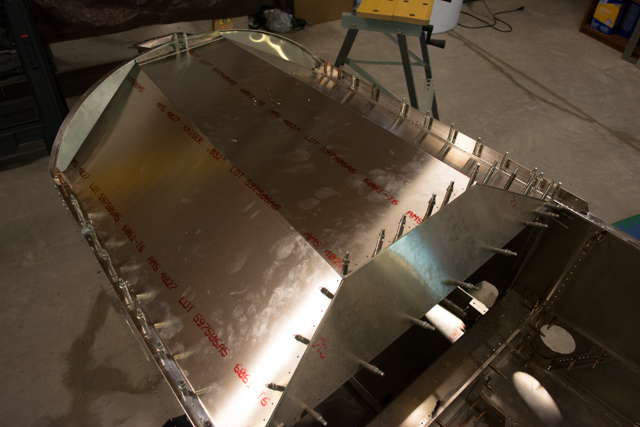
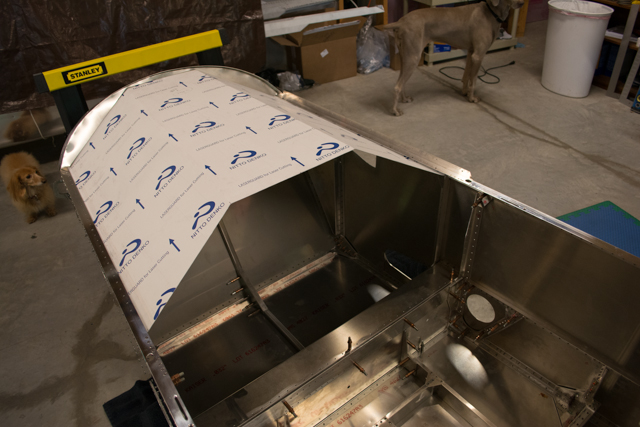
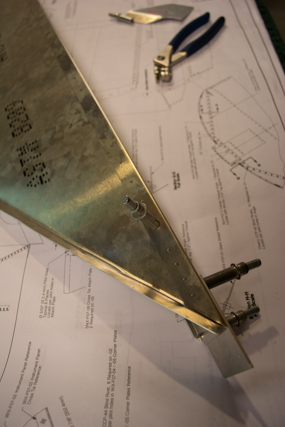
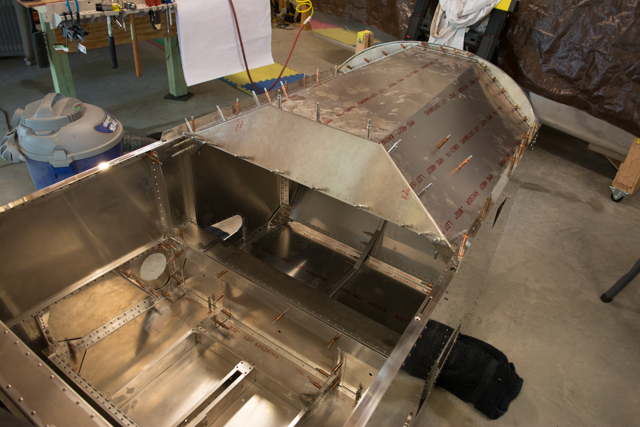
Then I drill the firewall attach angles to the glare-shield and firewall. This was a tricky process, as the effectiveness of clecoes were limited in this area. I also wanted to be sure that I was aligning everything in a way that would allow the fuel tank (which ends up being hung directly underneath the glare-shield) to be positioned correctly. I inserted the tank several times to be sure that the glare-shield was at a proper height relative to the filler box (which protects the filler portion of the fuel tank). I ended up needing to round out the corners of the center firewall attach angle to clear the top arc of the upper firewall.
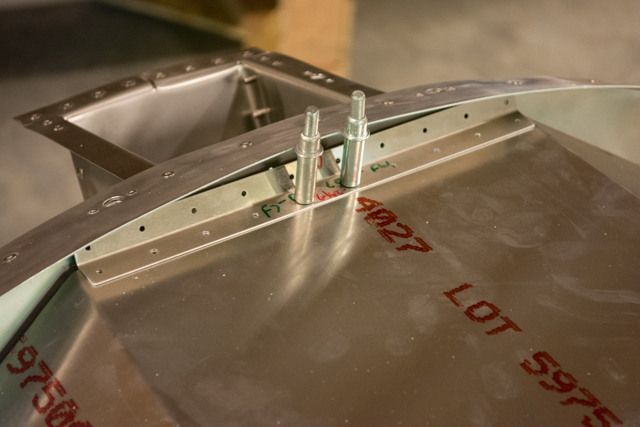

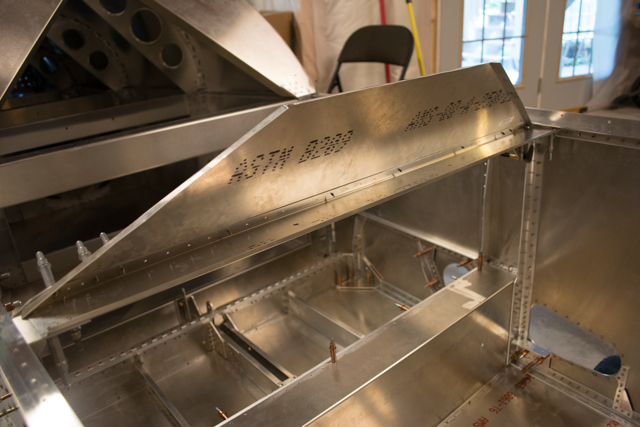
I did pilot drill the firewall attach angles through the (stainless steel) firewall, but riveted the angles to the glare-shield before updrilling the firewall. The reason for is that I was worried that the clecoes would throw things out of alignment, as room was tight and they were applying pressure to surrounding areas.
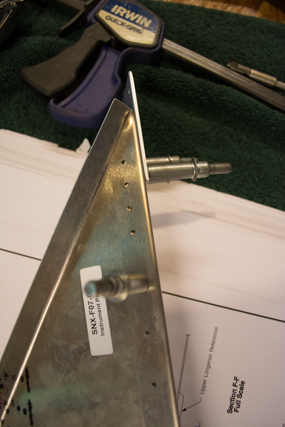
I pilot drilled the firewall stop angles (helps to keep the fuel tank out of my lap when flying!), then tested the fitment once again by placing the fuel tank into position.
Here is a picture that (partially) shows the fuel tank in position… notice the filler nozzle at the bottom center of the photo. This fitment confirmed that everything I’ve done so far will accept the fuel tank when I eventually permanently install it.
Ultimately, I updrill and deburr everything for rivets, with the exception of the instrument panel. The reason is that I still haven’t decided on (or purchased) my instruments yet. In case I change my mind at some point when installing instruments, having the rivet holes at pilot-size rather than rivet-size gives me the flexibility to re-make the instrument panel if necessary, without spoiling good rivet holes.
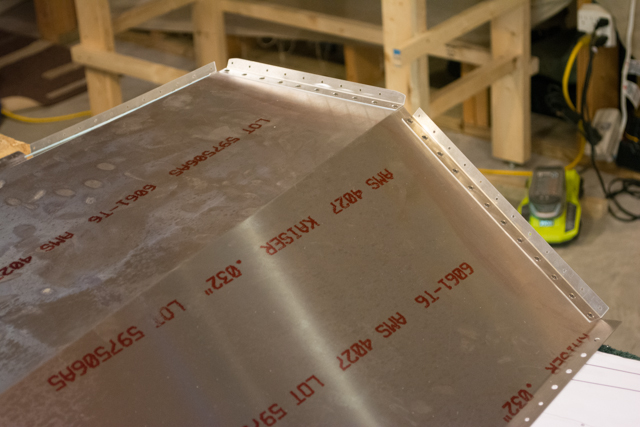
I do not rivet the glare-shield or instrument panel in place at this time, since I still have more work to do in this area of the cockpit. Here is a photo of everything in position, though.
This is the point I am at in my build. Your photos and comments sure are a help. They say a picture is worth a thousand words, and that really holds true in reading blueprints. Thanks again.
AL Roberts
Awesome Al, glad my blog could be of help!