

Total Build Time: 634 Hours.
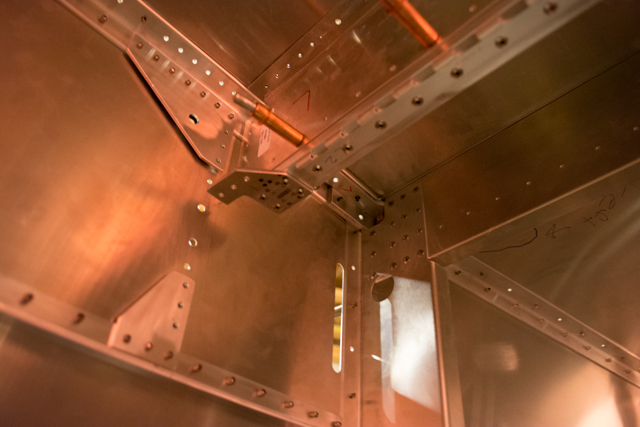
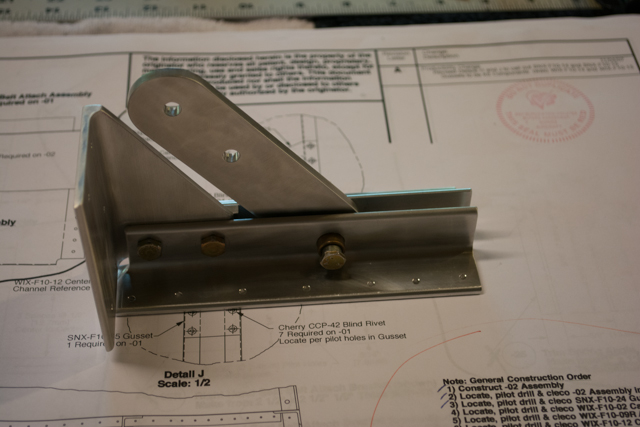
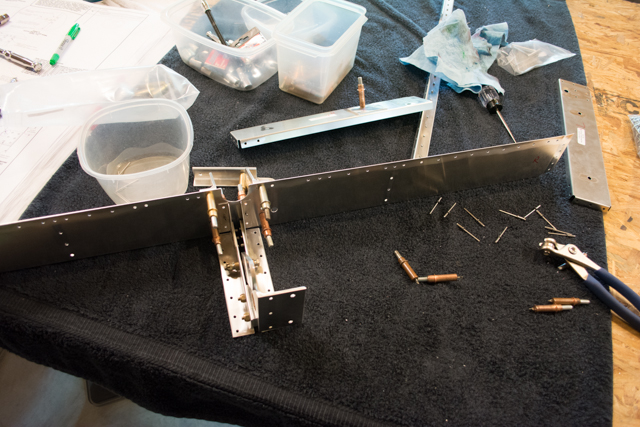
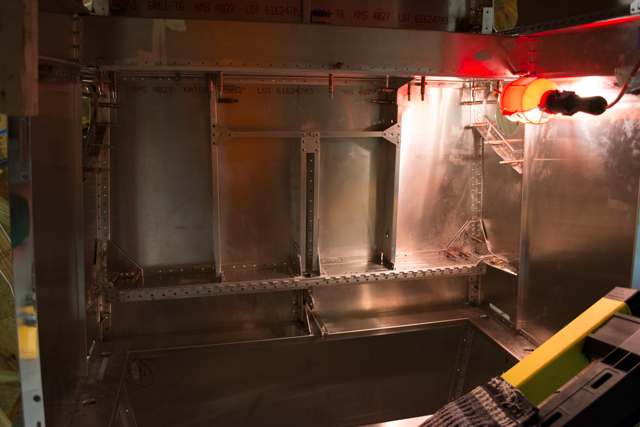
There are quite a few details on the floor of the forward fuselage, under the area that will eventually be the seat. I made a few angle components, including one that will support the lower part of the seat sling. A clearance is cut in the angle to allow the elevator pushrods to pass (they will come much later, when I initially rig the aircraft control surfaces.)
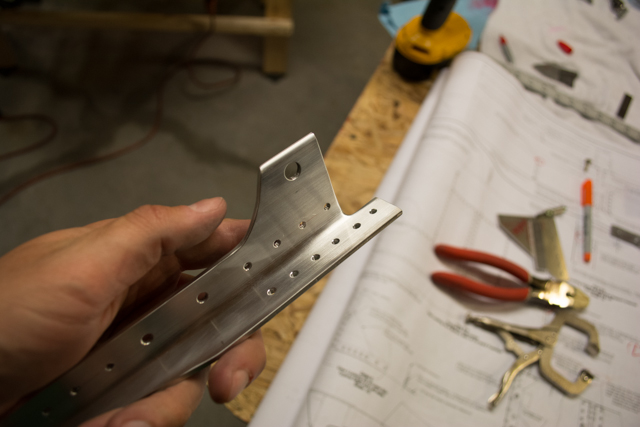
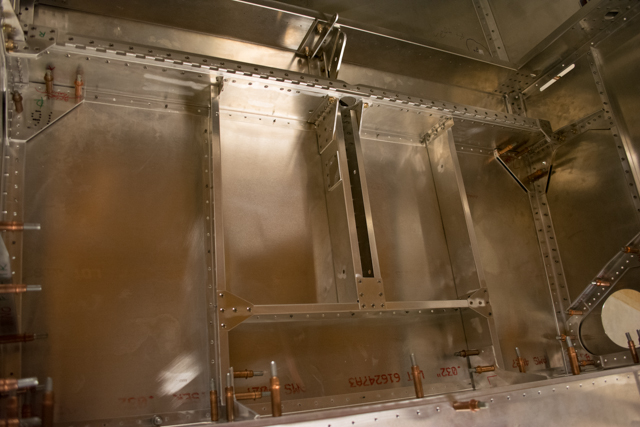
I continued to work with the fuselage upside down for this, although it’s arguable whether having it right-side up may have been easier at this point. Several angles, channels and gussets are placed into position and pilot drilled.
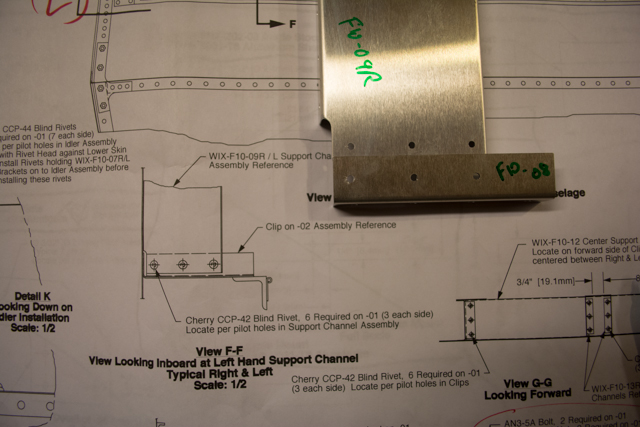
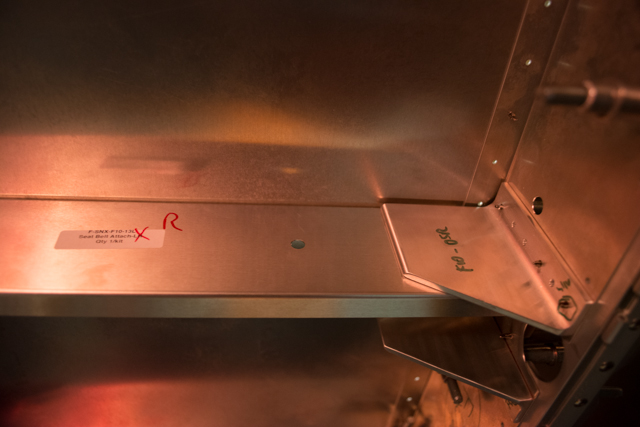
I discovered a discrepancy in the laser-cut holes, the holes in 2 of the clips didn’t match the left and right support channels. I contacted Sonex and they said to line them up as well as possible, and the updrilling process should result in good rivet holes. I drilled these holes after everything was in position within the fuselage, and I was able to get good holes.

I ran into a clearance issue where the corner gussets are placed underneath the lip of the landing gear attach brackets on the side panel. I ended up having to drill out the attach brackets and remove some material from them so that the gussets would insert freely into position.

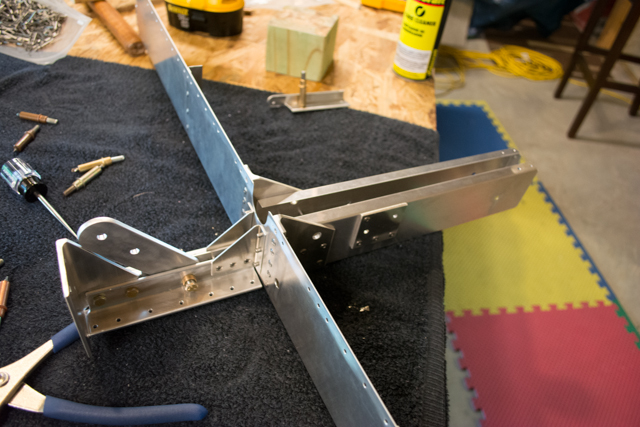
More pictures as all of the details are drilled/clecoed into position.
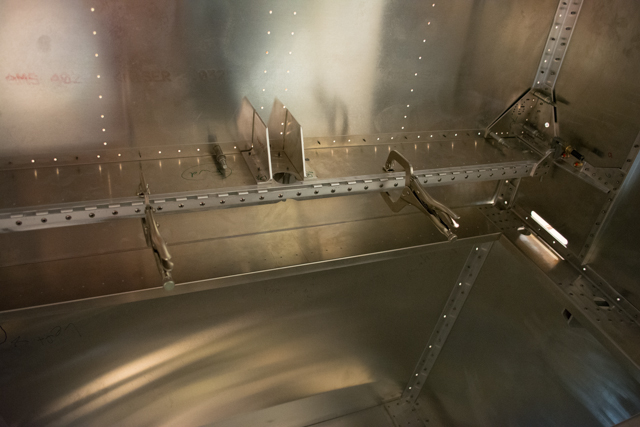
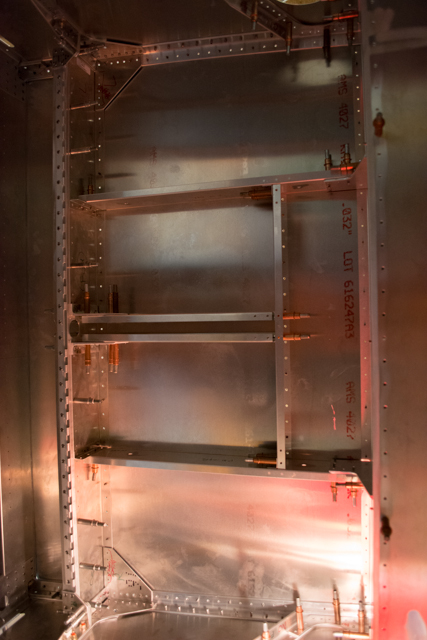
I pilot drilled and clecoed as much as I could into place prior to up-drilling the holes for rivets. I did discover, however, that nearly the entire lower floor assembly can be assembled and riveted outside of the fuselage, then inserted as (mostly) 1 piece. I tested the access before I added each part, and verified that there is room to insert everything pictured here as a whole. The lower angle/cap was the last part to go in, once this assembly was in place.
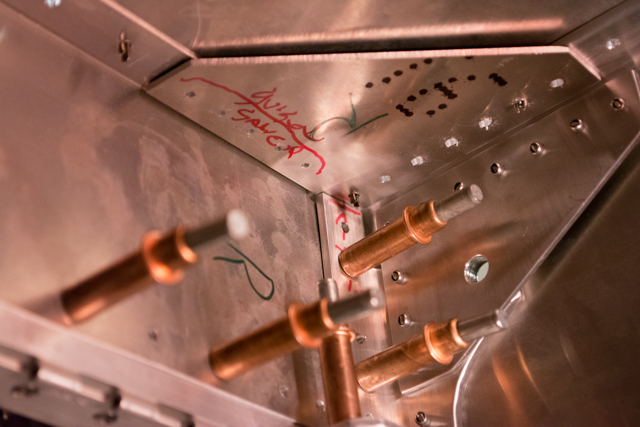
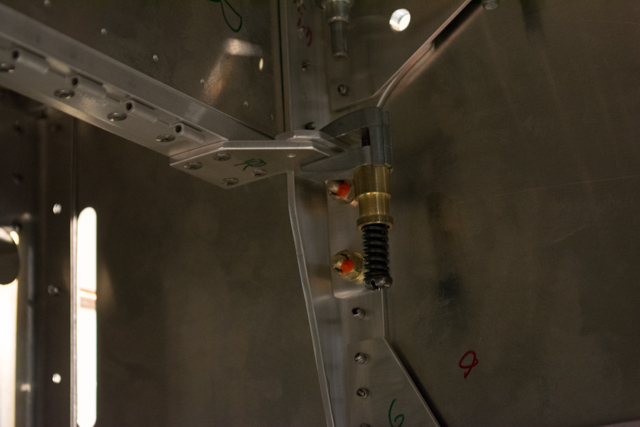
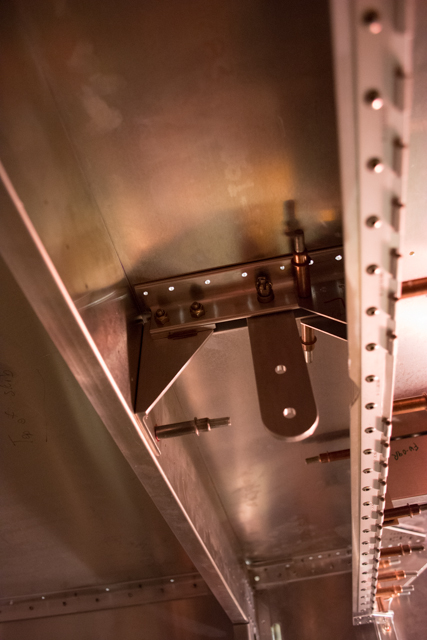
Also pictured here is the idler assembly.

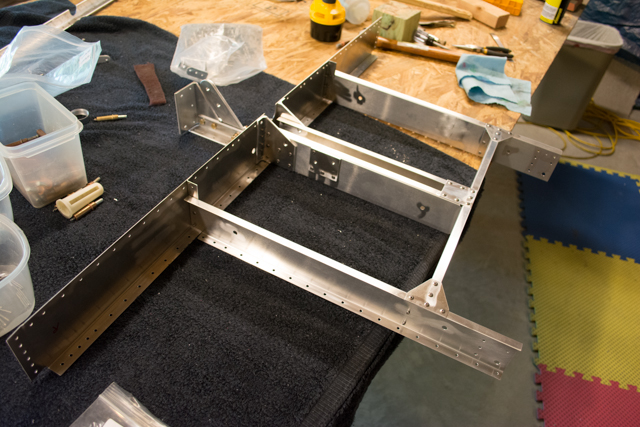
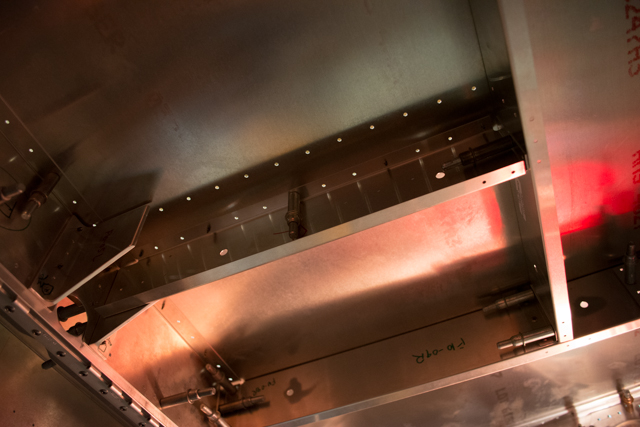
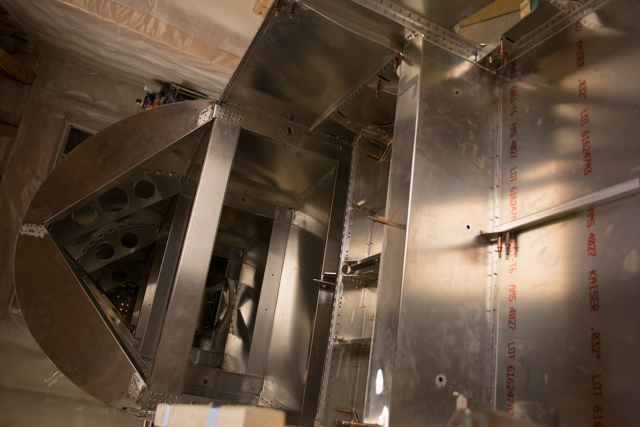
Here are the lower aft cabin details riveted in place (minus rivets in the floor… it’s still held in place with a LOT of clecoes.)
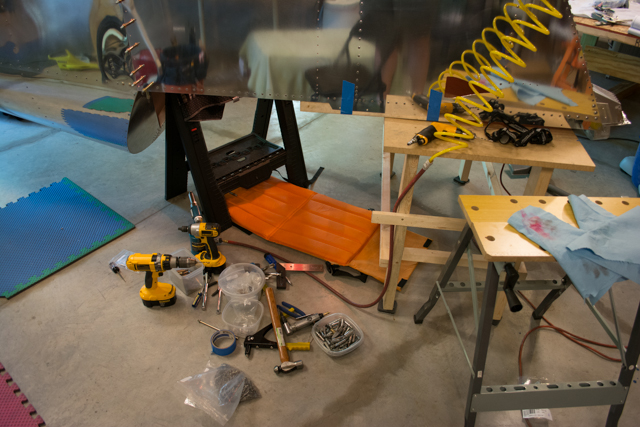
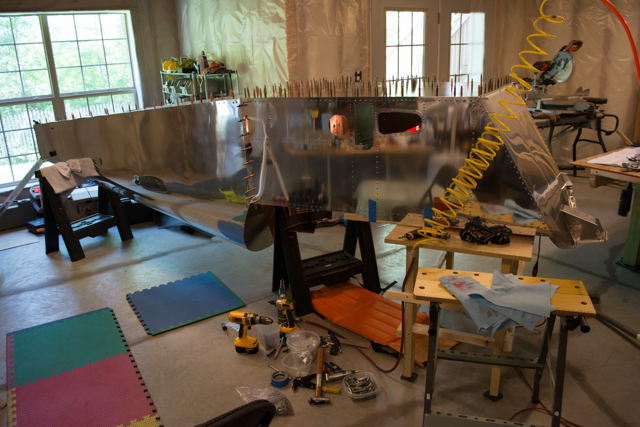
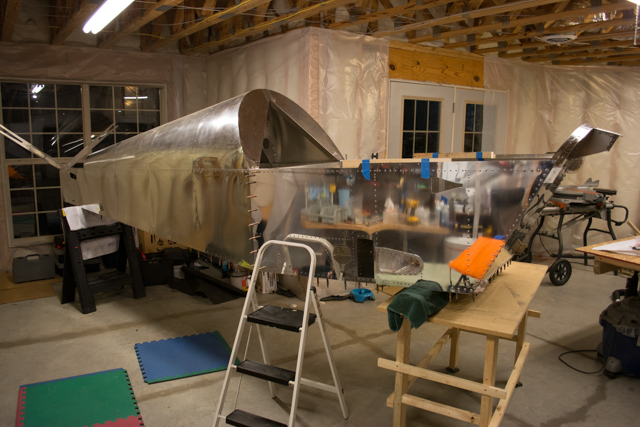
With this step of the process complete, I flipped the fuselage upright.
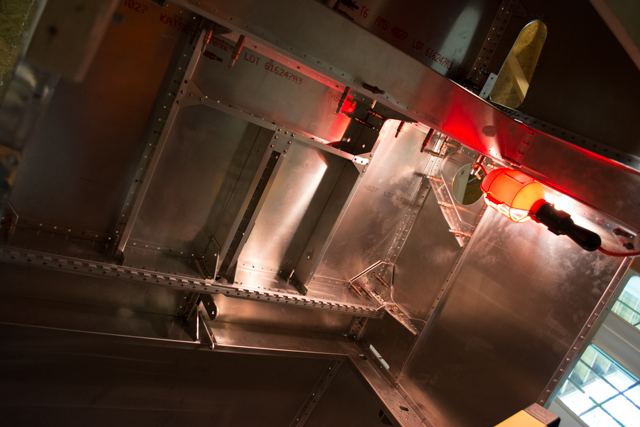
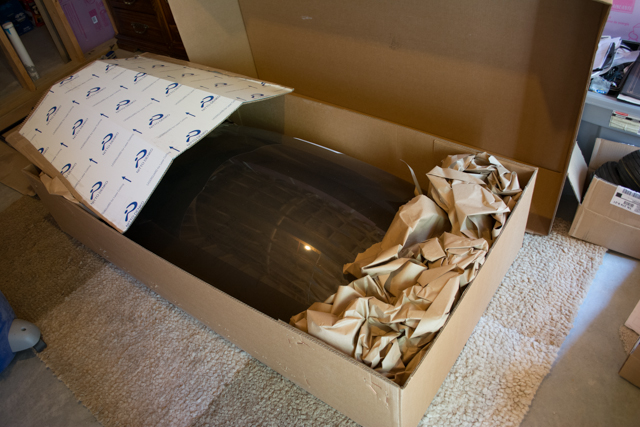
I also opened the final box from the kit that was still factory-sealed. In it are the glare-shield, windshield and canopy.
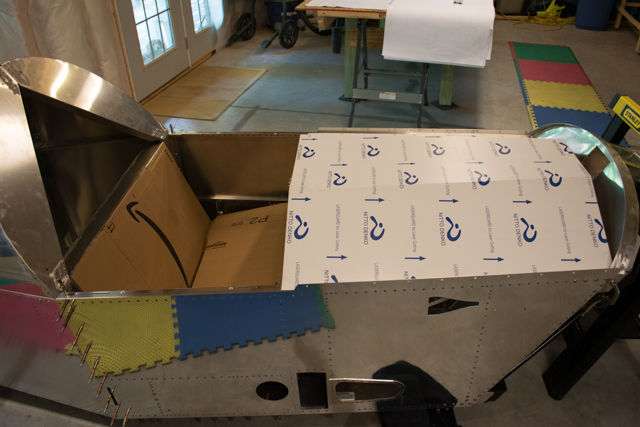
I placed the glare-shield into its approximate location, and added a cardboard box to simulate where the seat sling will be. This was fun!

The next few steps should be the glare-shield/instrument panel, the seat, the engine mount and the landing gear.
Very cool. Looks like an airplane.