

Total build time: 646 Hours.
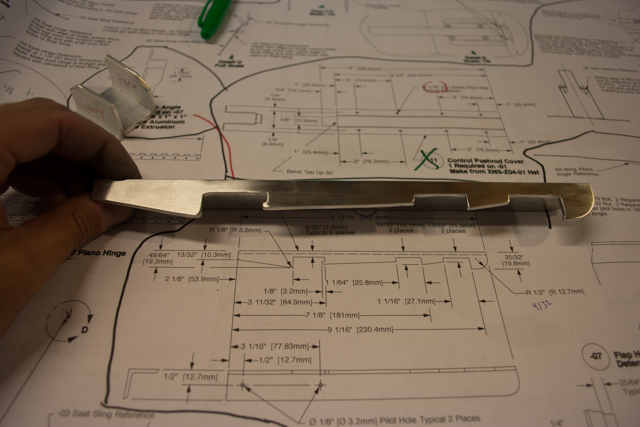
Two more small details in the cockpit before I get to completing the seat installation. First is installing a protective cover for the elevator pushrod that eventually will go from the control sticks, down the center of the bottom of the seat, back to the idler bellcrank.
A few cuts in the pre-bent cover are made to create a tab that will keep the cover from riding up into the seat (once the seat is installed.)
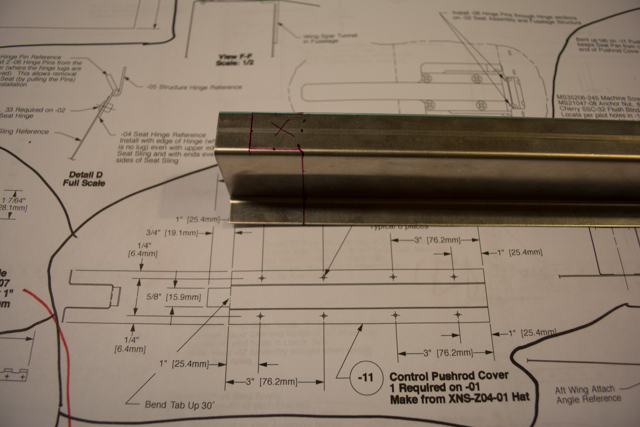
I pilot drilled the cover, and tested fitment with the push-rod roughly in position.
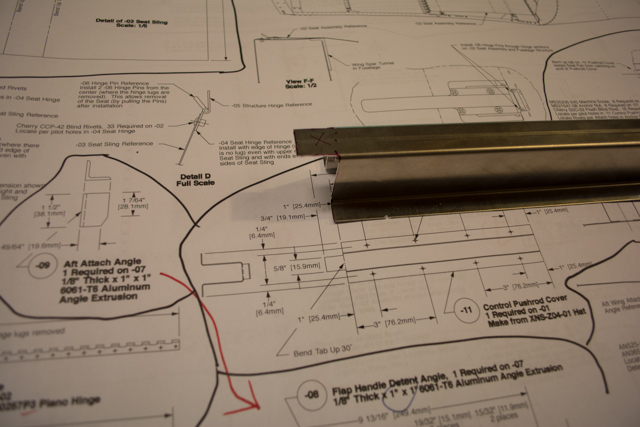
Nutplates are installed, as this cover needs to be removable for later insertion of the pushrod. This was quite a tedius process, dimpling, deburring and riveting the nutplates on the under-side of the flanges. Not much room to work! I also had to drill out one of the rivets in the trim plate for clearance while adding one of the nutplates.
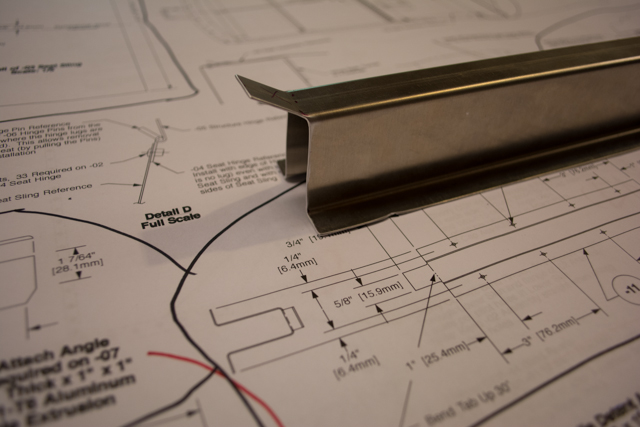
More pics of the cover in place in my next post, when I insert the seat.
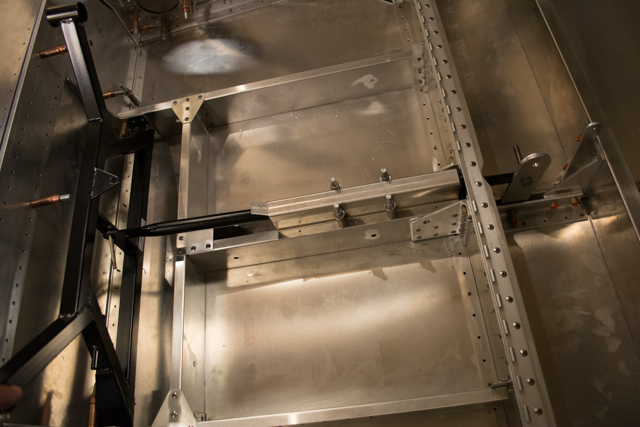
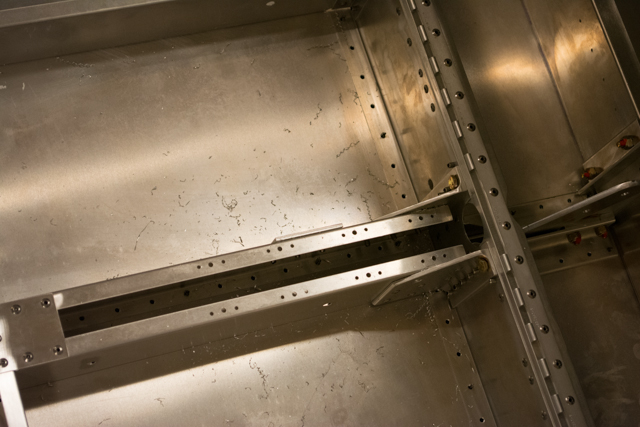
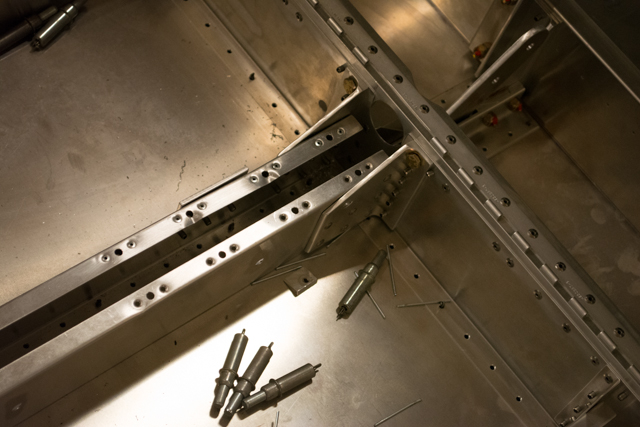
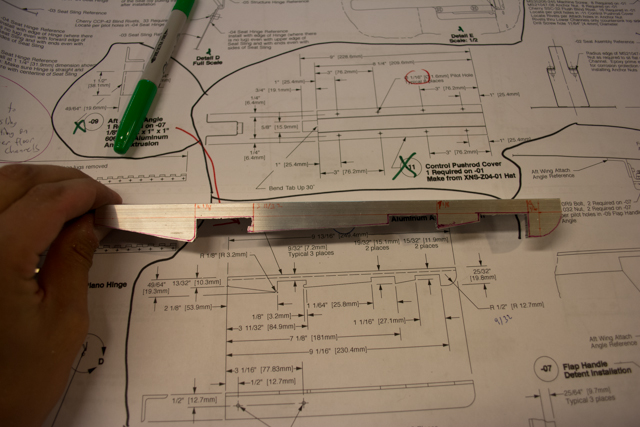
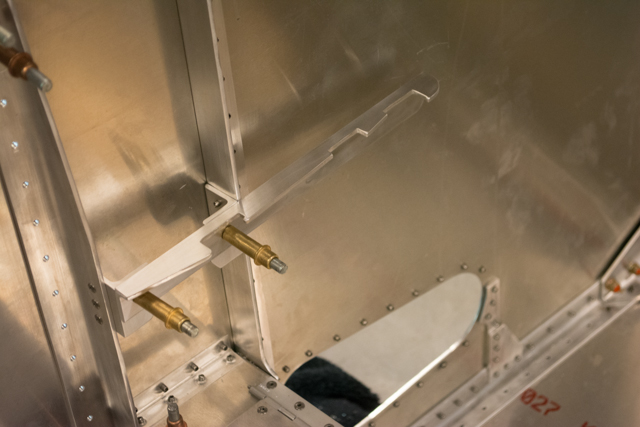
Next up is the flap detent assembly. These detents will hold the flap handle (not yet installed) in position during takeoff and landing. The design is quite intricate, a lot of accurate measurements.
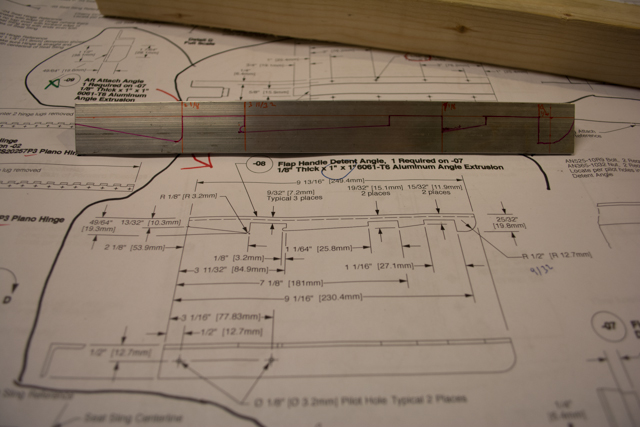
I made the primary cuts on the bandsaw, then cleaned up the notches with a lot of filing and scotchbrite hand pads.
The mounting process is a bit tricky… I lined up the 2 mounts and the detent piece per the measurements in the plans, and progressively drilled everything into position.
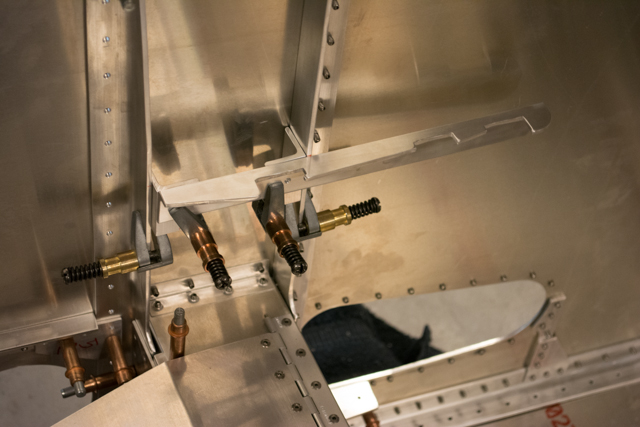
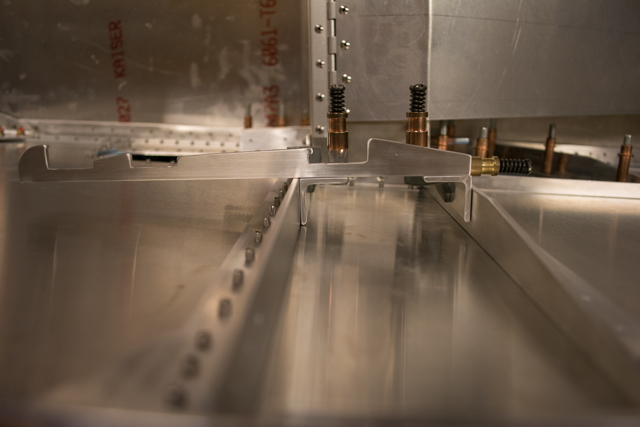
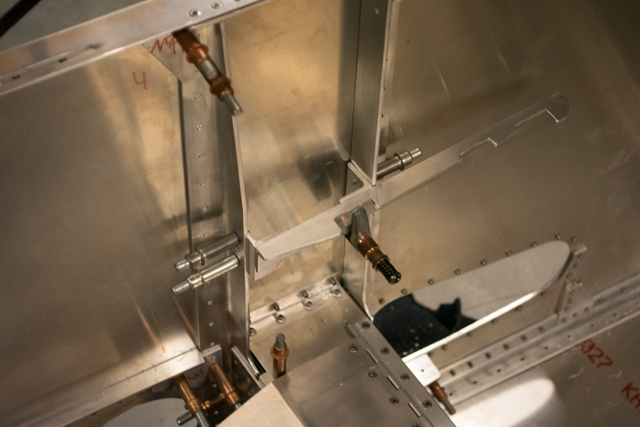
From the pictures it might appear crooked, but it’s actually in-line with the centerline of the fuselage… it’s the side panels that angle inwards from back to front.
Here’s the final assembly. I’m not bolting it in place yet, I imagine it may interfere with the fuel tank installation later on.
Your Posts are a real help to me. I am just about to the point of installing the seat (Waiex) My EAA chapter (163) member has a 4 ft brake. He bent the seat for m e. I had it marked properly, I hope. I have my fuselage upside as in your posts, and am going to put in some sound deaden-er insulation while it is in that position.
Thanks again for your Posts. I save them in a folder.
AL Roberts W0209
Thanks for the comment AL, glad I could be of help! I look forward to see how your sound deadening works out.
Guess I’ll have to wait for awhile to experiance how they work out. When I thump my finger on the place the insolation is glued I hear a thud, not a twang. It only added about two or three pounds, maybe less, it’s really light stuff.
AL