

Total Build Time: 397 Hours
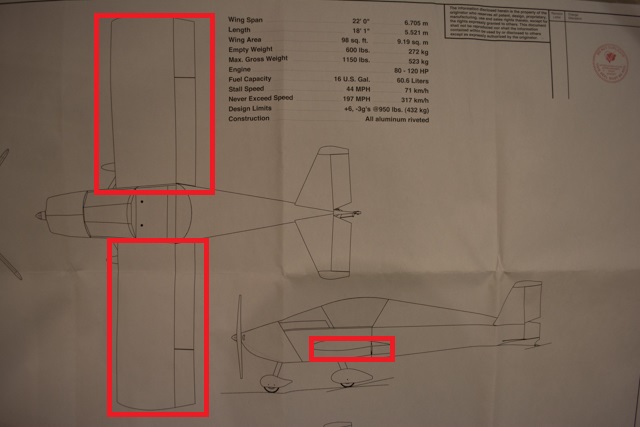
Before I finished the left wing, I decided to complete my left flap and aileron first. This would allow me to perform multiple test fittings of my work as I proceeded, as well as allow me to do some preliminary rigging of the push-rods before the wing skins go on. I am using the aerobatic installation option.
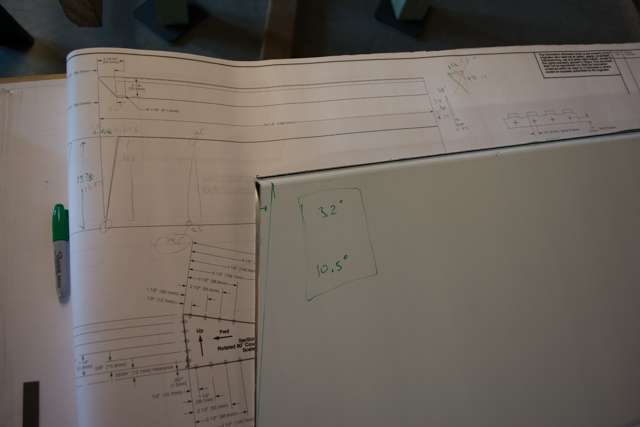
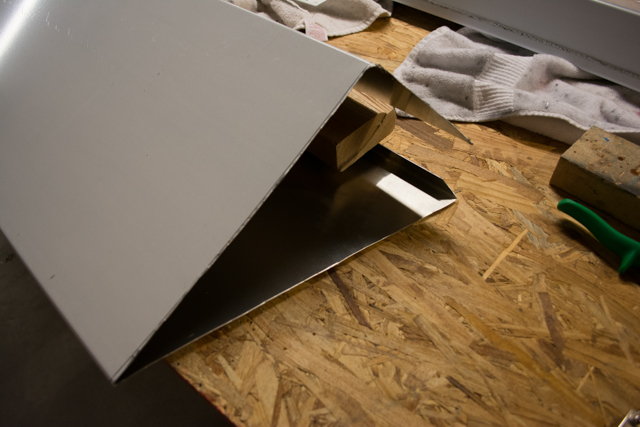
I cut both the left and right flap and aileron skins at this point. For the flap skins, I used some simple(?) trigonometry to come up with a setting for my miter saw. Using the measurements in the plans and an inverse tangent calculation, I came up with a 10.5 degree miter cut with a 3.2 degree bevel.
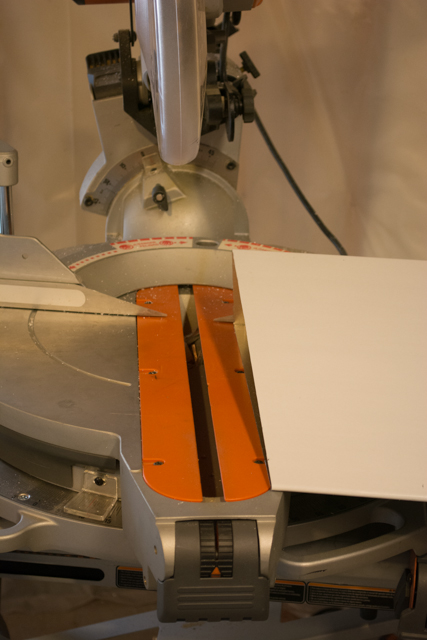
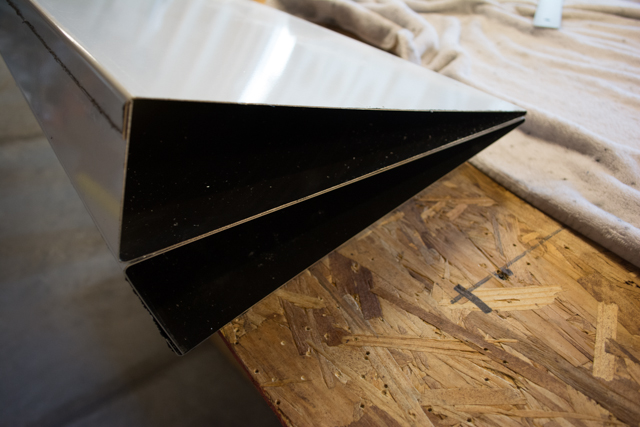
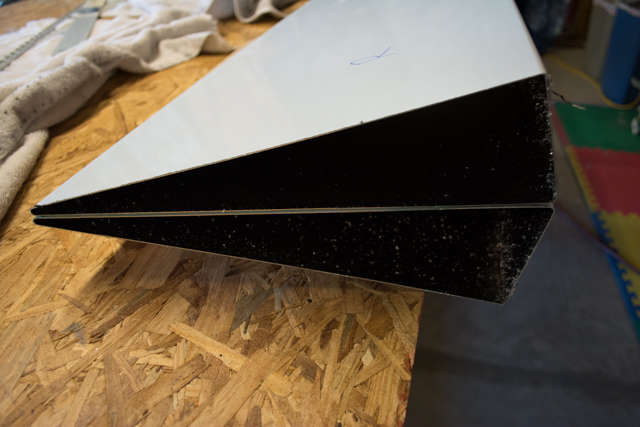
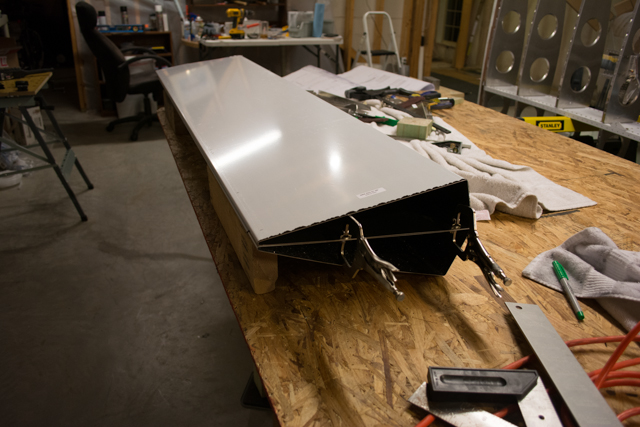
The miter saw makes great clean cuts in the aluminum versus snips, and the angles appeared to come out right on the money:
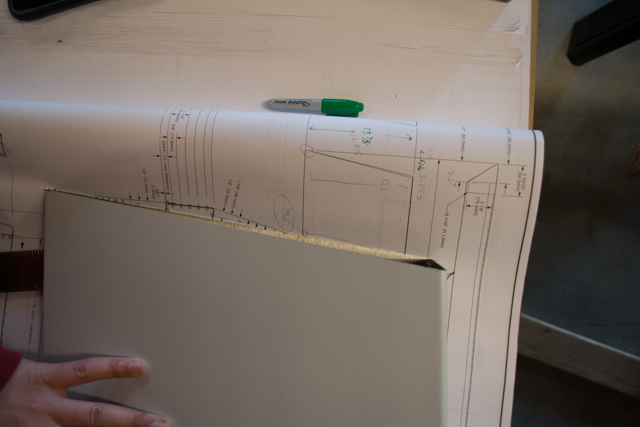
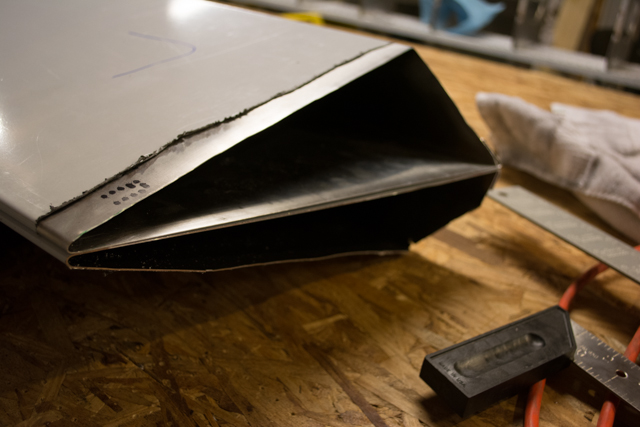
I then cut the other flap, and matched the lengths. Here are the 2 flaps clamped together, views from either end.
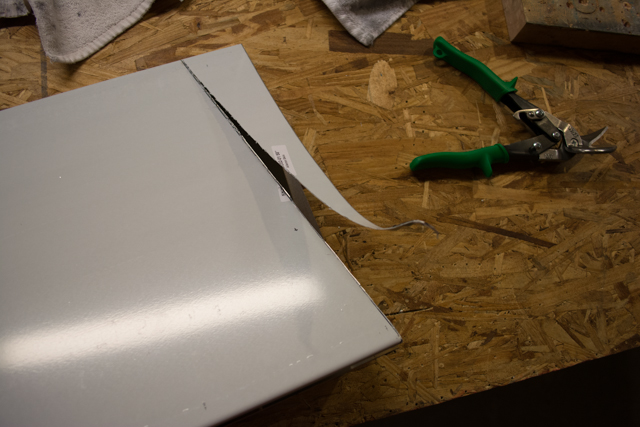
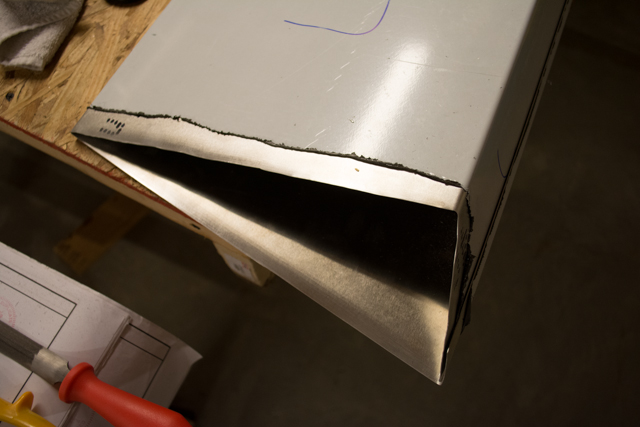
The flap skins are now complete. The aileron skins are next. I quickly learned that the miter saw was not going to help me for the very sharp angle at the end of the aileron. All of my fancy maths (I’m no engineer) couldn’t help me figure out the proper setting, so I resorted to the more traditional method of marking lines and cutting them with snips.
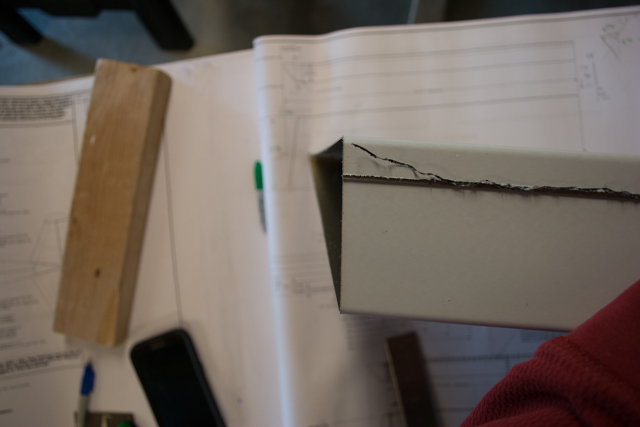
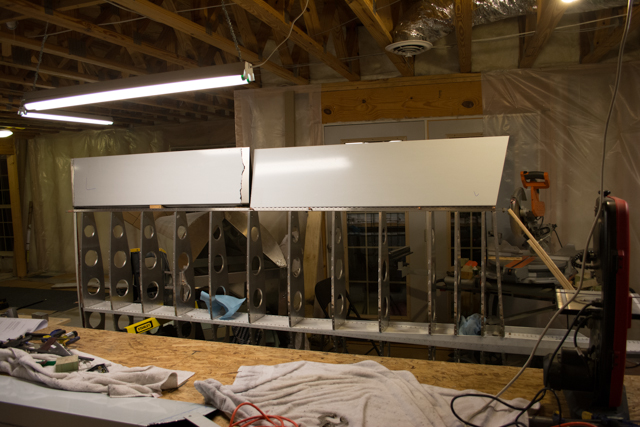
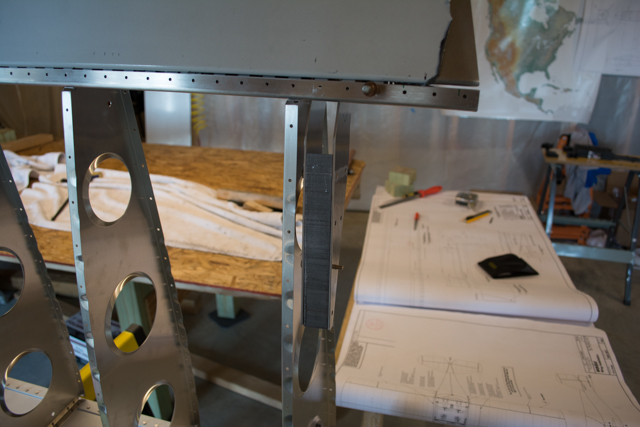
I then did a test fit of my left flap and aileron skins resting on the left wing. The following picture really got me energized to push forward on finishing the wing!
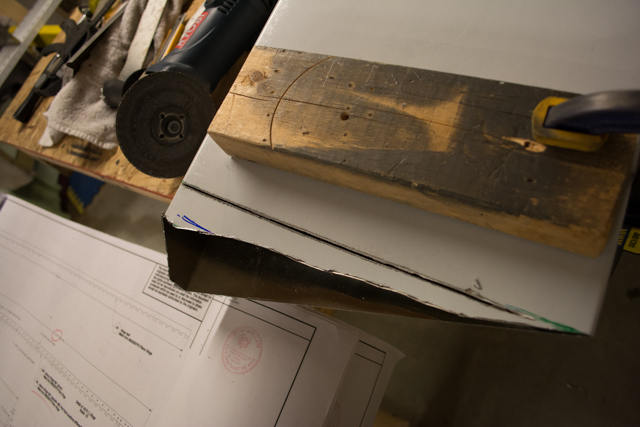
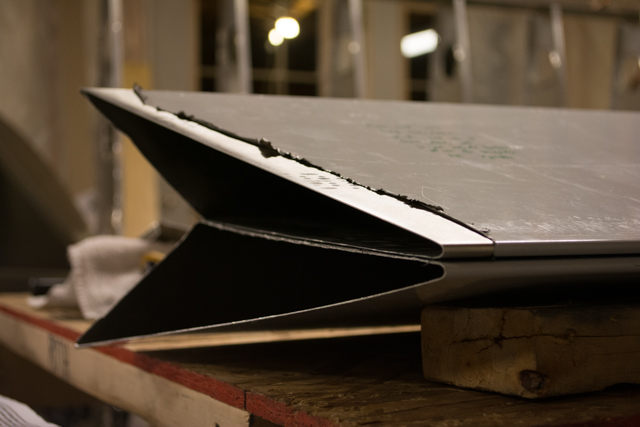
Satisfied that my skins were taking proper shape, I again duplicated my aileron skin to match it’s right side counterpart. That gnarled edge is the result of me trying to use the miter saw for this cut, let it serve as a warning that the miter saw won’t work here.. Luckily I had enough stock material left to complete the cuts in the skin properly.
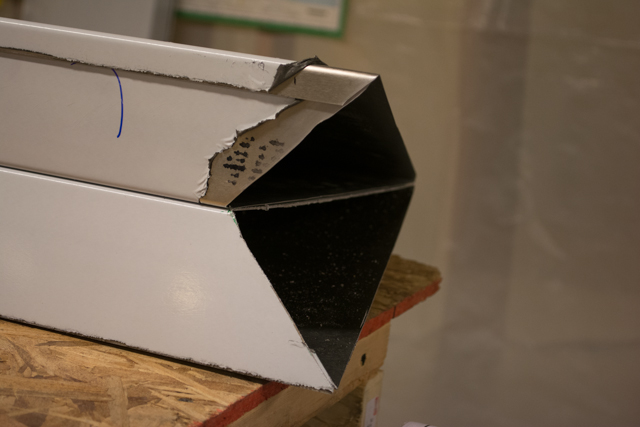
The left and right side flap and ailerons skins are now cut.
Hi Ryan, What saw blade did you use in your miter saw to cut the aluminum?
Thanks, and am loving the blog. I purchased a partially built kit and am working to get up to speed. A fellow WAIEX builder pointed me to your site.
Nothing special about the miter blade, I just checked and it is 12″ with 60 teeth. Just go slow and easy and it cut through the aluminum pretty much like butter. I wouldn’t try it on any other type of metal though.