

Total build time: 404 Hours
The aileron skins are complete. I prepared several parts for both the left and right aileron at the same time. First up was the lead counterweights. Lead block is simply no fun to work with, it’s kind of like working with metal, wood, and syrup all at the same time. I was able to cut the shapes with my band saw’s metal cutting blade without too much of an issue, just had to take it slow. Did I mention that lead is a toxic heavy metal? I resisted my urge to impart my dental signature into my airplane by biting the lead.

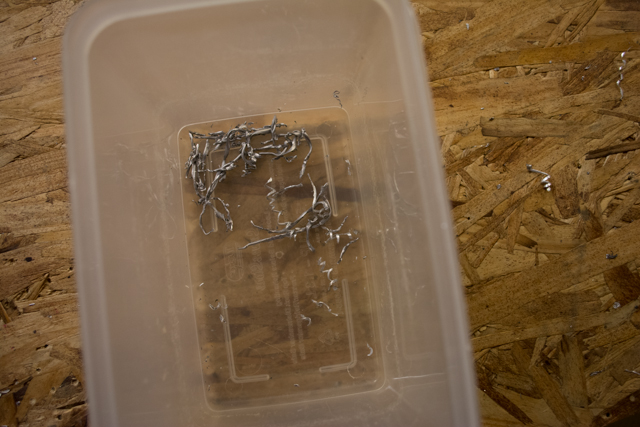
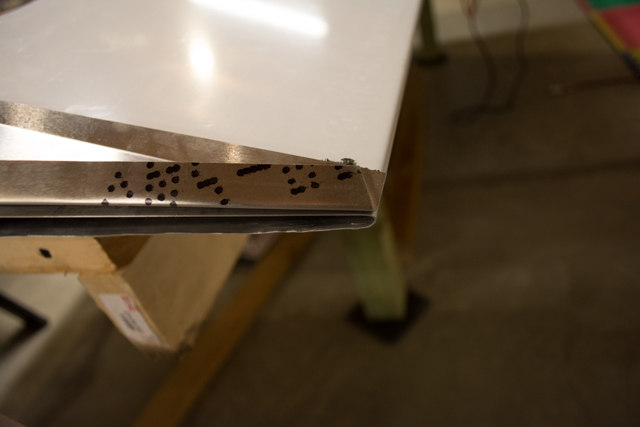
I didn’t take pictures of the hole drilling process, but lets just say it was a bear. I found that it was easiest to just drill to the final 3/16″ hole to begin with, rather than pilot holes. It still took 3-4 good plunges of the drill bit with frequent cleaning, but the job got done. Here’s some of the soft slag from the drilling process.
The aileron counterweight plates were installed, and the counterweights were fitted.
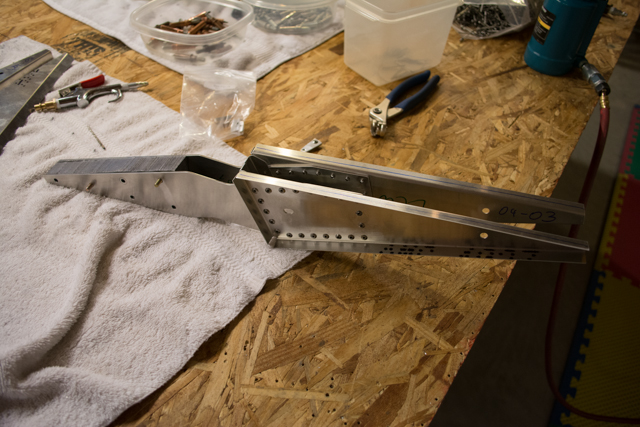
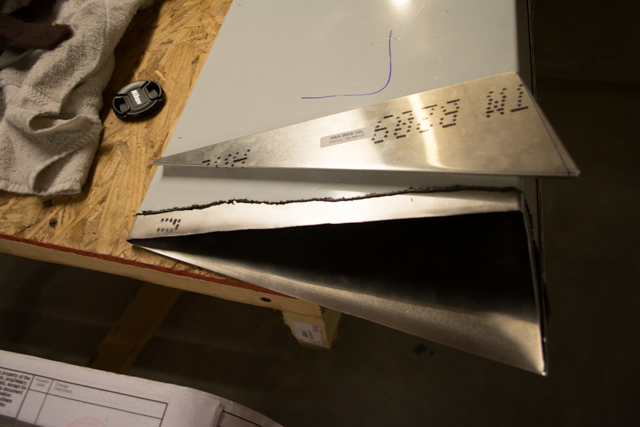
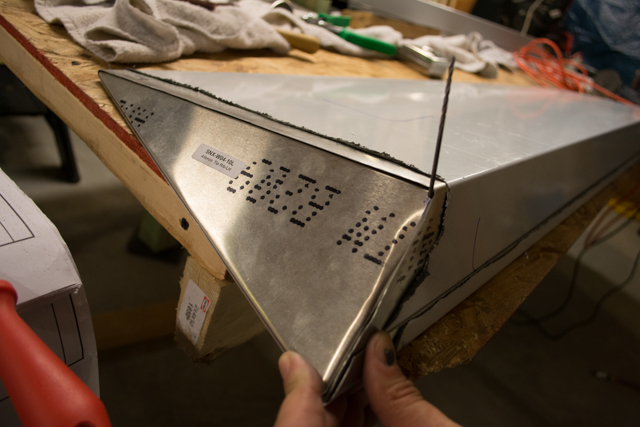
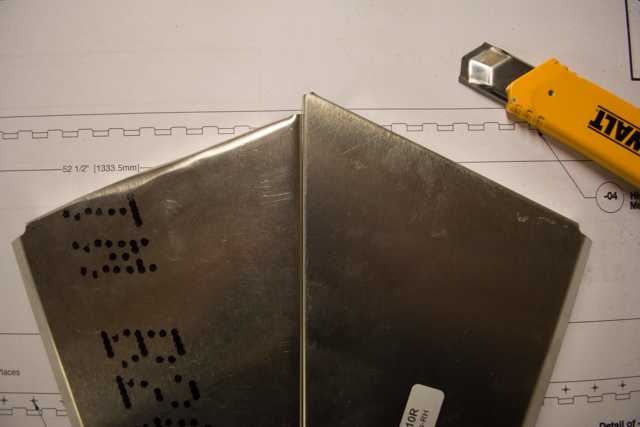
I ran into an issue when trying to fit the tip rib provided in the kit. I found that the long edge was simply too long in the rib to fit inside the skin. I checked all of my measurements half a dozen times and concluded that the provided rib was simply too large.
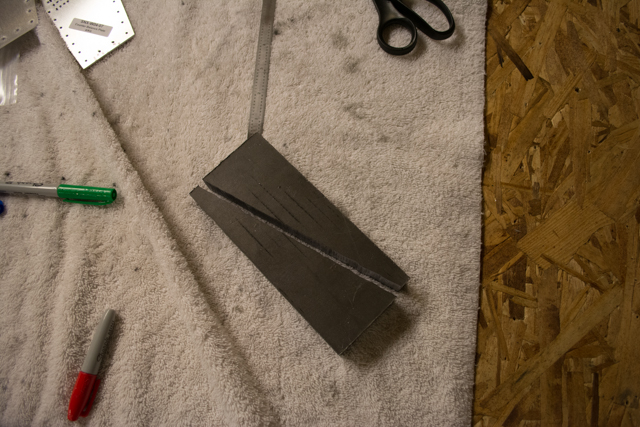
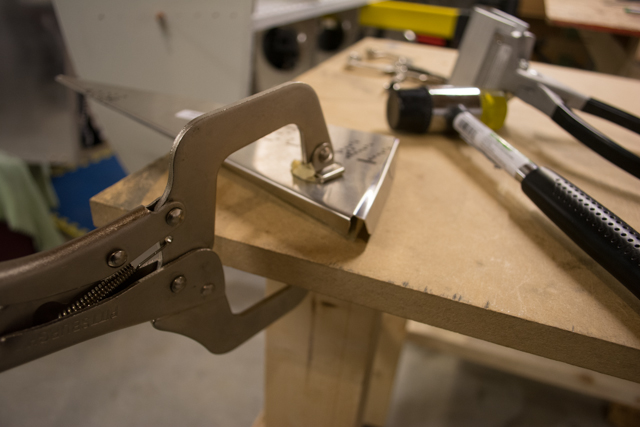
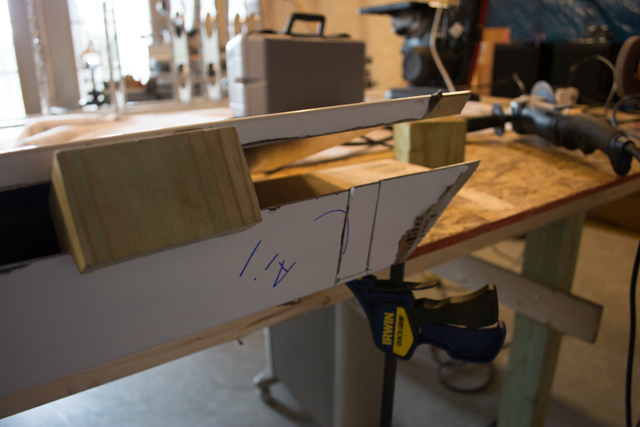
I called Kerry at Sonex regarding this issue and he said this is just one of the places on the airframe that might take some scratch modification. So, after a lot of head scratching, I got to work modifying the tip rib. I started by marking where the new bend line needed to be.
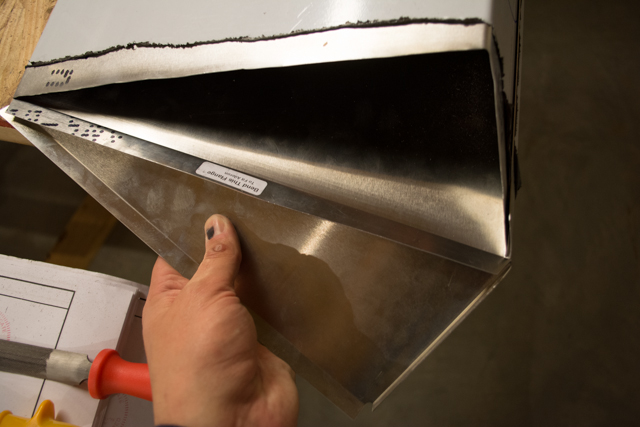
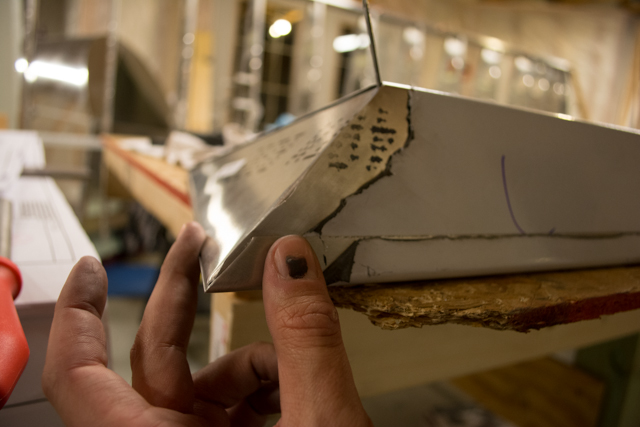
I then trimmed away the obvious excess material, and started the new bend. This was tricky given the angles involved, and required a lot of careful mallet work.
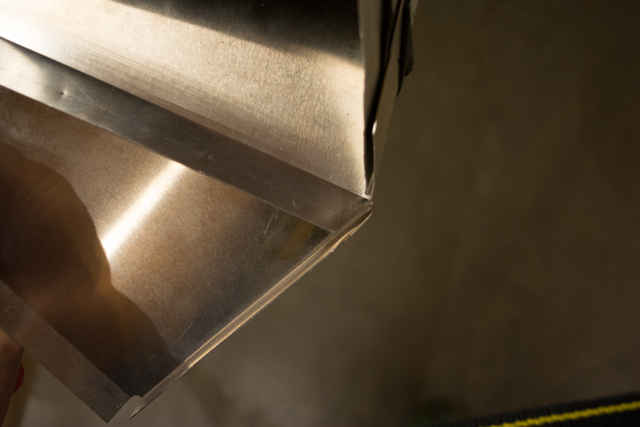
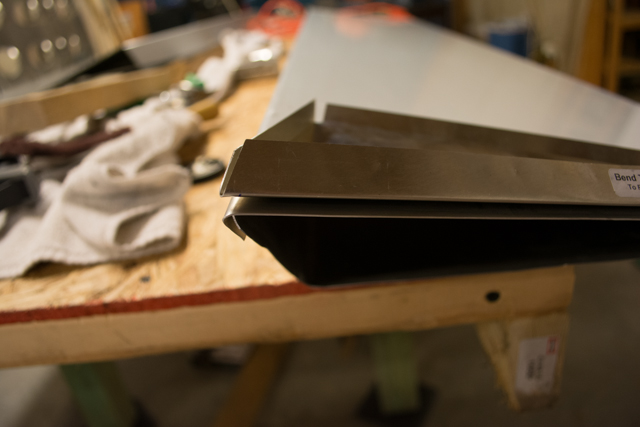
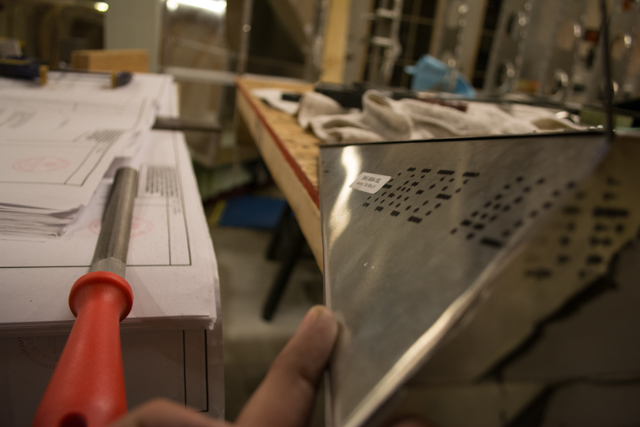
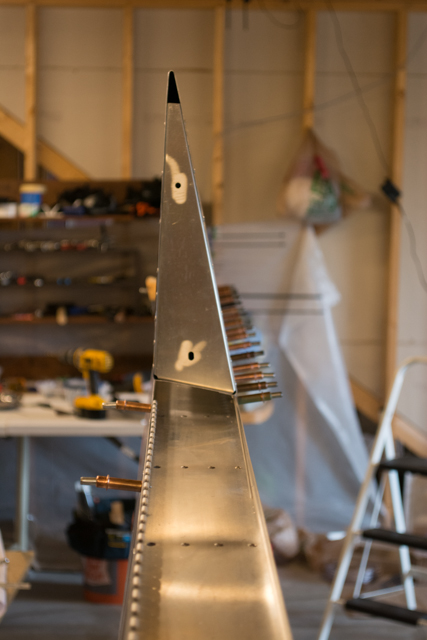
In the end it paid off, and I ended up with a nice and snug tip rib!
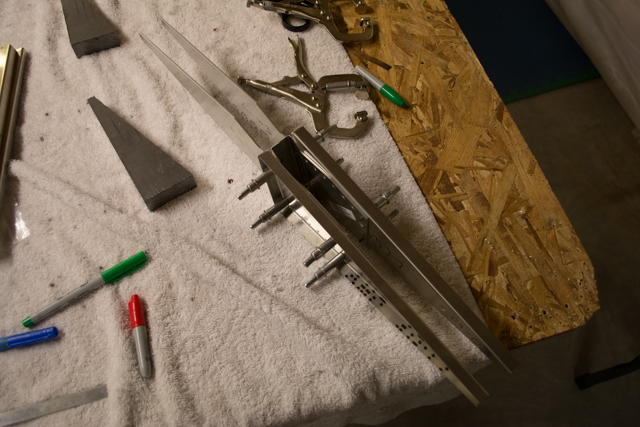
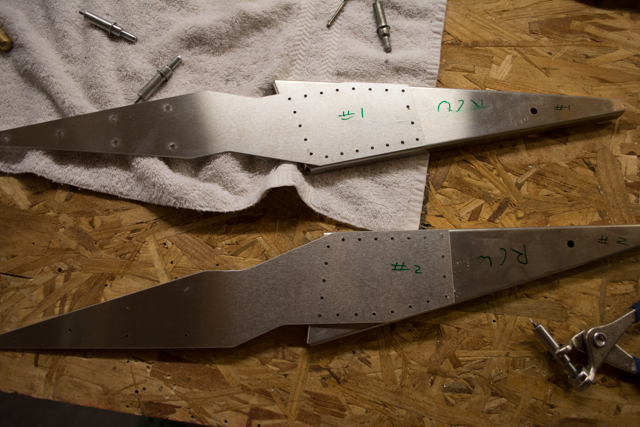
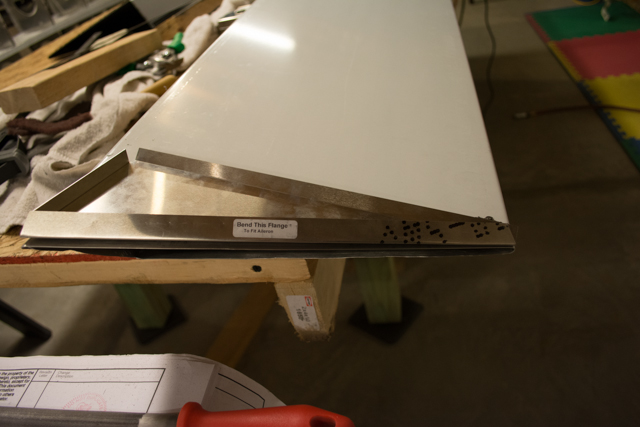
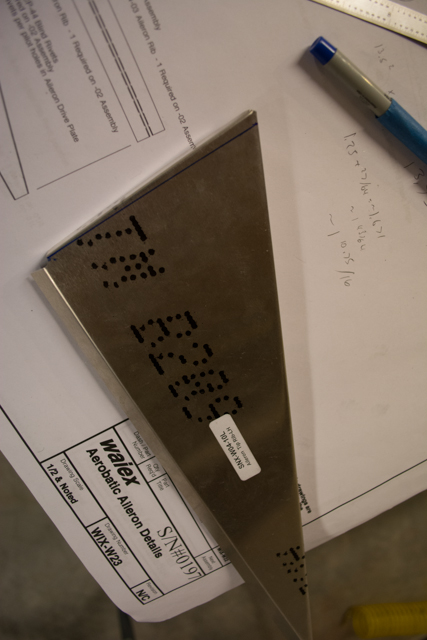
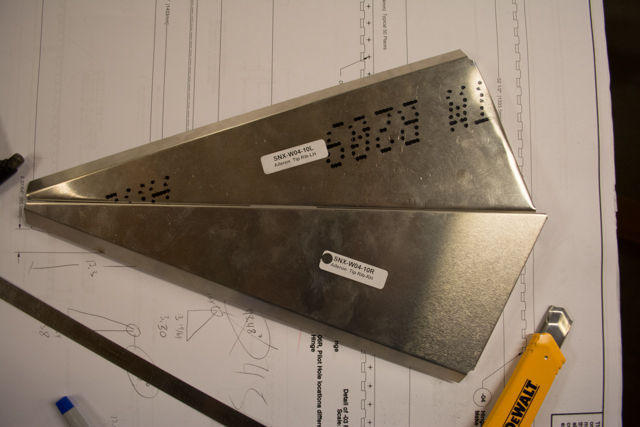
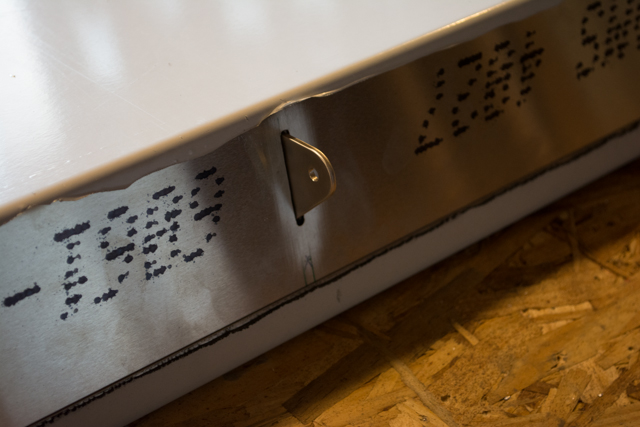
Here is the new rib next to the unmodified tip rib for the right side. The kit rib is a good 1/4″ too large/long. I marked the right rib for reference when I work on that aileron.
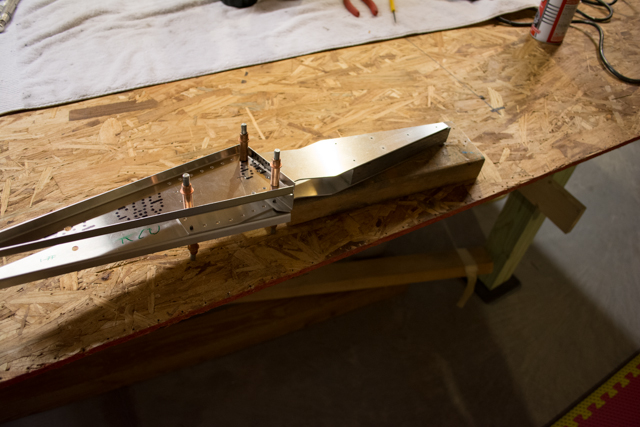
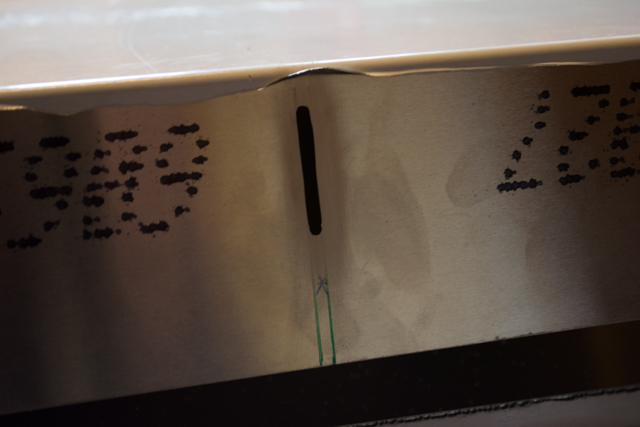
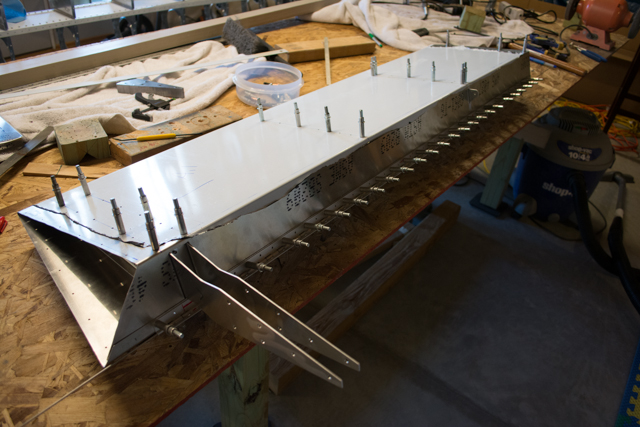
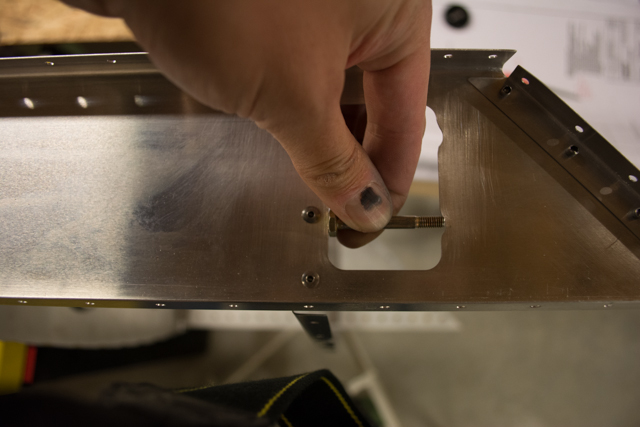
I then cut the necessary holes in the skins for the aileron counterweight and drive horn. I left the lead out of the counterweight for the drilling process. Inserting the counterweight assembly in reverse was a handy way of quickly checking the hole as I filed it out.
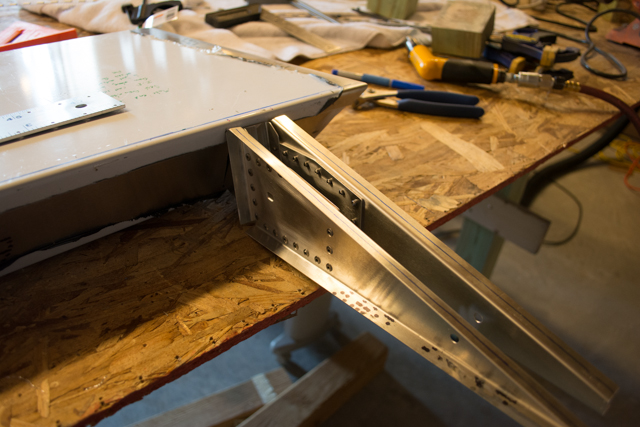
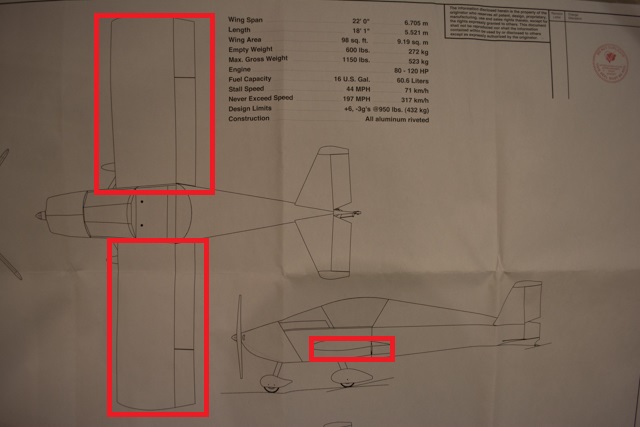
Here is one of the reasons I’m doing this step before completing the wing skinning… I can test the fitment of my drive horn and counterweight as they pass through the rear wing spar. Everything is looking good!
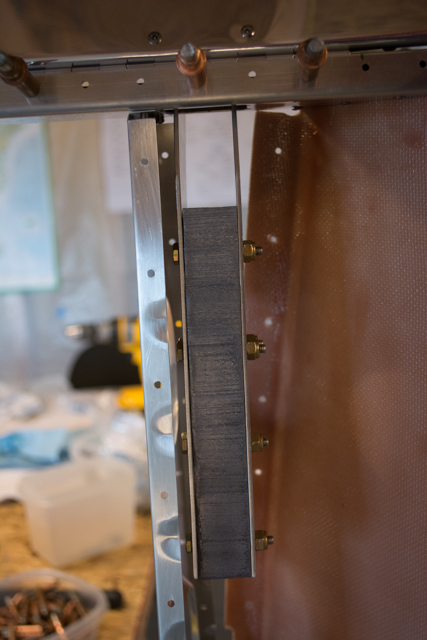
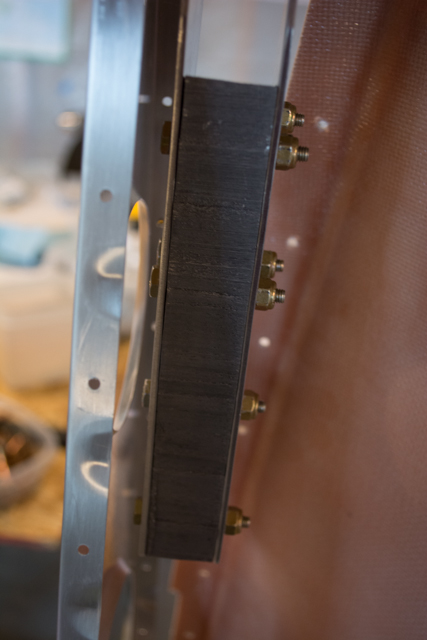
Drive horn:
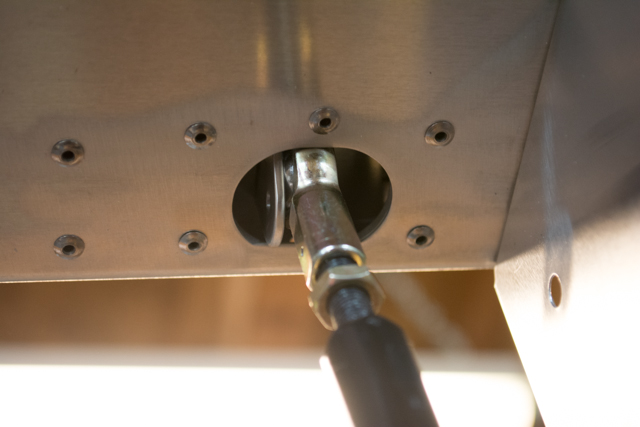
Counterweight:
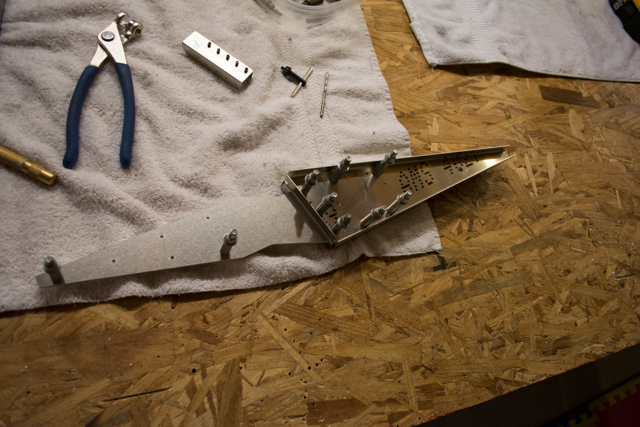
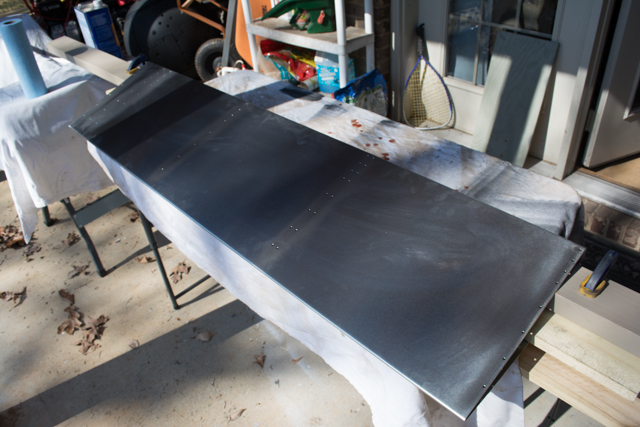
For drilling out the holes in the skin for the aileron ribs, I came up with a neat trick… I used my piano hinge template, which already has perfectly spaced in-line 1-inch holes. Basically I would place and drill the first hole for each rib line, and then align/square and clamp my piano hinge ruler and drill through its holes. This worked brilliantly and both sped up the process, and resulted in straight holes with no center-punch dimples.

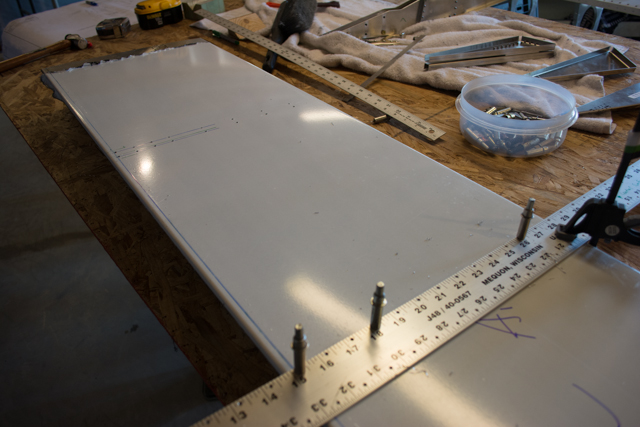
Left aileron drilling:
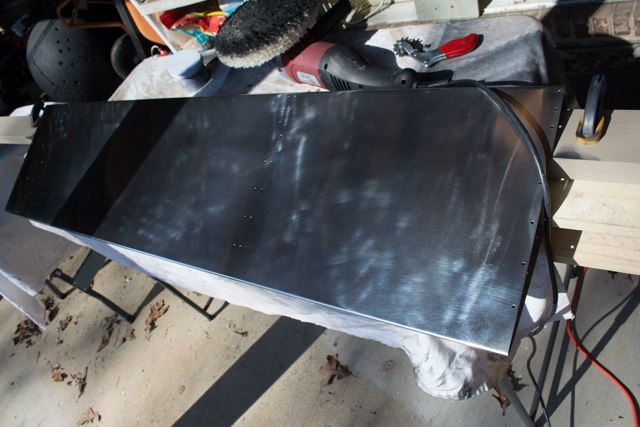
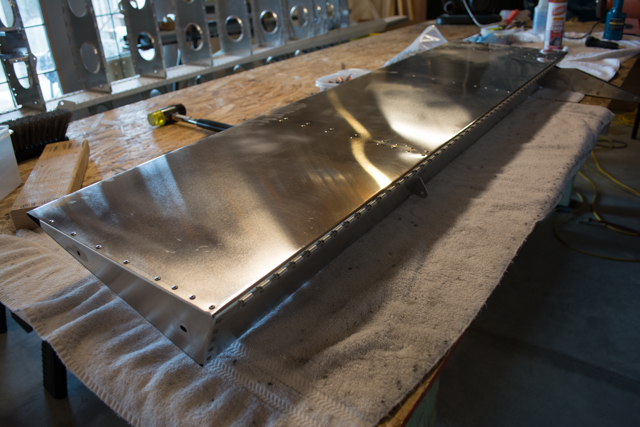
Once updrilling was complete, I polished the aileron before riveting. Nuvite F9:
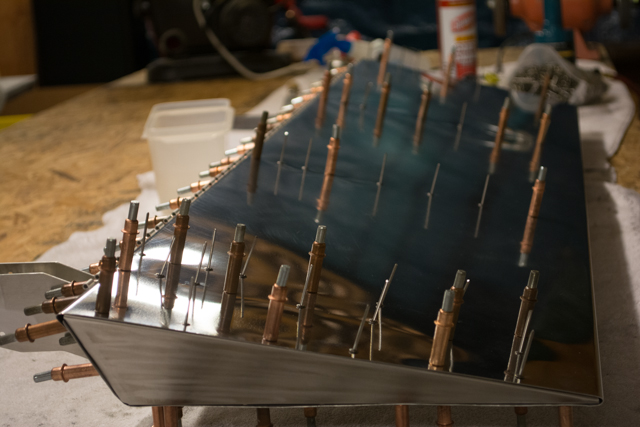
Riveting the aileron:

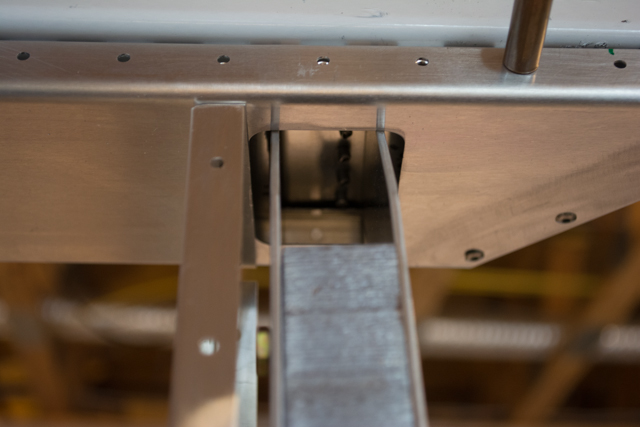
I found that the factory rear spar isn’t quite wide enough to accommodate the an3-14 bolts on the counterweight. I ended up filing 2 half-moons in the rear spar to allow the bolts to pass. I made the clearances in the locations of the final 2 (widest spaced) bolts in the counterweight assembly. This gives room for all the other bolts to pass as you slide the aileron into position.

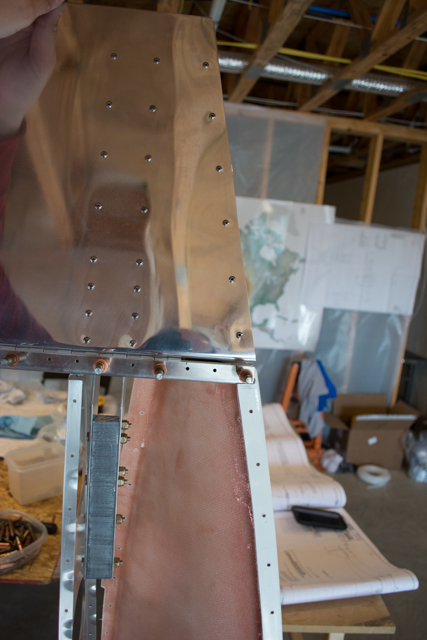
The aileron pinned to the wing!
My counterweight has proper clearance and swings freely:
I’m also REALLY happy how my skin tips turned out in reference to the wing tips. This also confirmed that it was the provided tip ribs, not my cuts, that necessitated modification of the tip ribs.
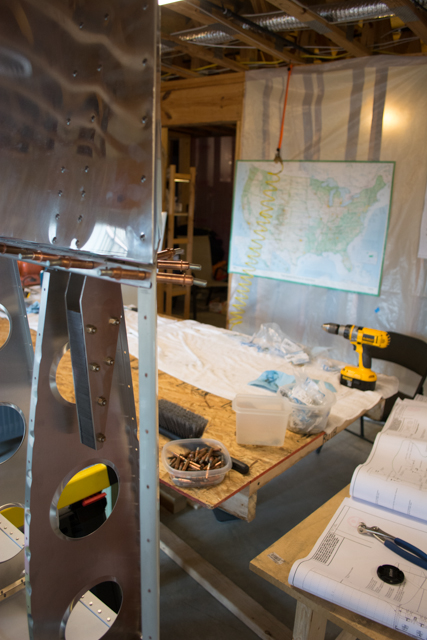
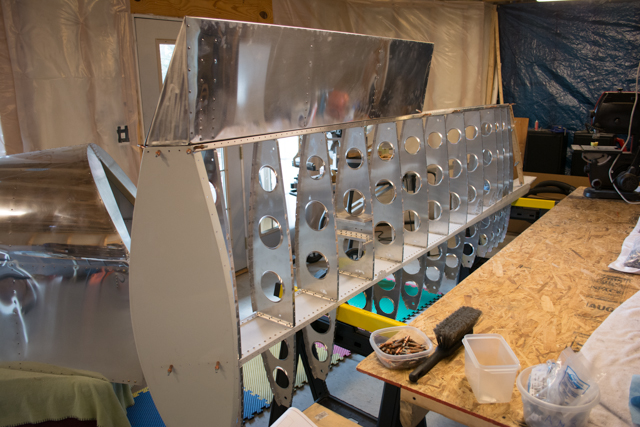
Finally, with un-skinned wings I took this opportunity to do a preliminary rigging of the aileron push-rods.
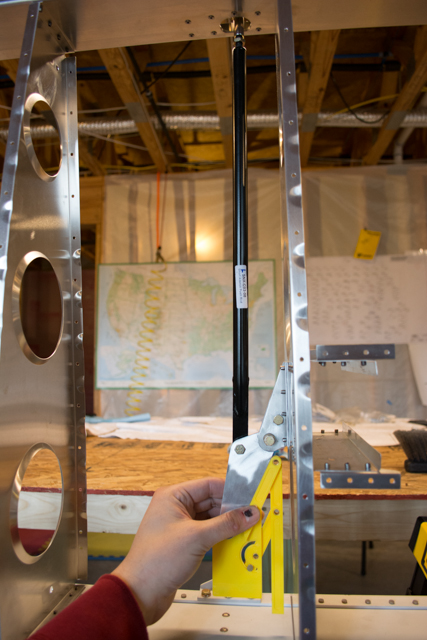
Here is a video of me interacting with my aileron for the first time: