

Total Build Time: 1214 Hours.
There is no guidance in the plans for the installation of an Emergency Locator Transmitter, however it’s something that’s required by the FAA before my plane can be certificated. It needs to be mounted in a strong and secure manner, and I selected a location 2 bulkheads behind the cockpit, just behind the baggage compartment on the right side of the plane, against the upper longeron.
I started by making a template for the location I had selected. Actually my friend Bill helped make the paper template almost a year ago, and it proved handy when I finally got to making a tray for the ELT.

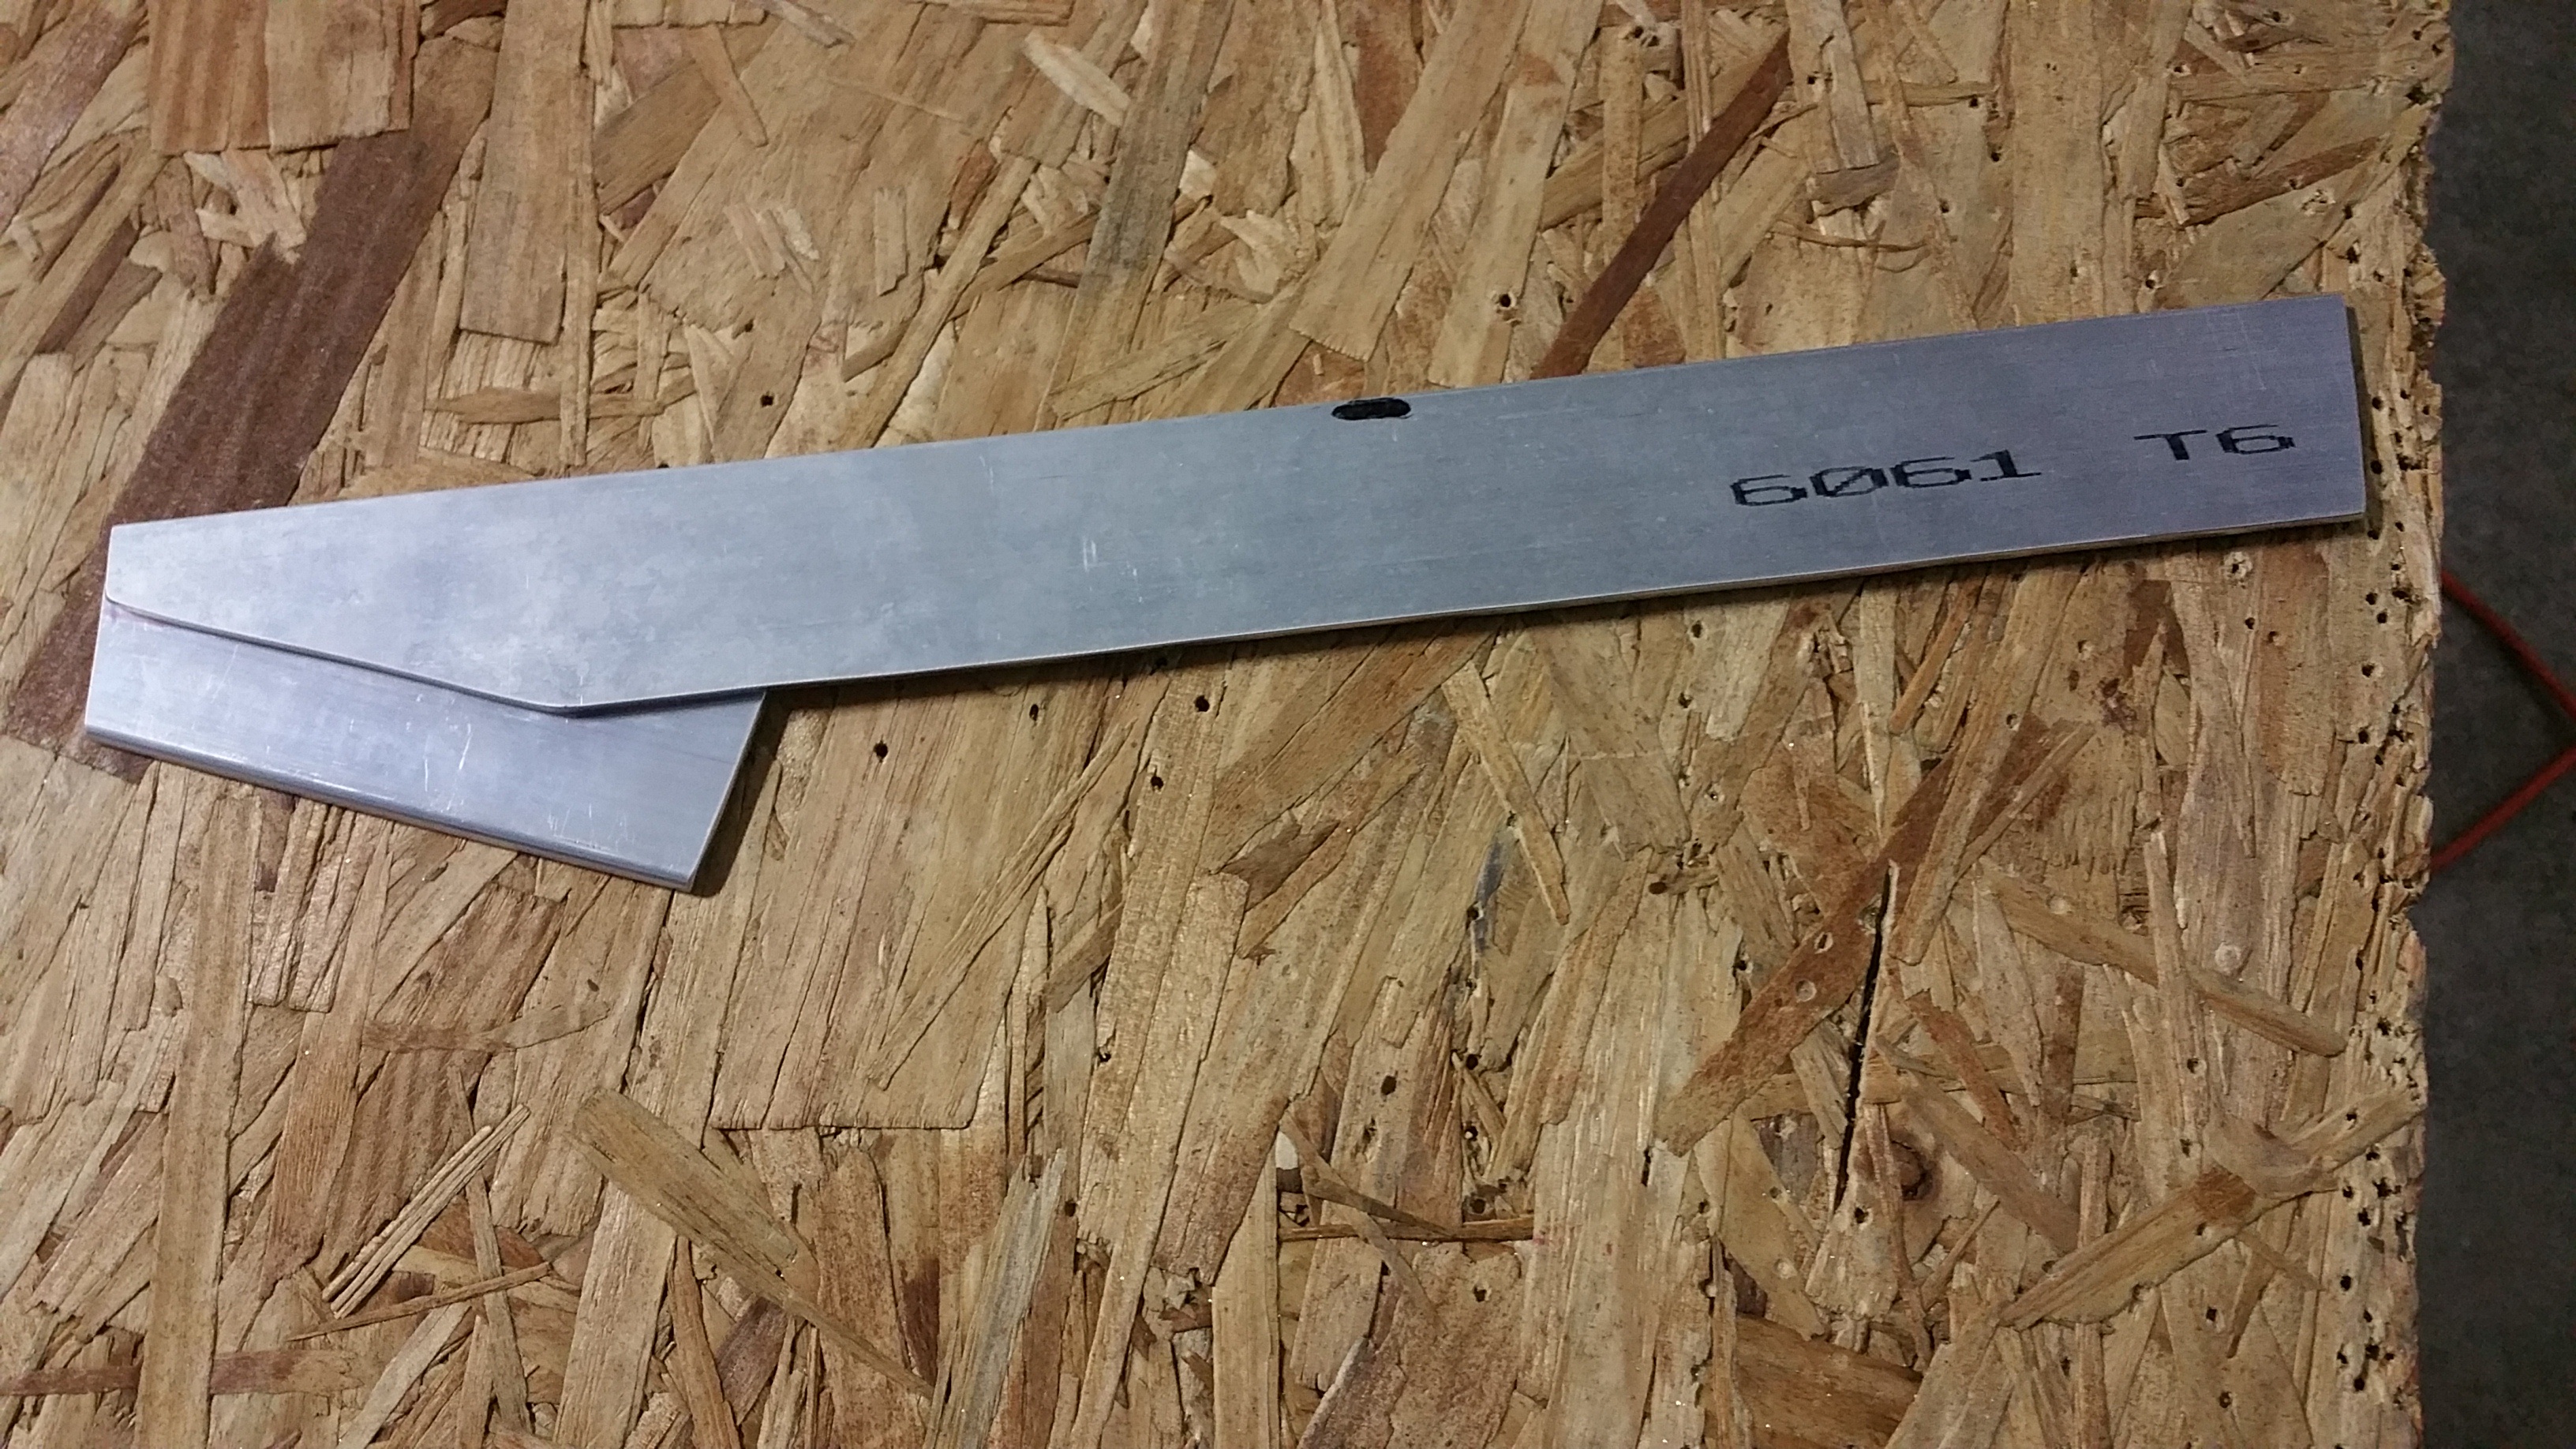
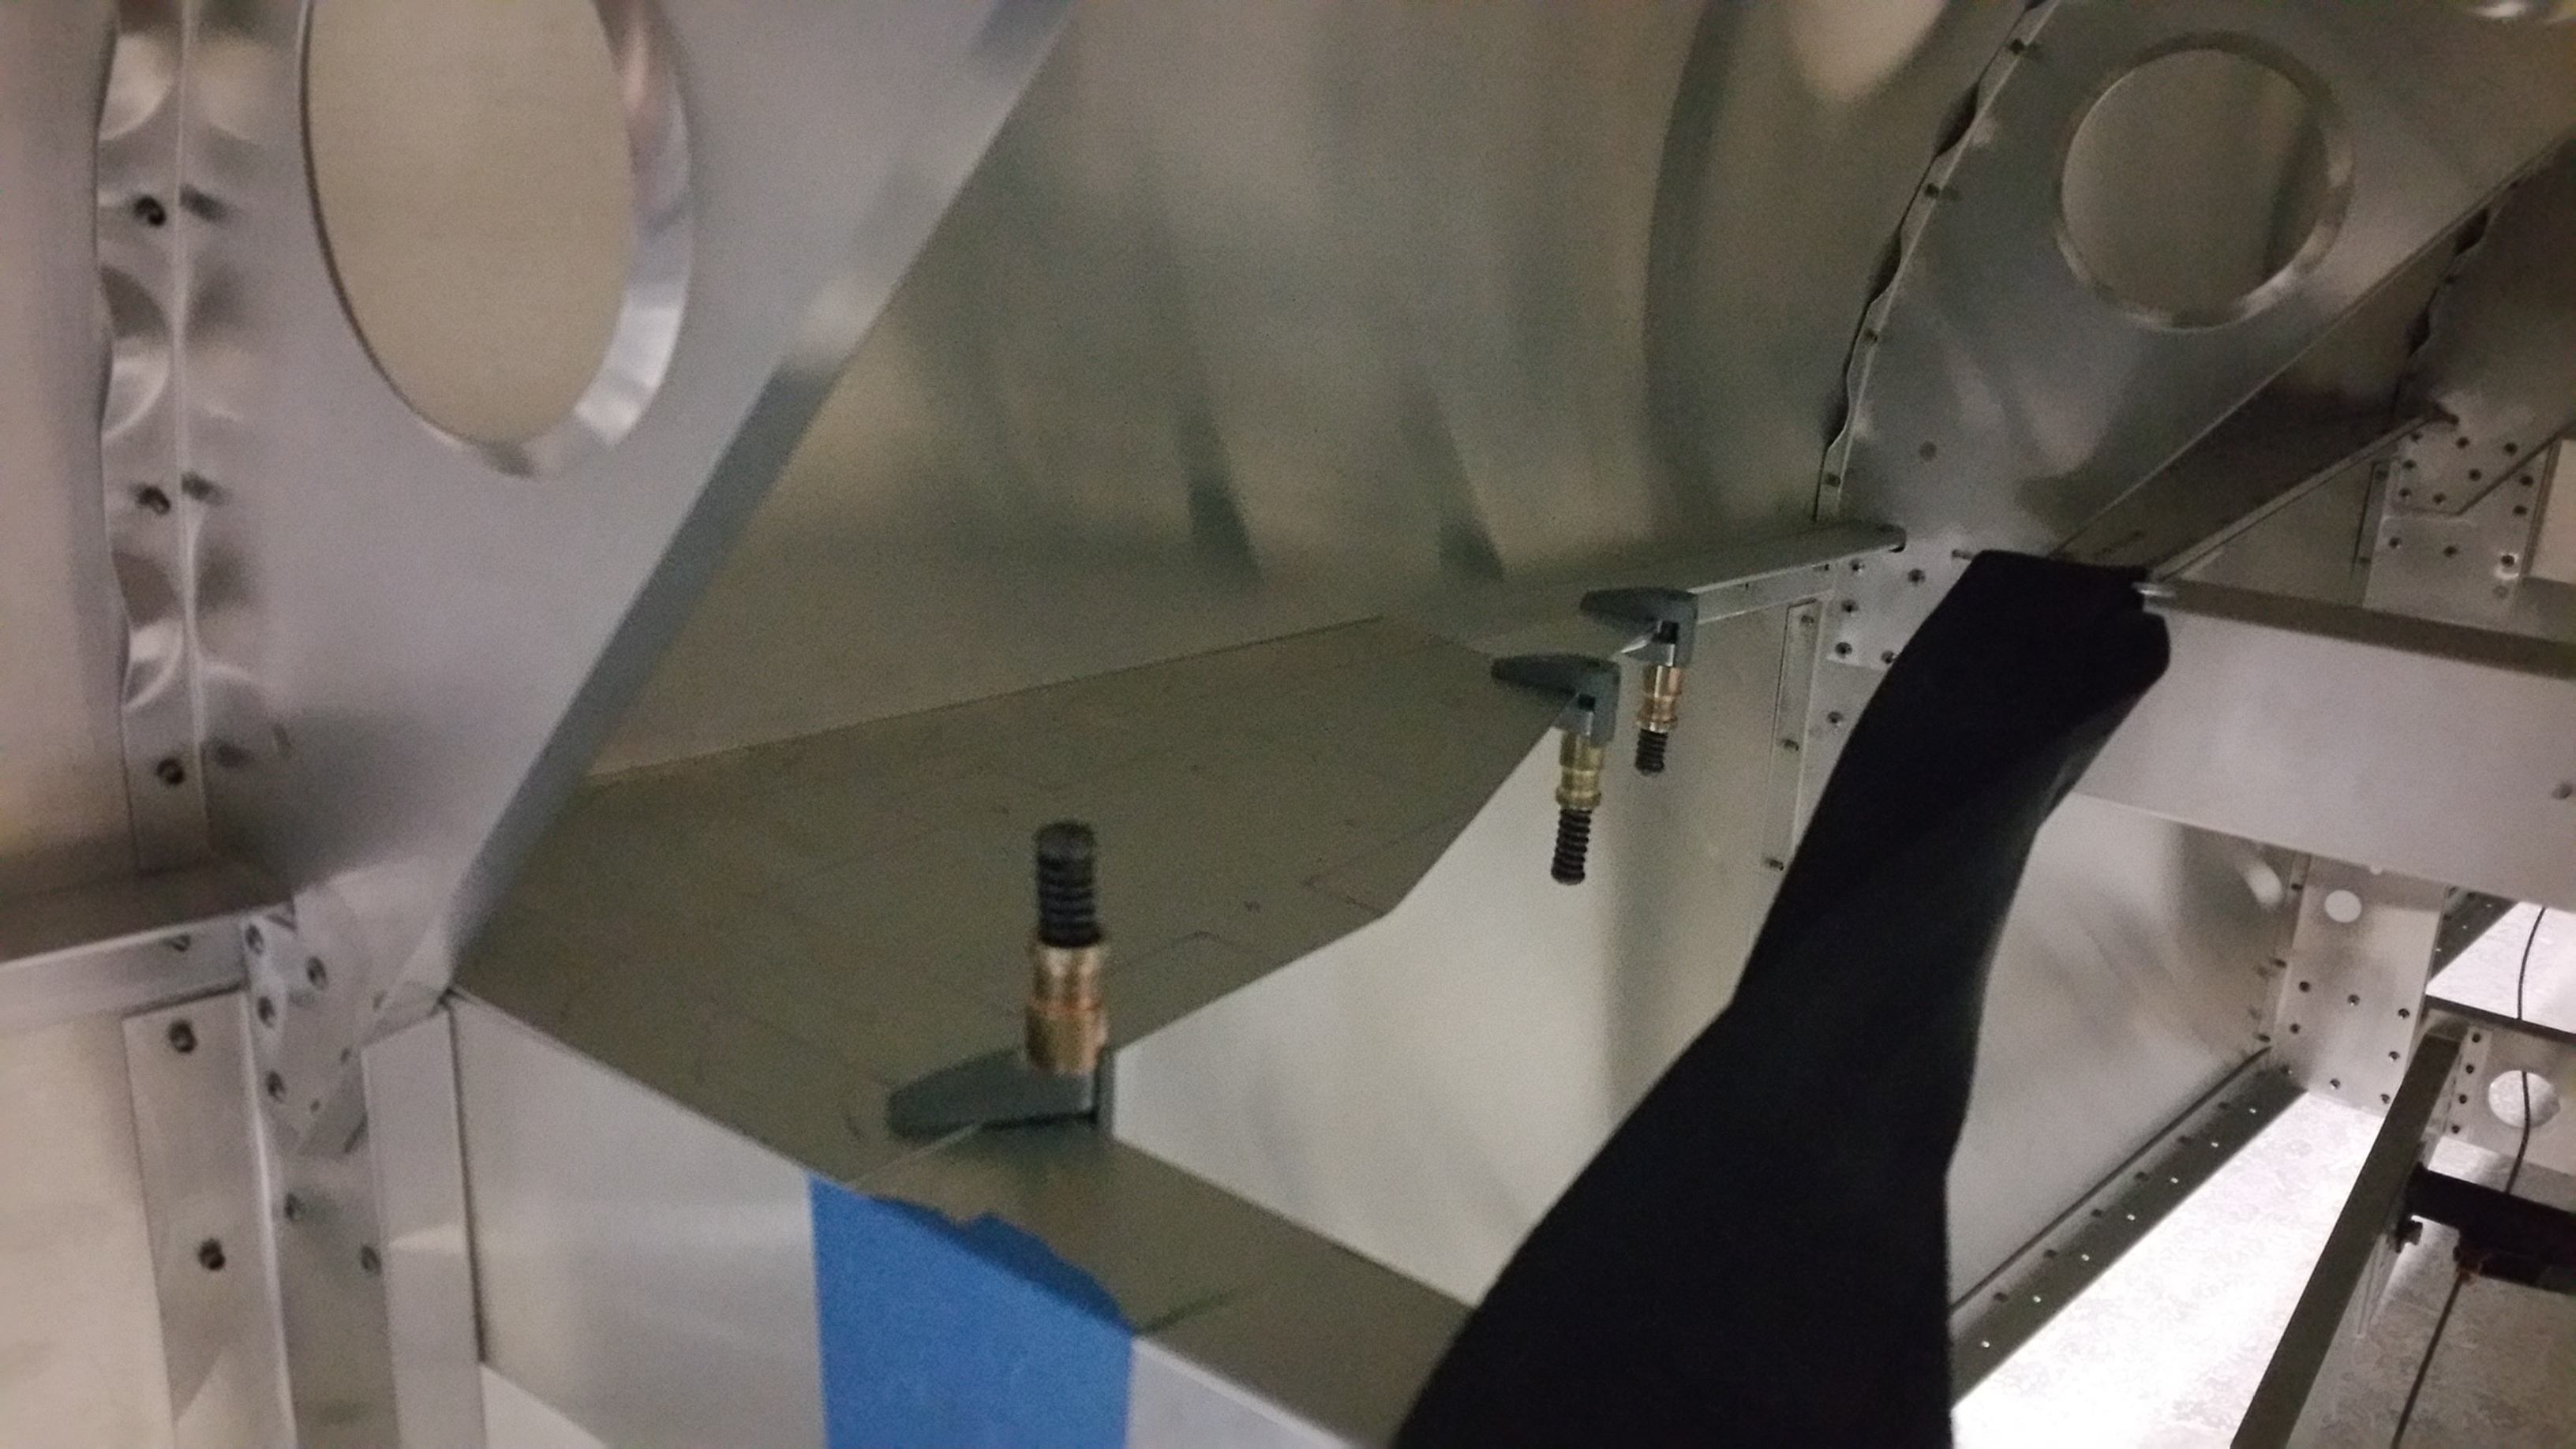
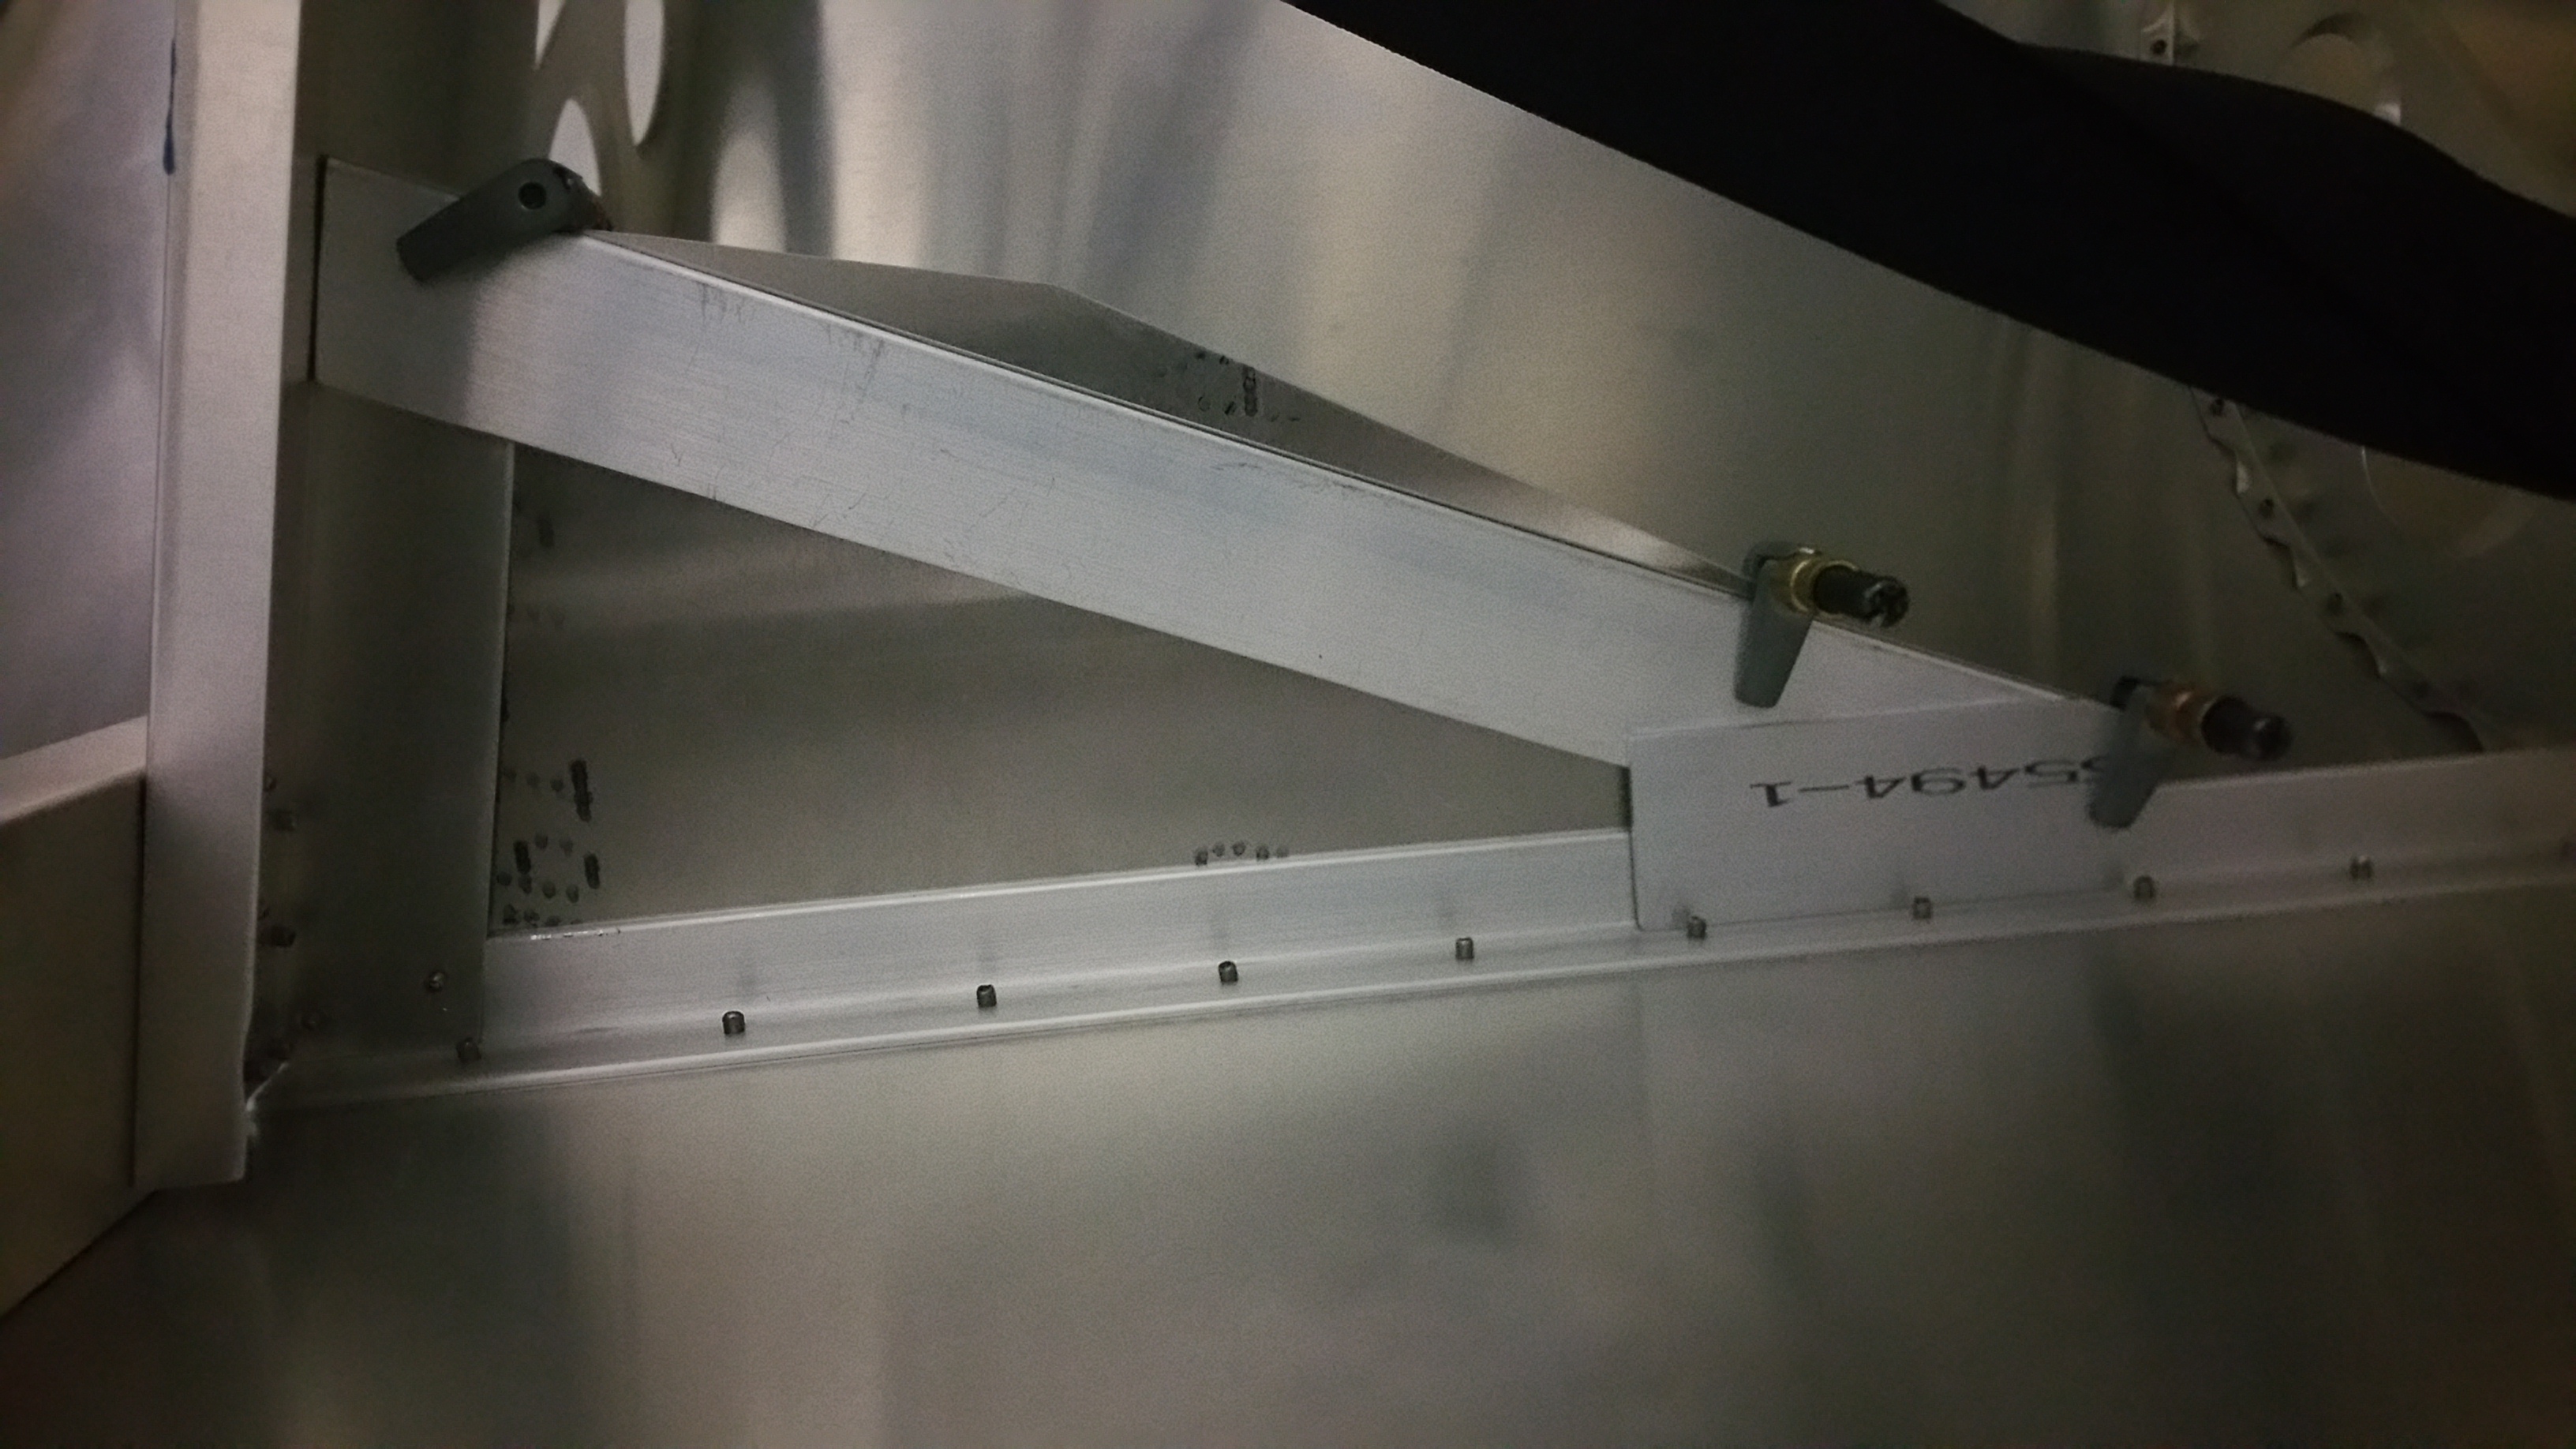
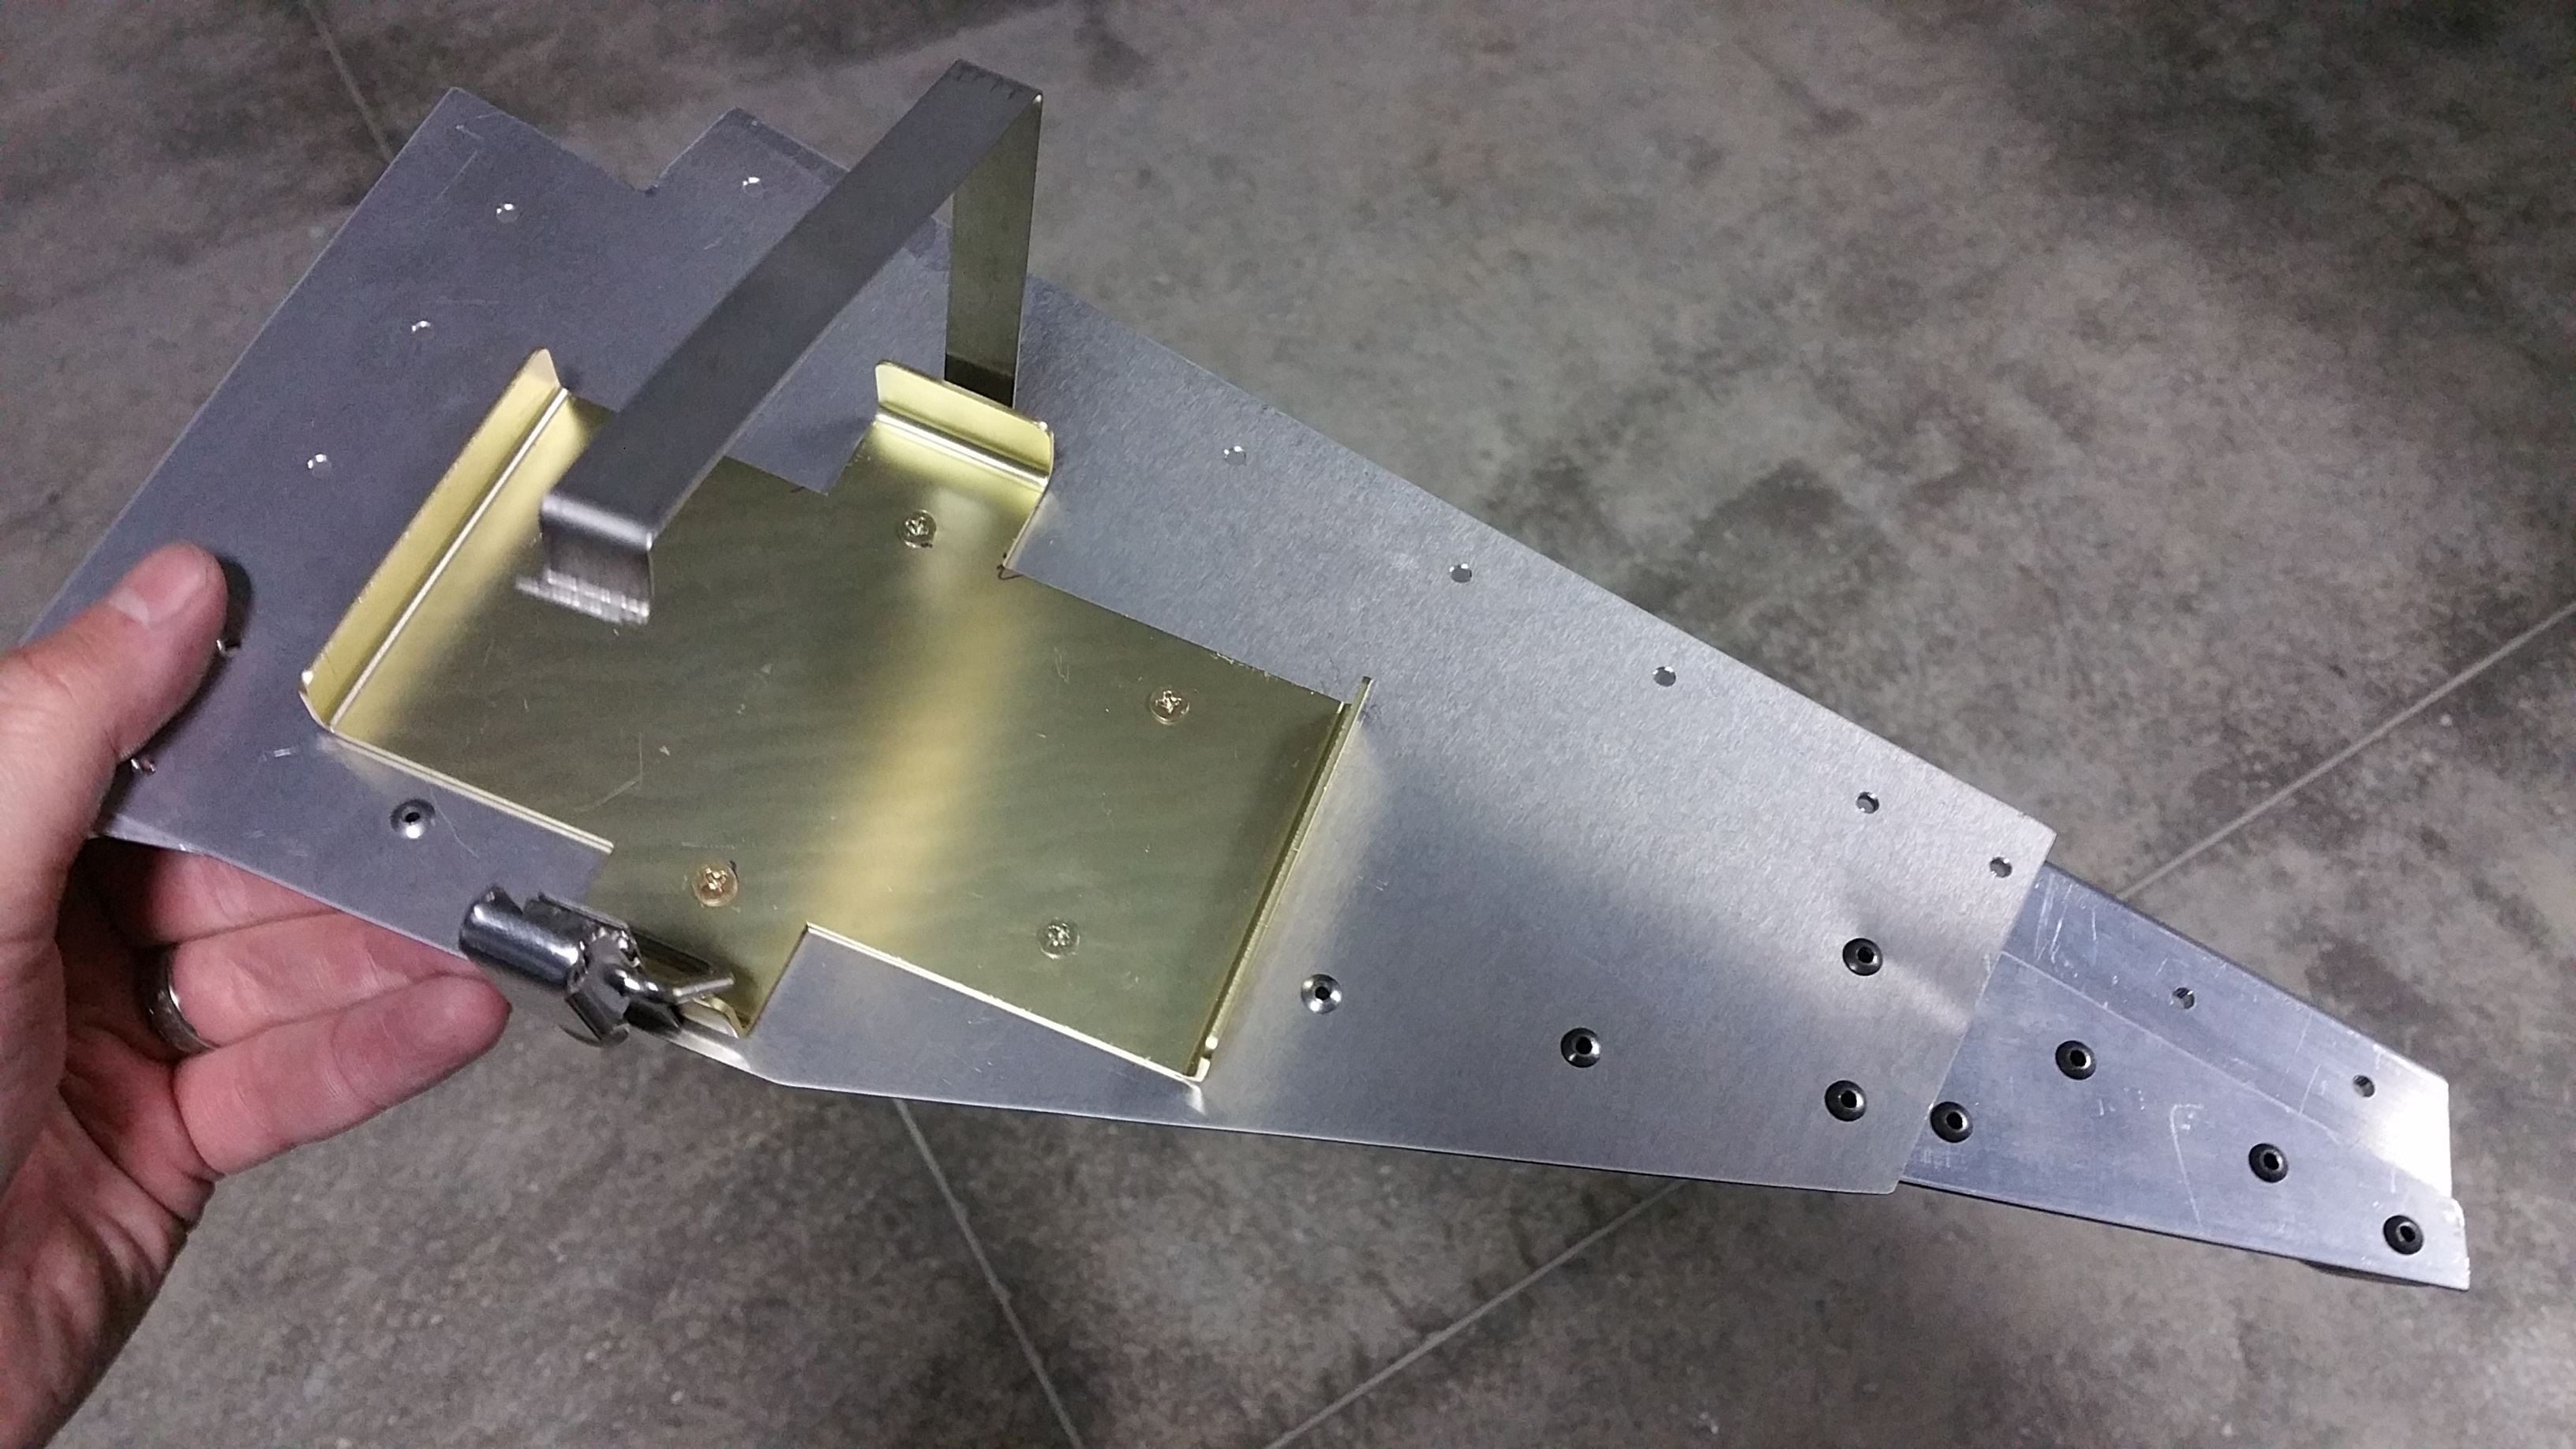
The tray itself was made from 0.032″ aluminum sheet (actually cut from an extra bit of flap skin.) To support the tray on the inboard side, I used a 1.25″ x 1/8″ piece of aluminum bar. I stiffened this bar using a couple strips of 1/2″ x 1/2″ angle. I used more of the same bar to create a splice plate to the upper longeron. All of these parts were leftovers from earlier in the build, but they were still in good shape.
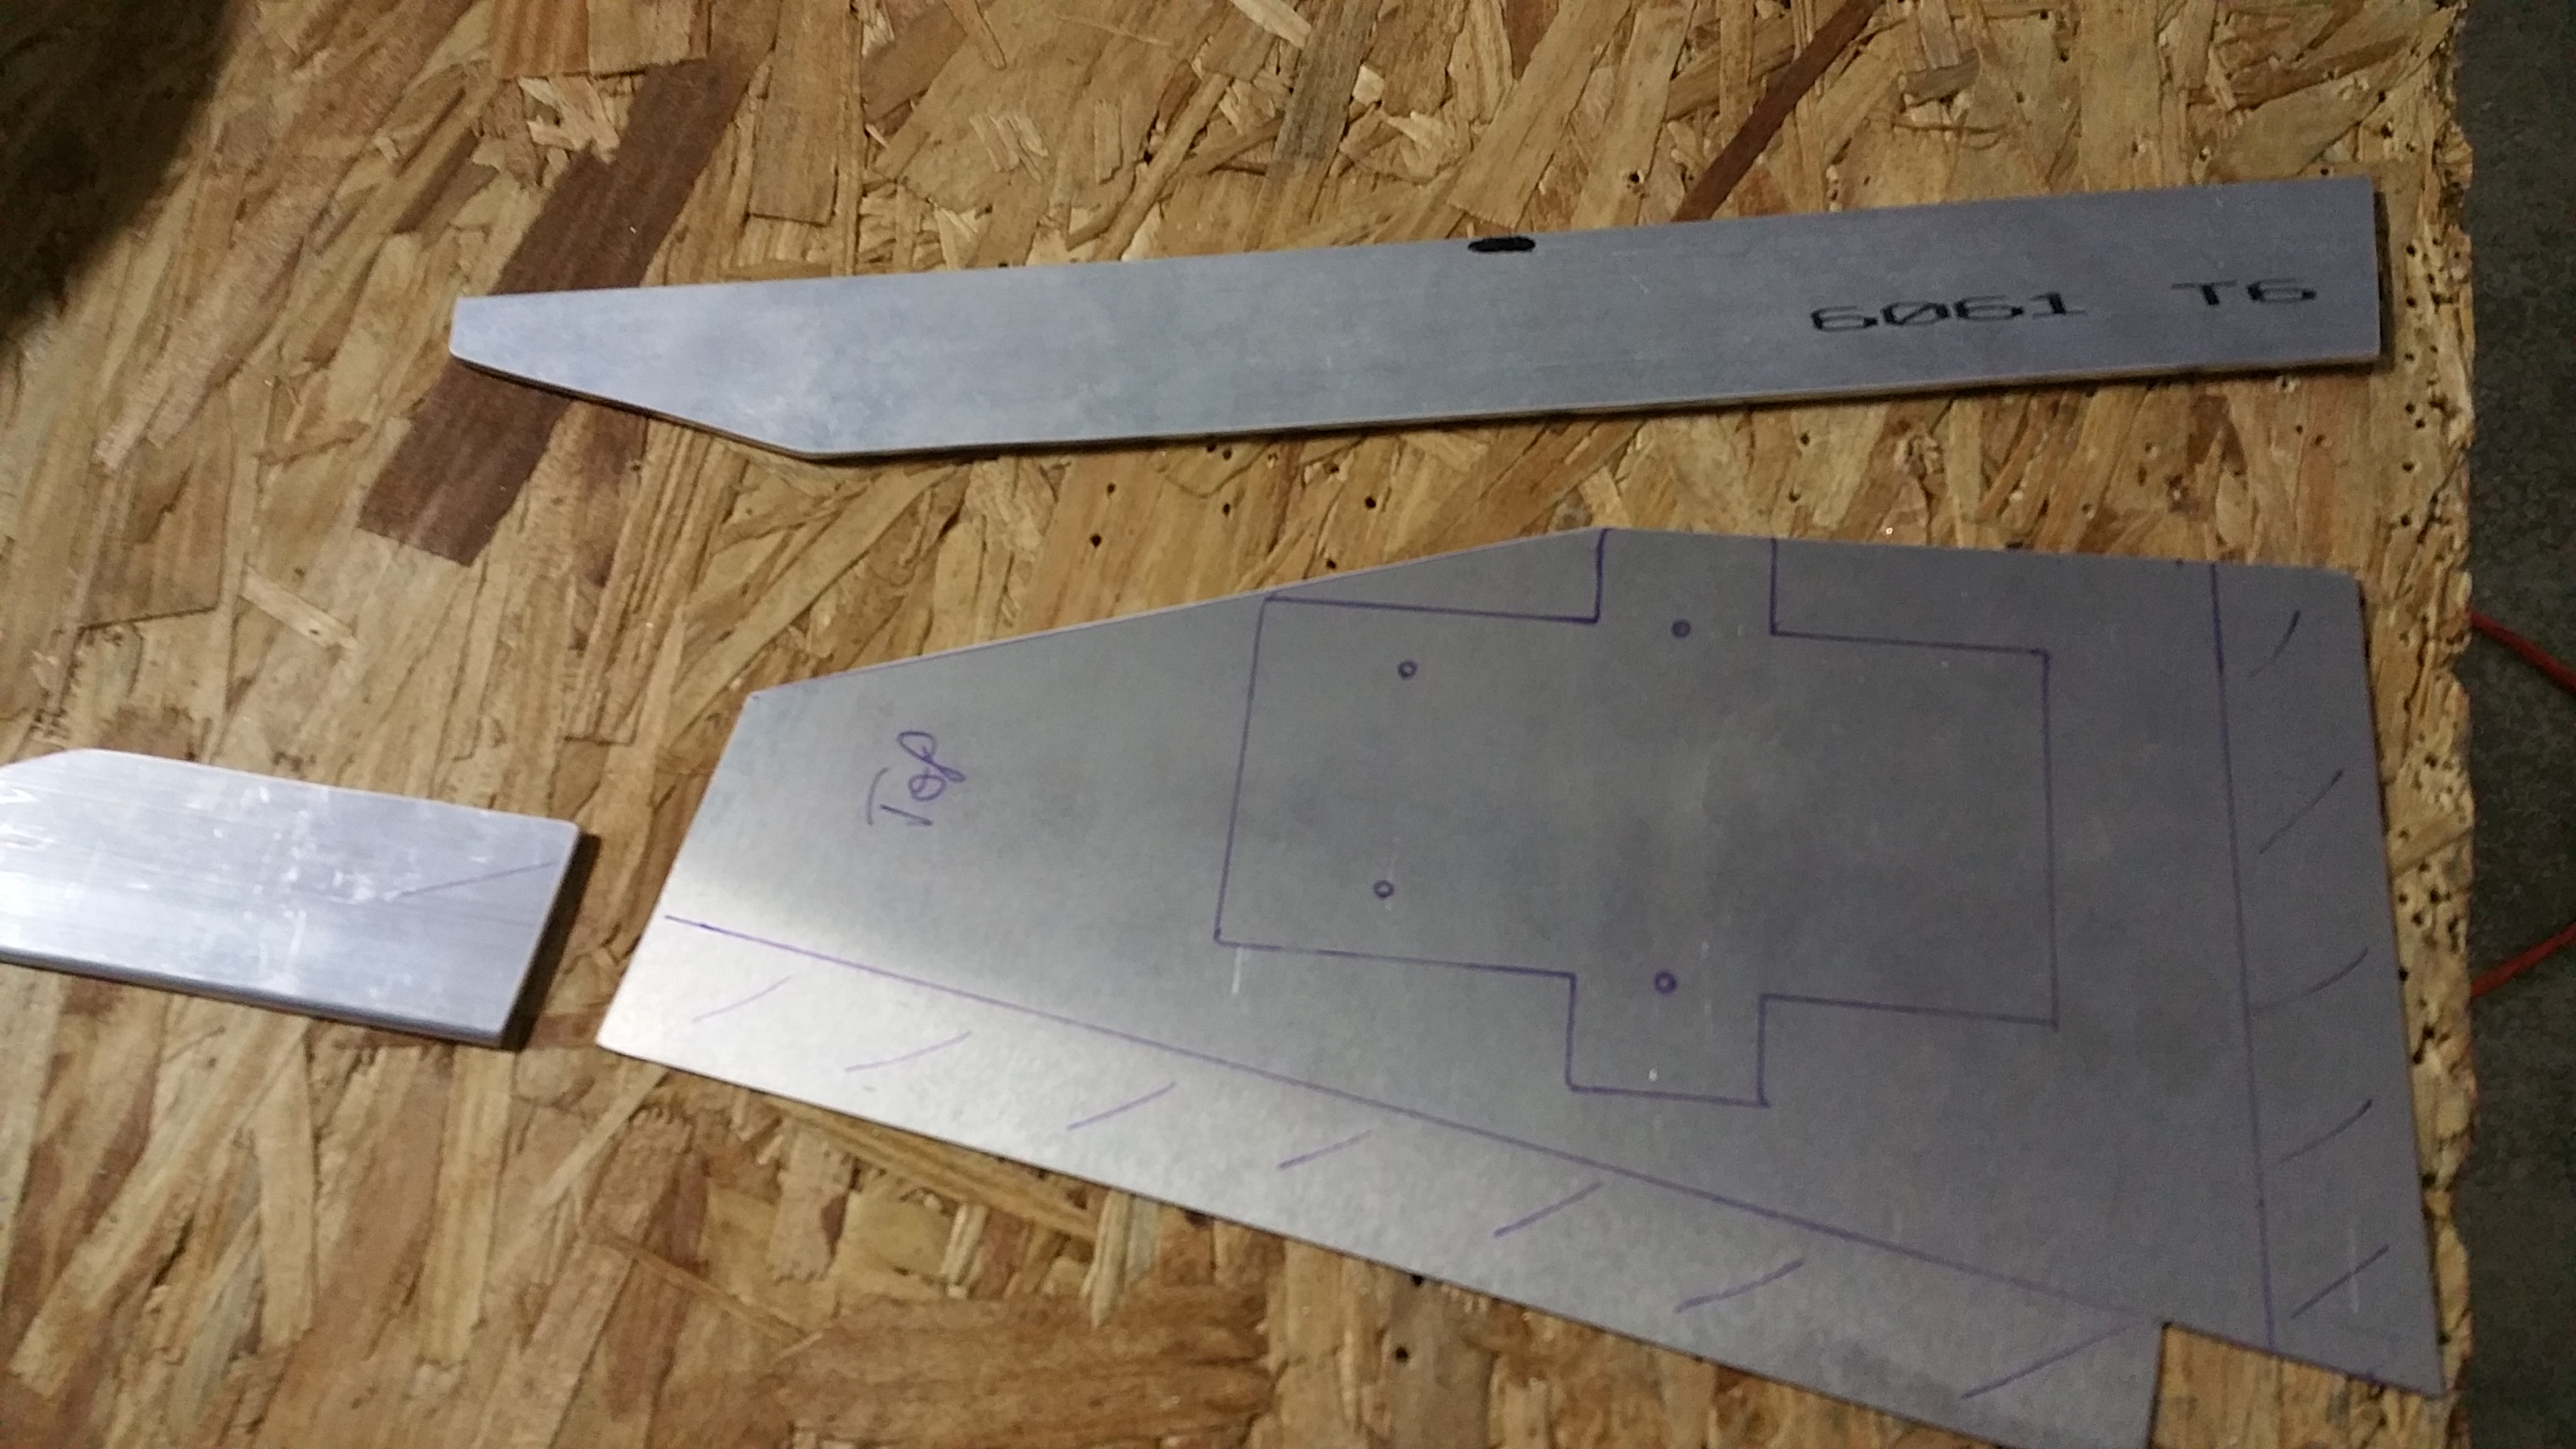
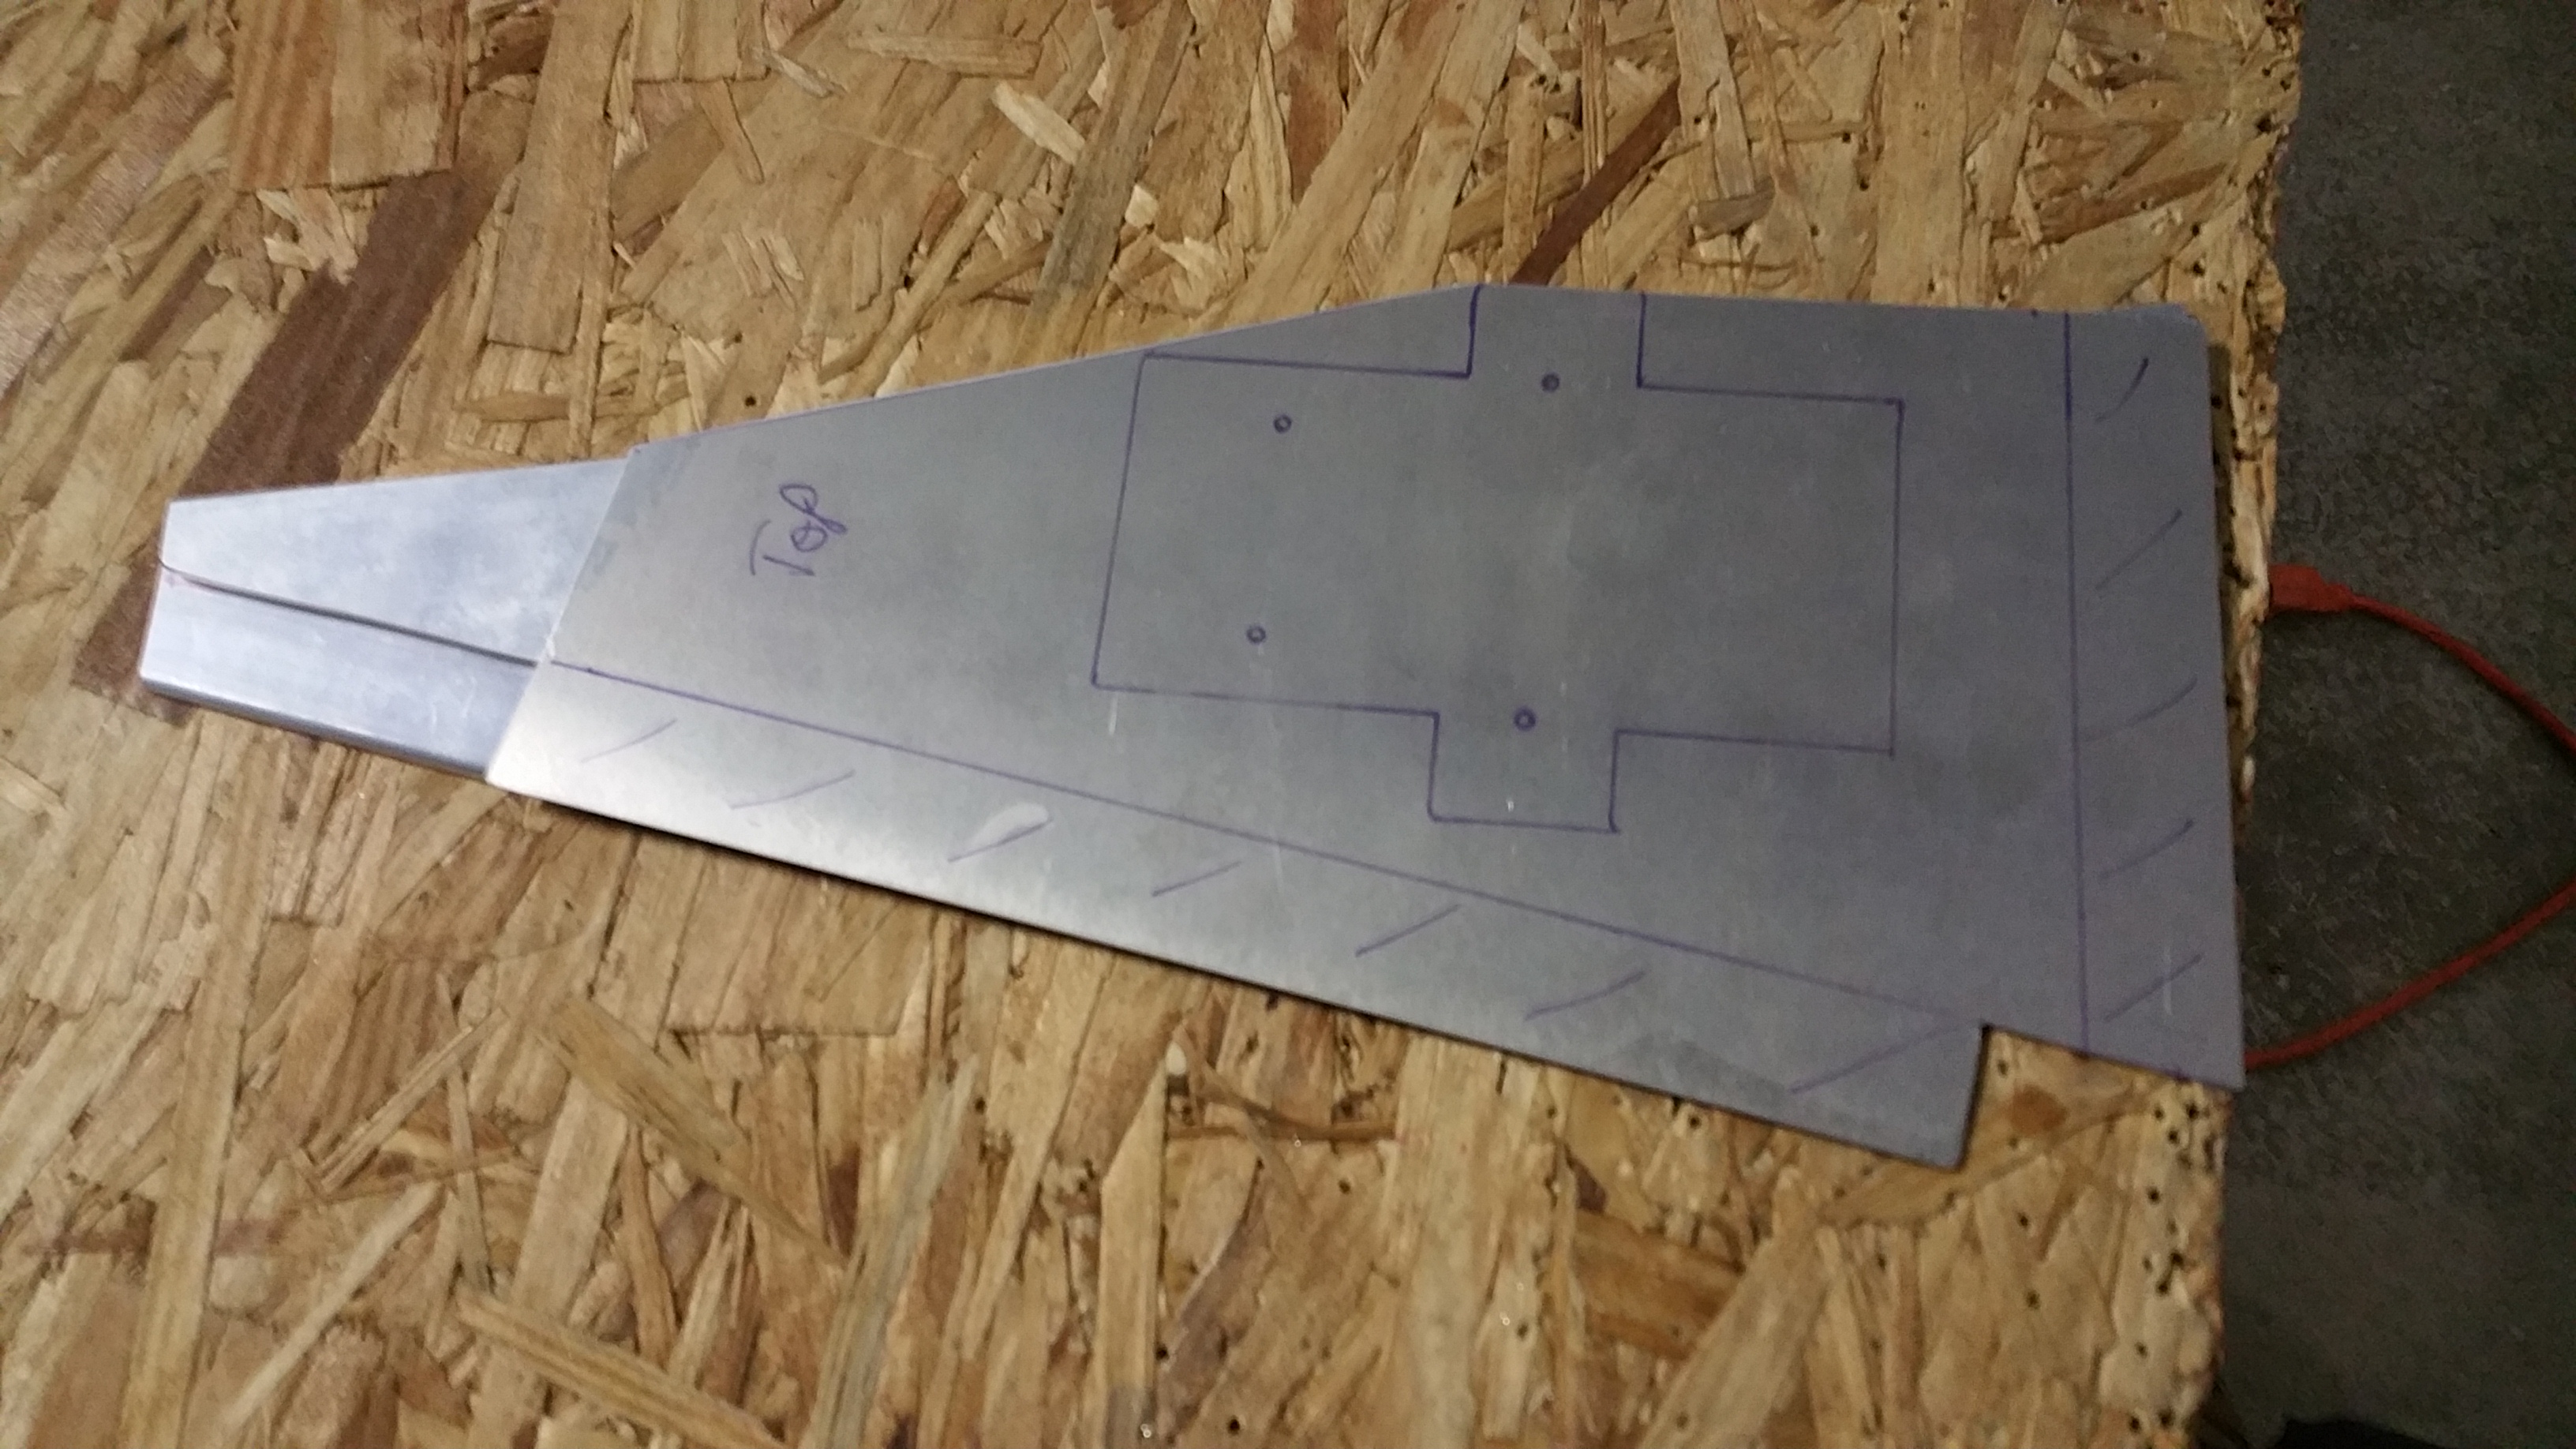
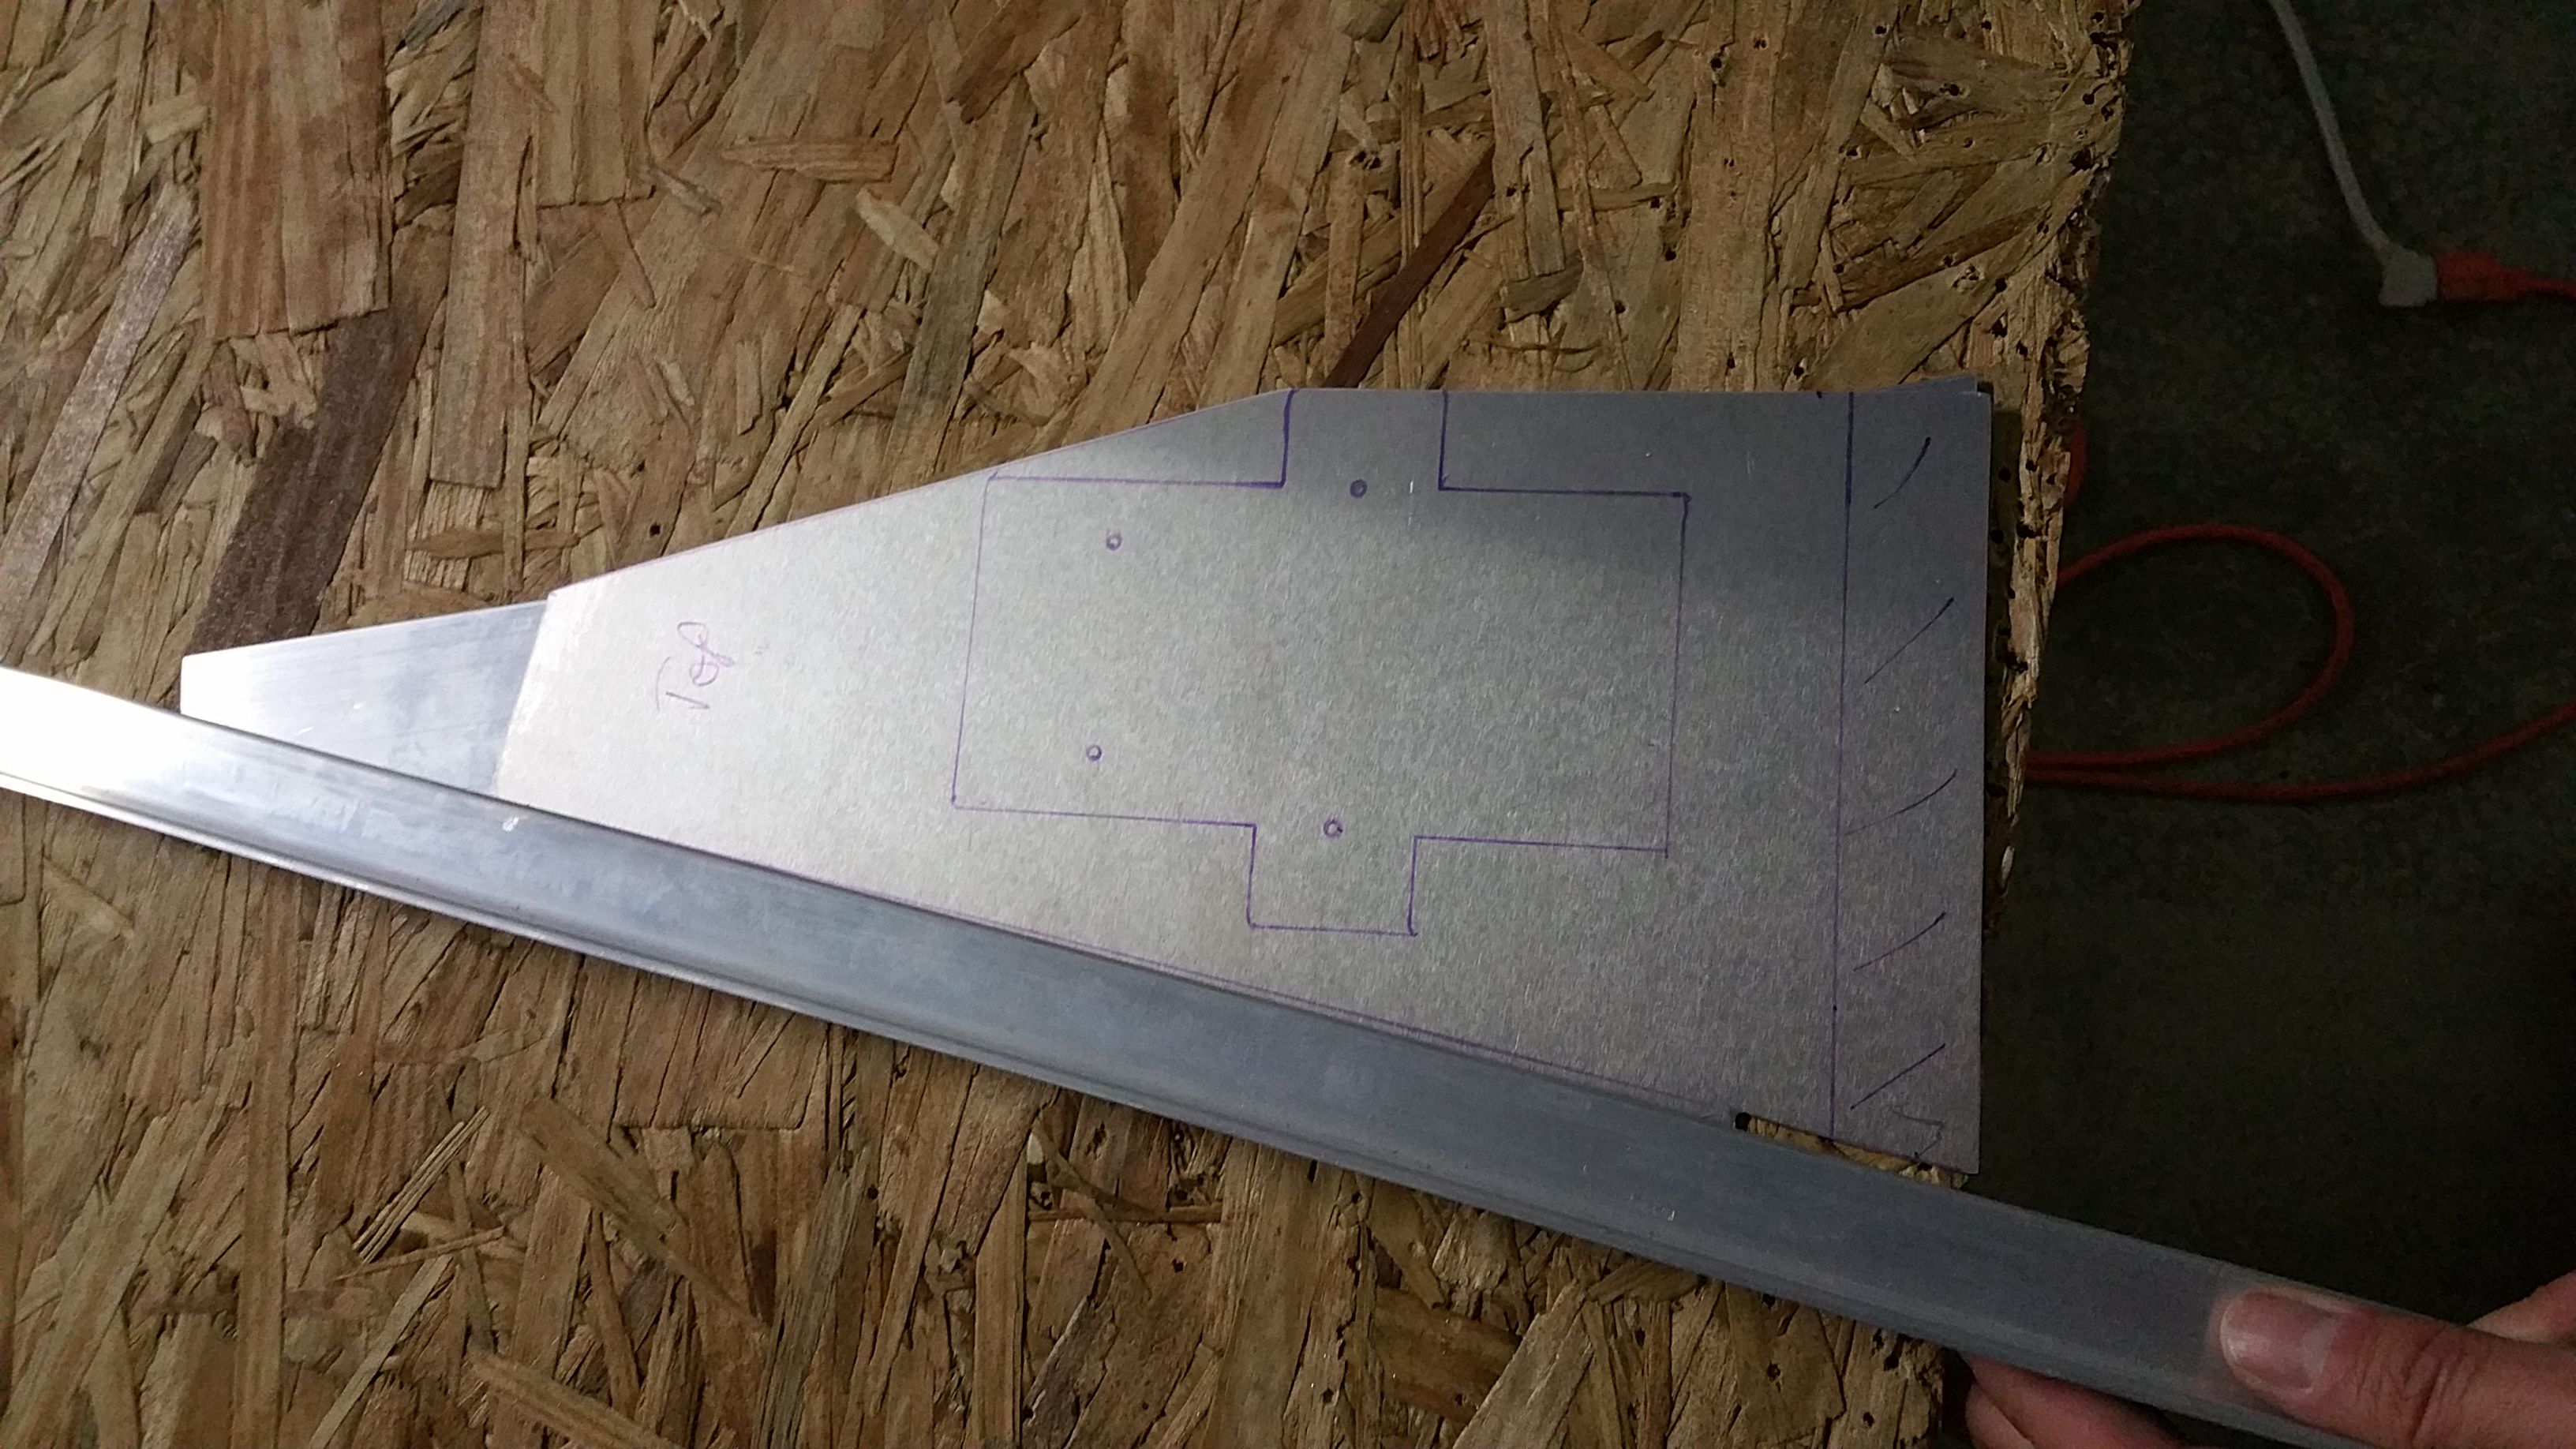
The longeron lies at an angle to the center-line of the aircraft, but the ELT needs to be parallel to the center-line. This is why the shape is triangular.
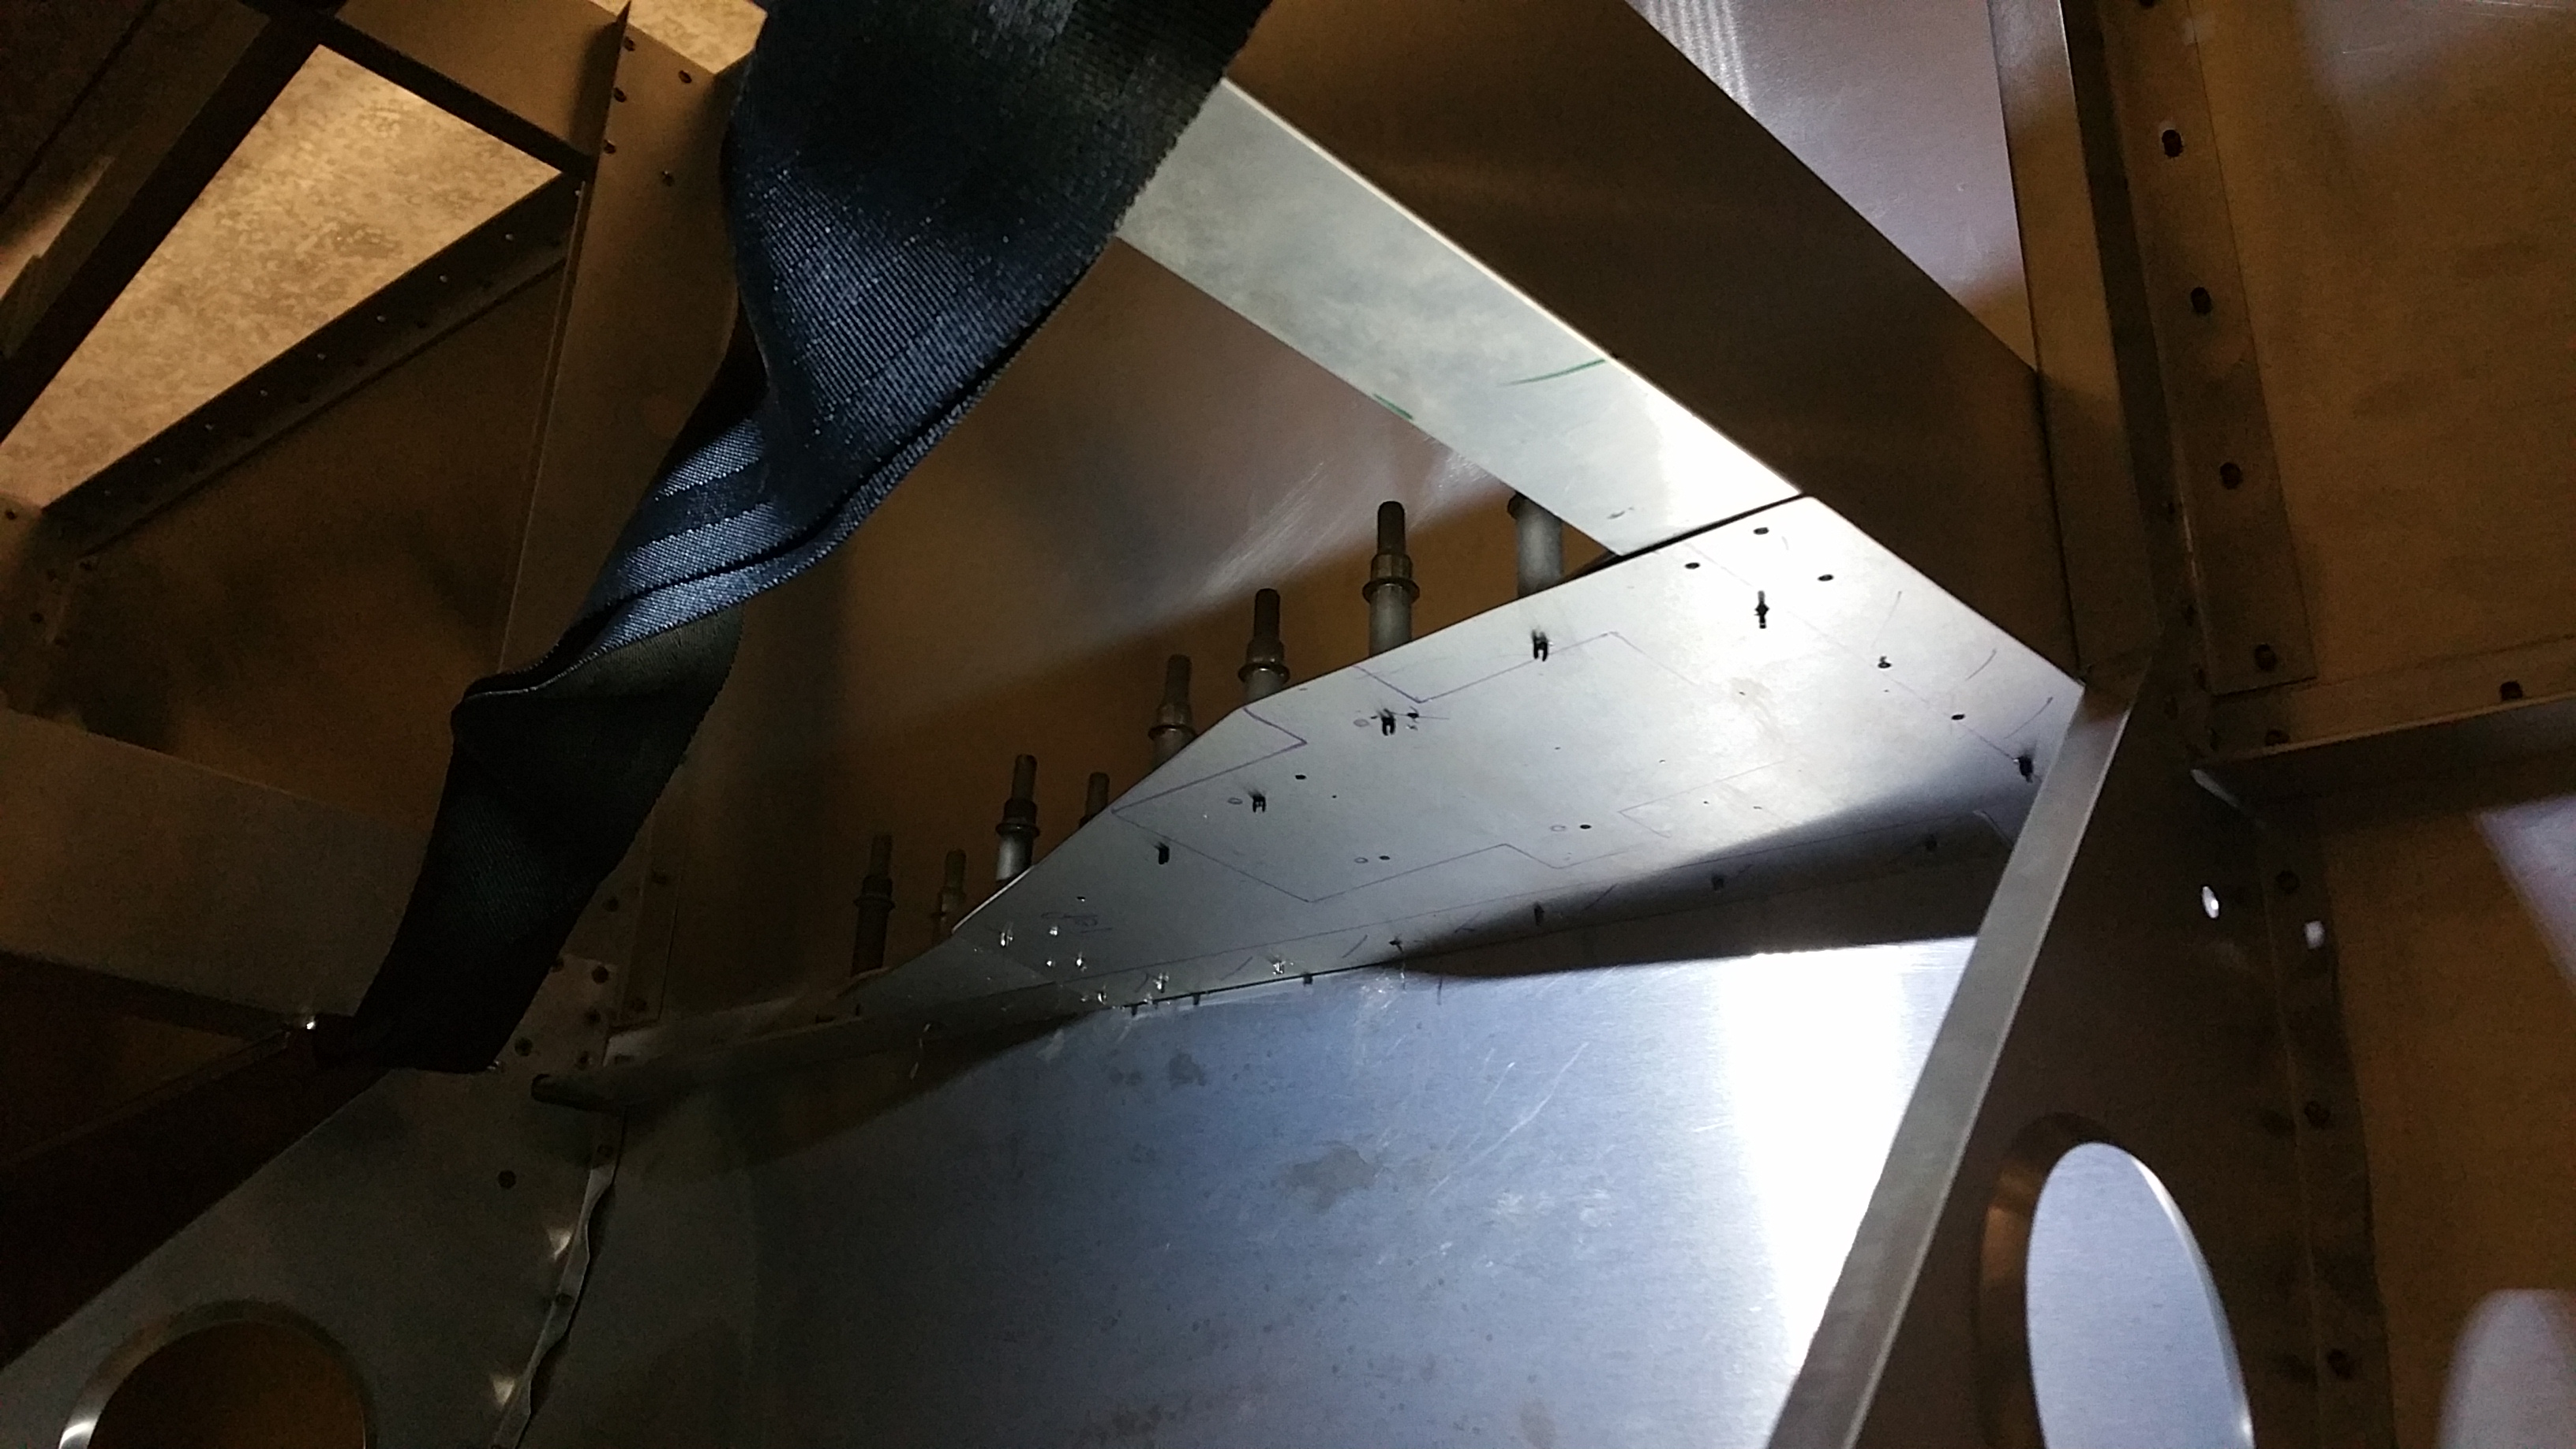
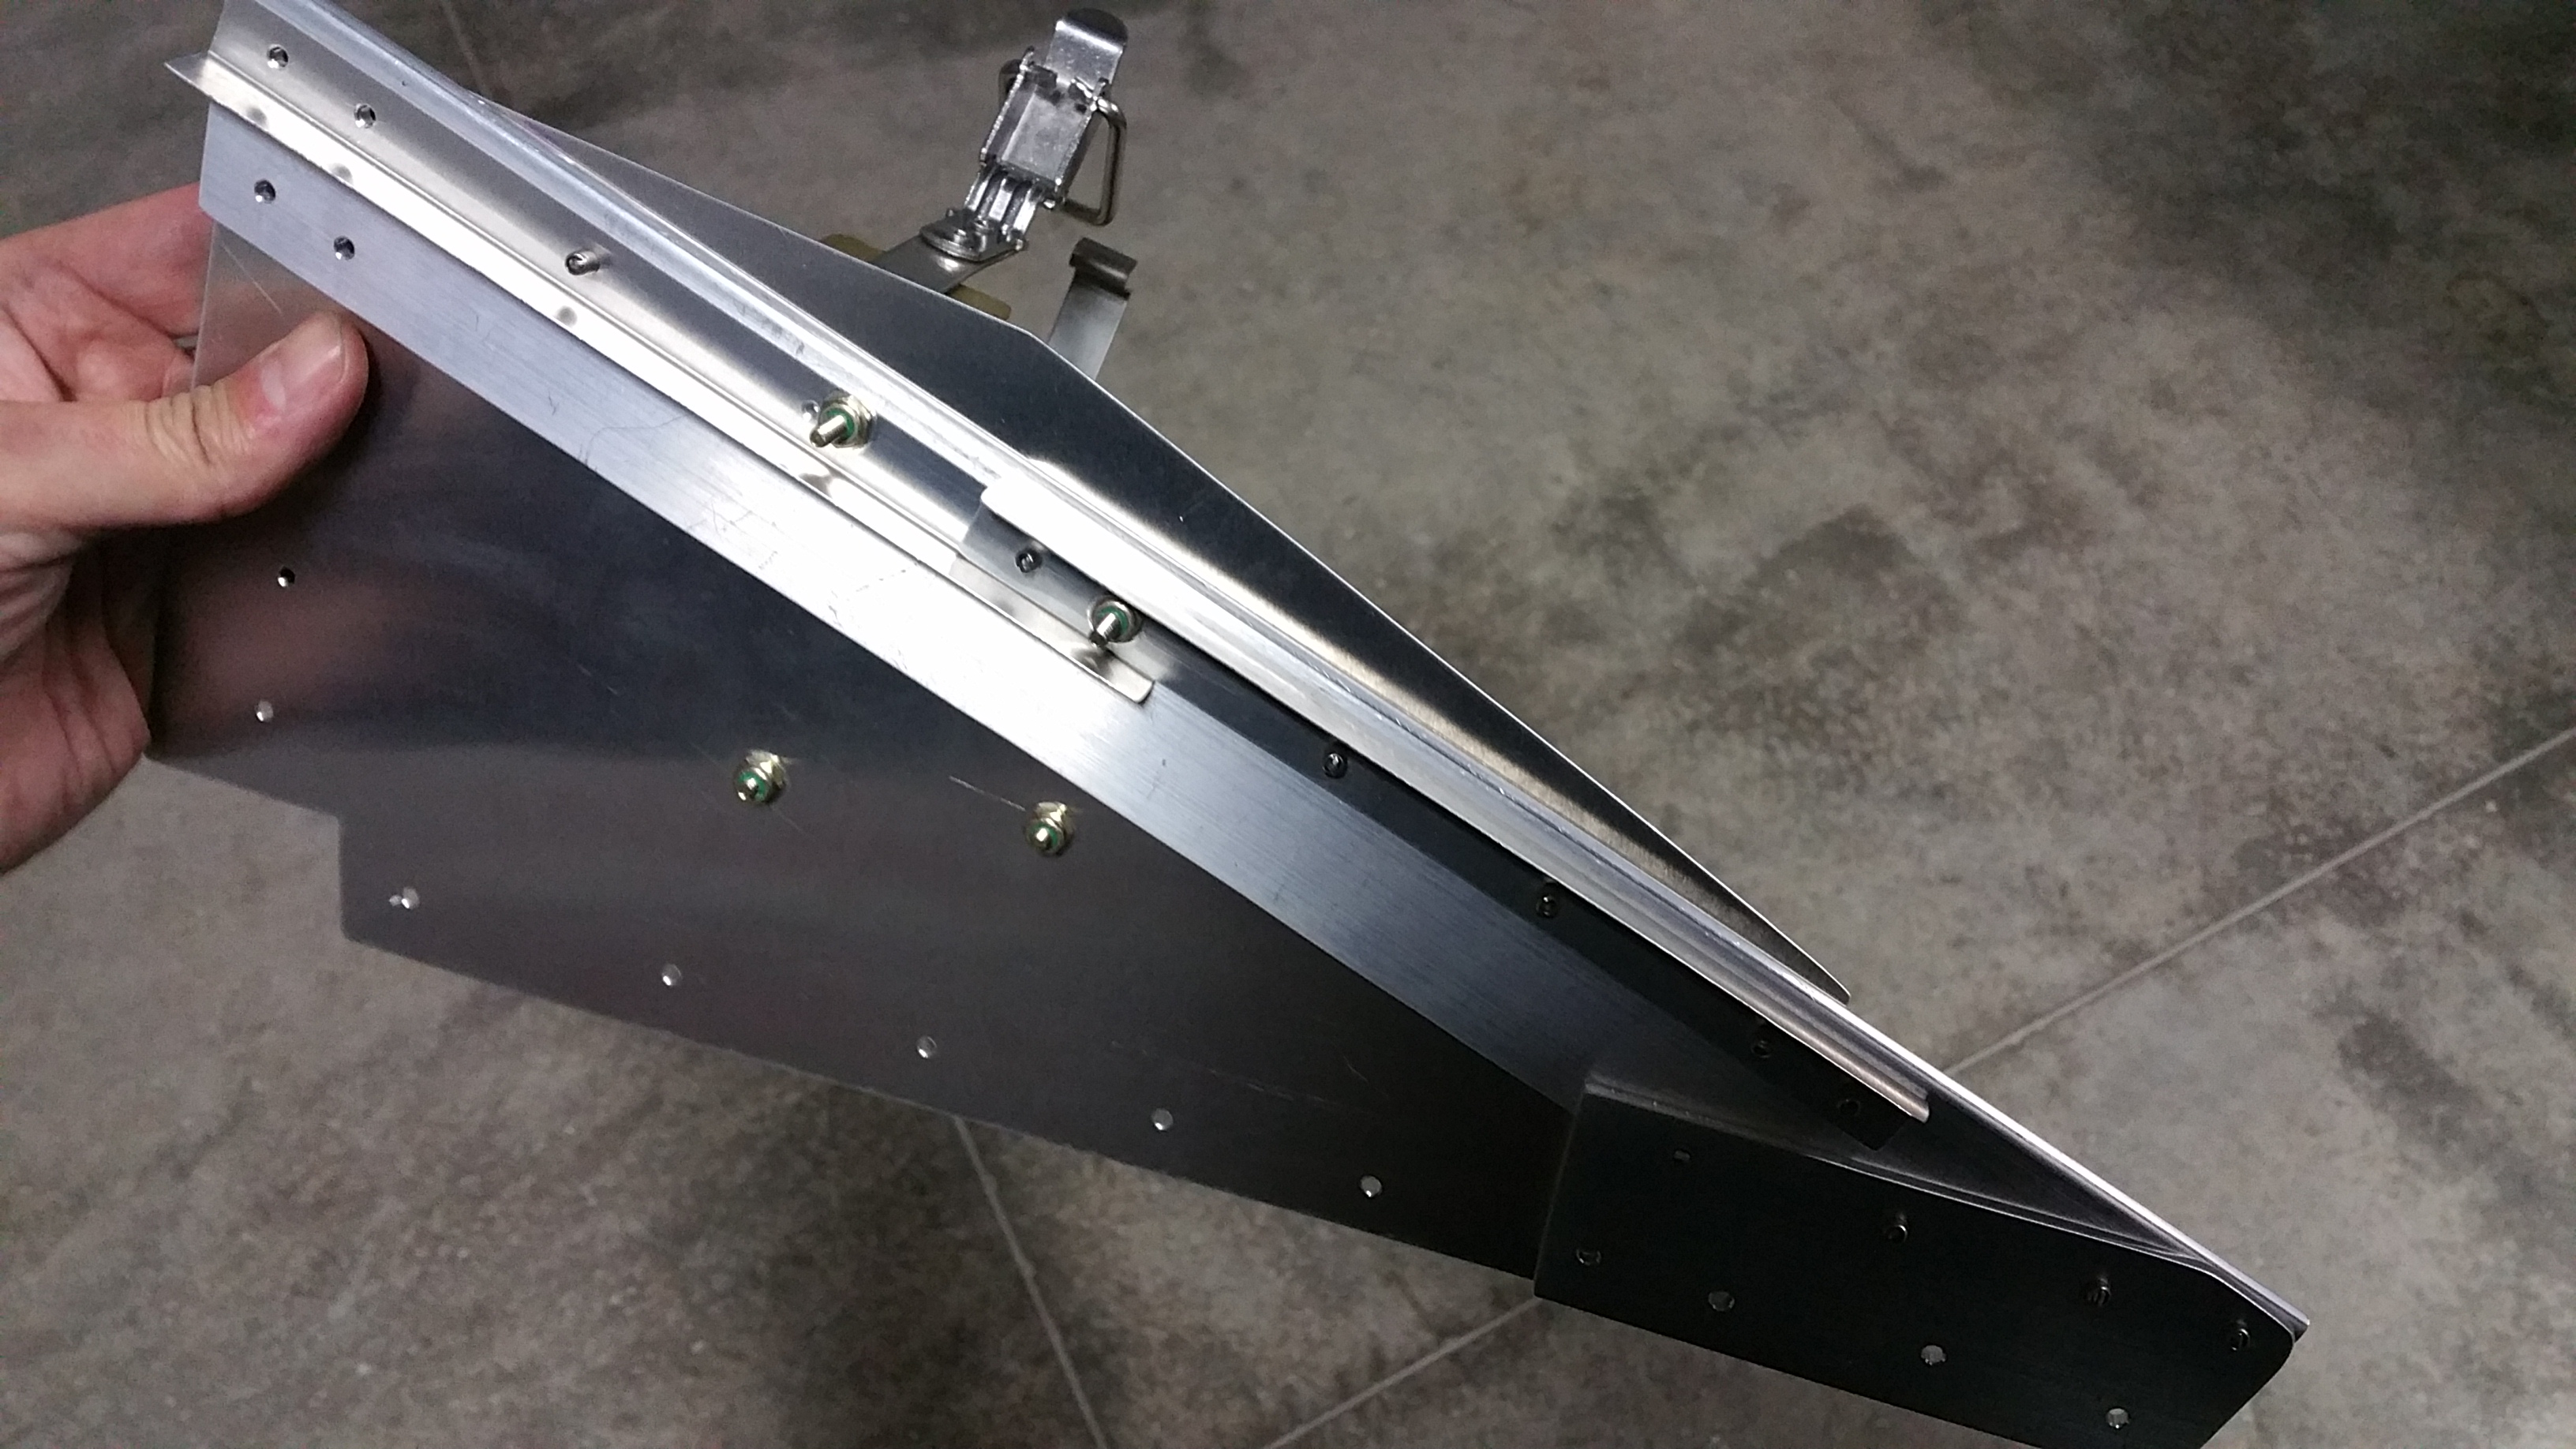
Here are some more pics of the progression of fitment and fabrication.
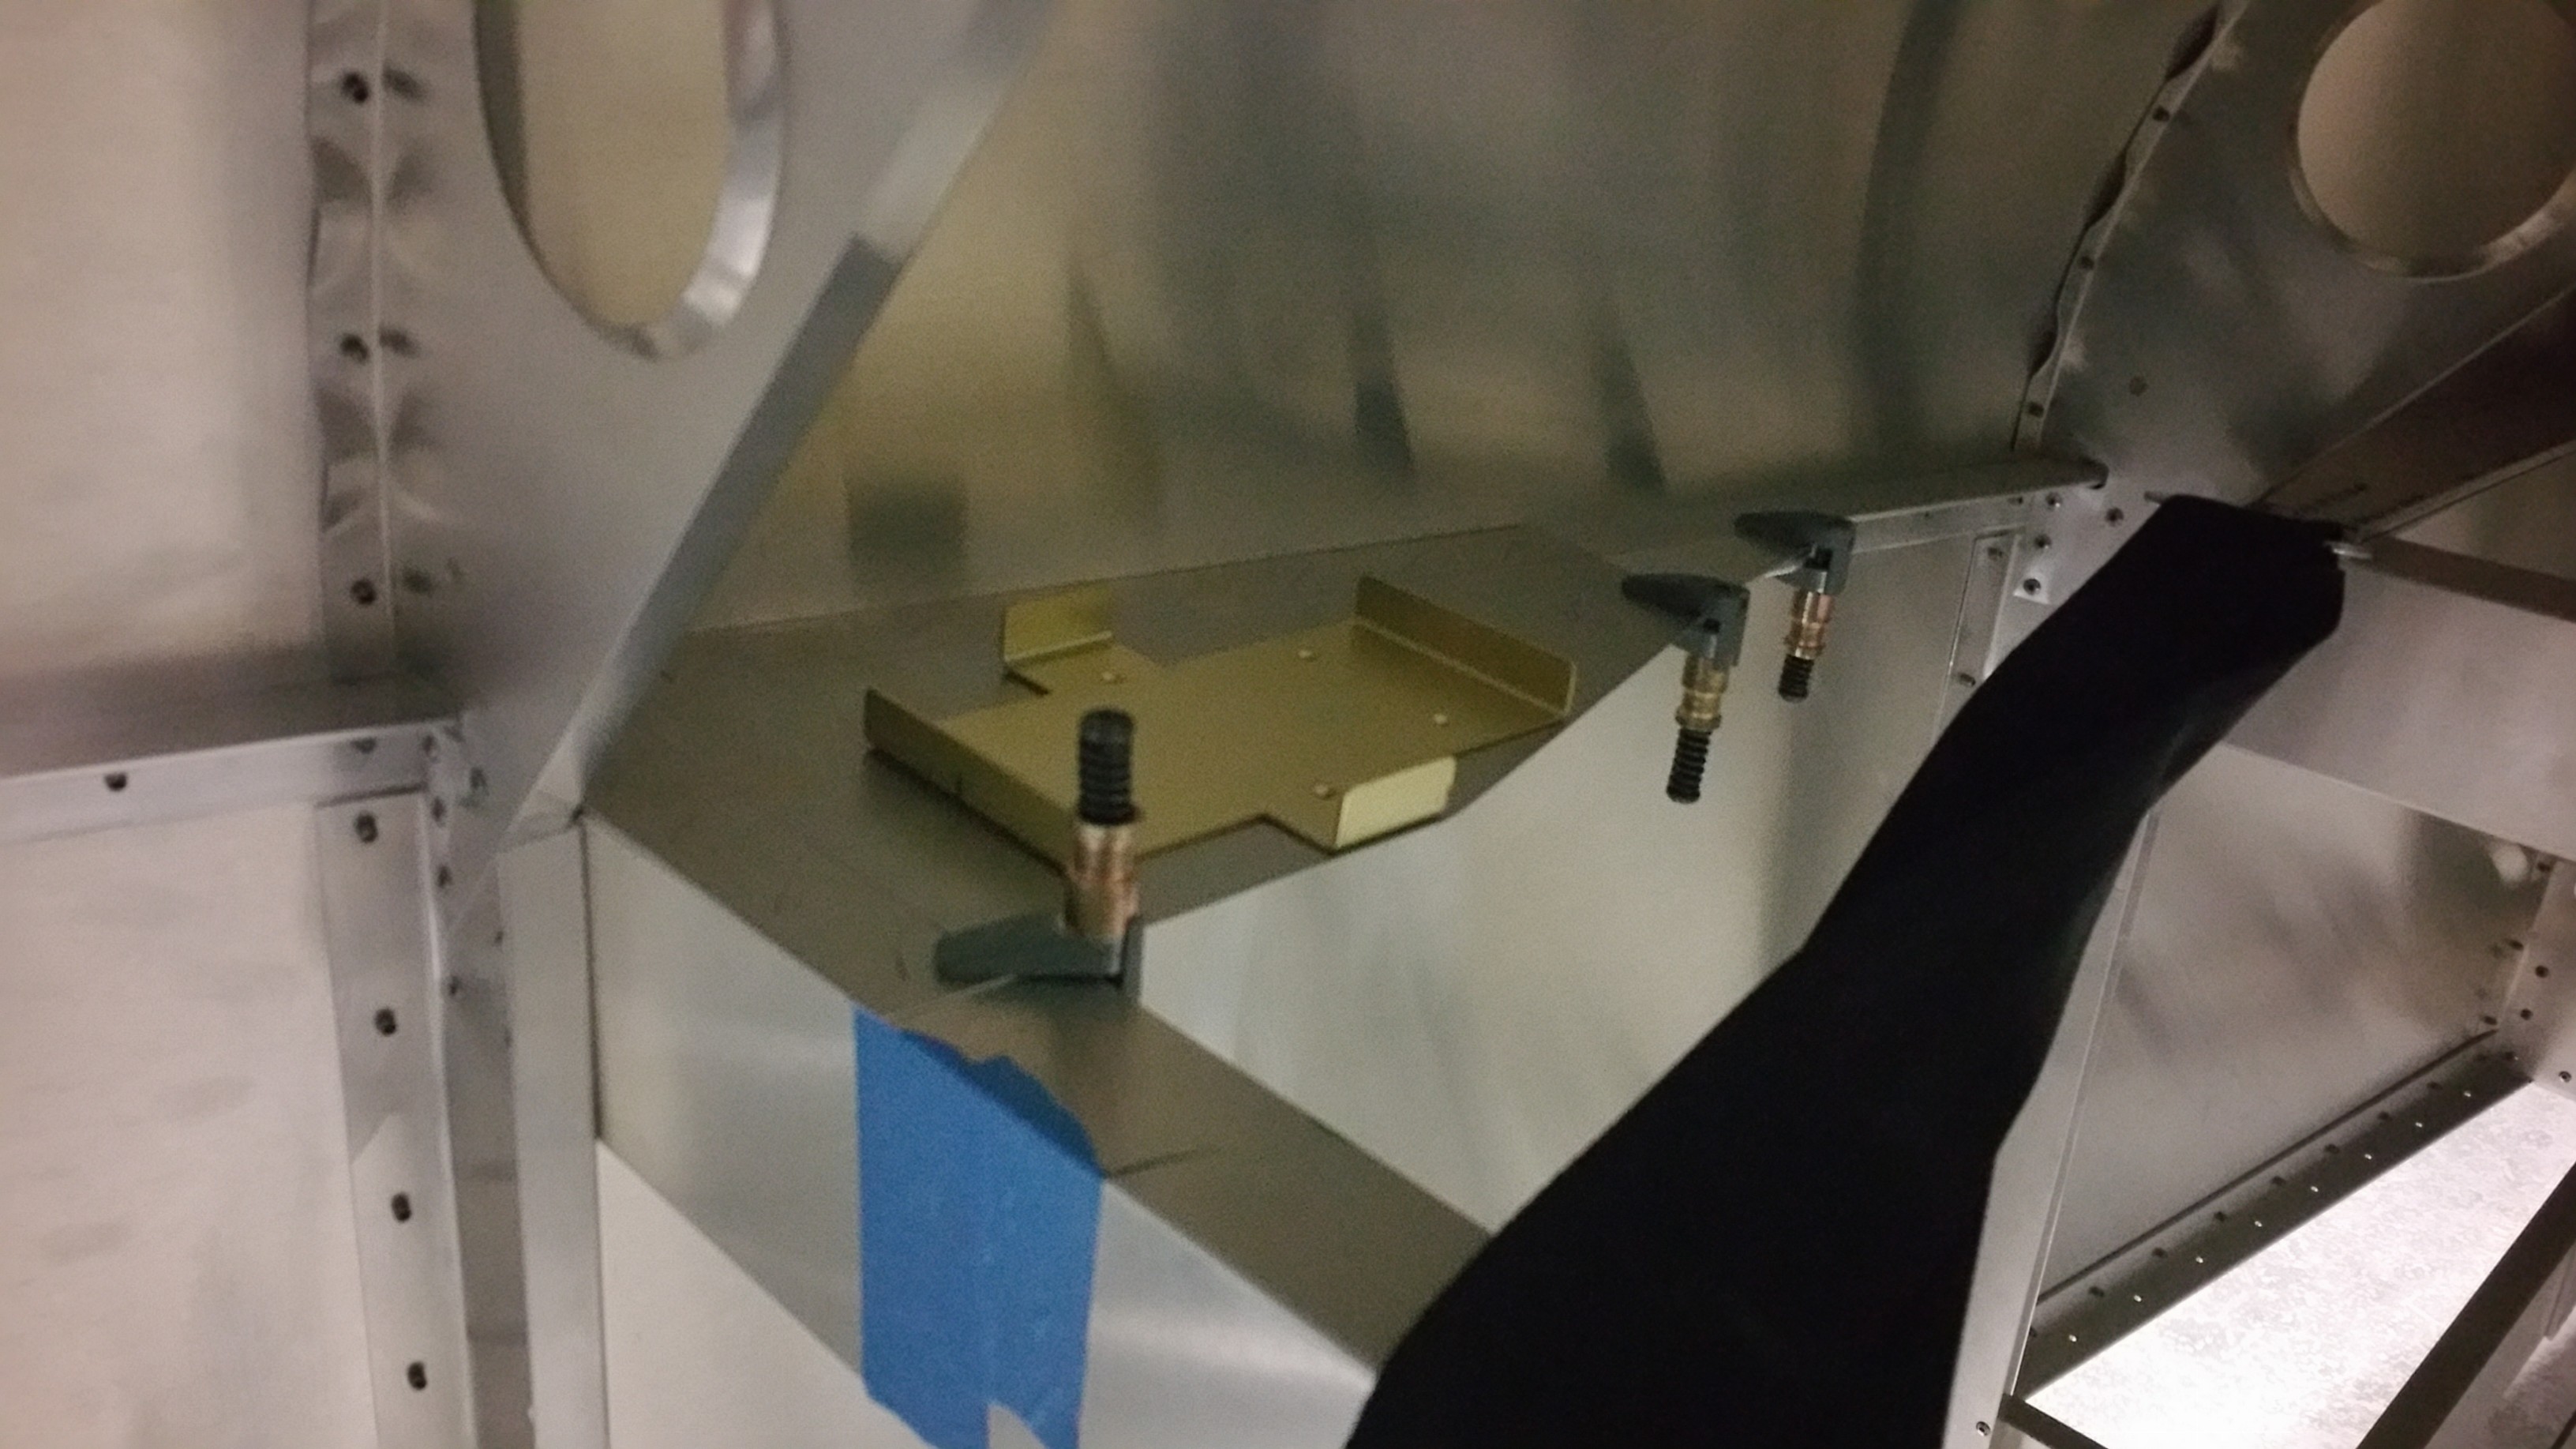
Here the tray riveted and ready to install.
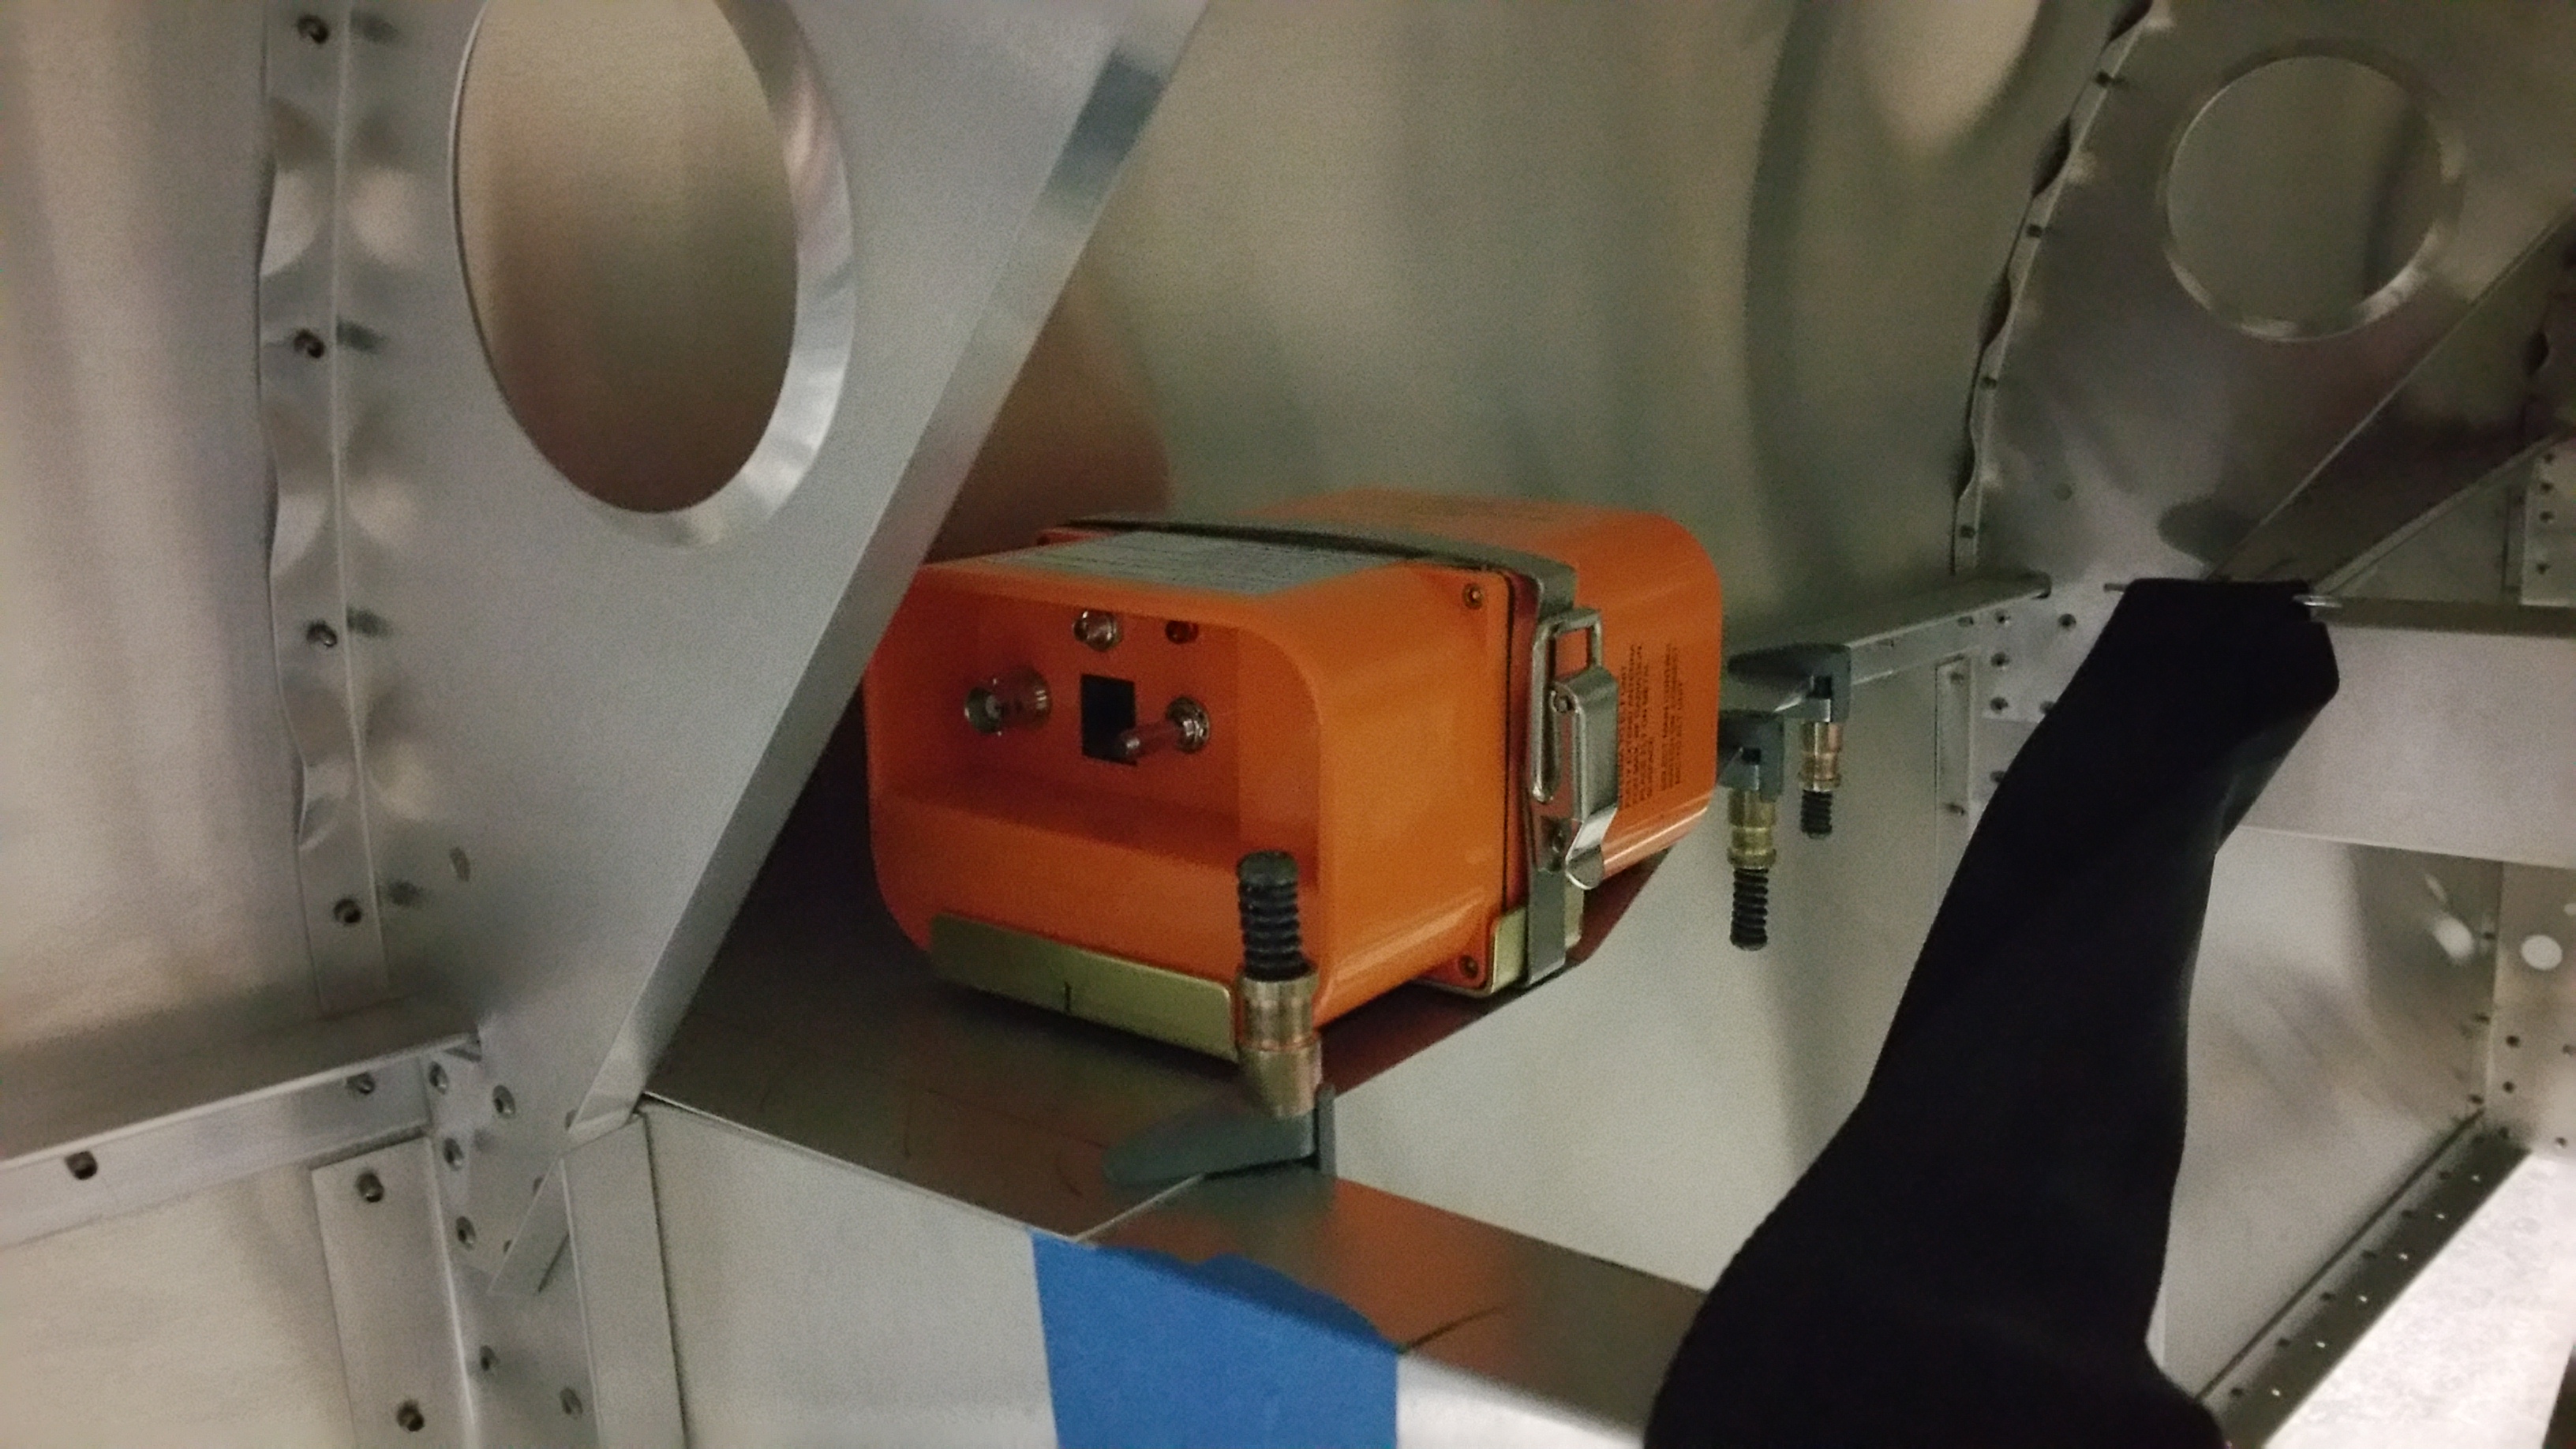
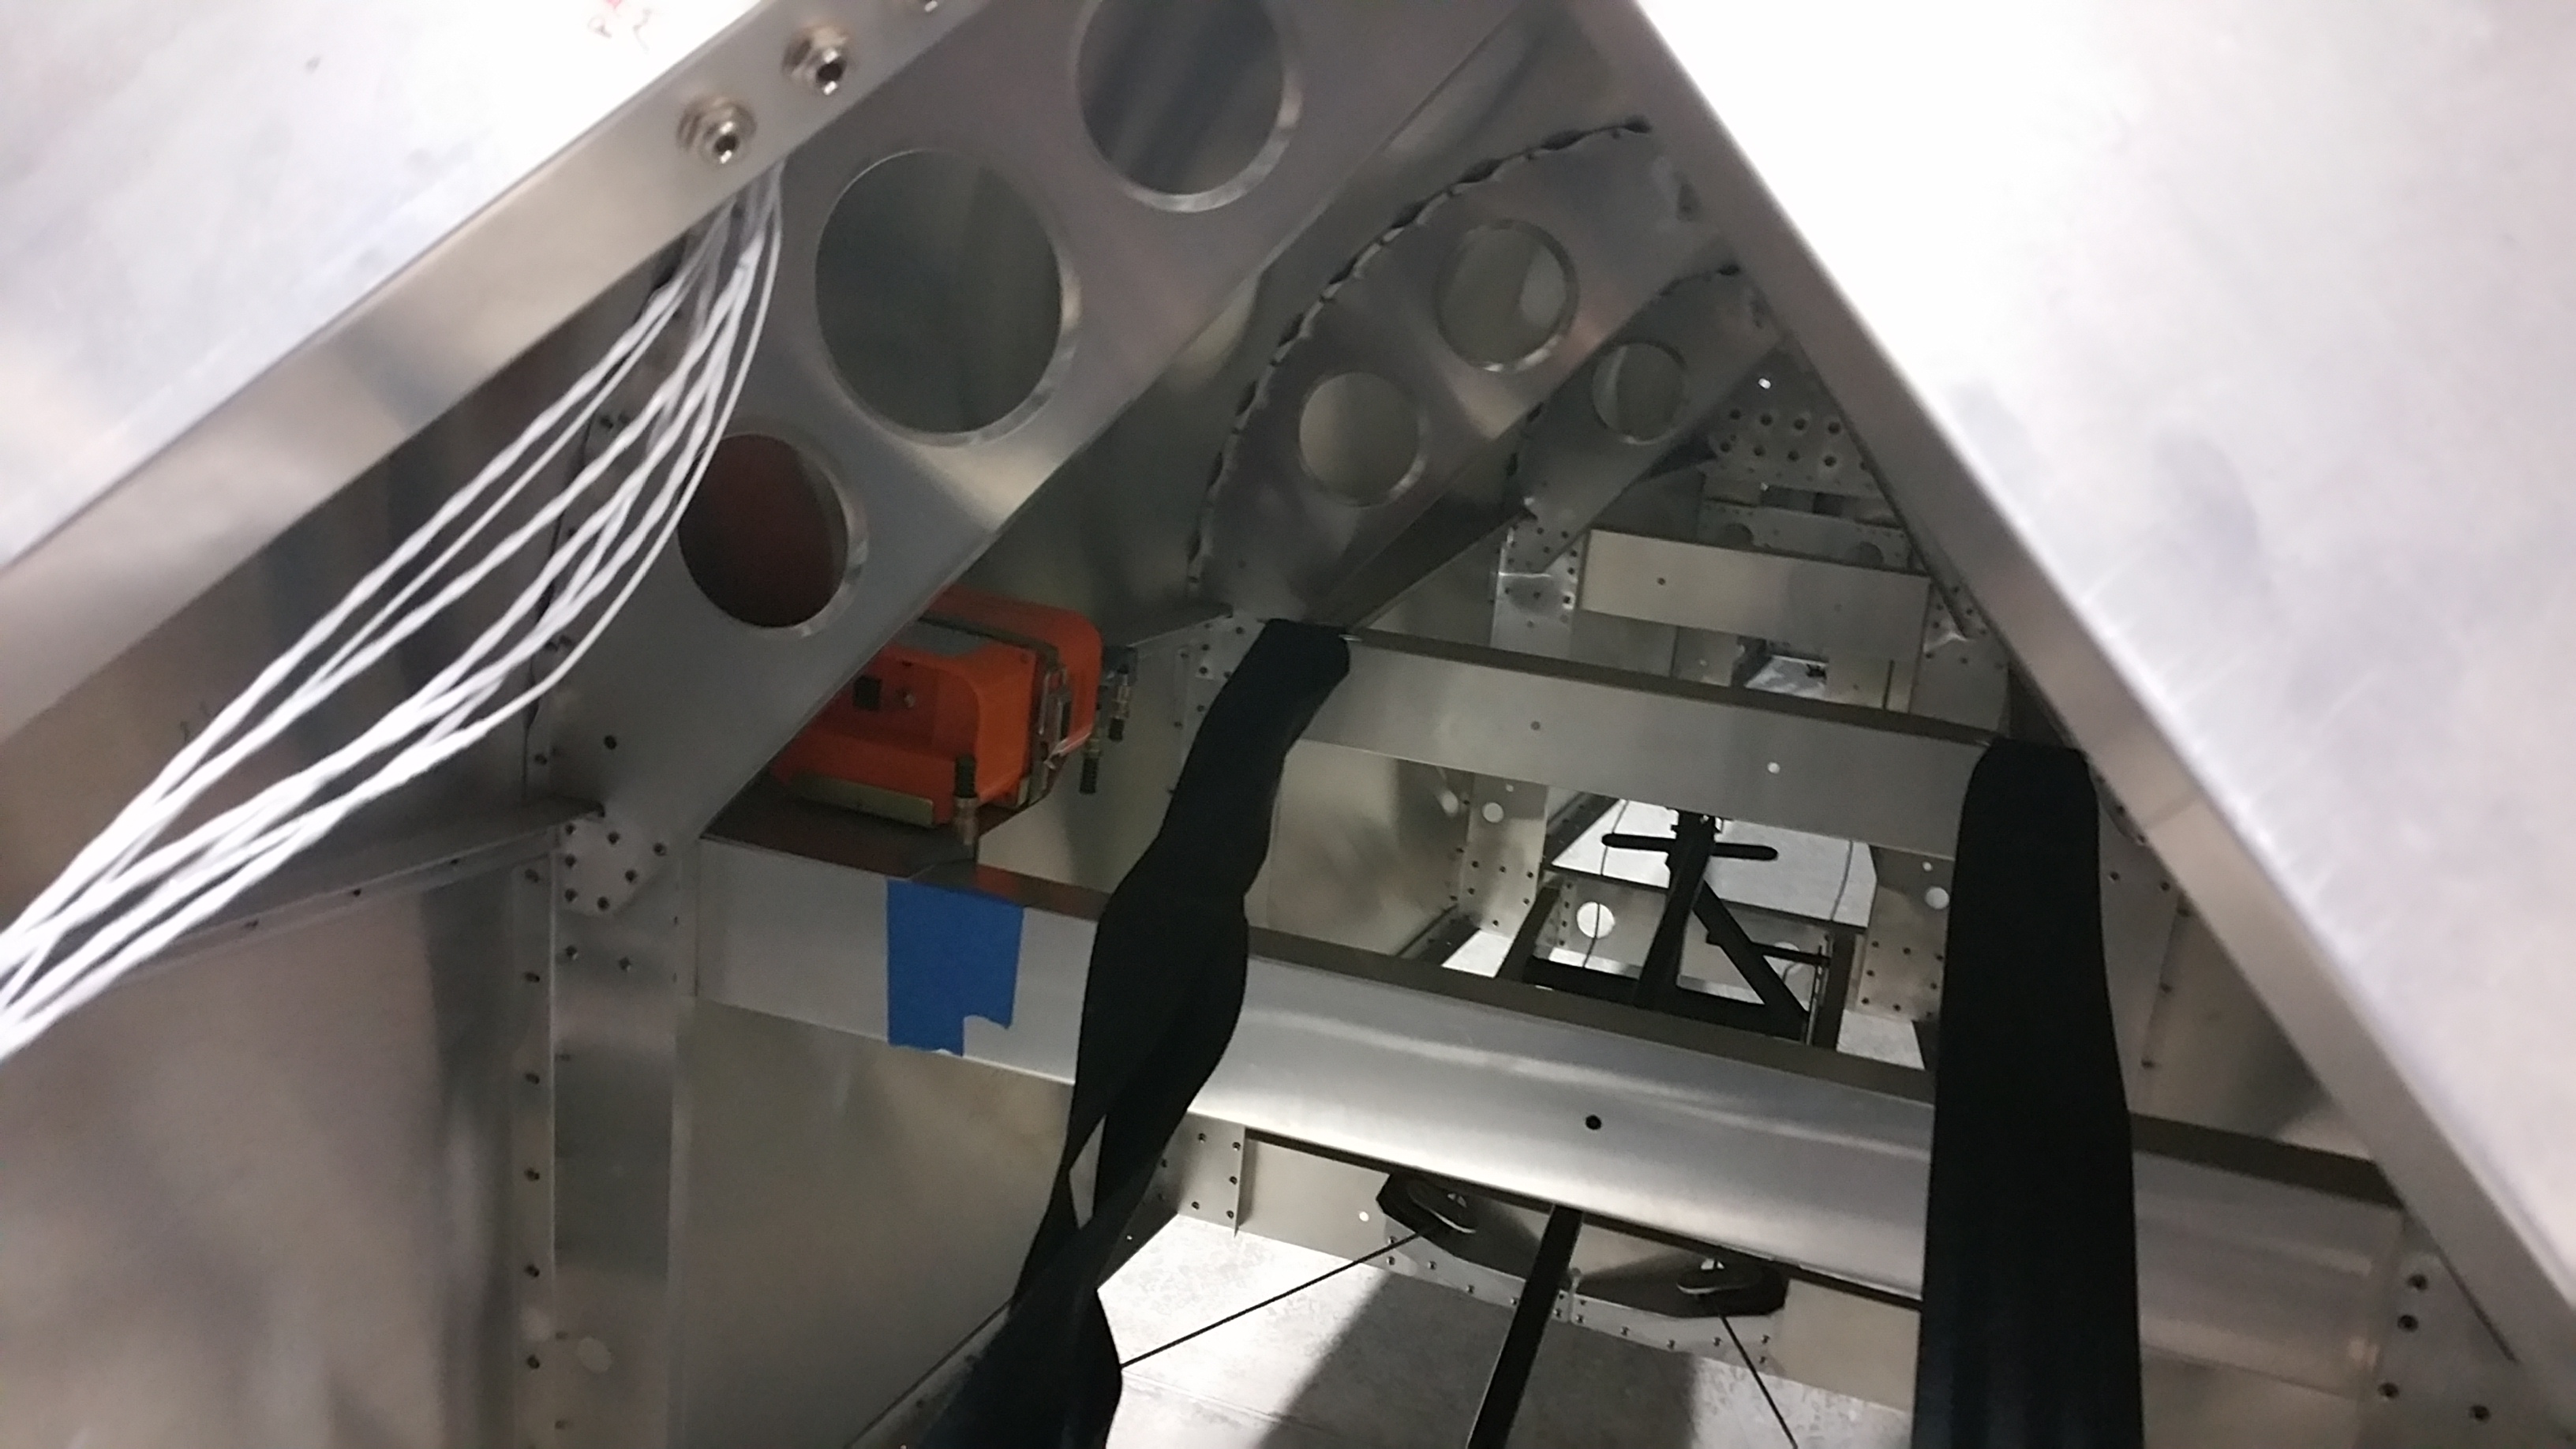
And below is the final installation of the ELT.

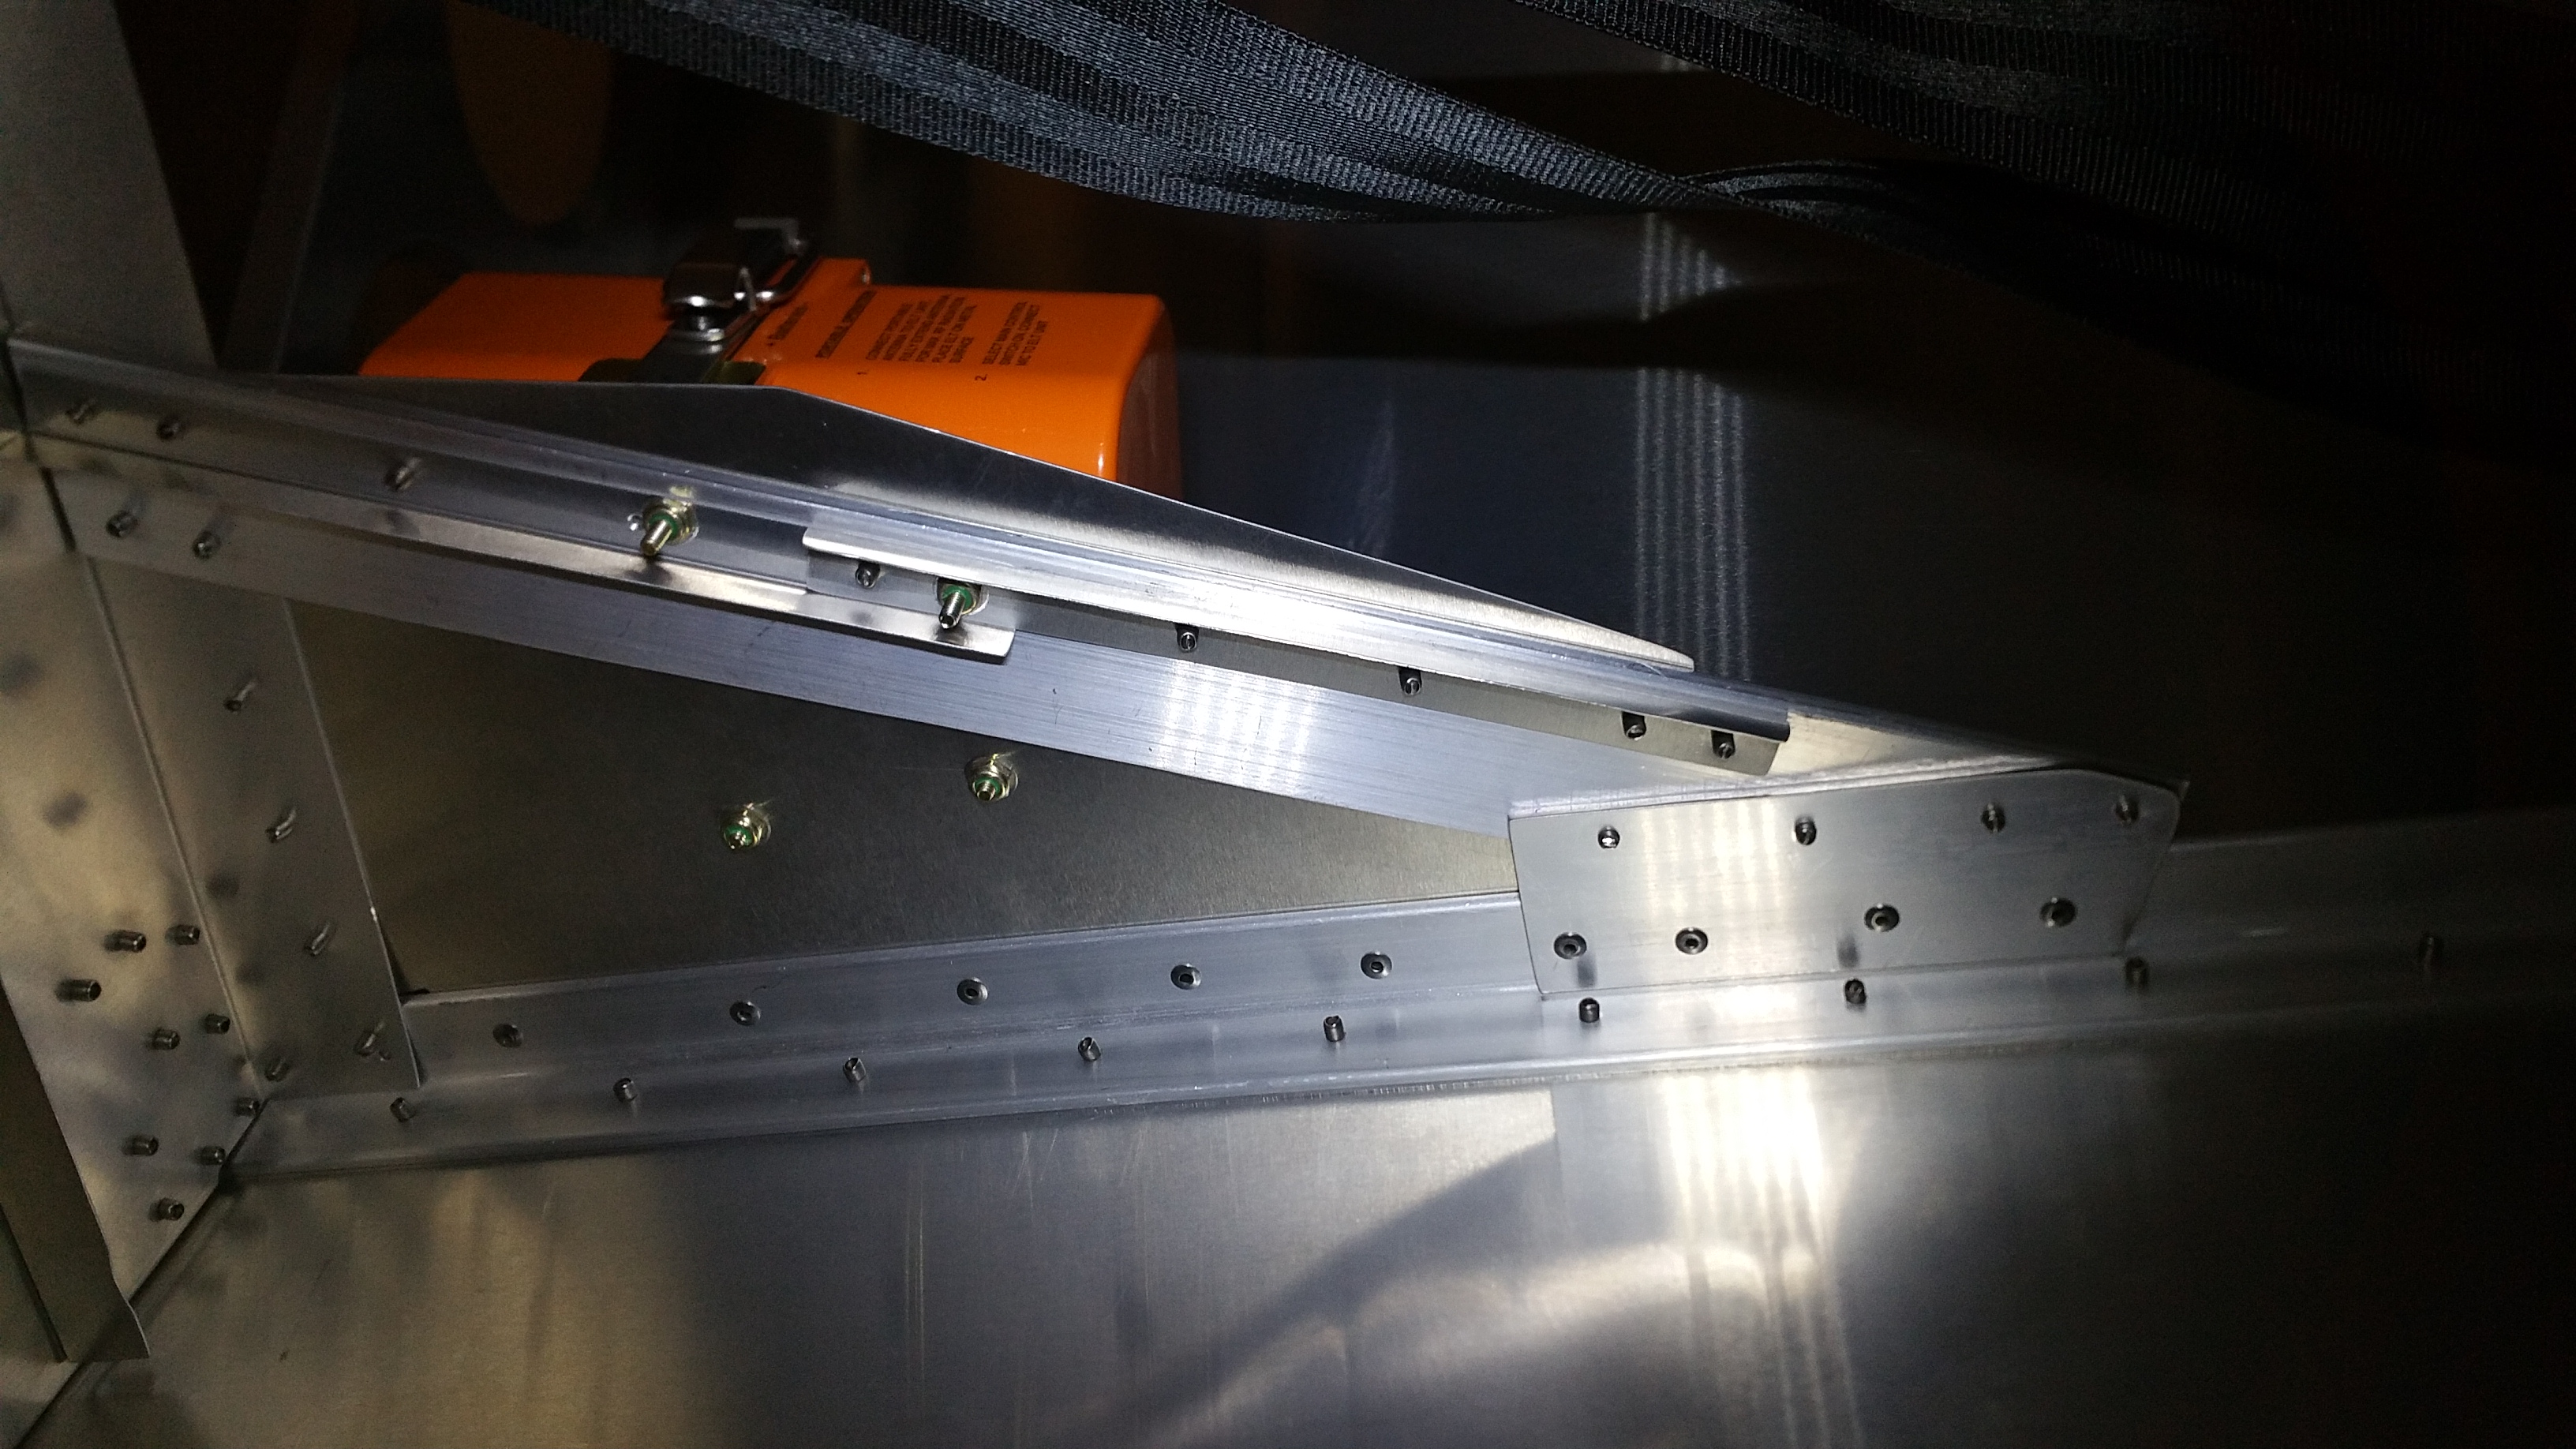
All that remains is to install the antenna in on the top of the turtledeck, and run a wire to a remote control that I’ll install on the first turtledeck bulkhead next to my headset plugs.