

Total Build Time: 1209 Hours
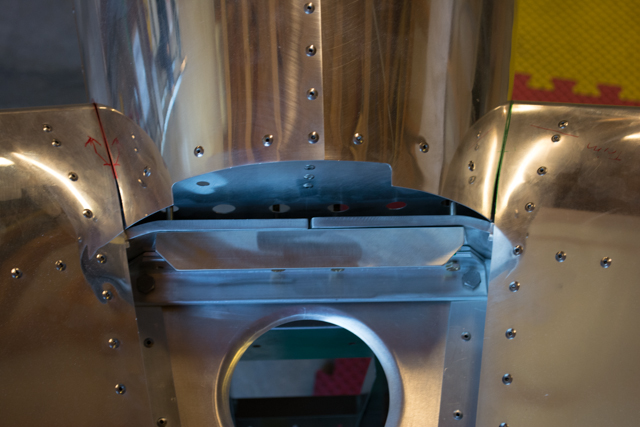
Up until this point, the rear stabilators have only been temporarily attached. This was mainly because I hadn’t yet made the fairing that joined them at the top and wanted to be able to remove them when fabricating this fairing. Well that time has finally come.
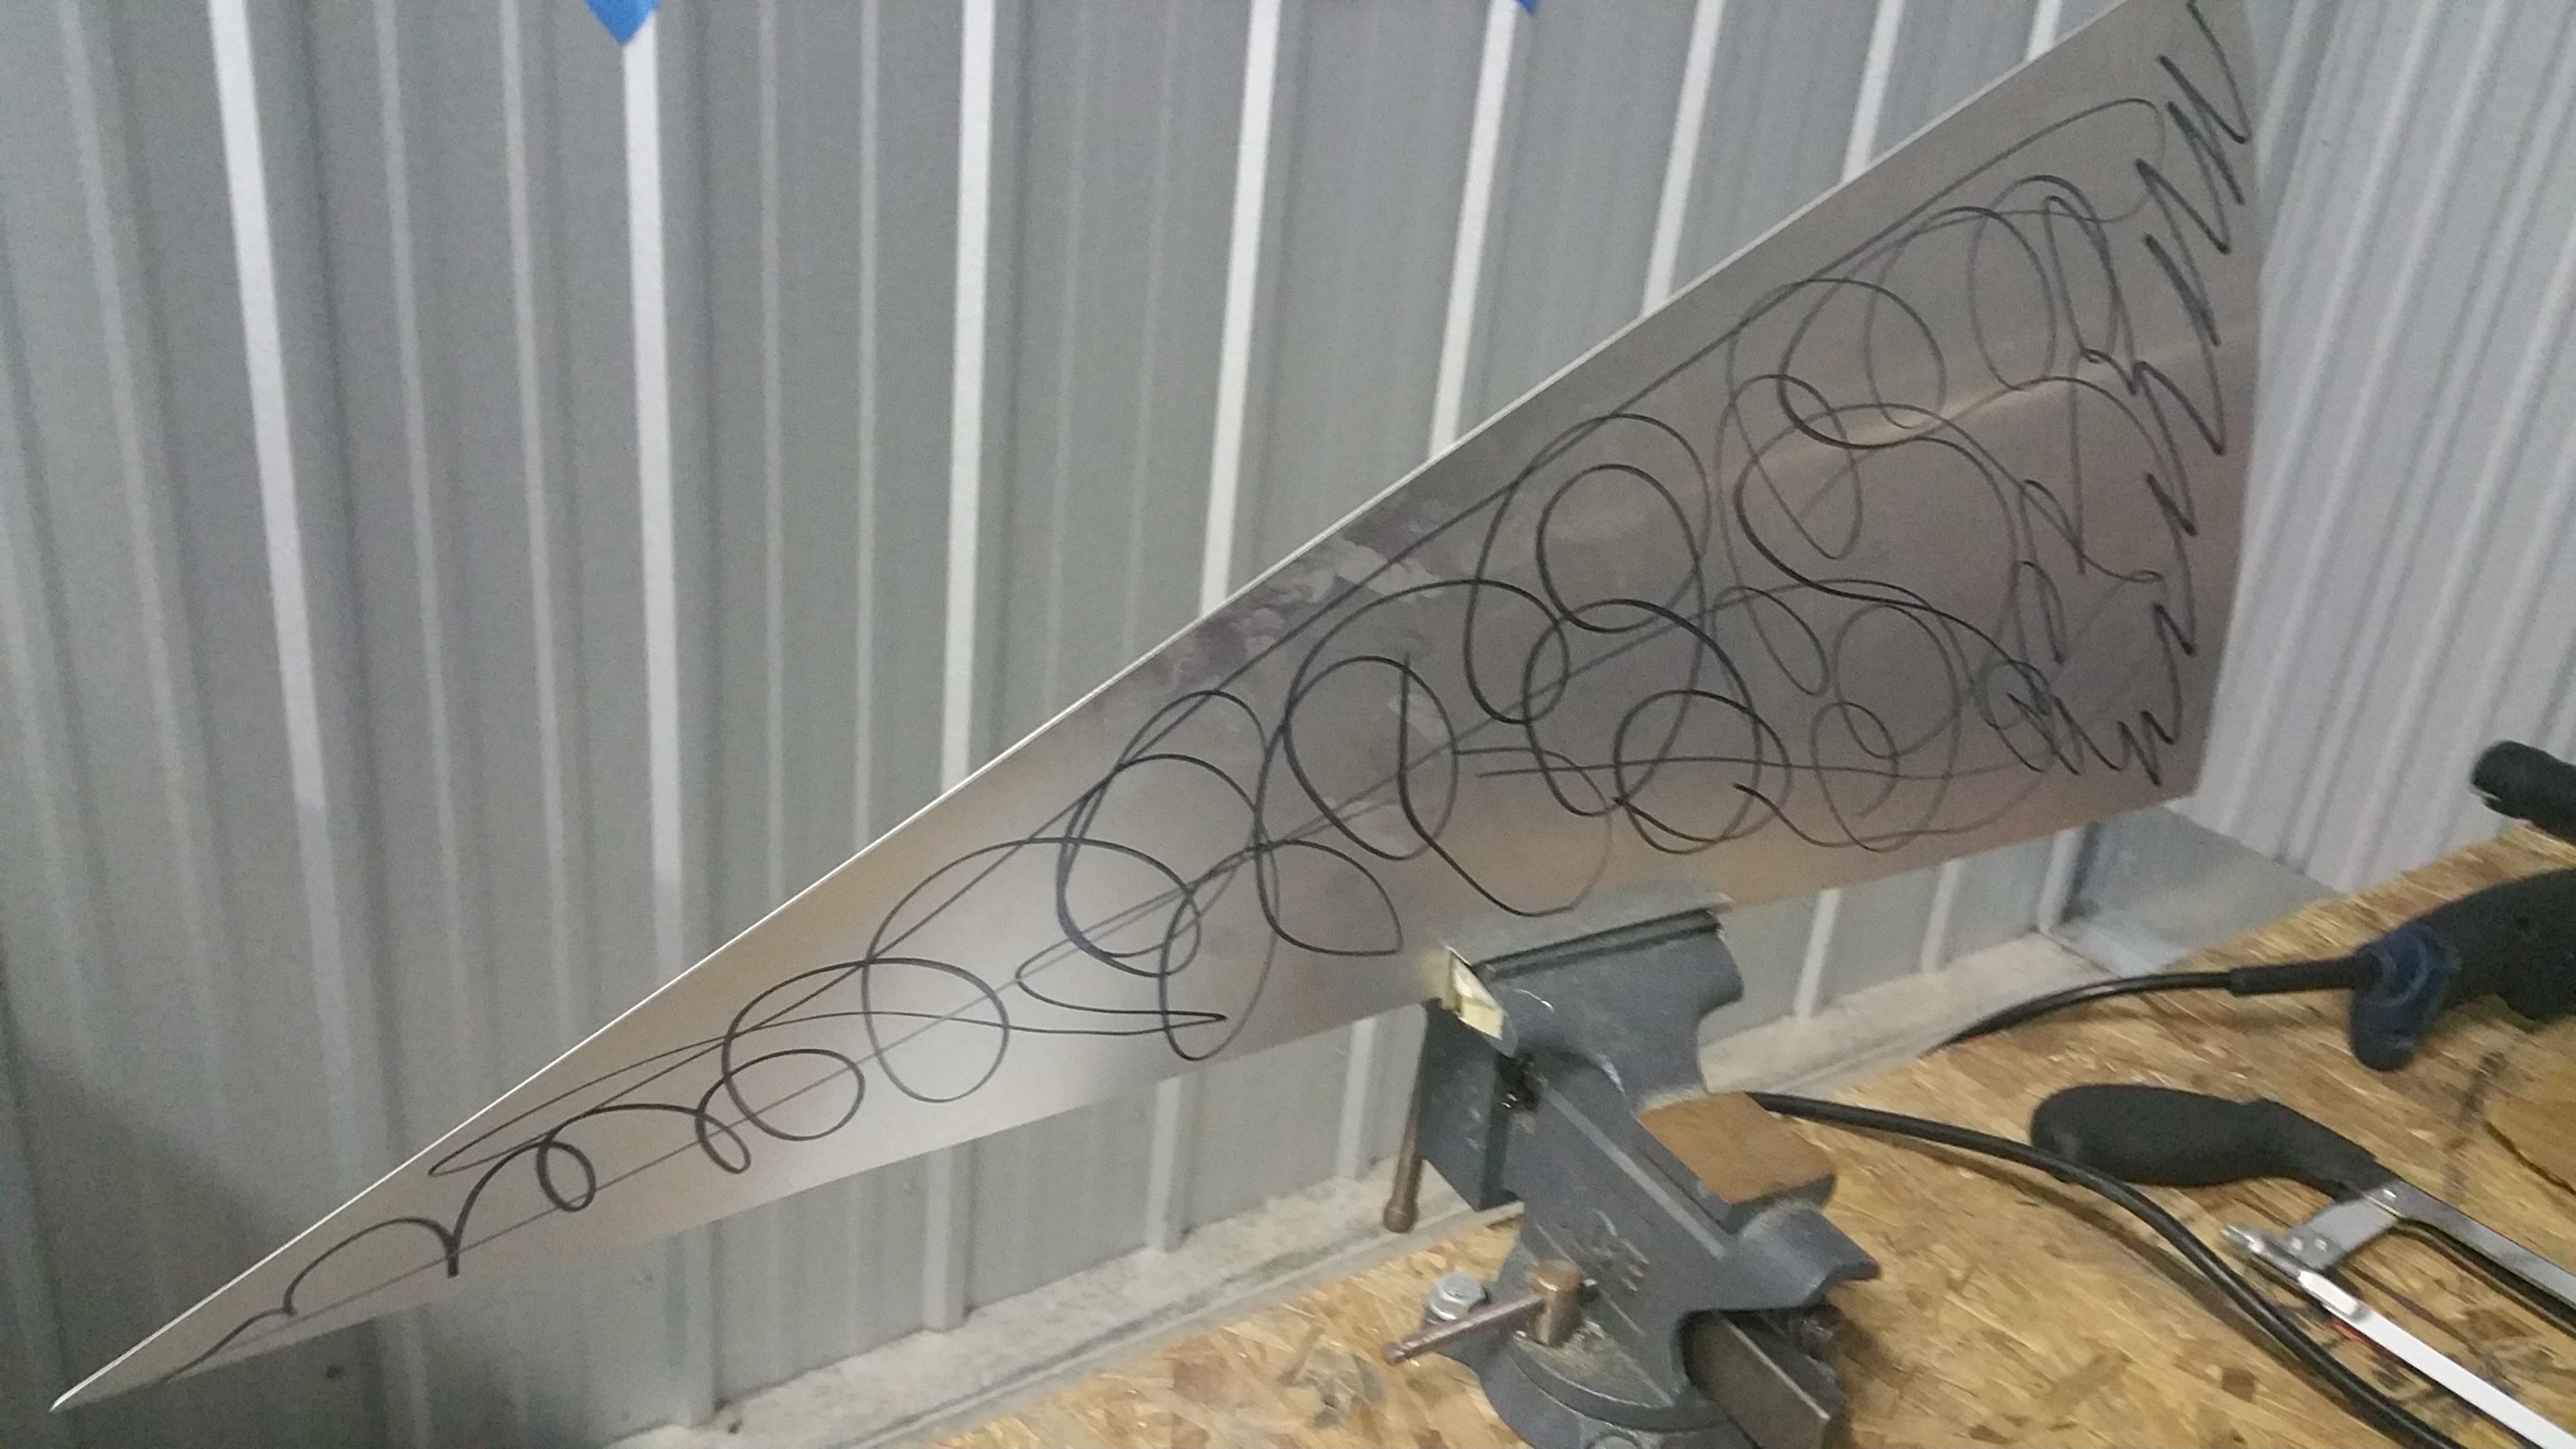
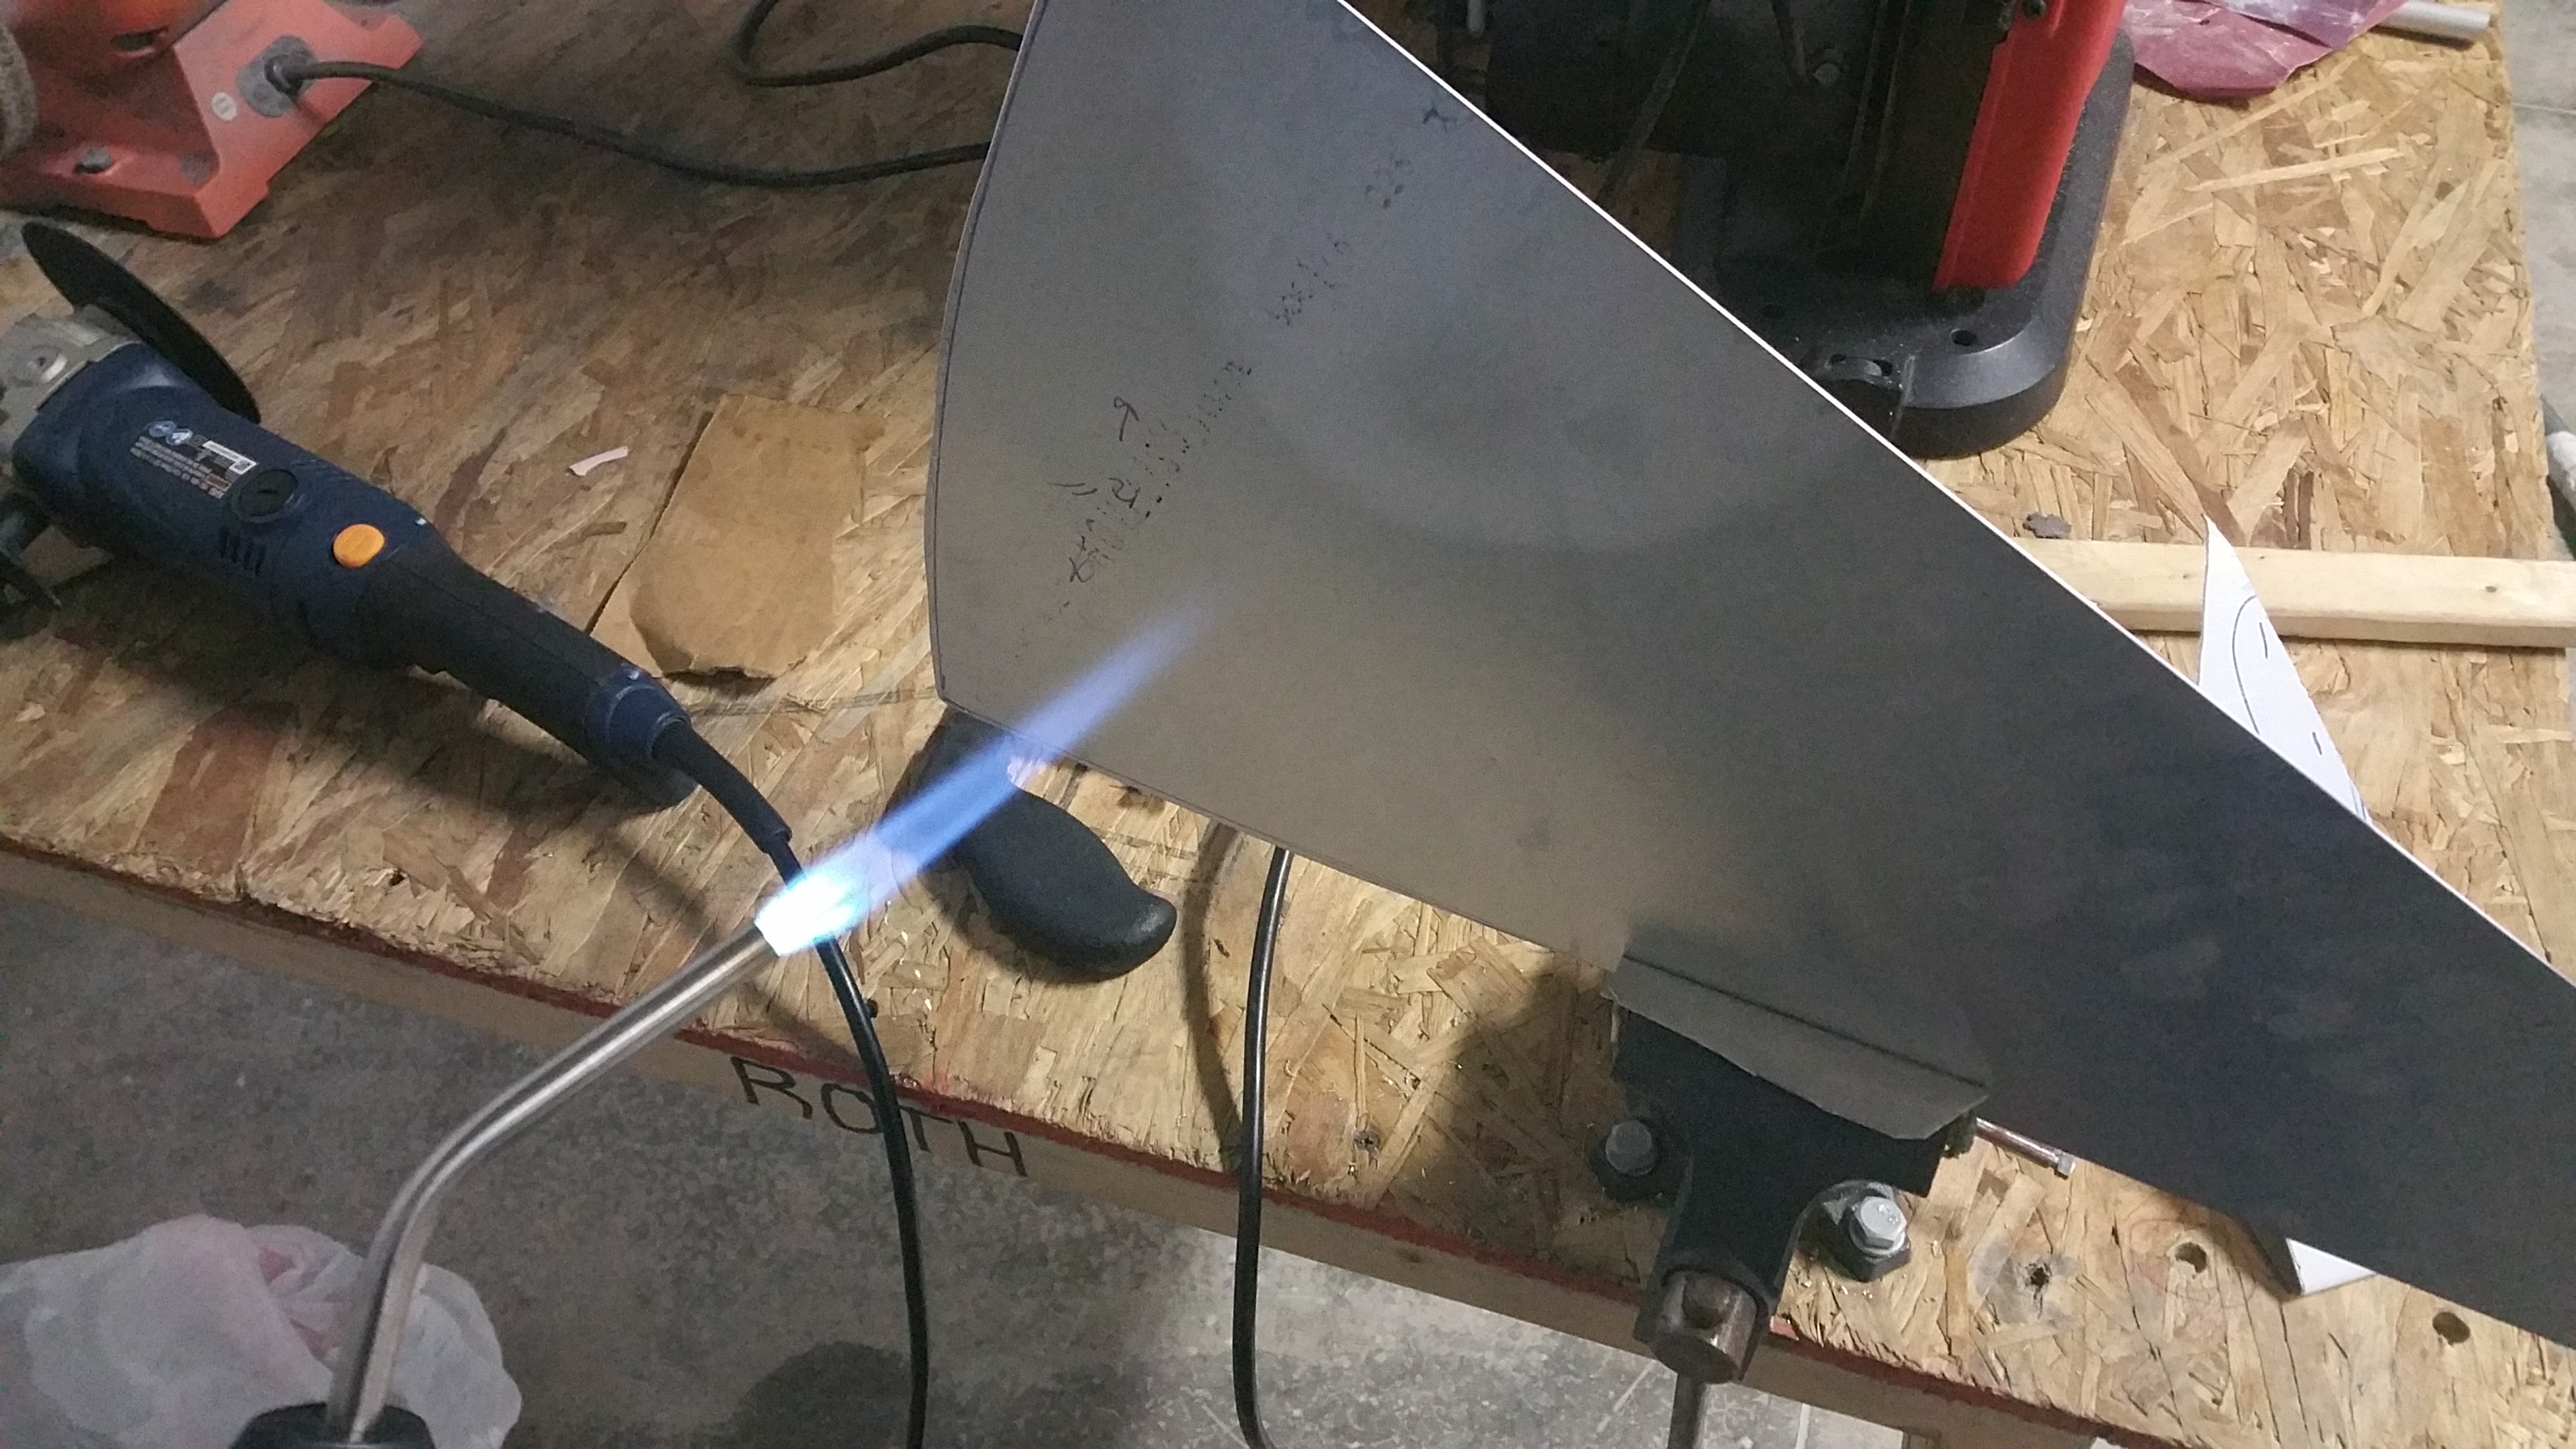
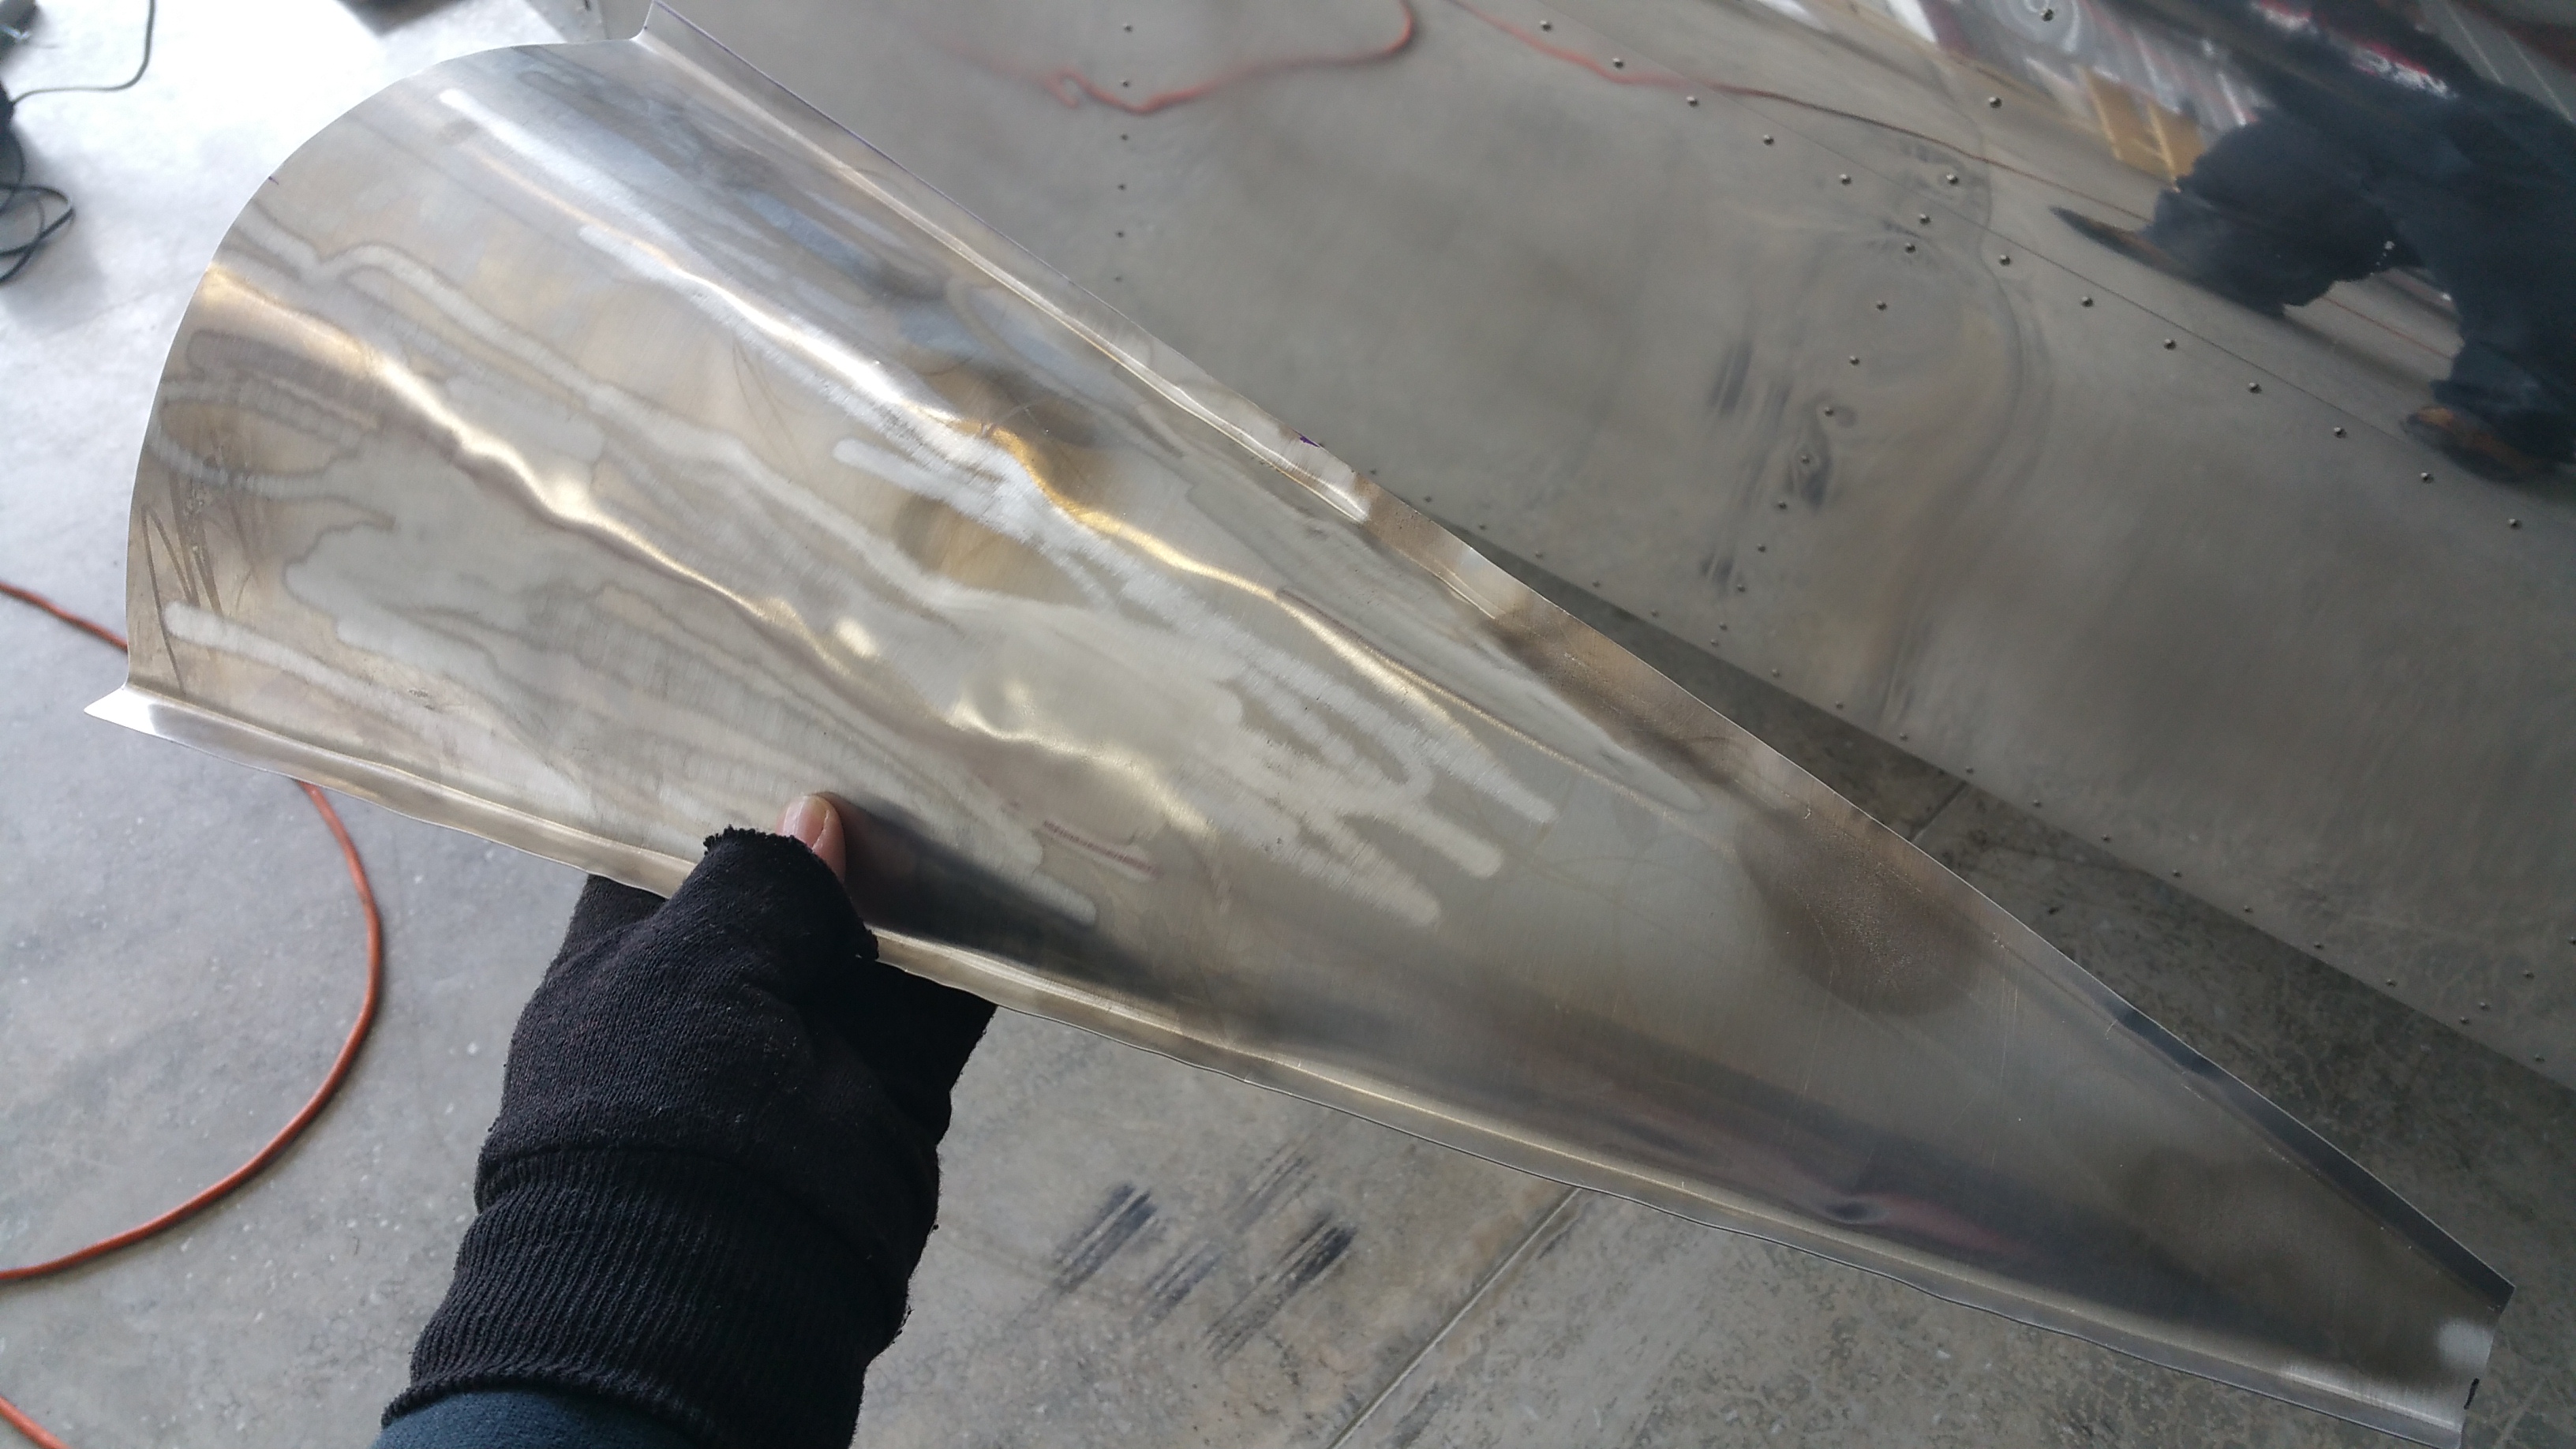
Following advice from fellow builders, shaping this and other fairings is much easier when you anneal the aluminum first. Annealing is the process of heating the metal until it changes its structure. In the case of the 6061-T6 aluminum alloy (which was already heat-strengthened) that my plane is built with, this process of annealing actually makes the metal weaker, softer, and easier to bend. Now, this would be no good for any of the structural parts of the plane, but the fairings aren’t structural, they’re just coverings. The method I used is called the “sharpie trick.” You mark one side of the metal with a sharpie, then heat from the other side until the sharpie marks disappear, which happens to indicate that the annealing temperature has been reached.
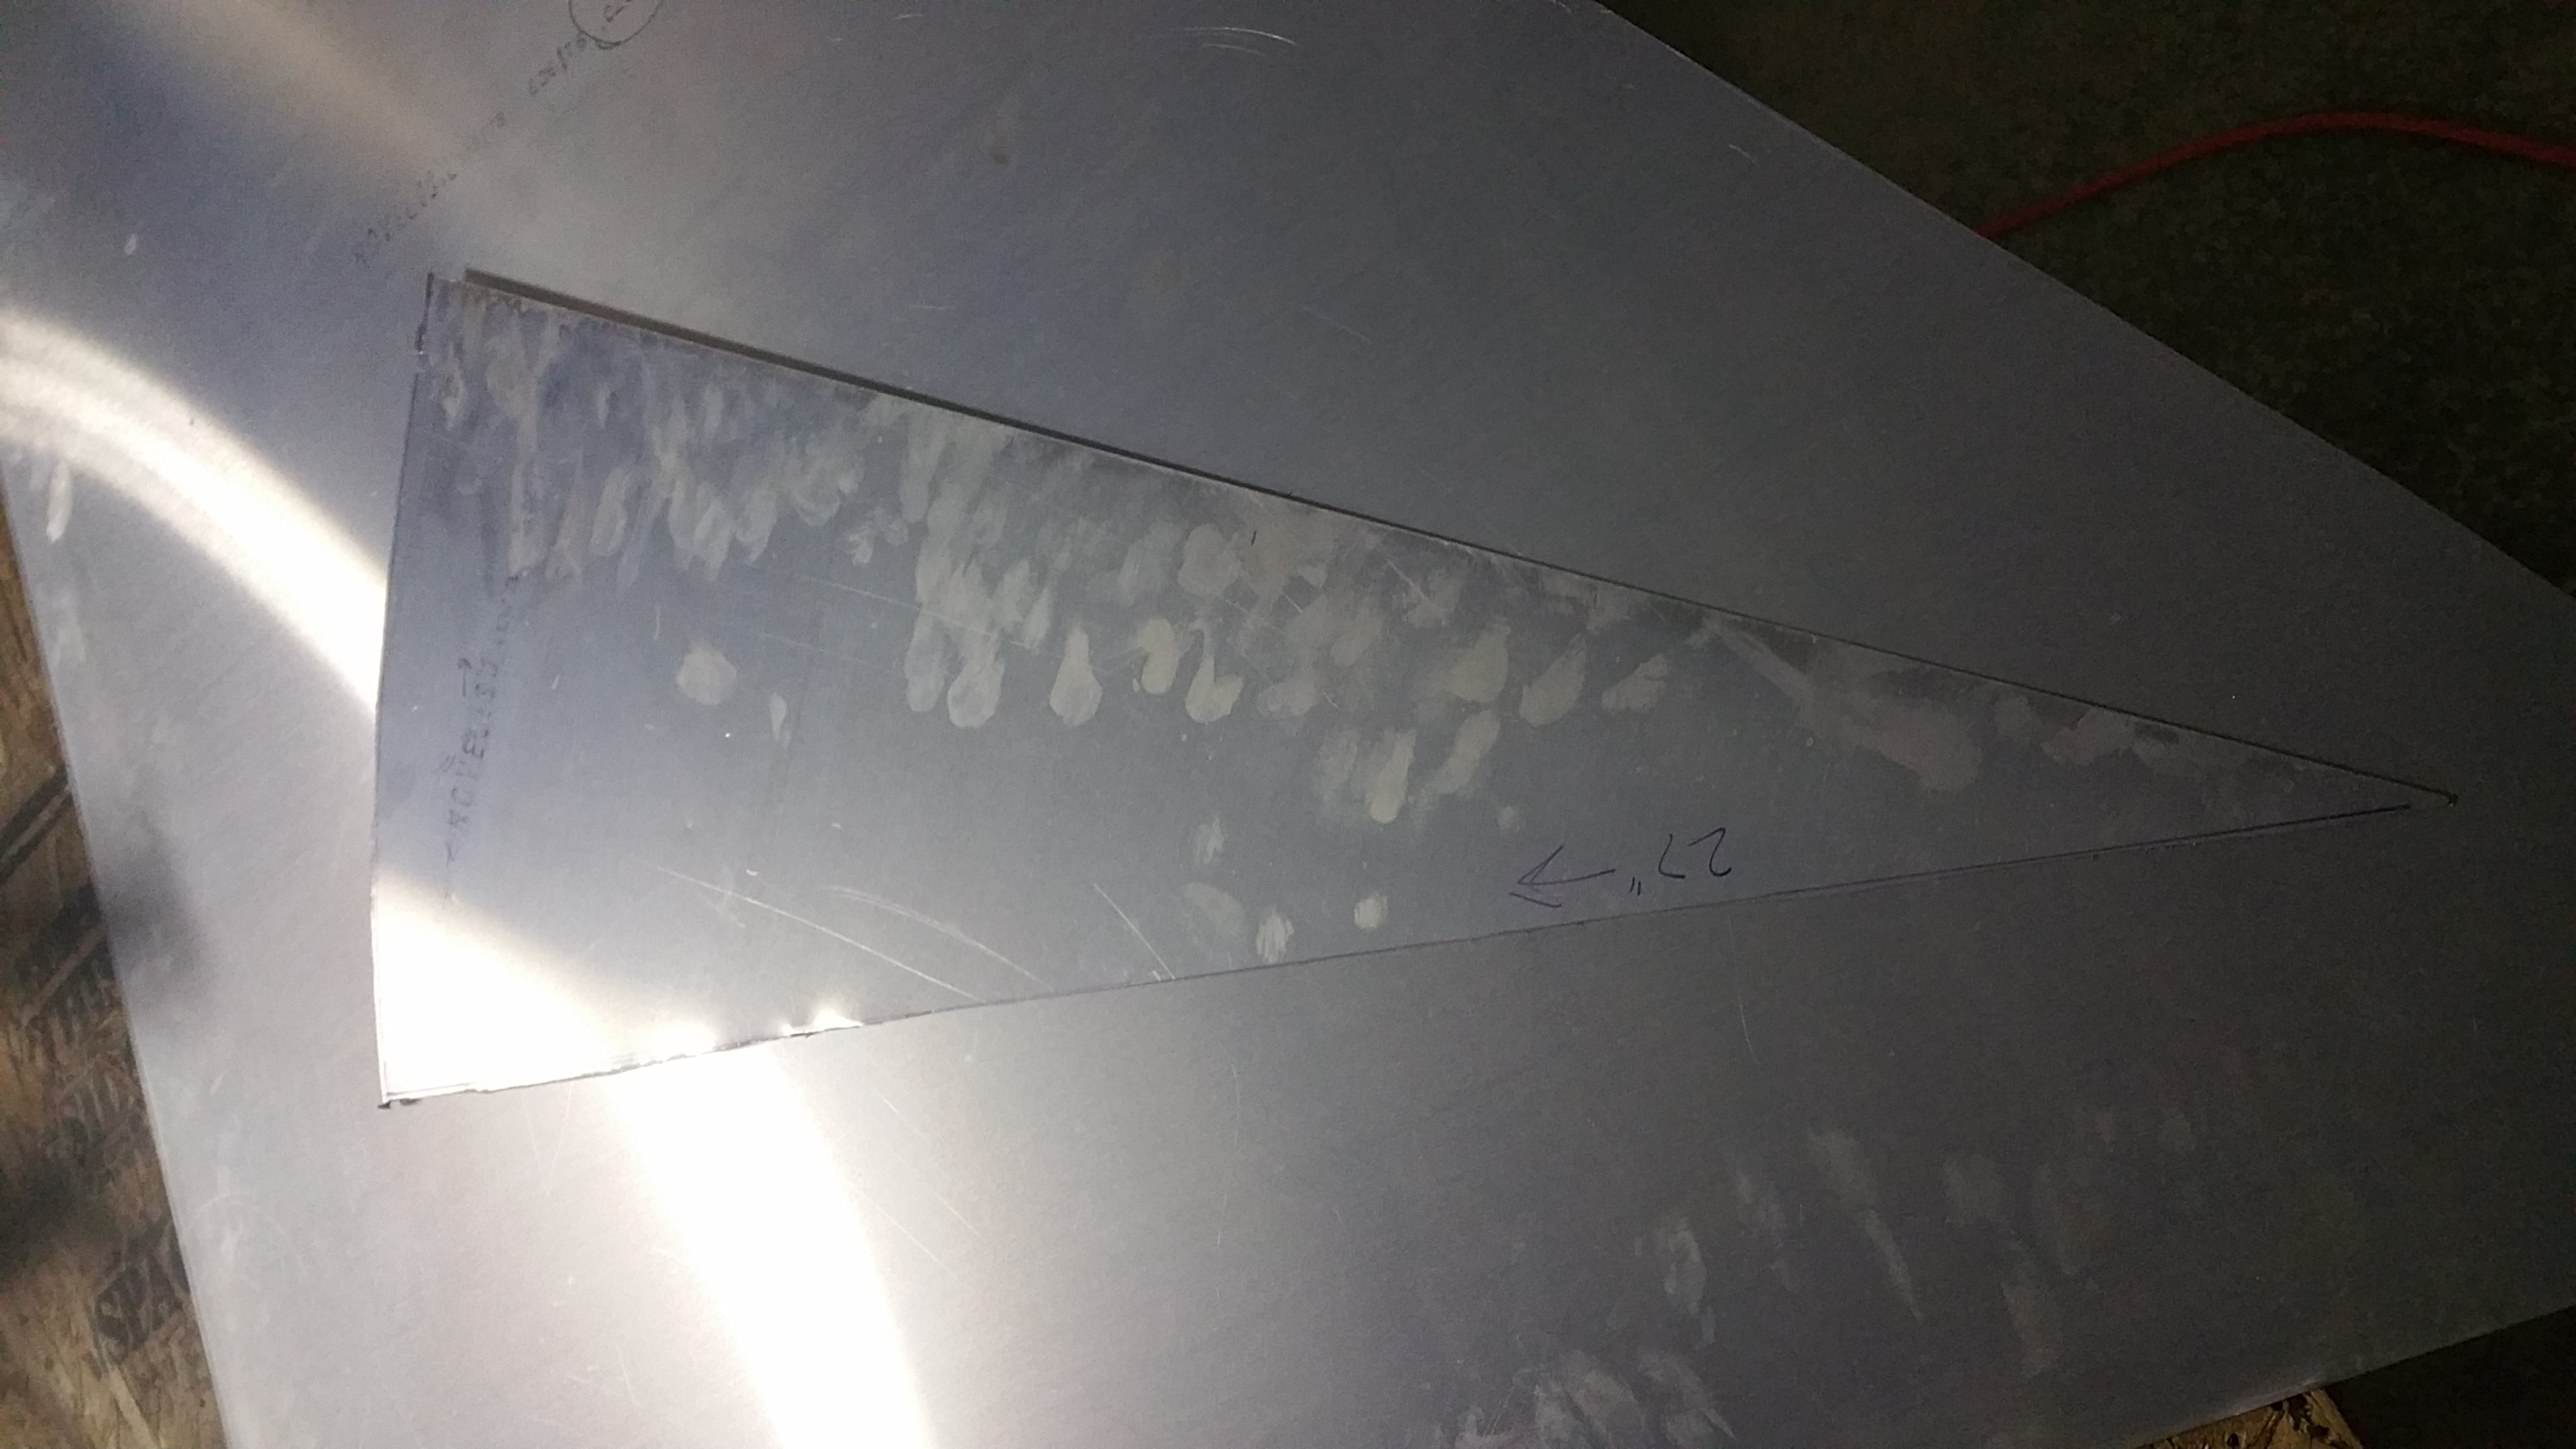
I made my cutout for the stabilator fairing using the plans.

I then marked up one side of the fairing with a sharpie and clamped it to the table.
I then used my blowtorch to make the sharpie marks disappear.
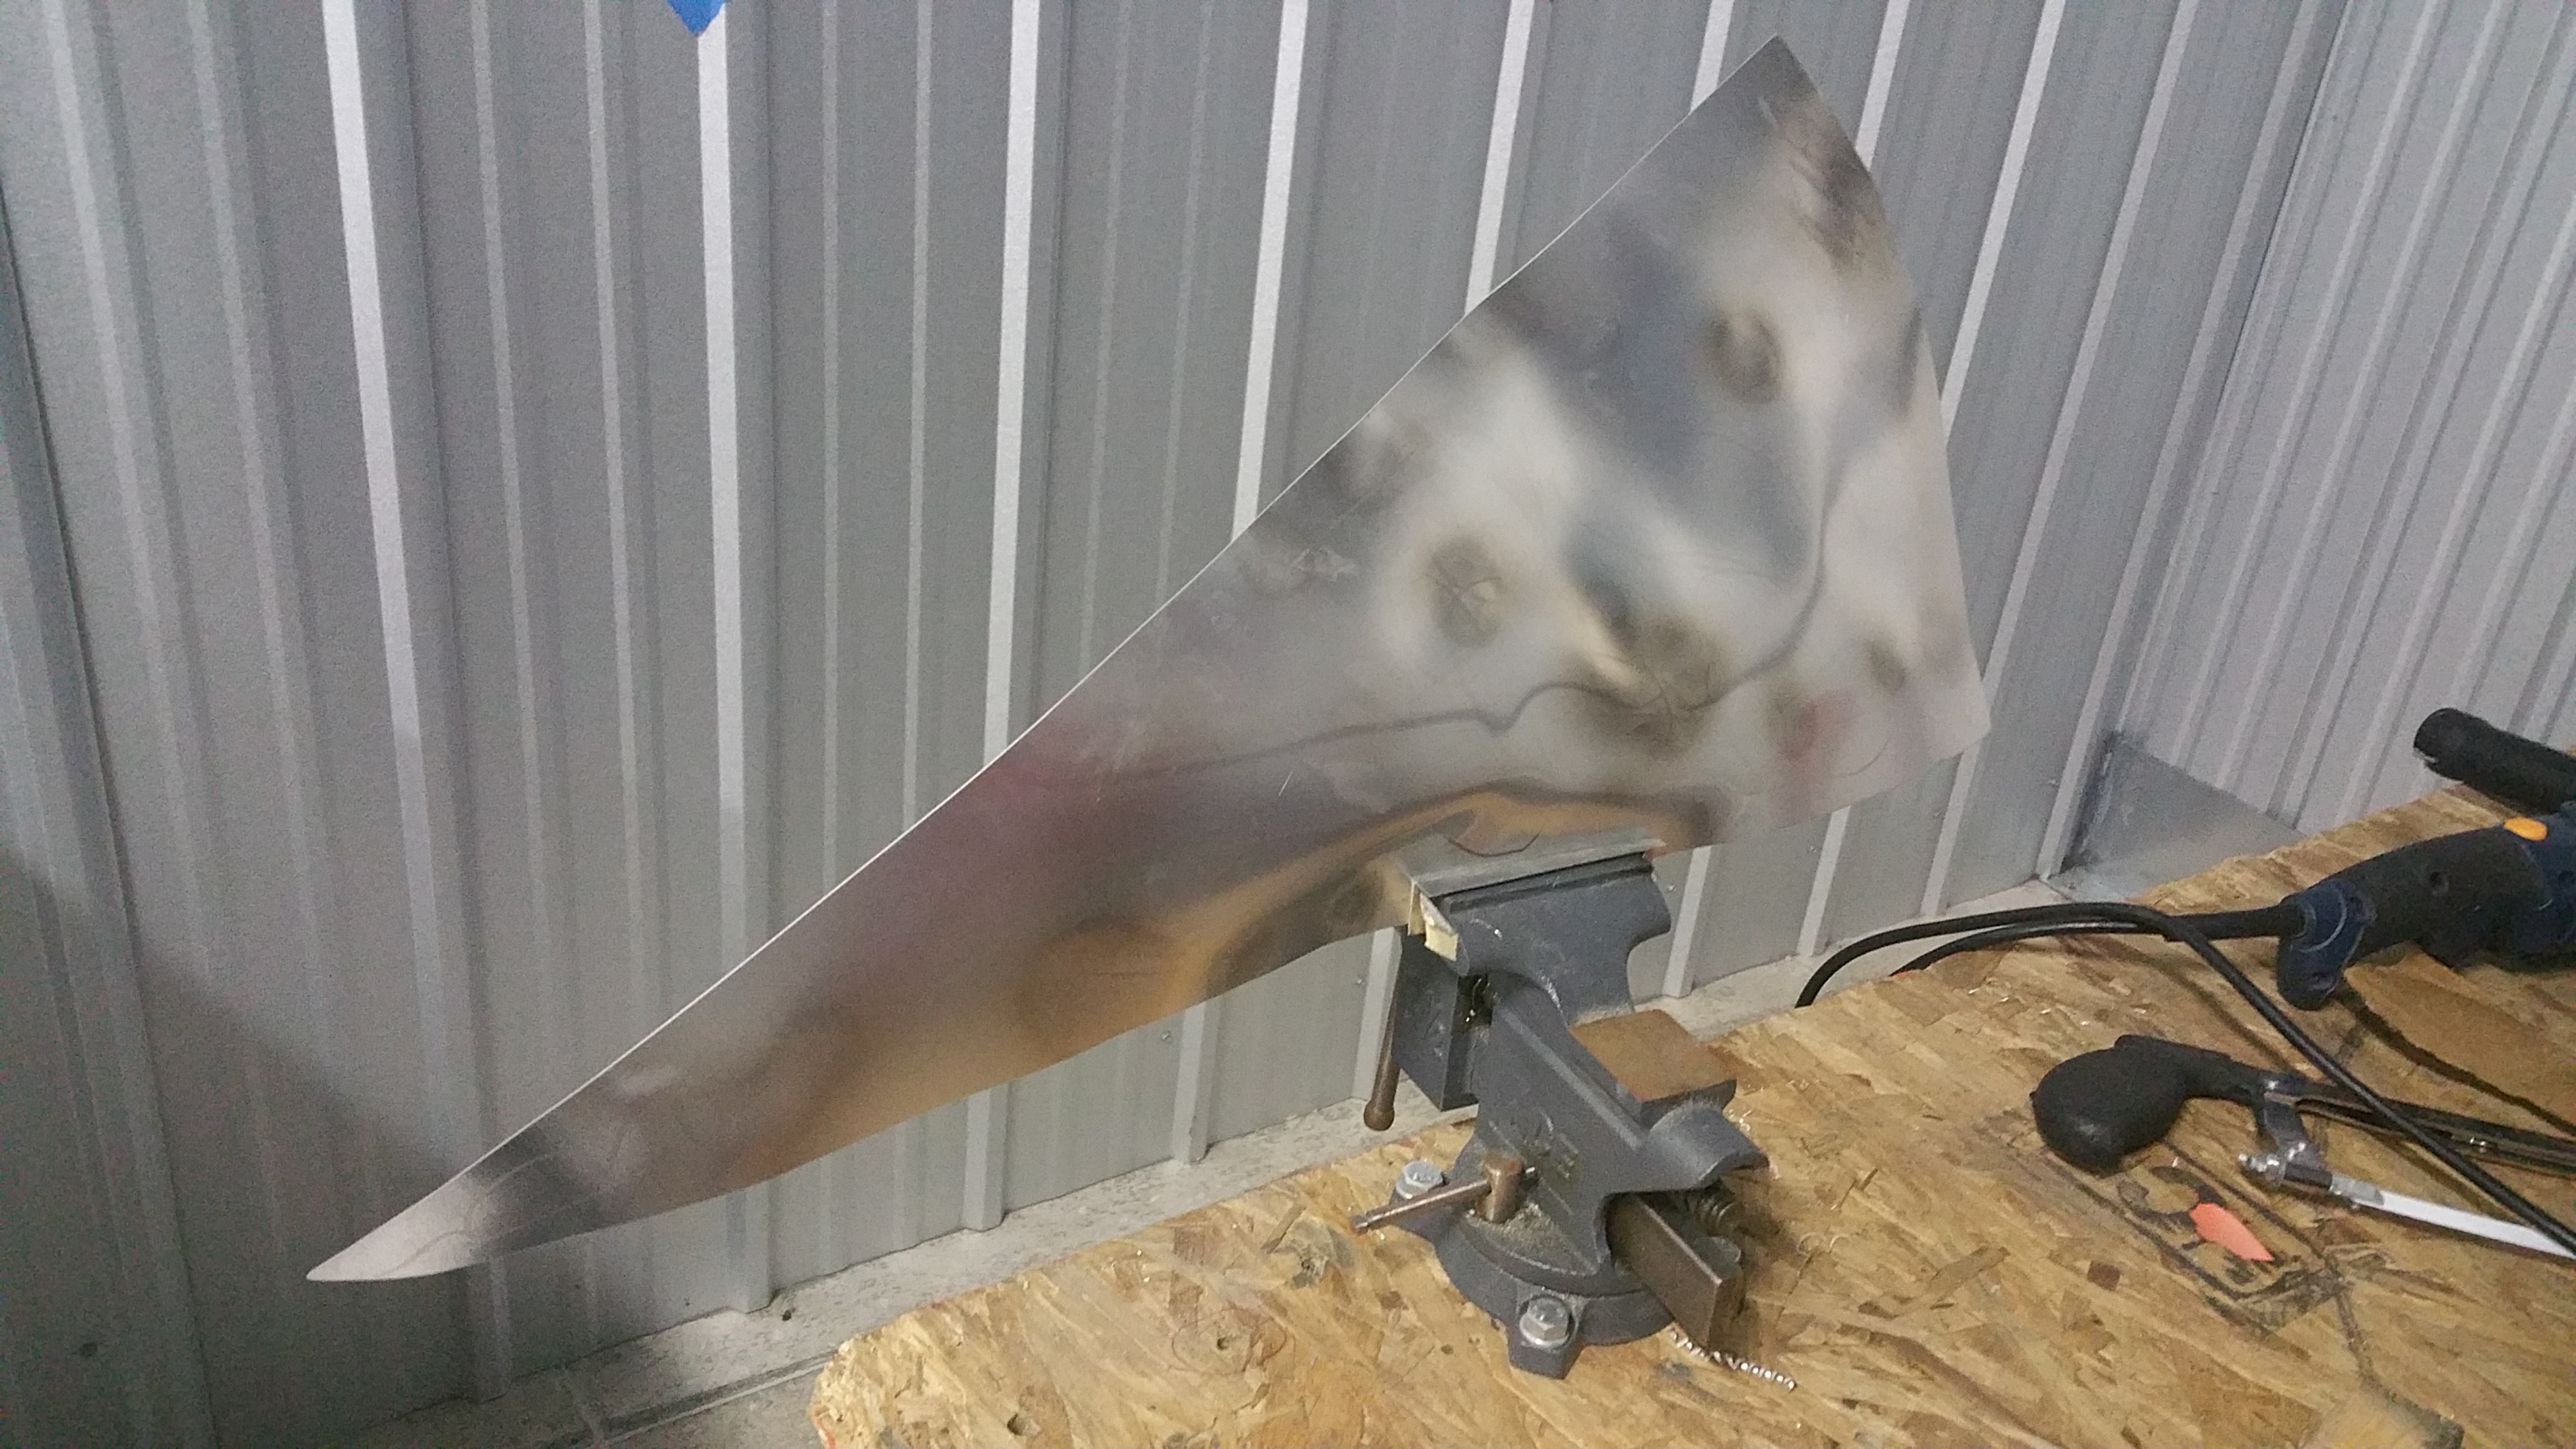
The metal seemed a bit unsightly at first but scotch-brite cleaned it up pretty well. Eventually it will be polished and hopefully will look like everything else.
I used some wooden dowels as rolling pins to create the curved shape of the fairing. After this heat treatment, the fairing was super easy to bend, almost like a thick sheet of aluminum foil.
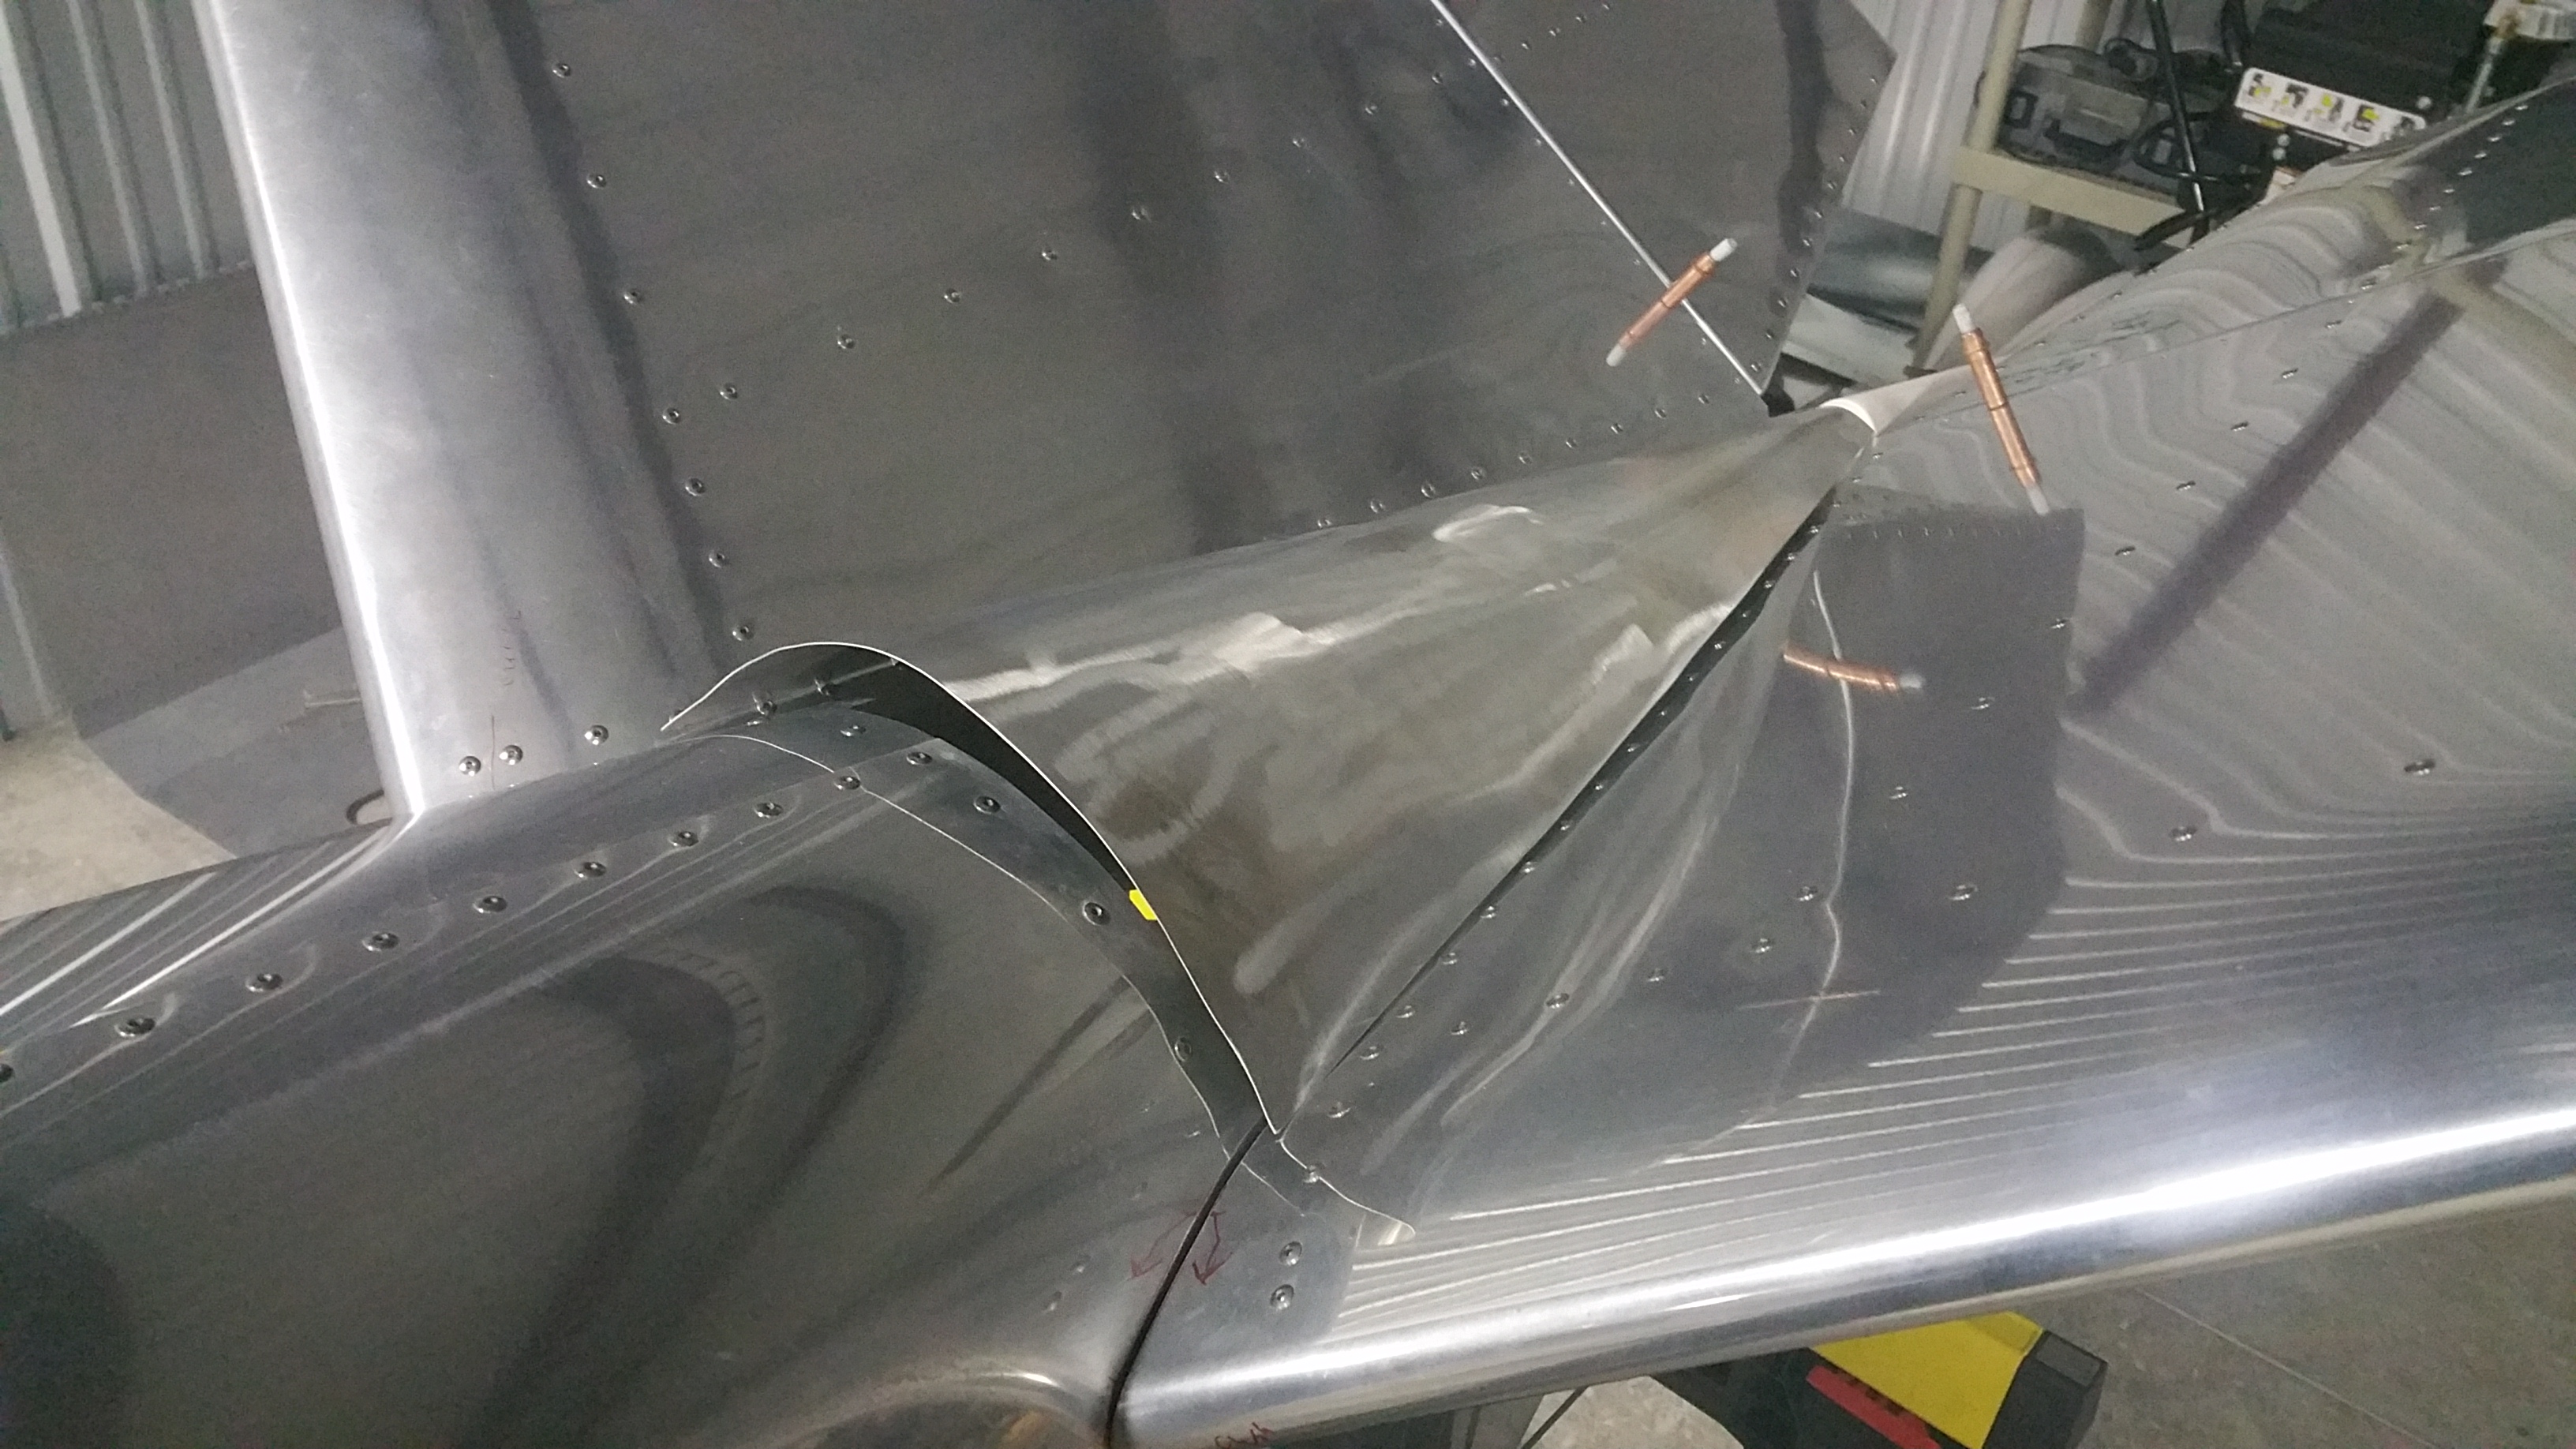

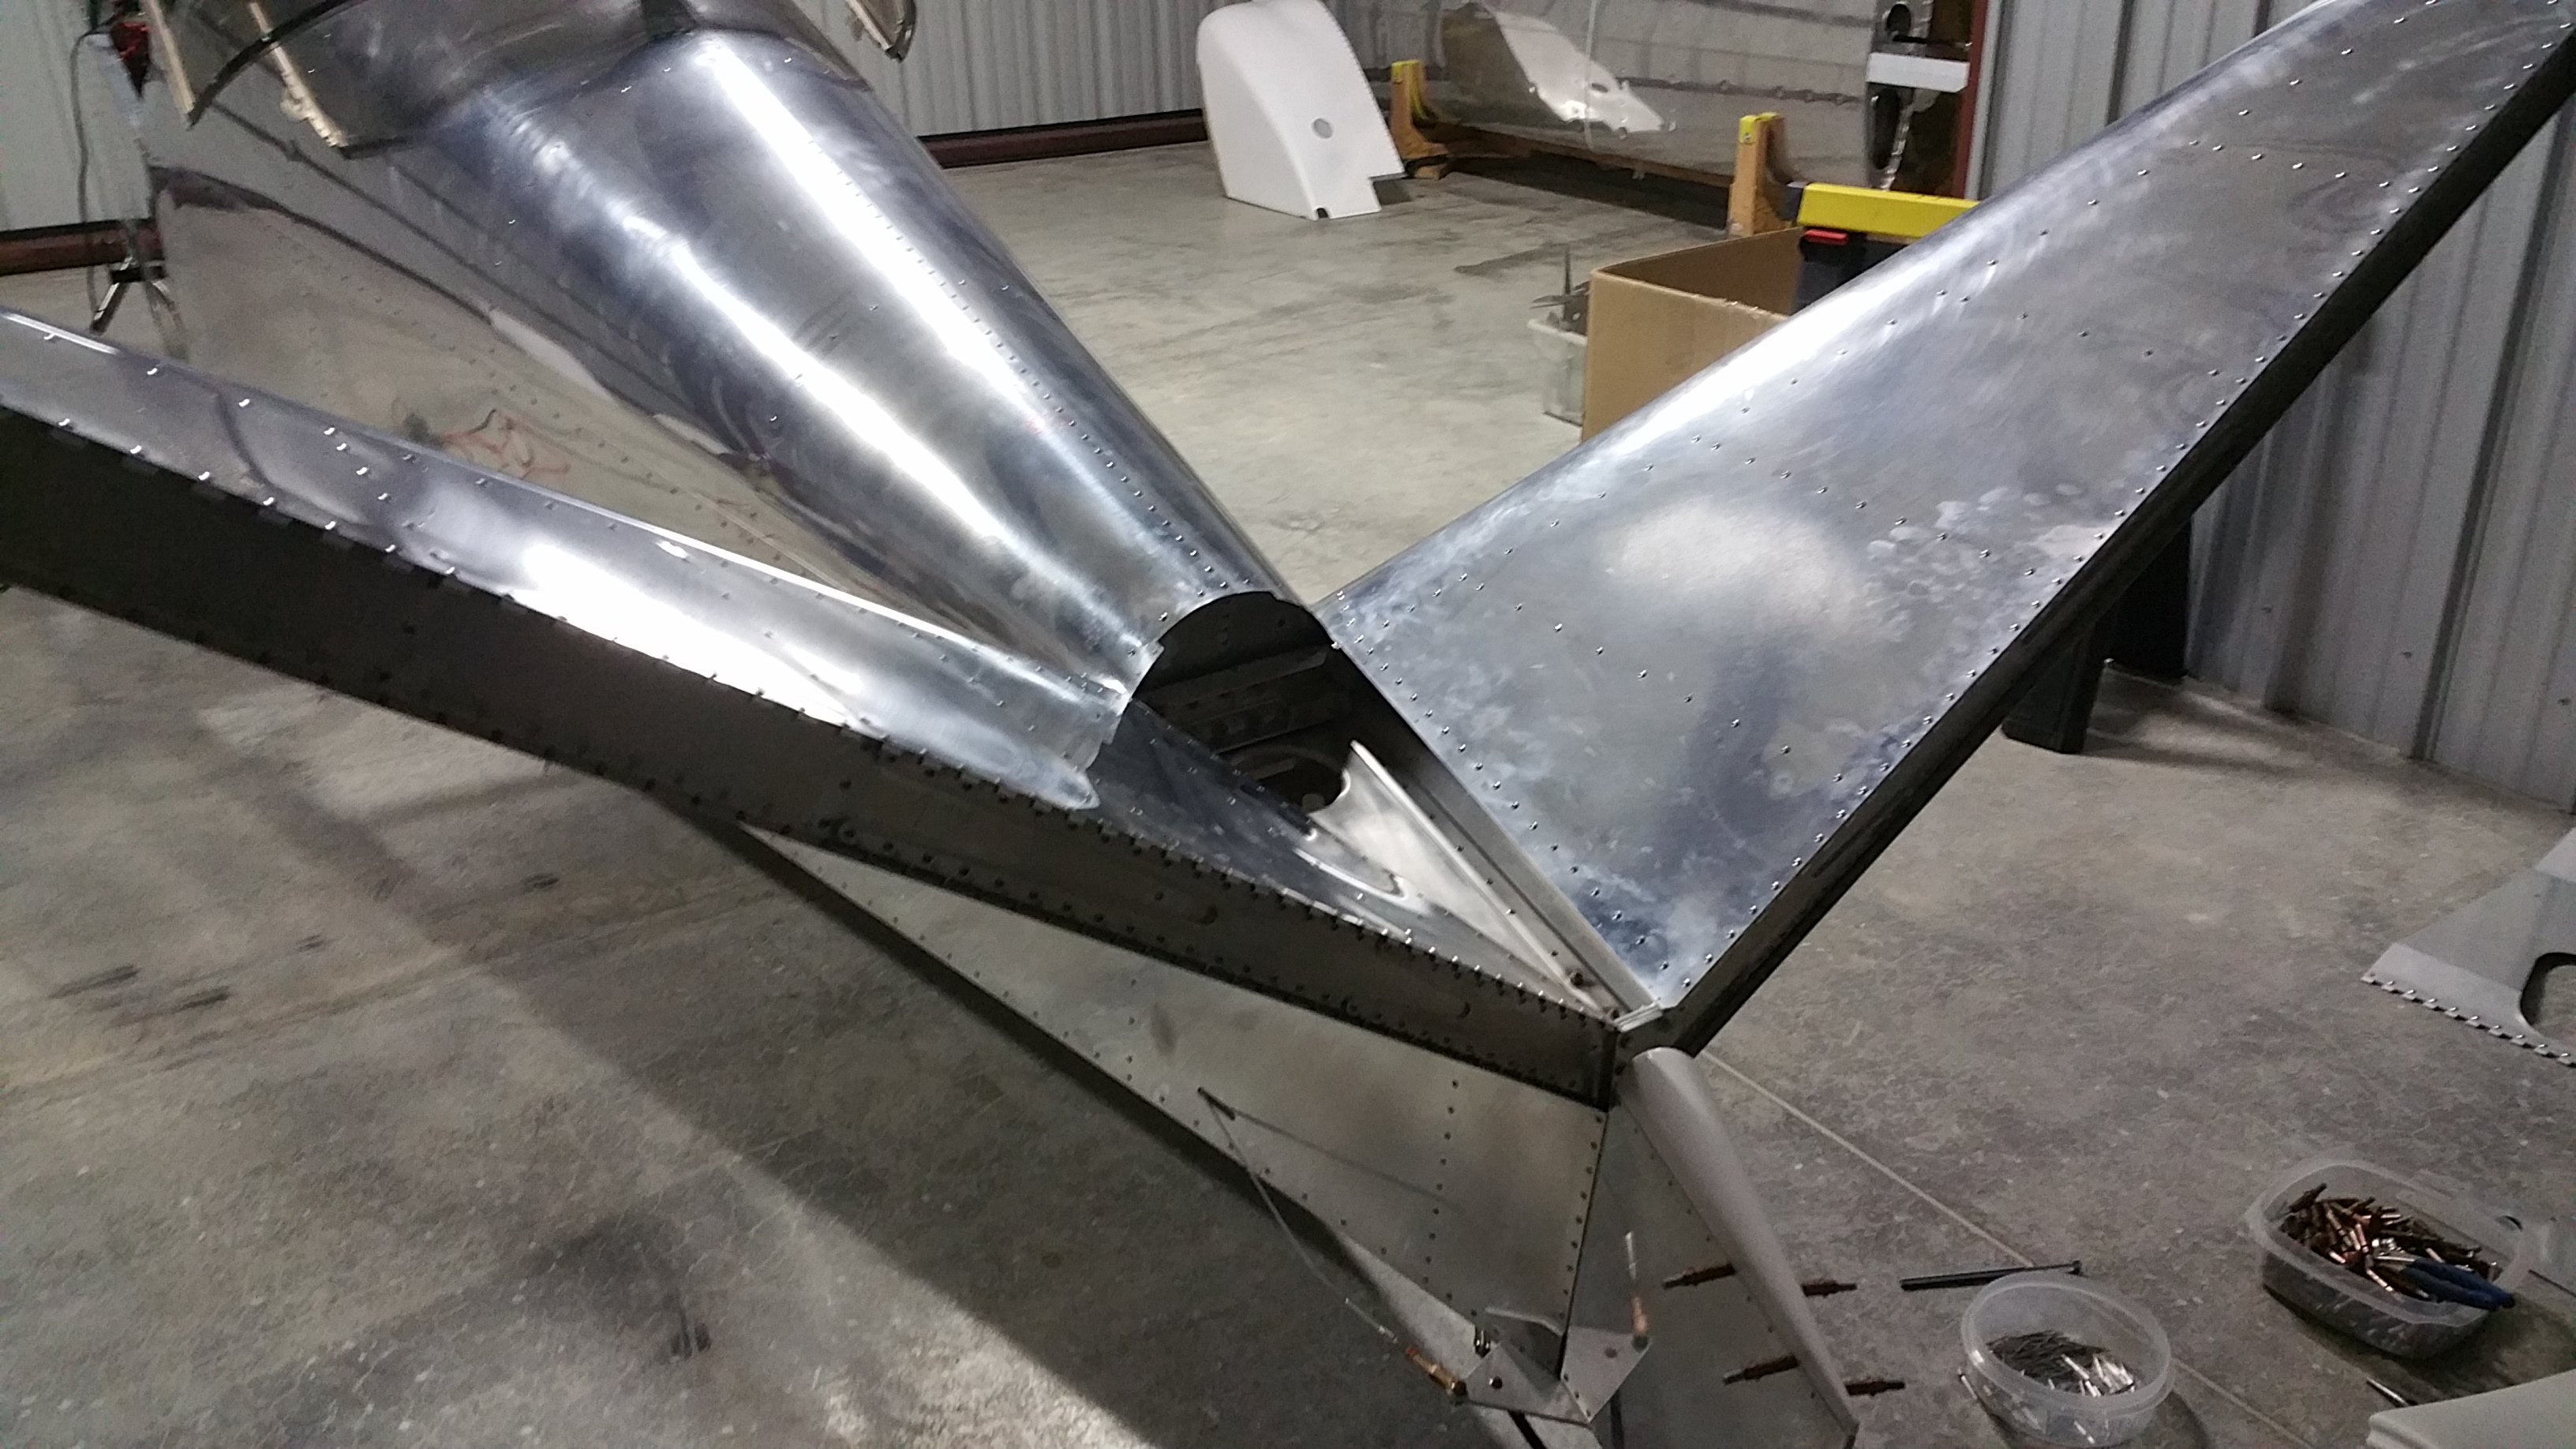
It was at this point that I was glad that I could still remove the stabilators. I was able to mark their locations and remove them, which let me put the fairing into position pressed against the turtledeck and mark it for the flanges that needed to be bent.

I positioned the fairing and drilled holes for the screws that will secure it.
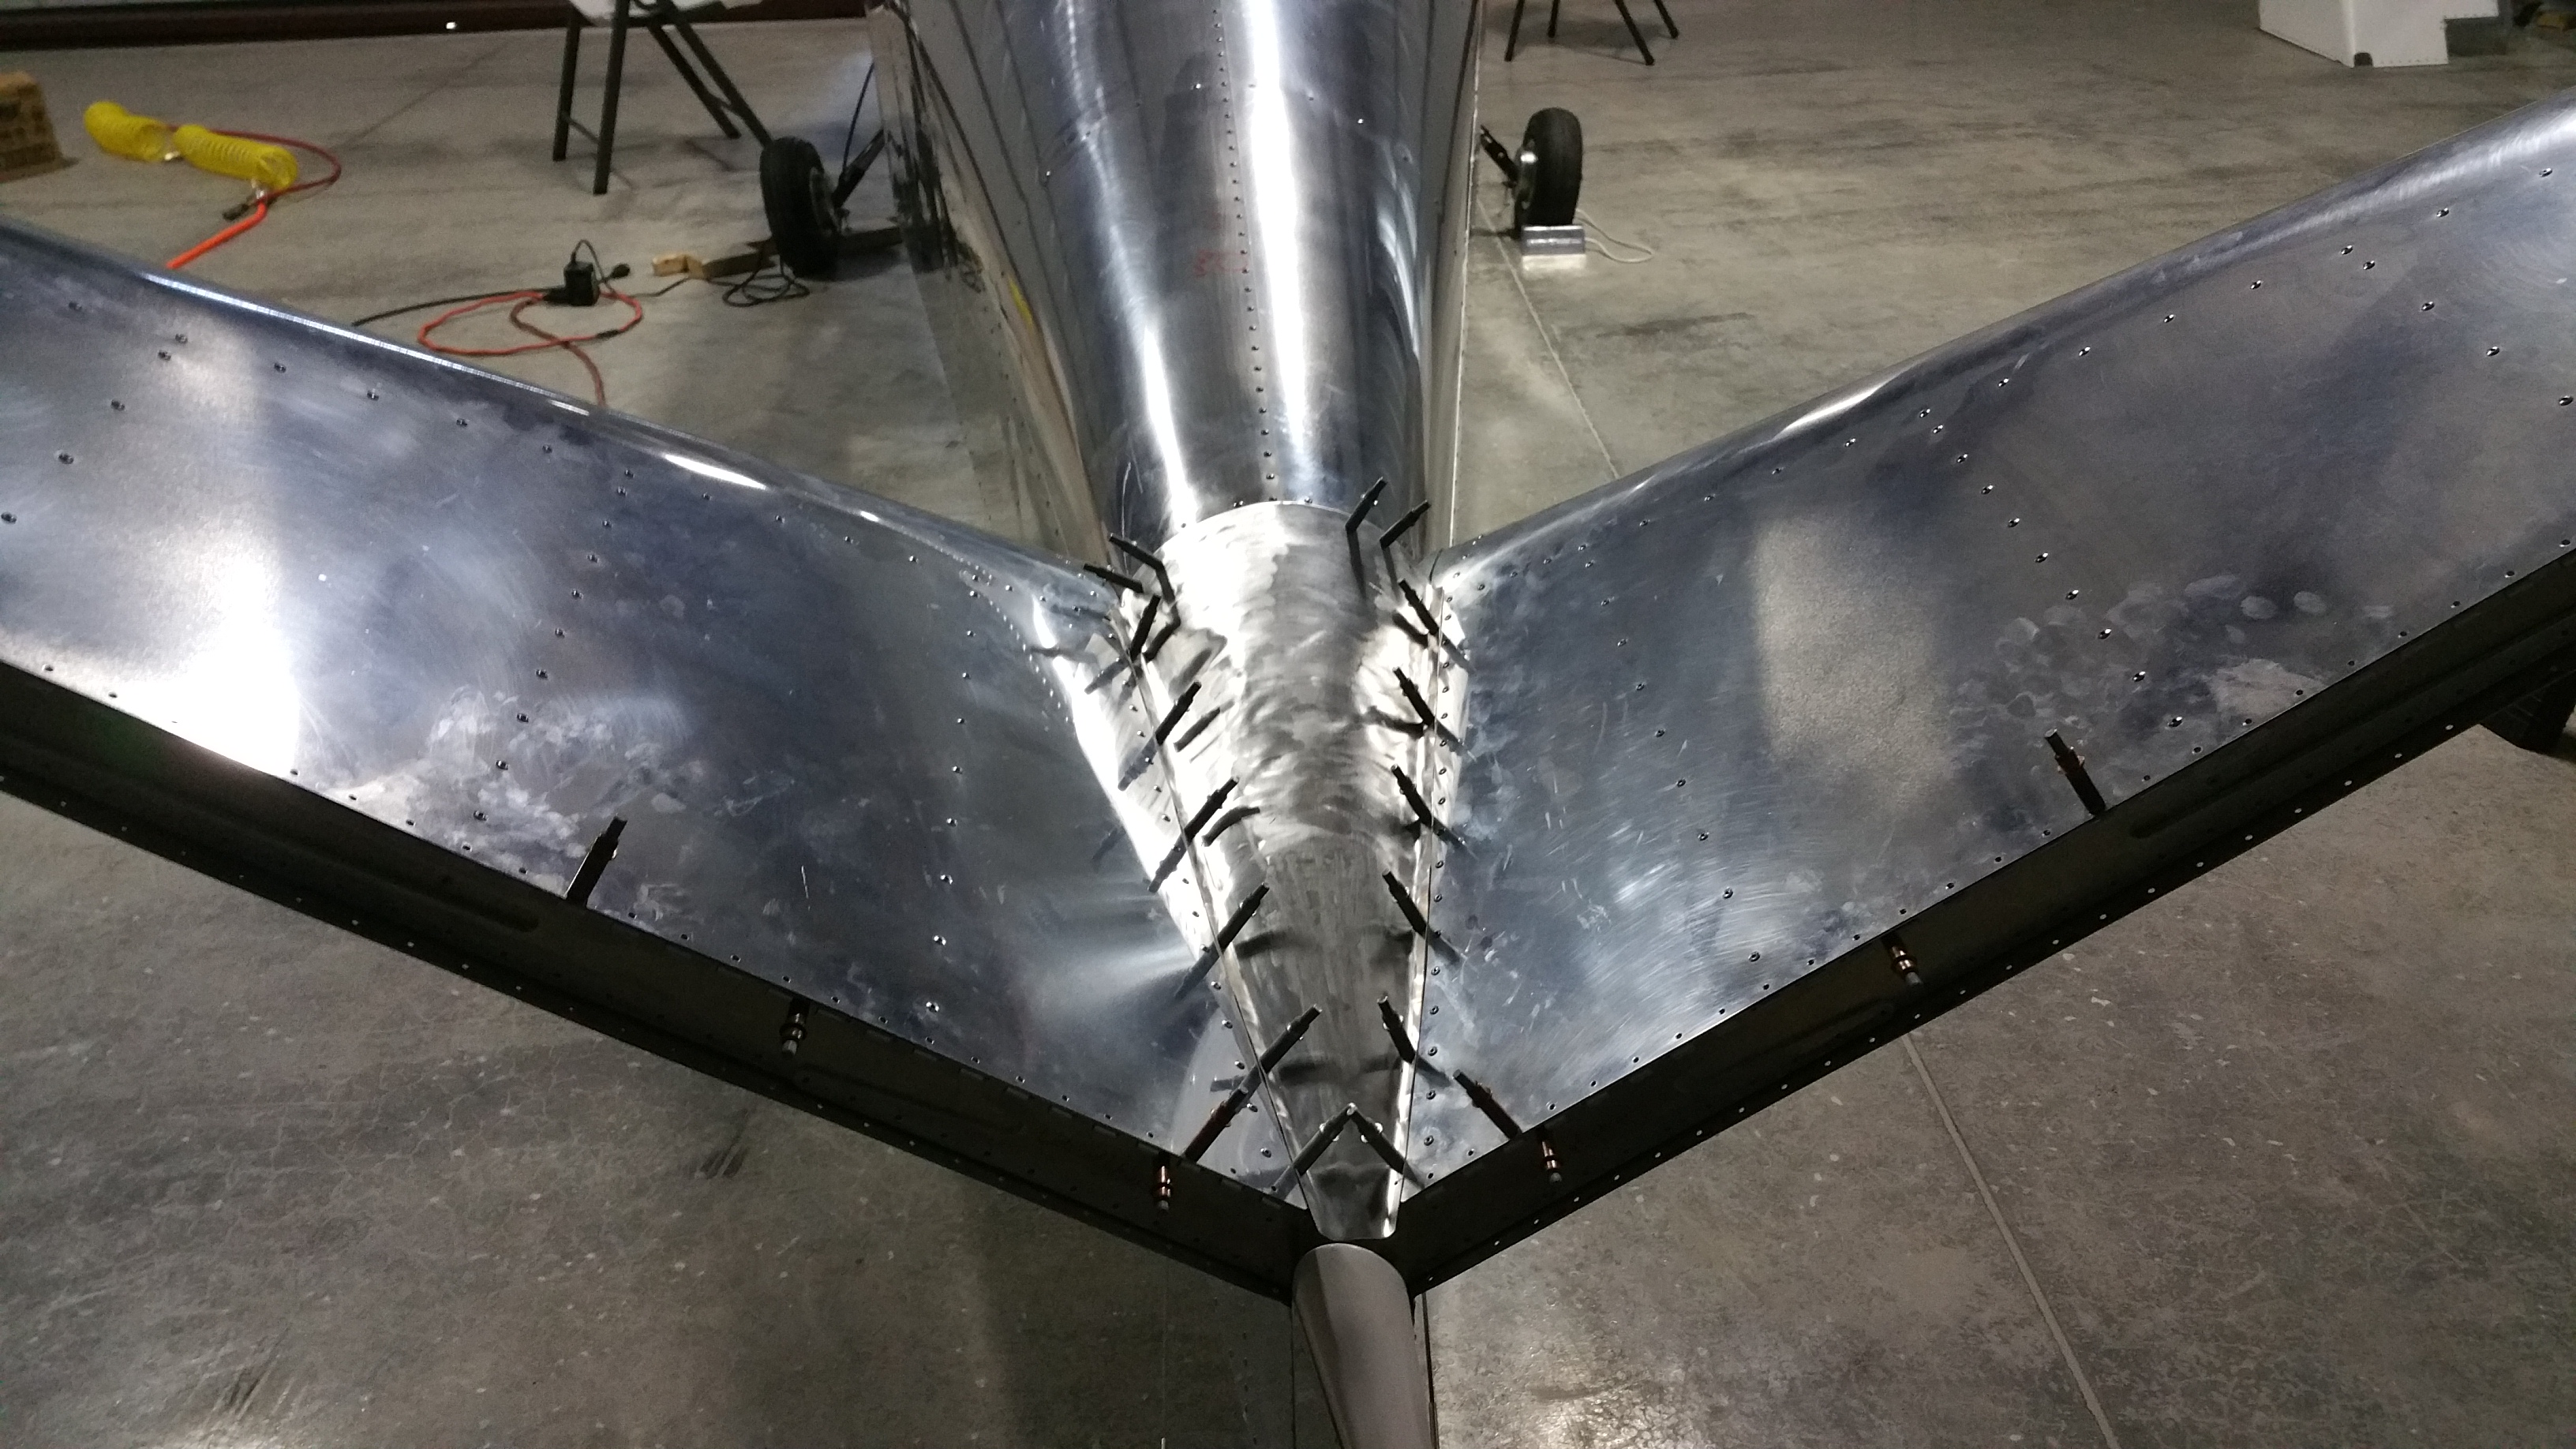
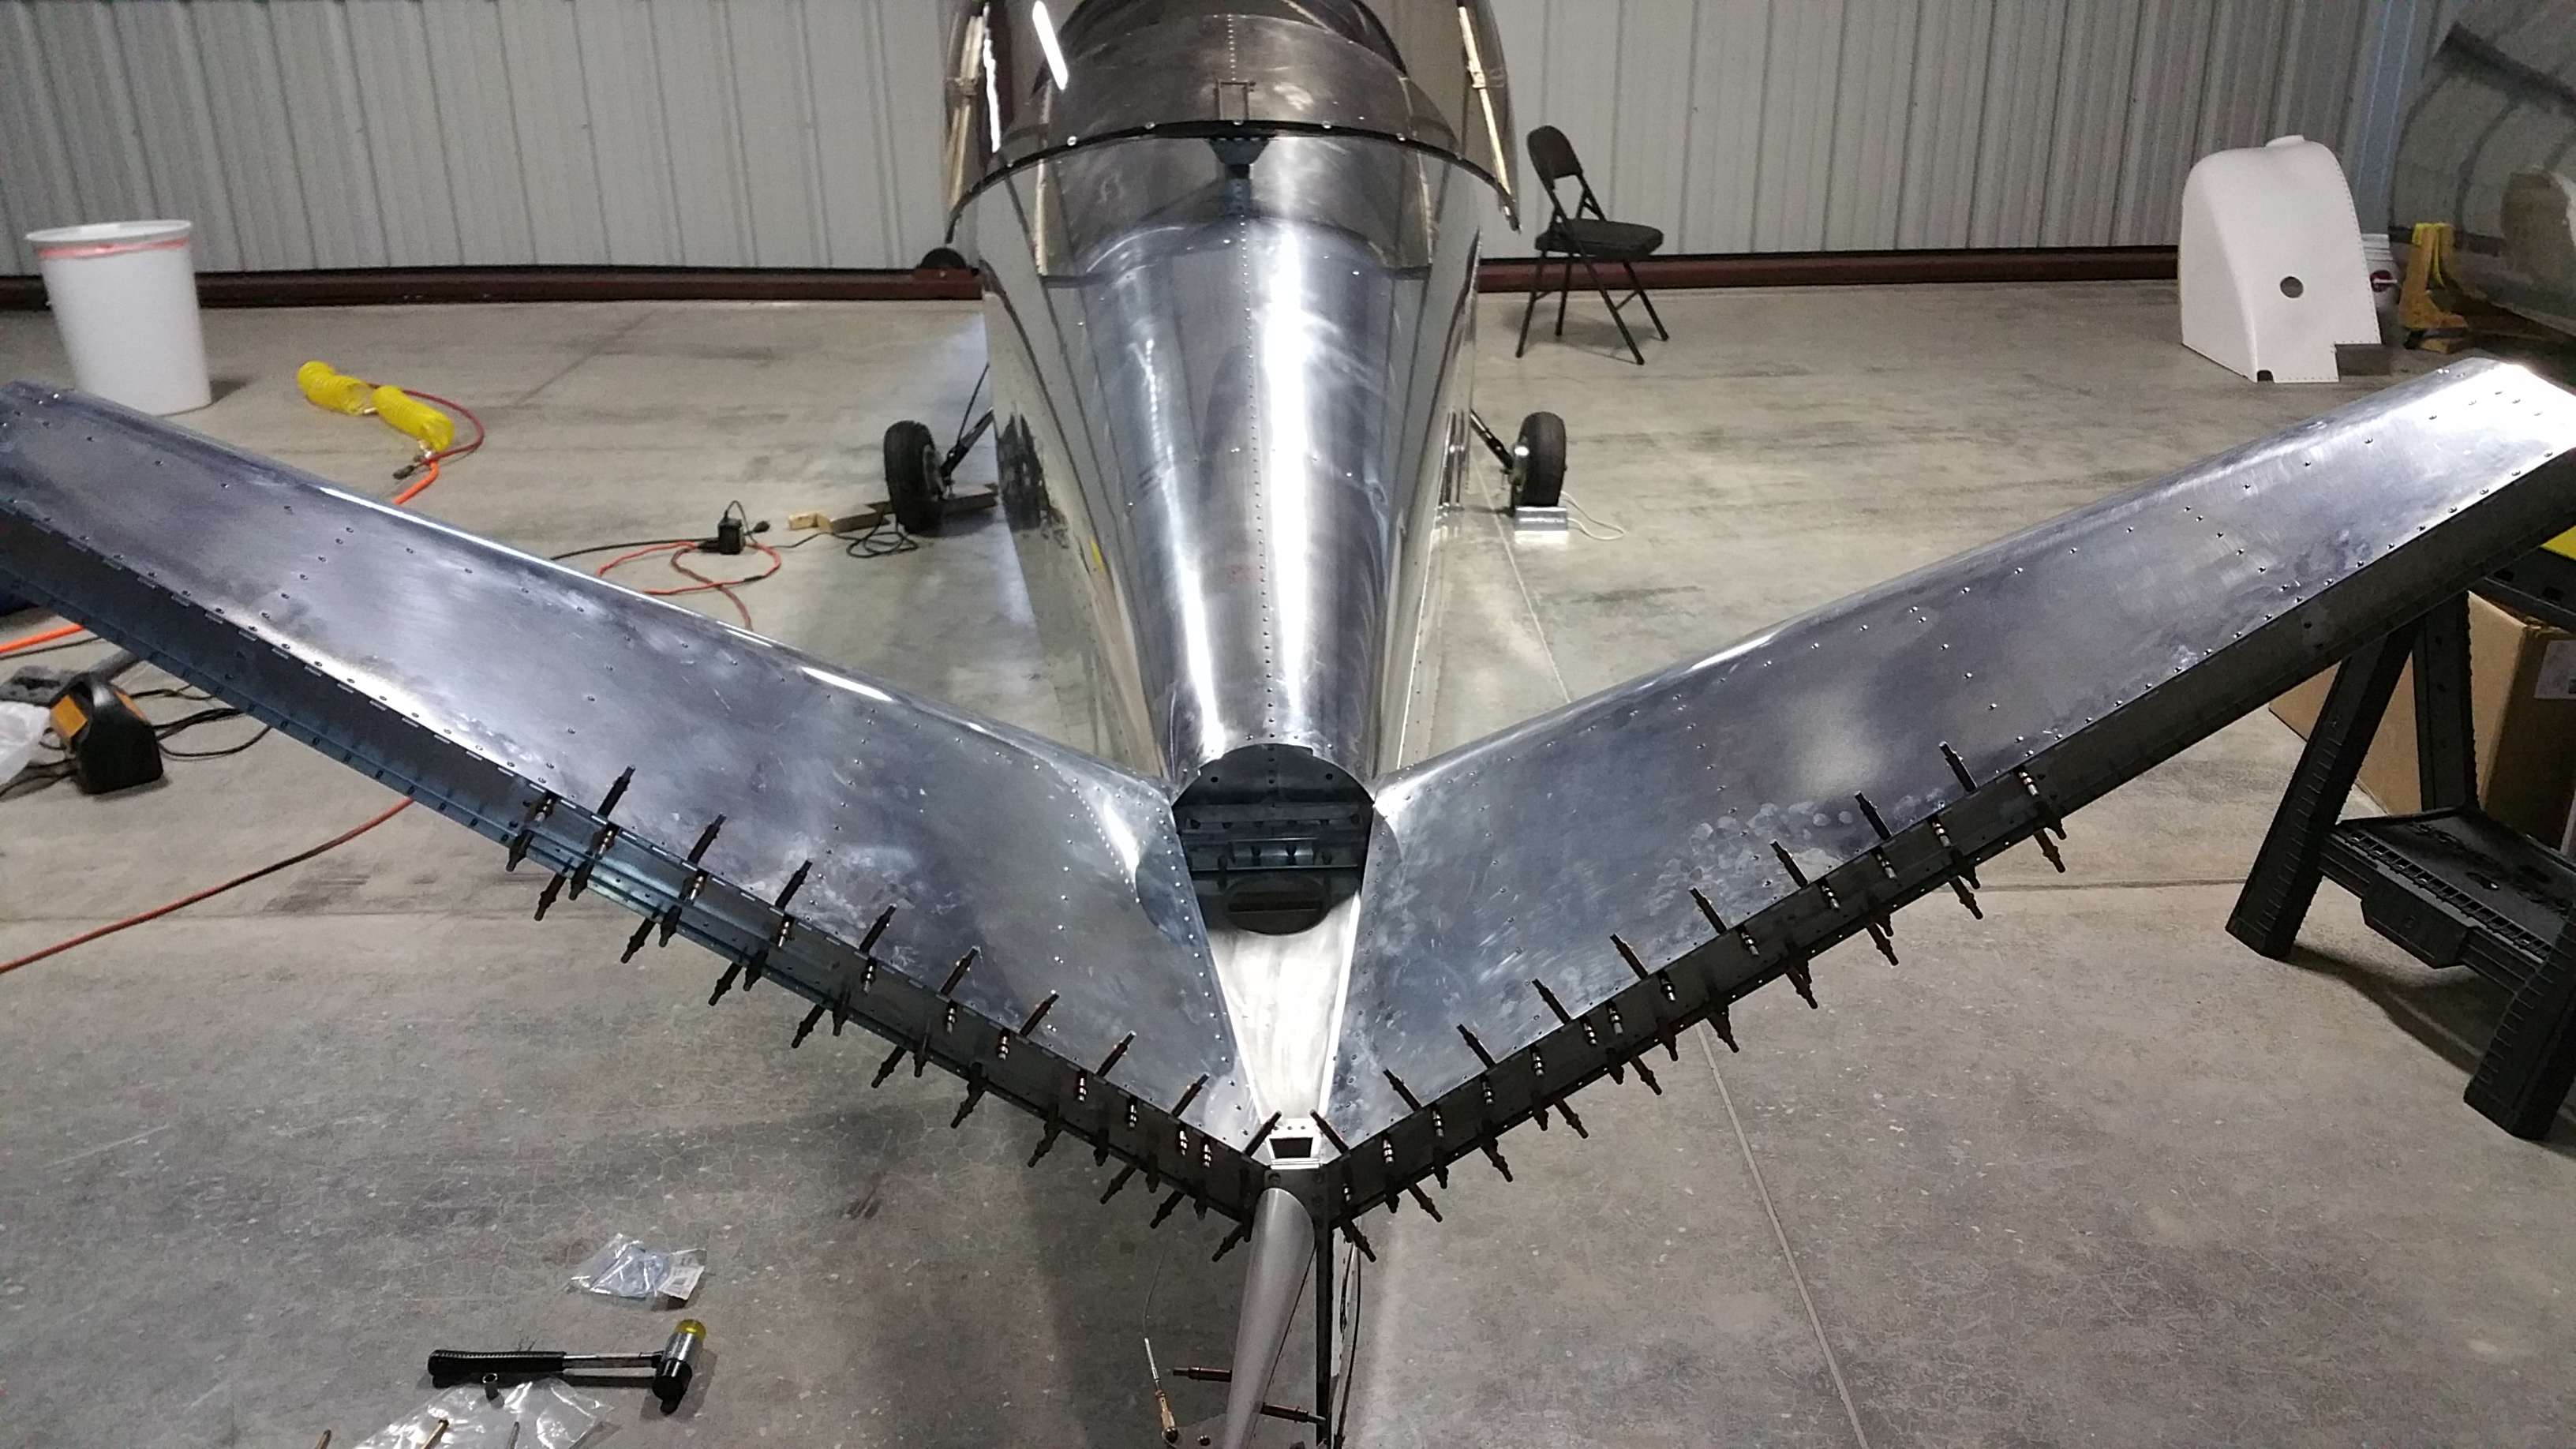
Finally, with the fairing ready to install, I went back and did the final installation of the stabilator that I had been waiting 2 YEARS to perform. Here’s a link to my post from December 2013 when these parts were actually ready for final install: Aft fuselage completion
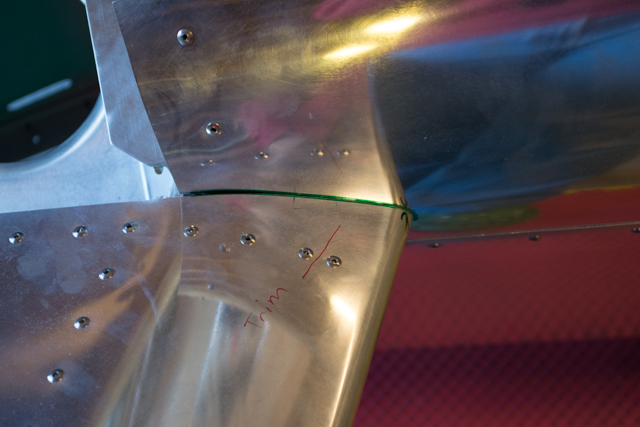
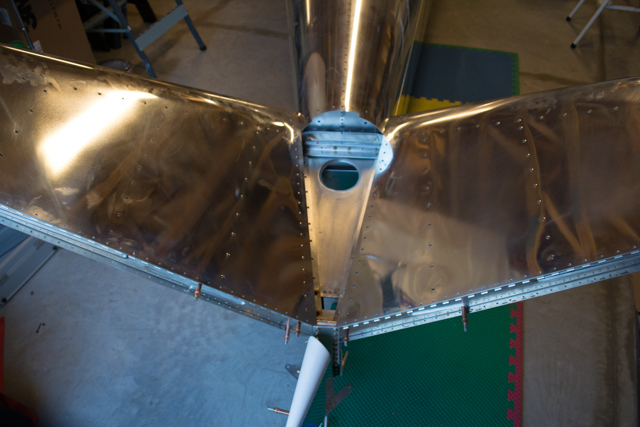
Also, awhile ago I trimmed the stabilators to clear the aft fuselage skins, here are a few pics from that:
And now the bolts go in. My install has an additional 1/8″ spacer between the lower angle and the front “hockey stick” spars of the stabilators. This was simply due to fitment, and this was OK’d by Sonex tech. Because this made the attachment a little bit closer to the aft bulkhead of the turtledeck, I had drilled holes in the bulkhead to allow me to insert the bolts from the front (making access to the nuts easier.)
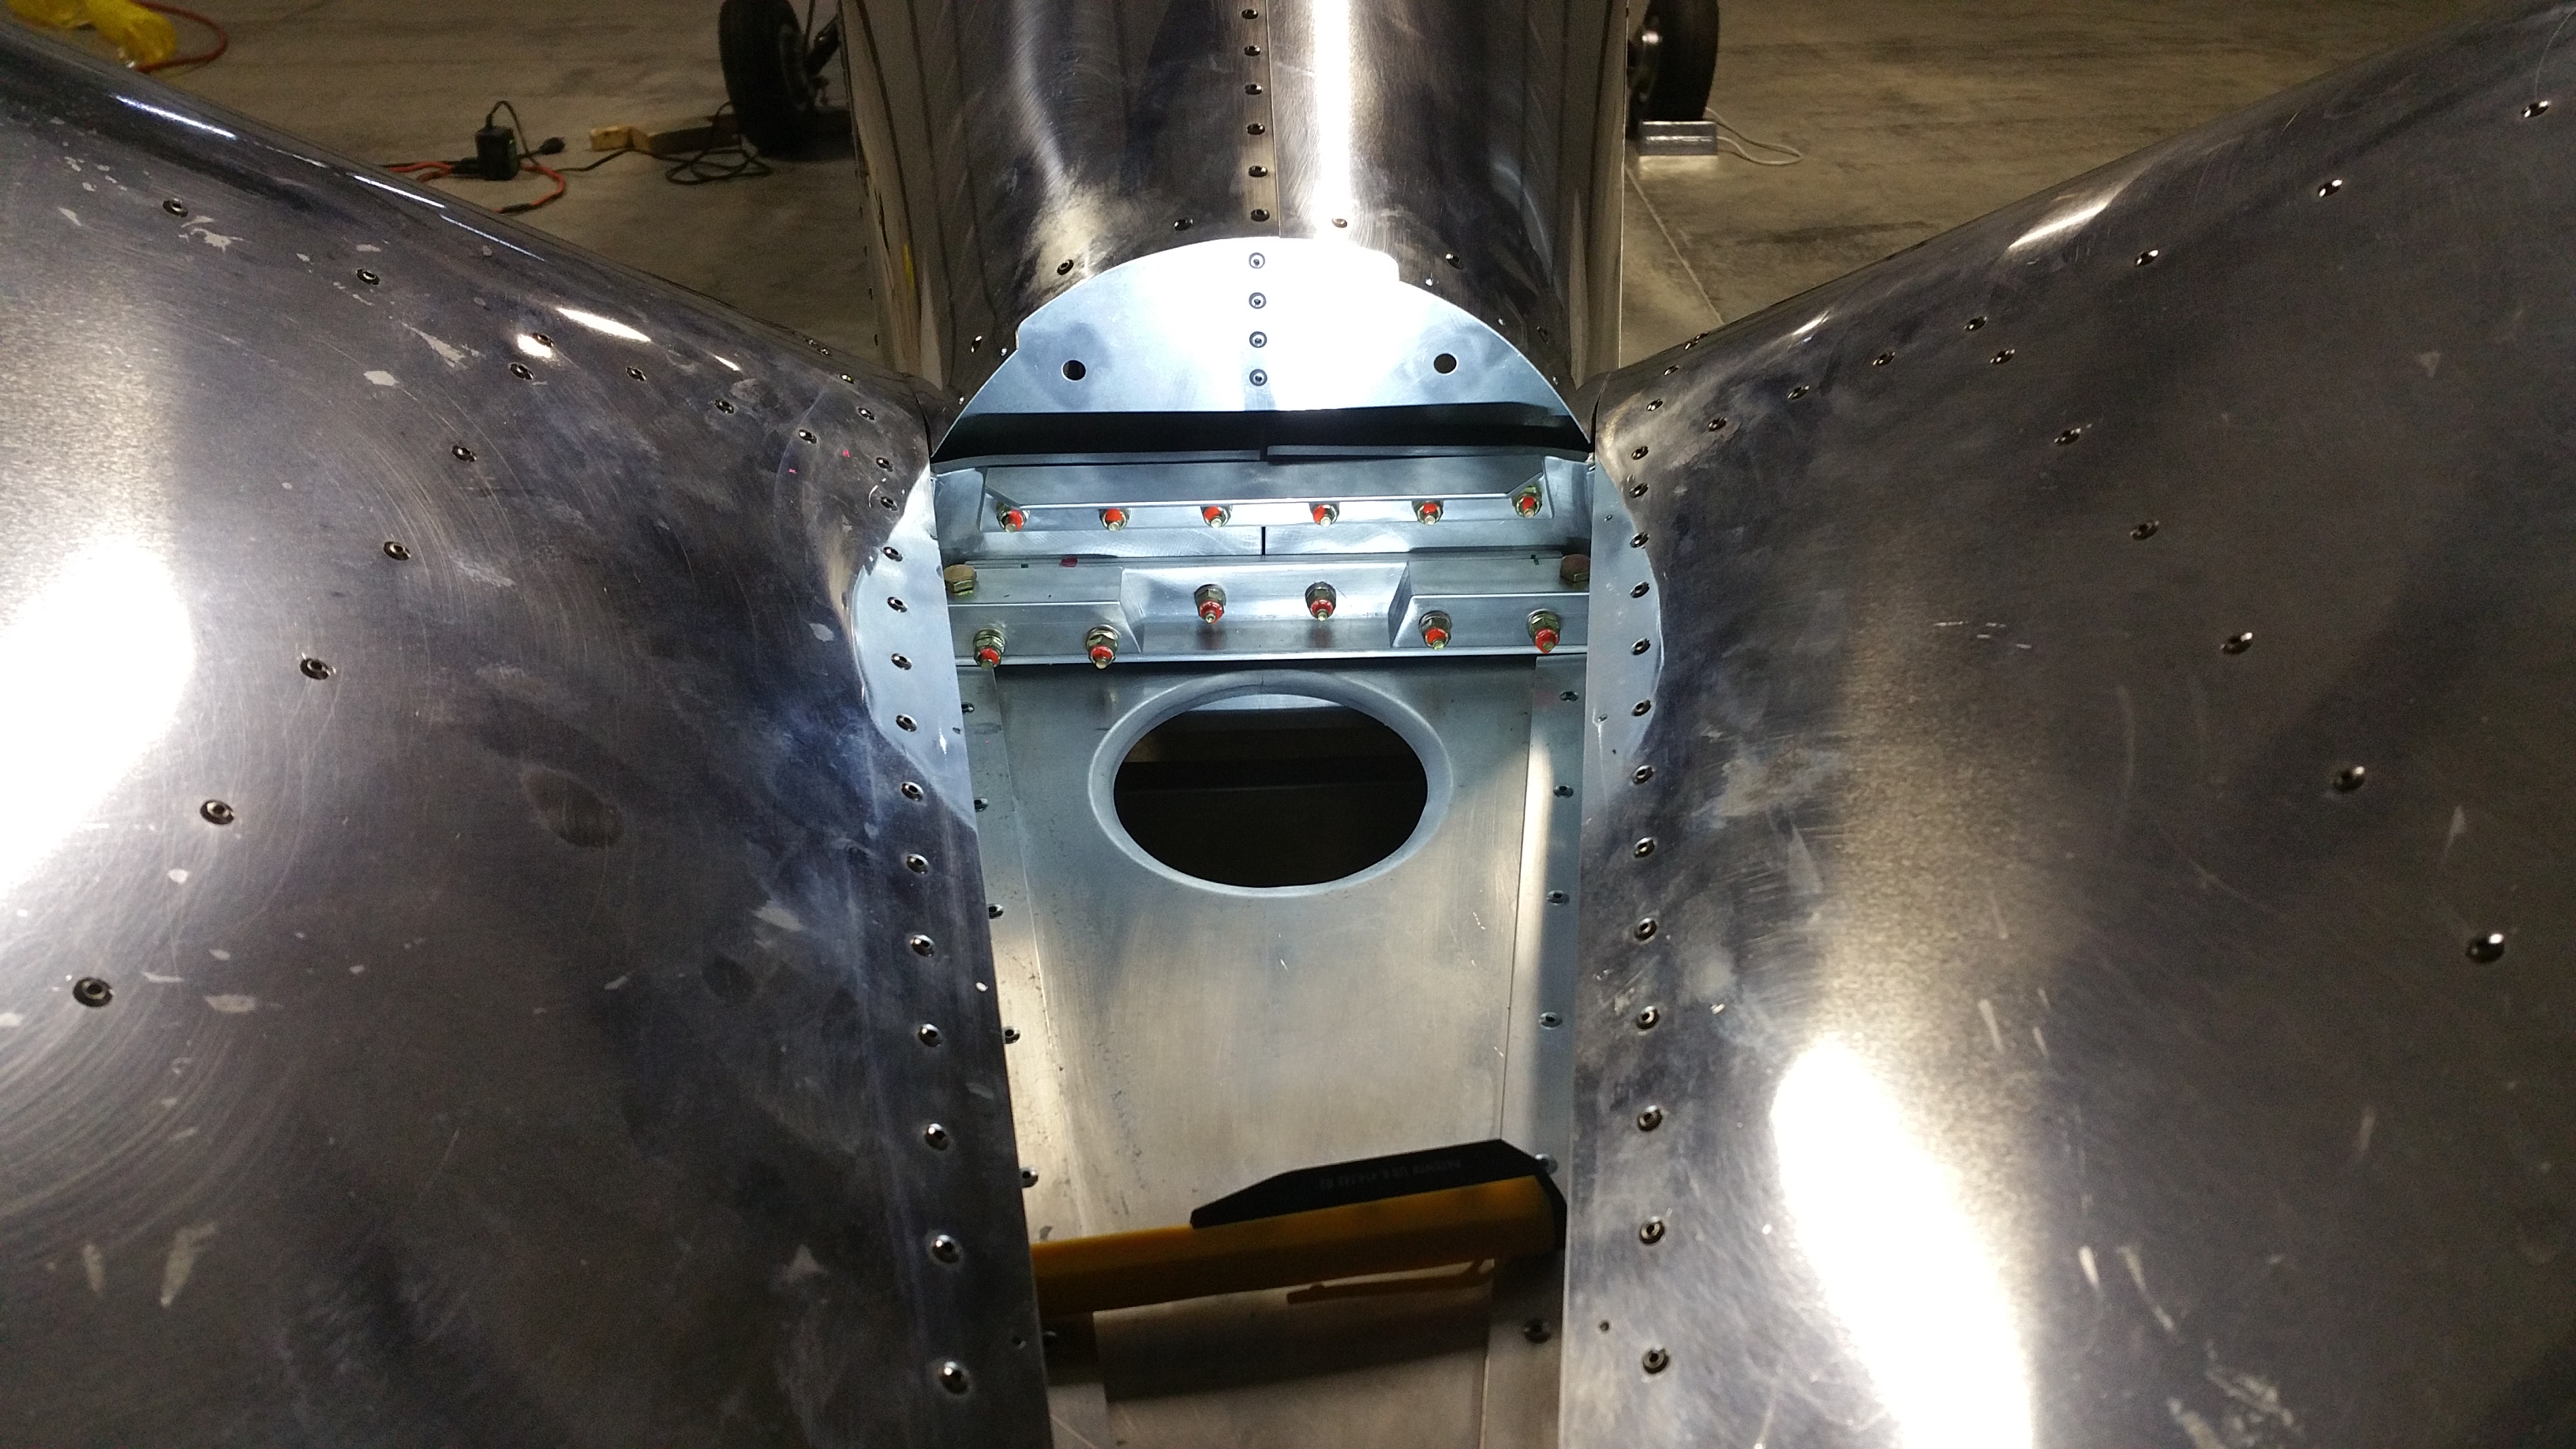
And finally the aft spars riveted to the fuselage.
I didn’t take a pic of the fairing in place at this point because I still need access into this area to reach some bolts when I install the aft fuselage floor.