

Total build time: 920 hours.
I ordered the swing-back canopy kit offered by the American Sonex association. The kit inclues pre-rough-cut parts (all need some finishing work), including one welded part that I would not be comfortable making myself, hardware (nuts, bolts, rivets), and written plans that include pictures. Here is a link to the kit.
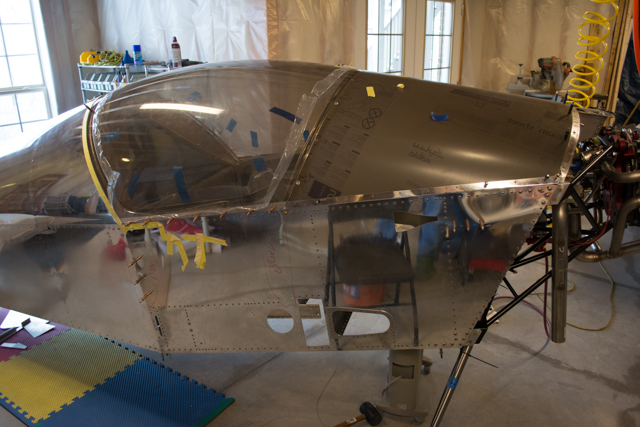
Some features of this canopy design:
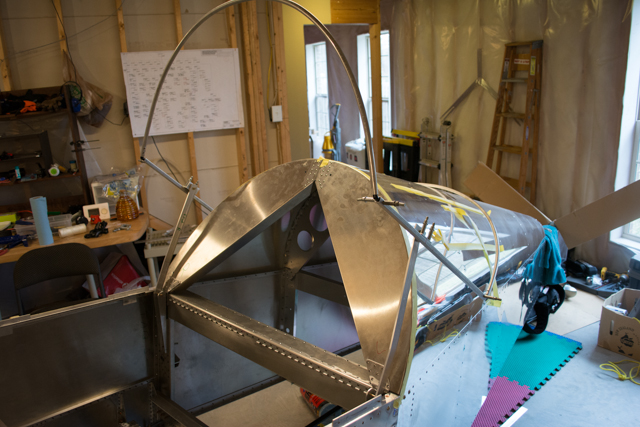
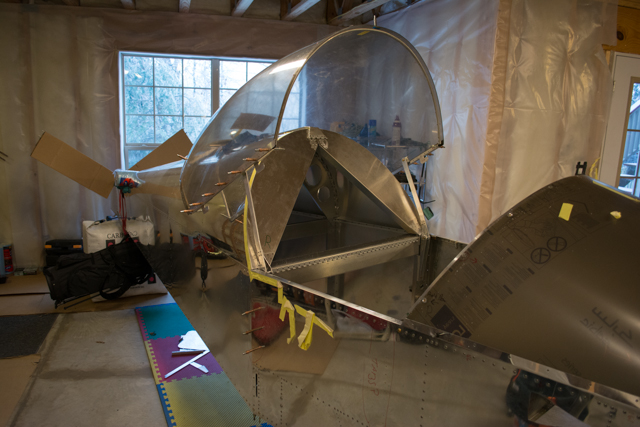
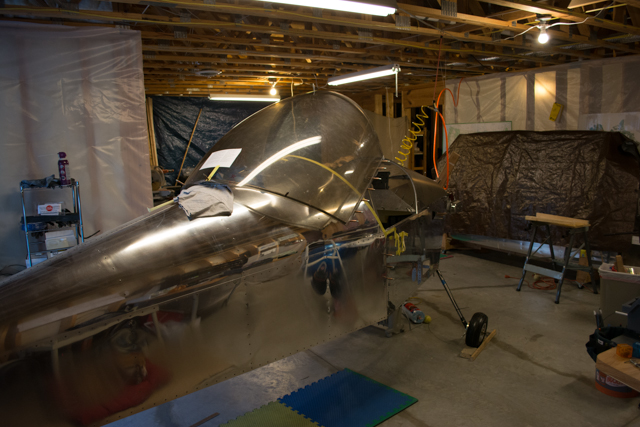
-Canopy opens up and back, over the turtledeck, rather than to the side, allowing for entry into the cockpit from both sides (if you install an additional wing walk on the right wing.)
-Canopy can (supposedly) be open during taxi for ventillation… I have some concerns about the increased wear/stress this will put on the pivot points, but time will tell.
-Looks really cool.
Some things I’ve learned about the kit that I think are good to know:
-Adds about 4lbs of weight over the standard design.
-For me, it added about 20 hours (estimated) to the build time of the canopy due to the extra complexity. This brought my total time spent working on the canopy (frame, swingback mechanism, latches, trimming, drilling, fastening) to about 60 hours total.
-There is no method to latch the canopy closed from outside unless you further modify the kit by cutting slots in your fuselage side panels and adding some sort of handle that sticks out. This is because the latch slides are moved to the underside of the longerons. Furthermore, unless you use the latch safety pins to secure the latches in the OPEN position when leaving the cockpit, there is a (extremely small) chance that a latch could become partially engaged after the canopy is closed, effectively locking you out of the aircraft.
-There is also no way to lock/secure the canopy at all from outside, at least using the plans in the kit. This means that gravity and friction are the only things keeping the canopy closed when the aircraft is unoccupied. I have put a lot of thought into how to add a lock, but have not arrived at a solution yet. It will likely involve a locking mechanism that locks the middle swing arm down against the turtledeck, which will effectively secure the canopy from the outside (the canopy cannot be opened if the middle swing arm is locked down.)
-Did a trial fitment of the Sonex Upholstry kit that I had previously purchased, and while the fit is snug and I may need to make some minor modifications, I believe it should work fine. The top of the back cushion does get squeezed in a bit on each side from the pivot arms, but I’m hoping it’s not a big deal. I won’t know for sure until I’m able to sit in the cockpit again. My belief is that my shoulders will be well above the pivot points when the canopy is closed.
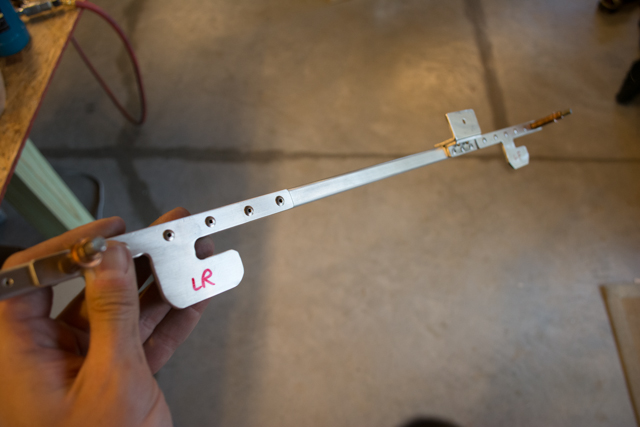
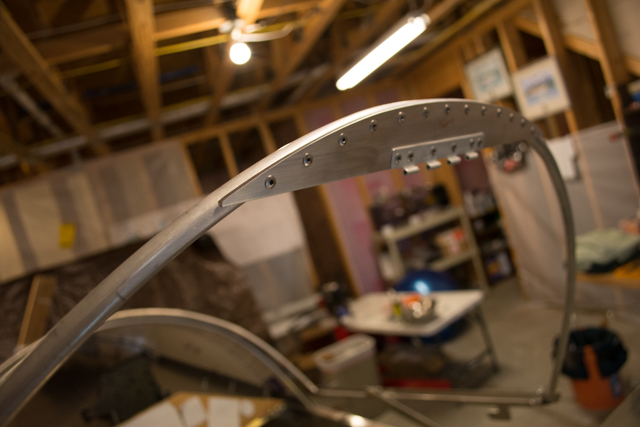
The swing-back mechanism uses a total of 3 arms to support the canopy; 2 side arms and 1 middle arm. Assembly of the kit began with installing the side arm pivot points.
The side arms are then bent slightly and attached to pivot points on the canopy frame.
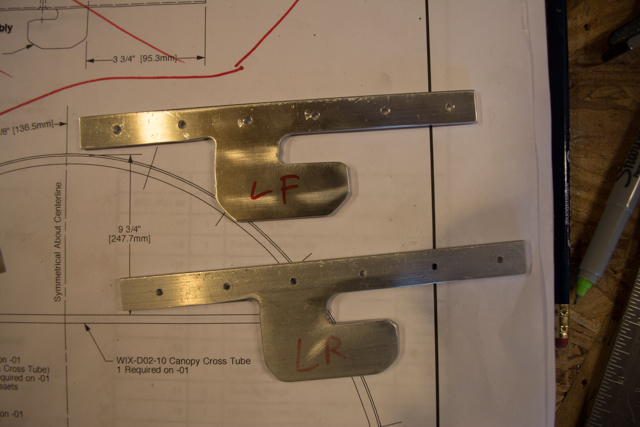
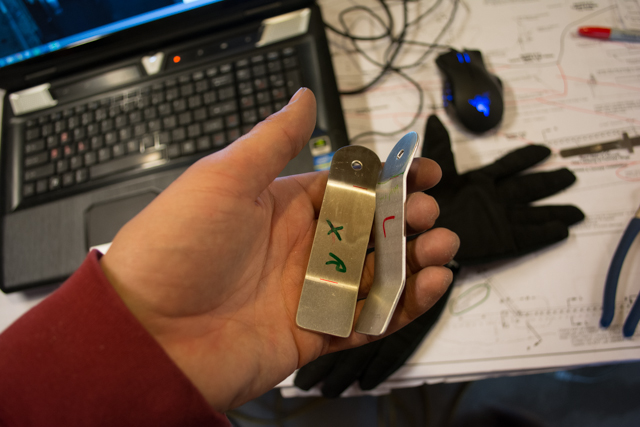
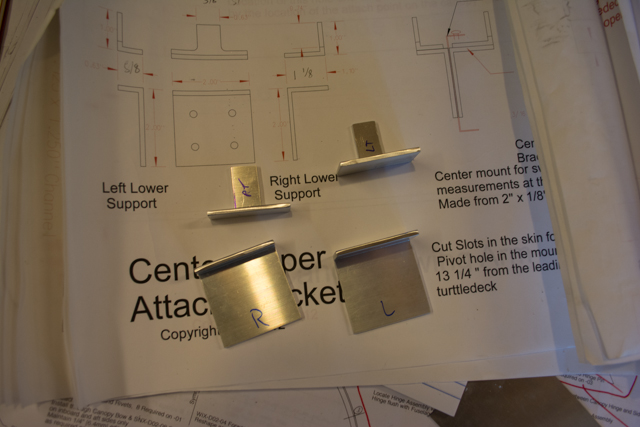
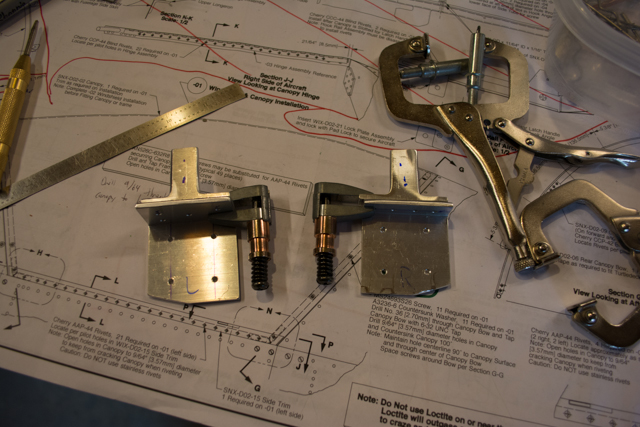
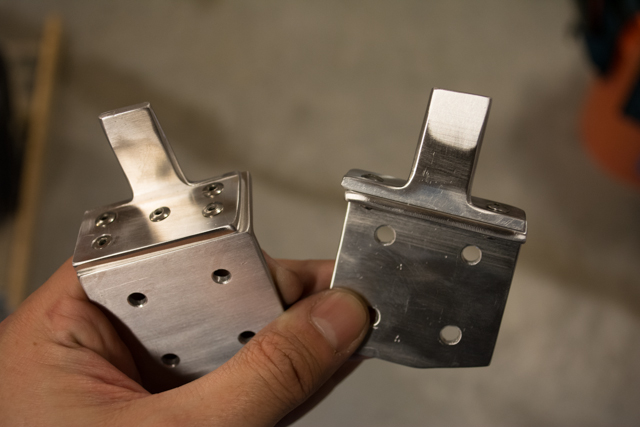
Next are the canopy latches and phenolic strike plates.

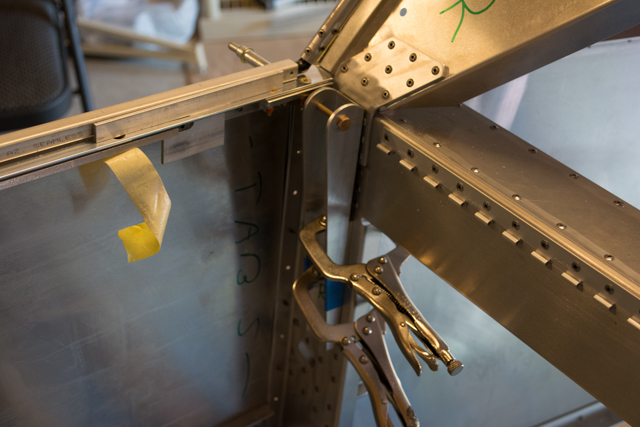
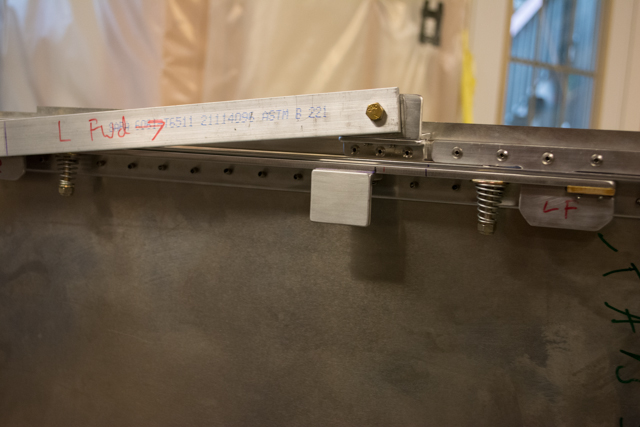
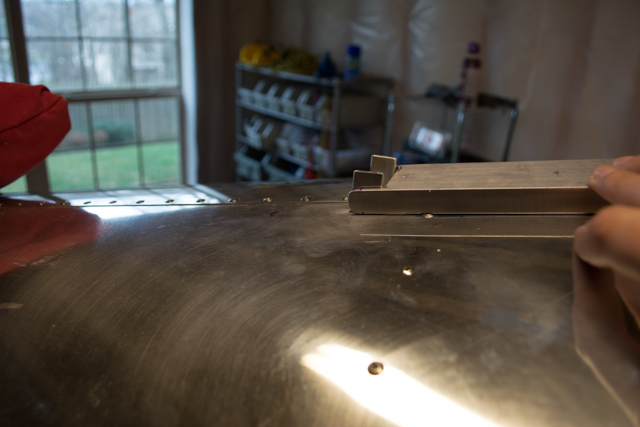
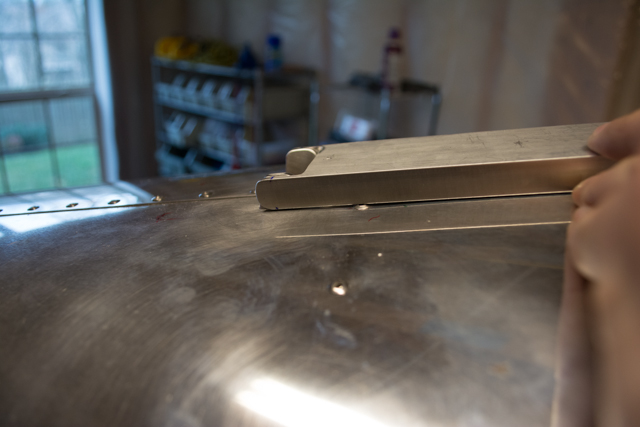
These sliding latches will be mounted on the bottom of the upper longerons, where they will engage the hooks (or “dogs”) that will be attached to the canopy frame itself.
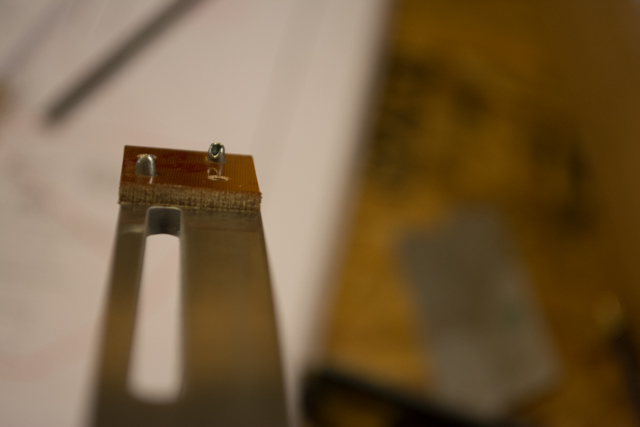
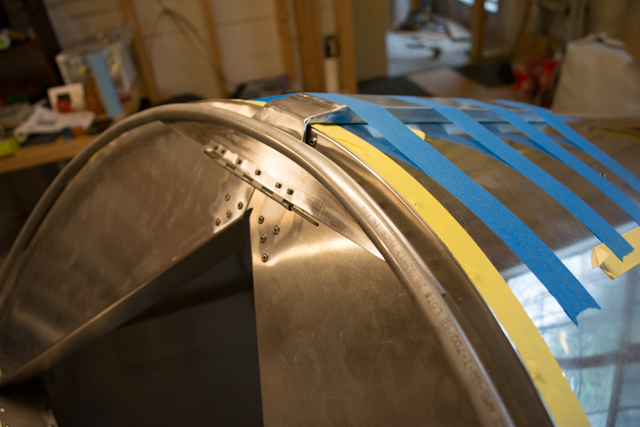
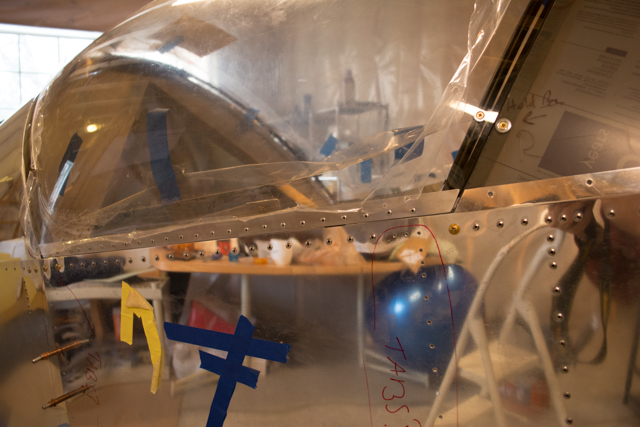
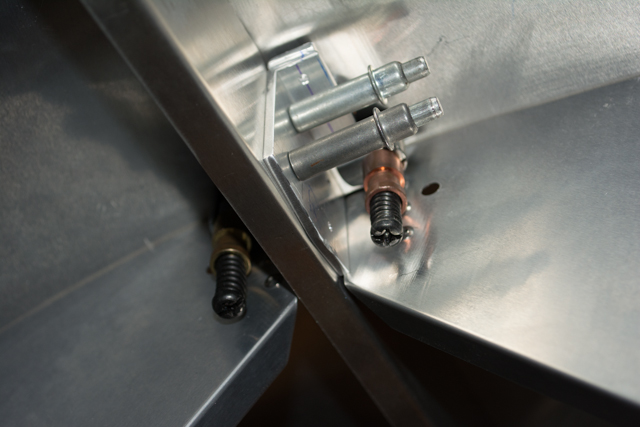
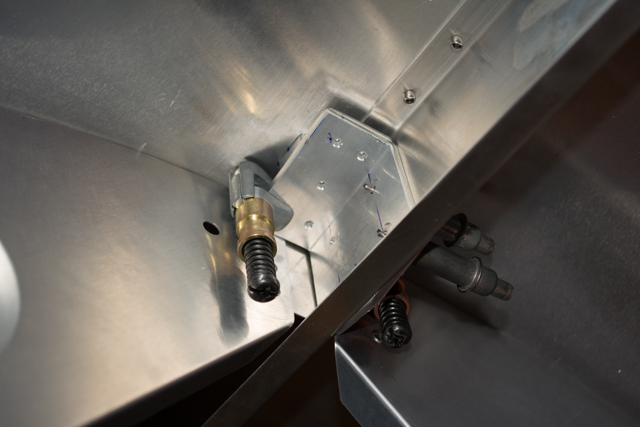
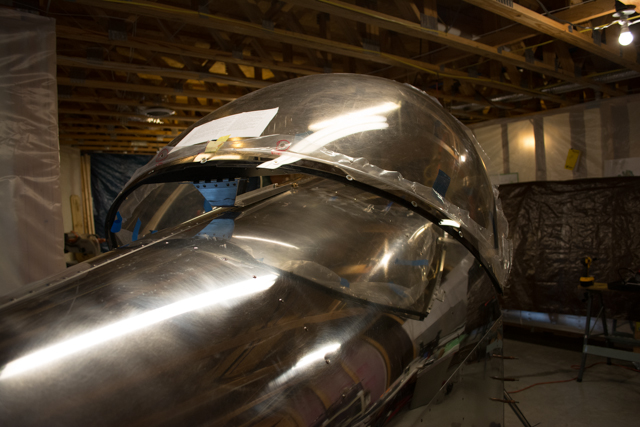
Below is a picture of the canopy frame and “dogs” engaged with the sliding latch on the longeron.

The side arm pivots were then finished with gussets to help hold them stiffly in position and keep the canopy from rocking left and right (I don’t have a close-up pic of the pivots with gussets, but they’ll appear in some photos to follow.)
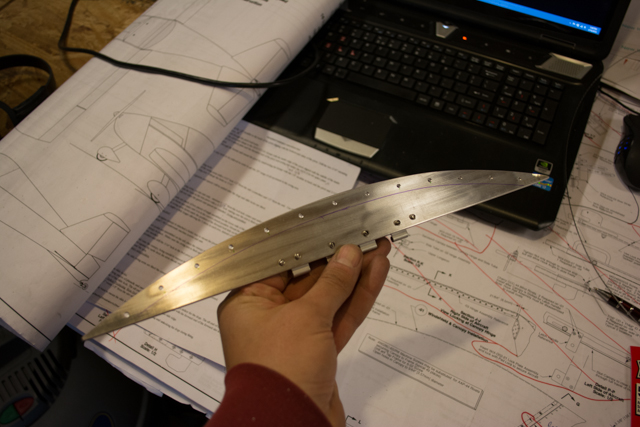
Next is the attach point for the middle swing arm. This piece will be riveted to the canopy frame and uses a piano hinge attachment.
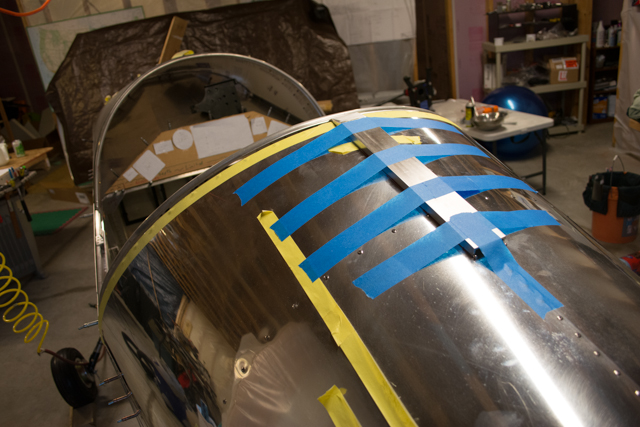
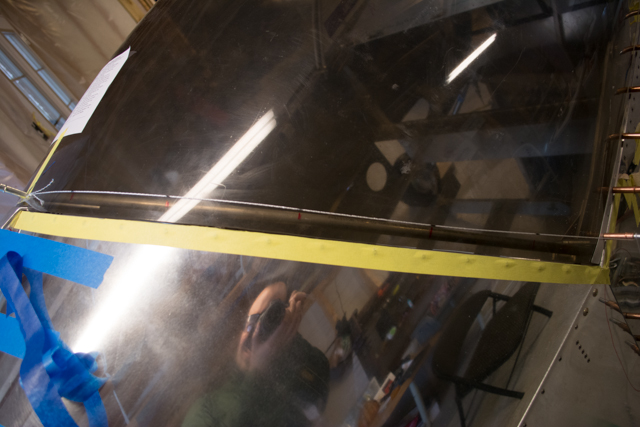
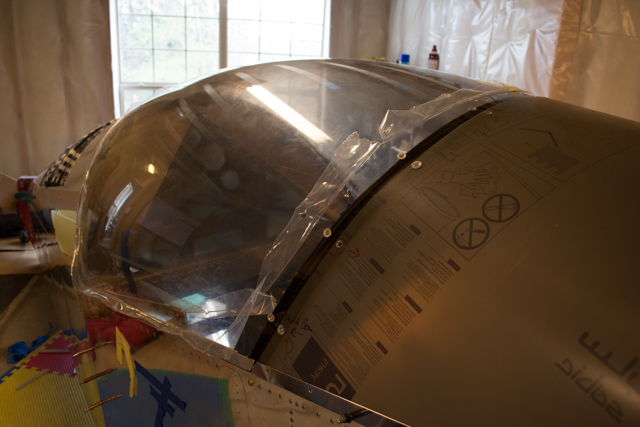
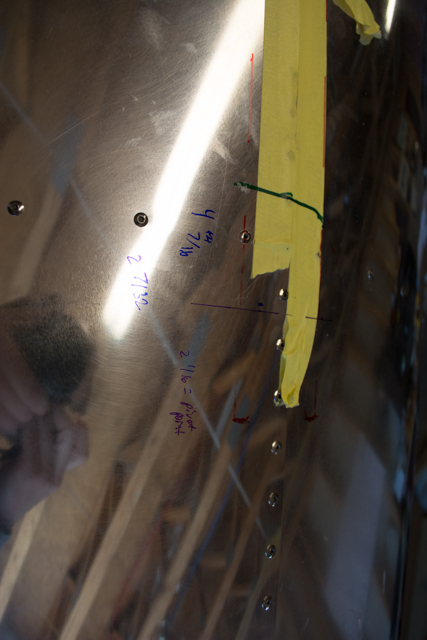
At this point I was ready to finish installing the plexiglass canopy to the frame. I didn’t want to install the pivot point for the middle swing arm just yet, since its location must be very precise and will be easier to locate once the canopy itself is nice and stiff from being completed. I taped the middle arm securely in place and proceeded to drill my canopy holes.
I used a series of very dull drill bits to drill my holes in the plexiglass, starting with #40 size. The bits melted nicely through the plexiglass, and I’m happy to say that I did not make any cracks in the plexiglass material. I’ll freely admit that I was dreading this part of my aircraft build, as I had read several horror stories of cracking the canopy after all the work that was put into it leading up to the point of drilling holes. Thanksfully, for me it went without a hitch (but not without a lot of stress!)
Once all of my holes were drilled, I once again removed the plexiglass and disassembled the frame for deburring.

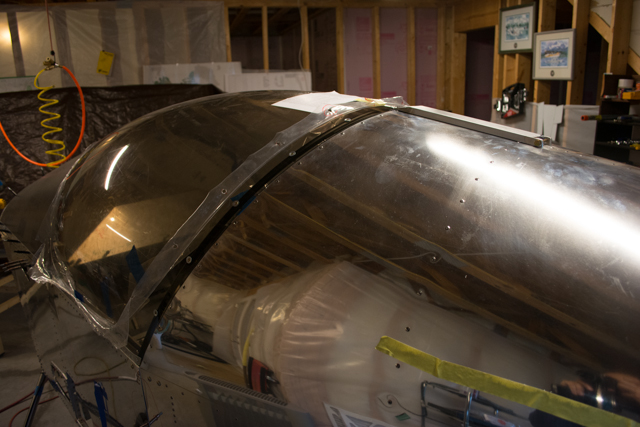
Prior to riveting, I decided to prime and paint the bows of the canopy and windshield. These make the only parts so far, other than the wing spars, that have received paint. This is mostly because the bows end up being right in front of my eyes during flight, and I wanted to reduce potential glare.
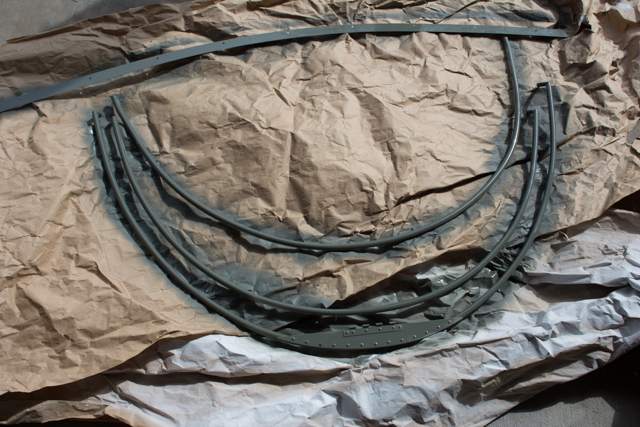
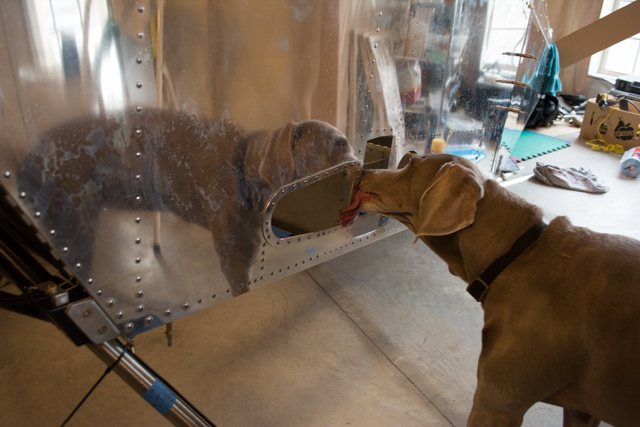
Besides, why would I paint a plane that my dog Tinny prefers polished?
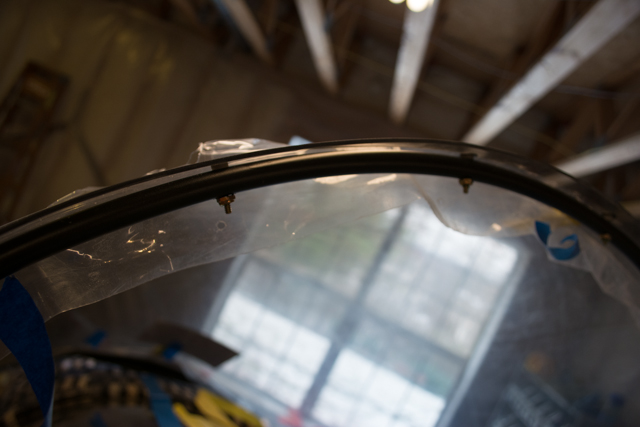
Next came the riveting of the plexiglass to the side arms, along with bolts along the windshield bows.
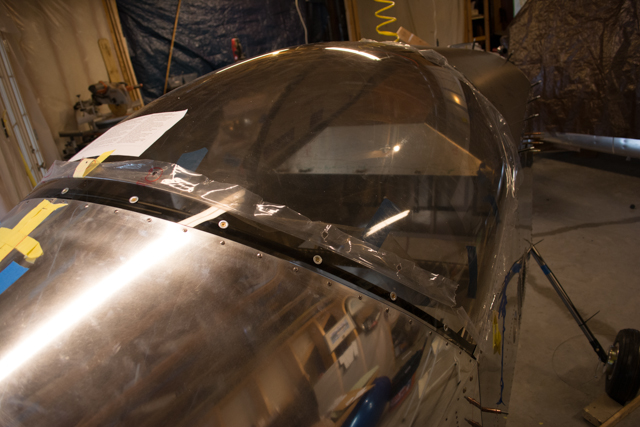
I decided to go ahead and extend the length of these bolts and add nylock nuts, rather than tap the bows. 2 reasons for this, the first simply being security (keep the screws from being able to back out.) The second is because I used various numbers of nylon washers between the plexiglass and the bow in order to create a smooth arc that matched the windshield and turtledeck arcs, so I needed longer bolts anyways.
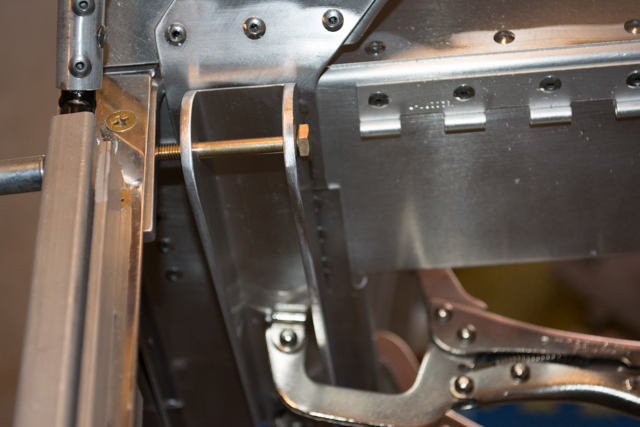
Finally I needed to fabricate and locate the middle swing arm pivot point.
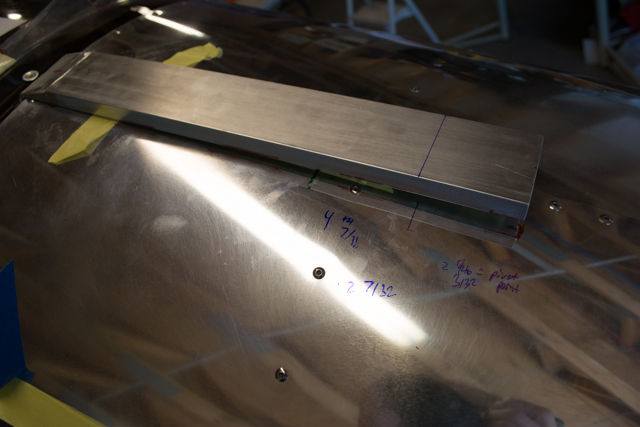
The pivot point is actually secured on the spine that runs the length beneath the turtledeck, and slightly protrudes up to engage the middle swing arm. Small slits are cut in the turtledeck.
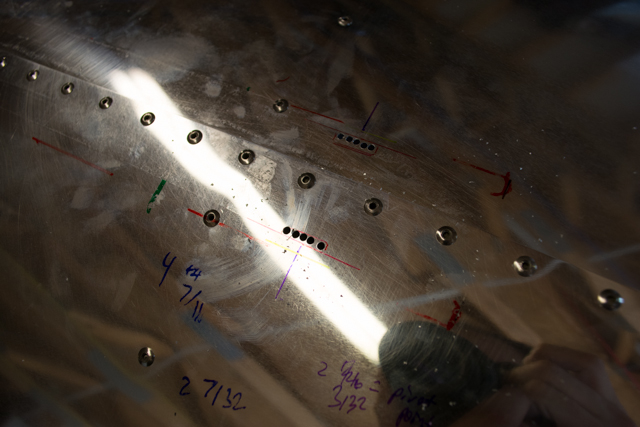
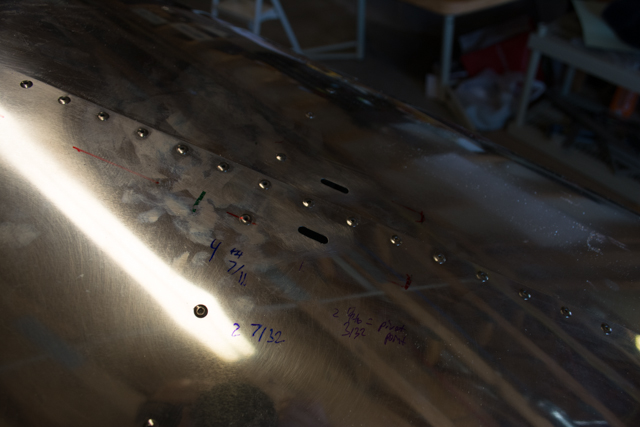
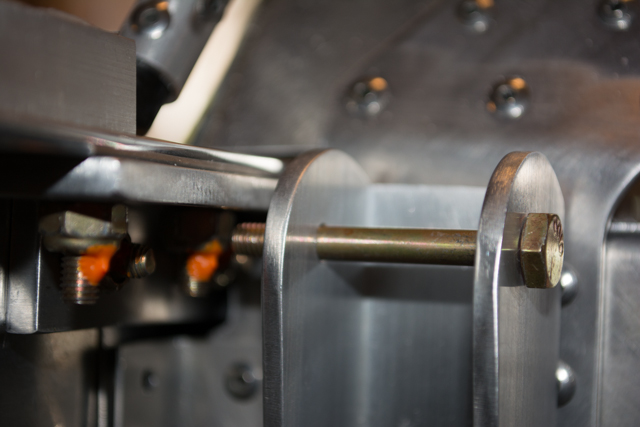
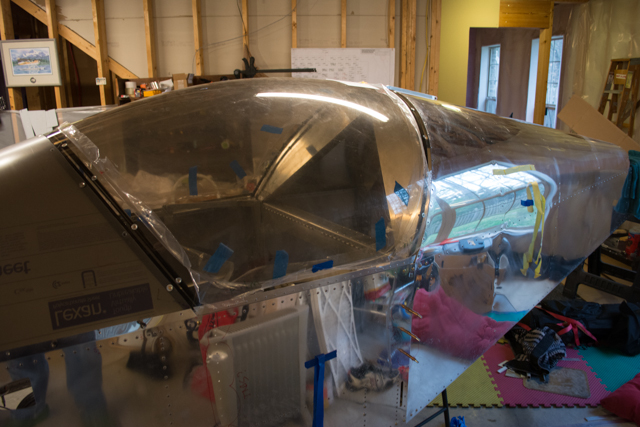
After locating the pivot points, I trimmed excess material to allow the swing arm to swing over the top of them 180 degrees.
Finally the pivot holes are drilled, a bolt is inserted, and the canopy is complete!

Ryan, Looks great! What did you do to lock the canopy from the outside? I’m a long way off from installing the swingback on my Xenos. Maybe this year I’ll be done with the wings. I said that last year too.
Rick
I to want to not paint and polish. The washerhead bolts called for in the hardware list (AN5525-10R12) are cadium plated. What did you use? Where did you get them?
Thanks
Jake LaBello