Total Build Time: 777 Hours.
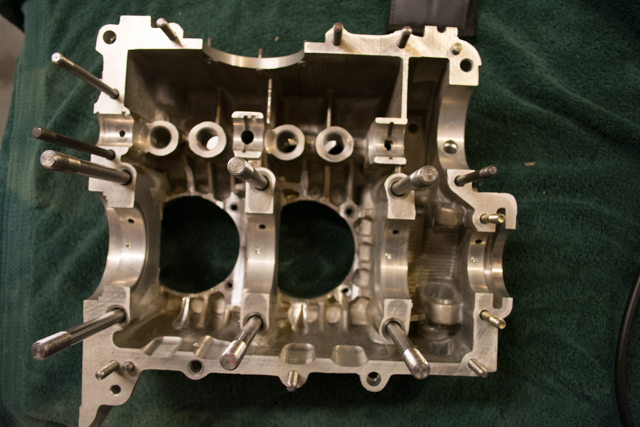
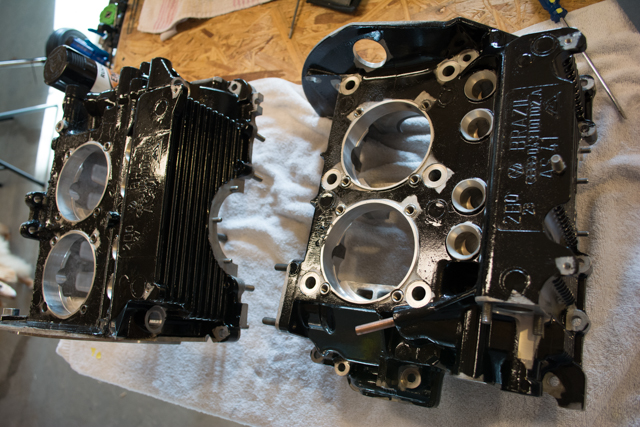
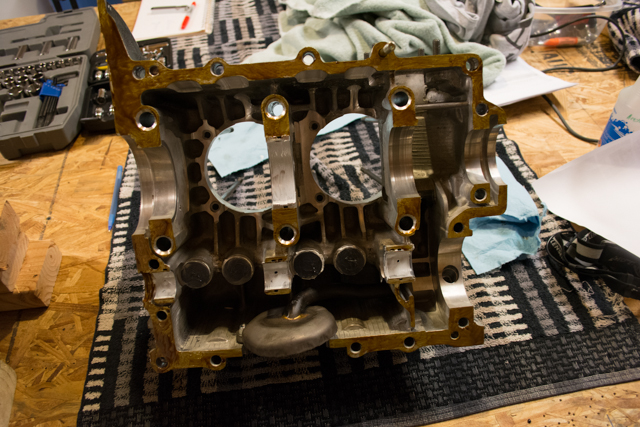
I cleaned out the crankcase using files, emery paper and a dremel tool. All burrs and loose material was removed, then the case was cleaned.
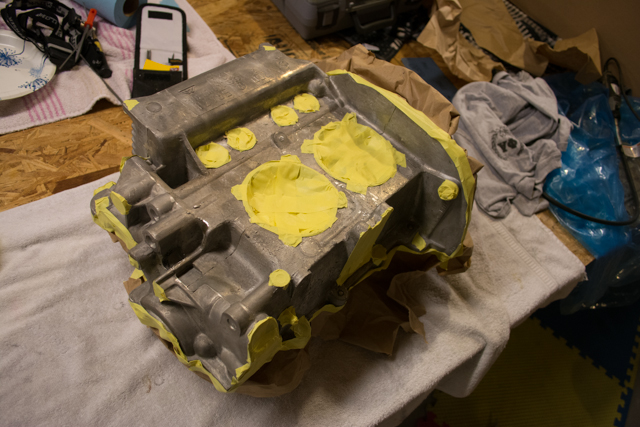
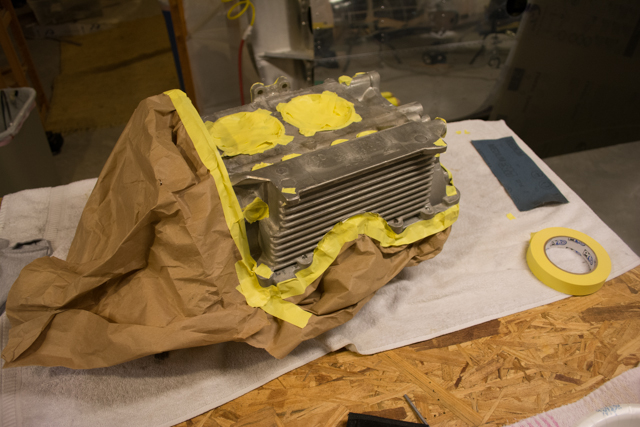
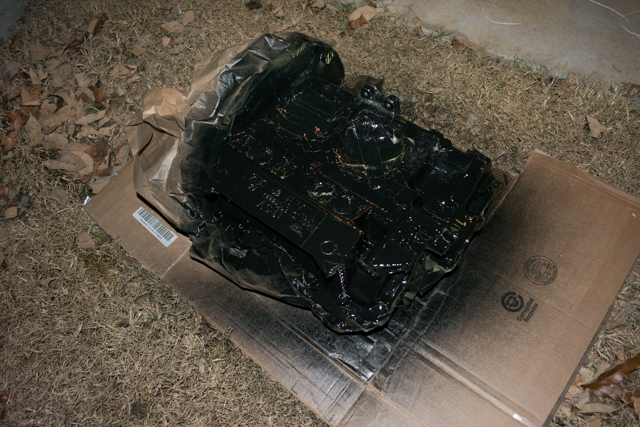
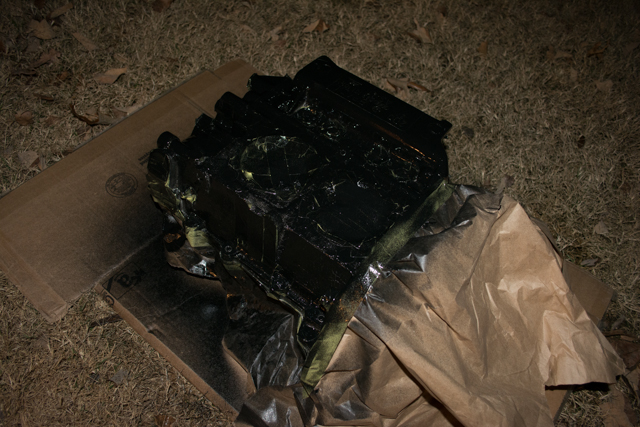
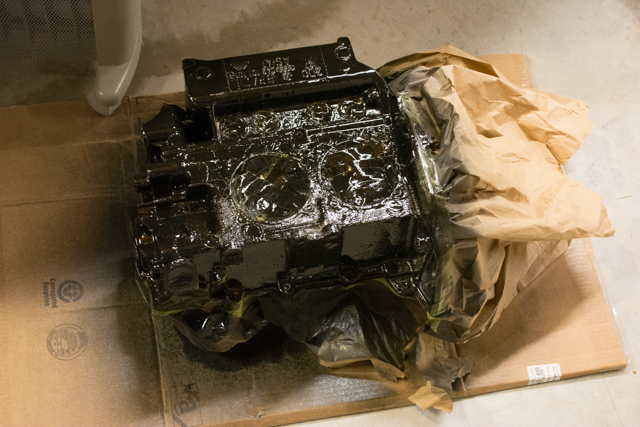
I then masked off all machined surfaces and openings and painted the case with engine primer.


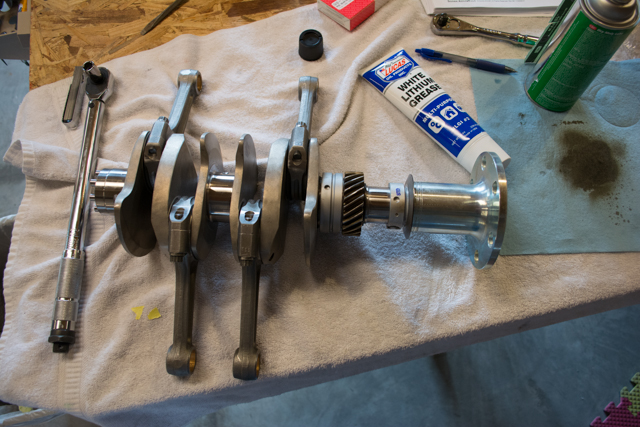
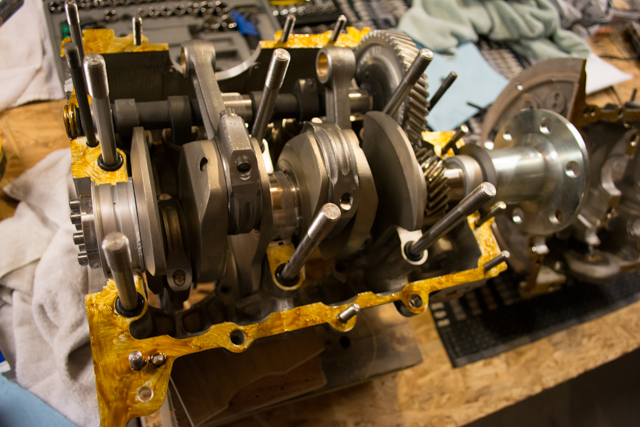
I then assembled the connecting rods onto the crankshaft following the assembly manual.
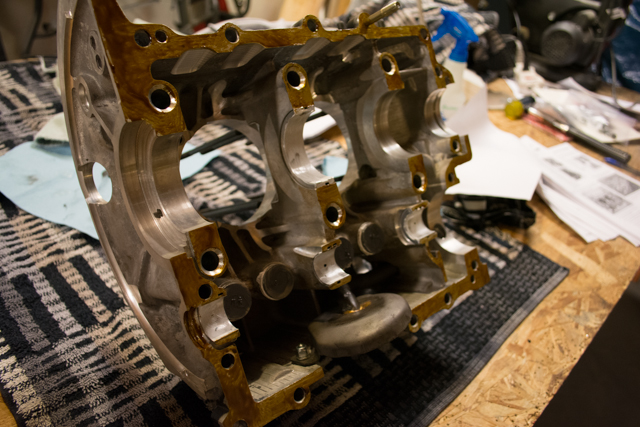
I inserted the crank into the case.

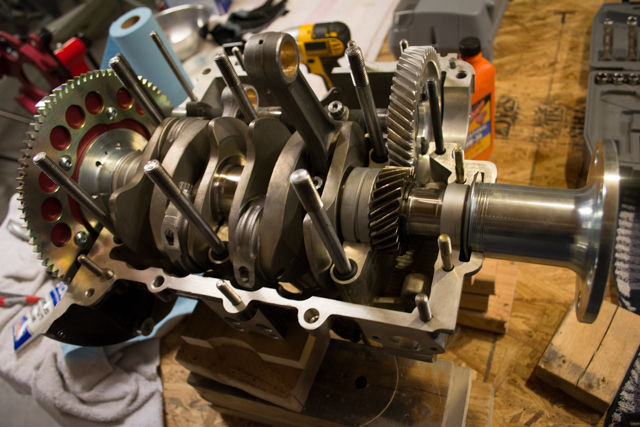
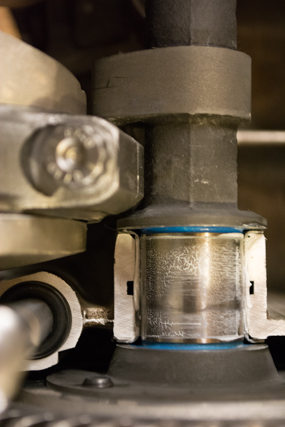
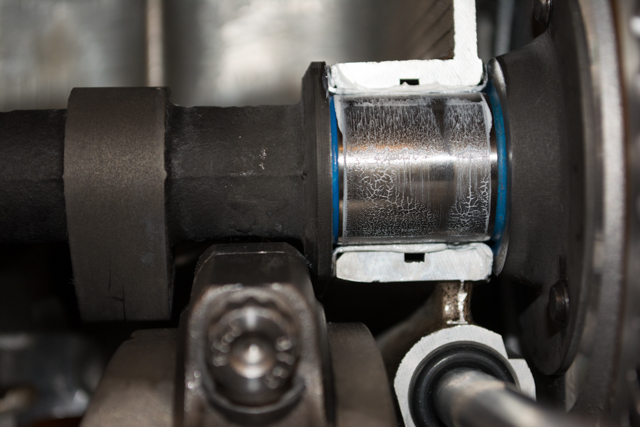
The first time I fit the crank into the case (which can be a tricky prospect as all the bearings need to set into their dowel pins), it appeared that everything was fully seated correctly. The crank turned and looked to be perfectly straight, and all the bearing seemed to be fully seated. However I watched a very handy tip on youtube that helped me to be 100% sure all the bearings were fully seated before proceeding. Watch this video from about 1:00 until 2:00 to see what I’m referring to.
As it turned out, my thrust bearing was not fully seated, and the above tip kept me from mating the halves and locking the crankshaft.
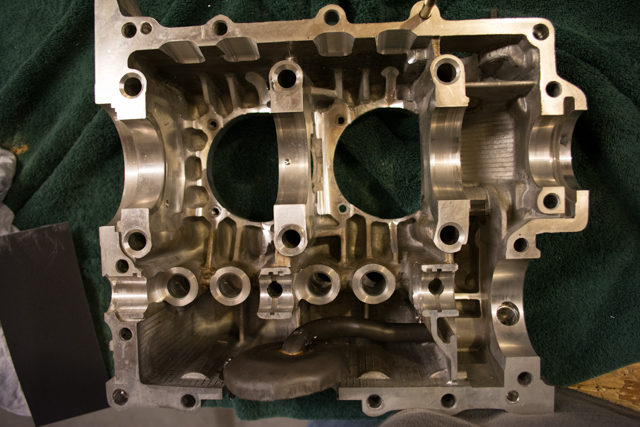
I noticed some potential interference between the camshaft and the foreward-most pushrod.
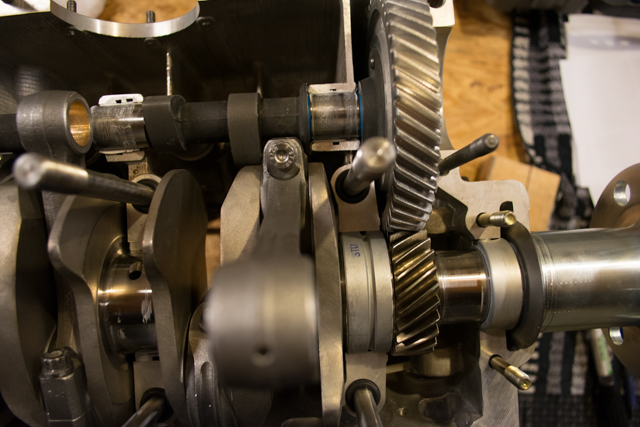
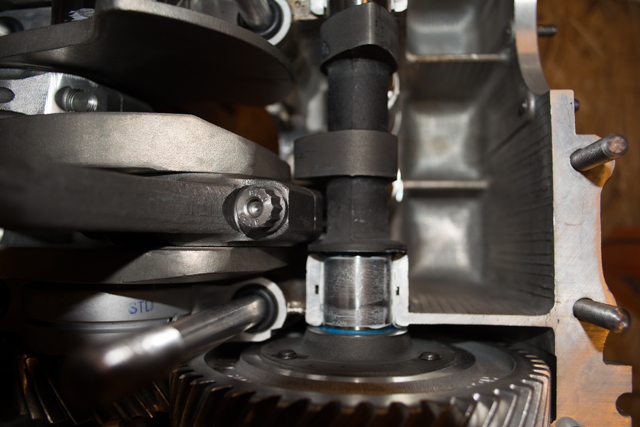
I slightly filed down the flange on the cam shaft as well as the edge of the pushrod for clearance.
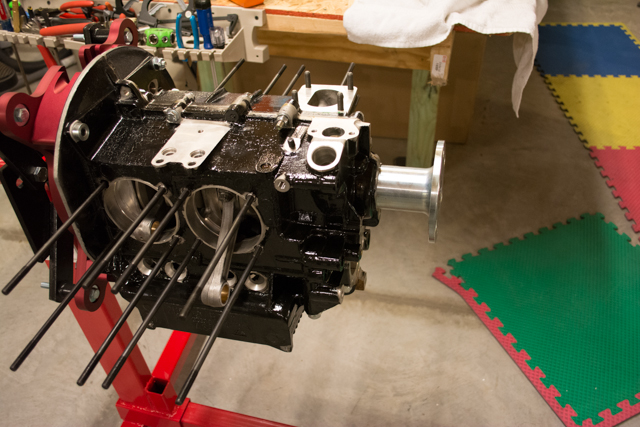
Crank half + crank, cam and connecting rods.
With the flywheel attached, I measured and shimmed for crankshaft end play.
My kit was missing the cam plug for the case, a small bottle-cap shaped piece that plugs an opening in the case at the flywheel end of the cam shaft. It was not in the kit nor was it in the pack list. I contacted Aeroconversions and they promptly sent me the cam plug so I could complete my case.
I then applied Permatex Aviation Form-A-Gasket No. 3 and sealed the case halves. Bolts and nuts torqued per the manual.
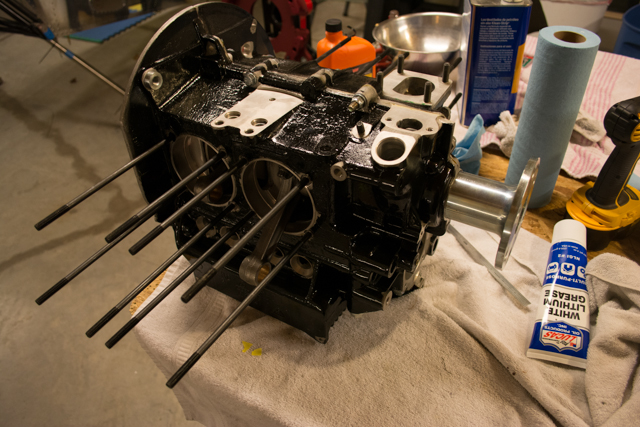
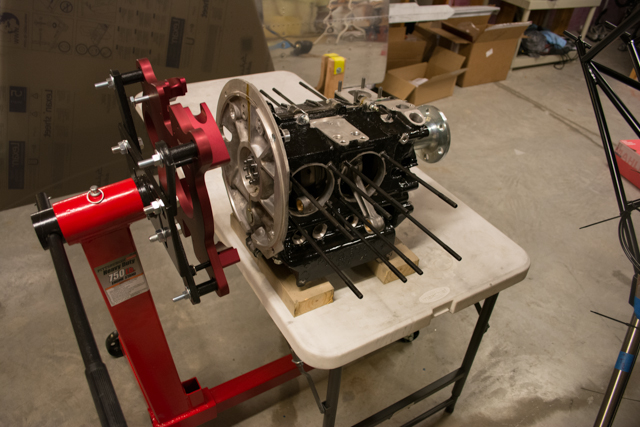
I then mounted the case onto a Harbor Freight engine mount.

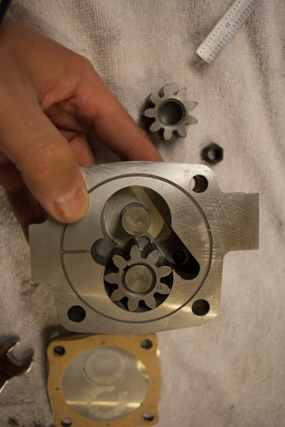
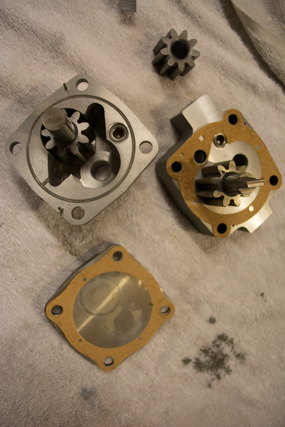
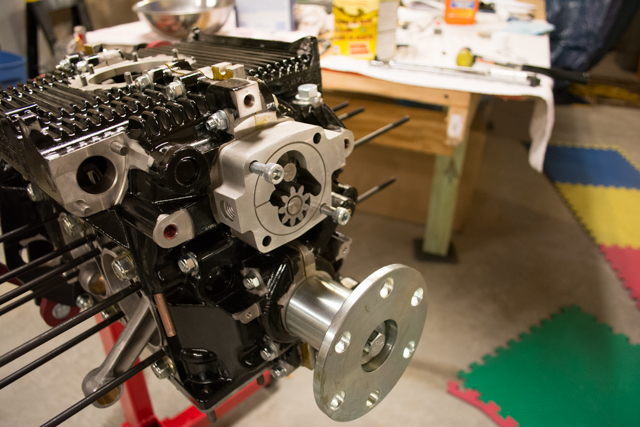
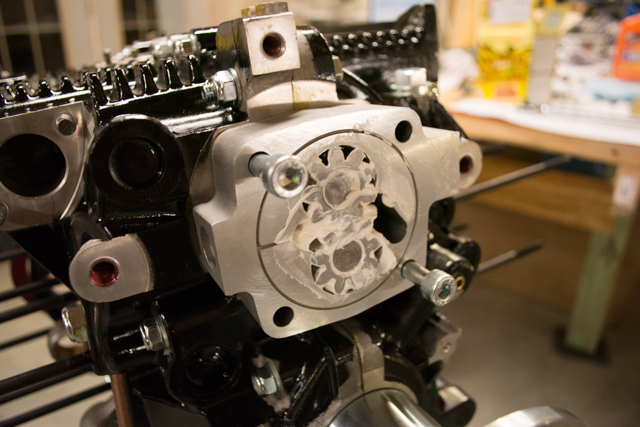
The oil pump followed. Per the manual, I packed it with white lithium grease and torqued the bolts to specs.