Total Build Time: 771 Hours.
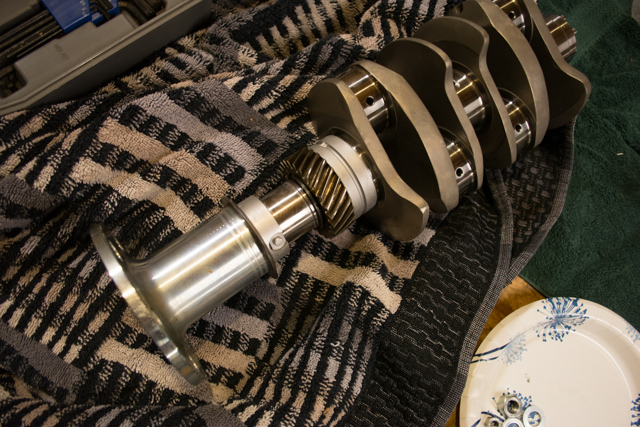
The Aerovee crankshaft uses a shrink-fit assembly. That is, certain parts need to be heated (and others frozen) to allow them to expand/shrink enough to fit onto the appropriate parts. Once the parts cool, they fit snugly.
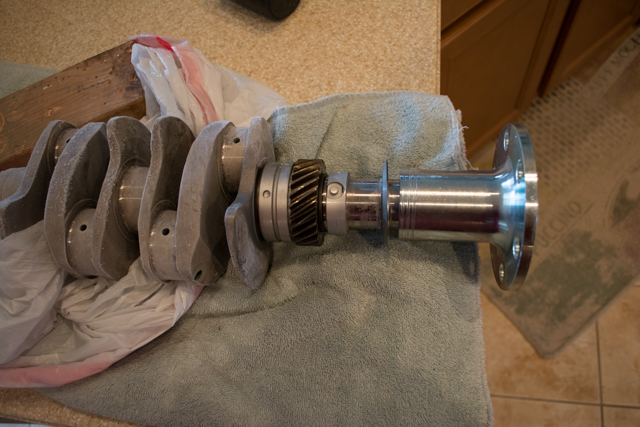
The first part to be heated and inserted onto the crankshaft is the cam gear. This went on without issue. However, the snap ring used to secure the cam gear seemed to be very loose when I first placed it. I was not satisfied with how loose it was and ordered another snap ring from Aeroconversions. I then placed the second snap ring and found it also had a loose fit. I made the following video and sent it to Aeroconversions.
Aeroconversions tech support confirmed that this was an acceptable amount of play for the snap ring.
Following the Aerovee manual, I heated the prop hub in the oven and left the crank in the freezer overnight. This is the result of my first attempt:
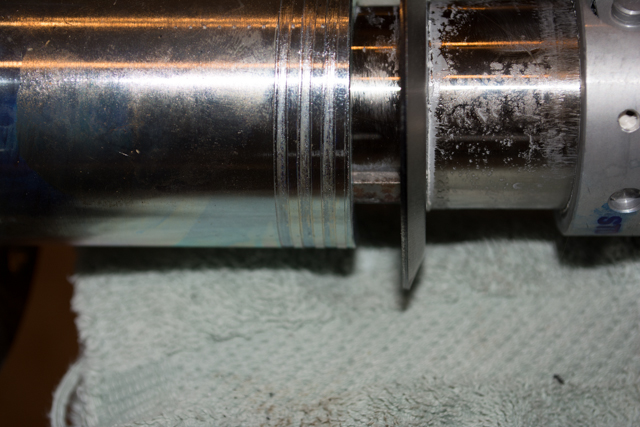
It should be noted here that the prop hub should be firmly pressed against the oil slinger… and they are a good 1/2″ apart in the picture above. The reason, I discovered, is that I had inserted the key upside down. In the pictures in the manual (and video provided by Aeroconversions) it appears that the flat side of the key should be on the outside, but this is not the case. After pressing off the hub, I took some pictures of the key.
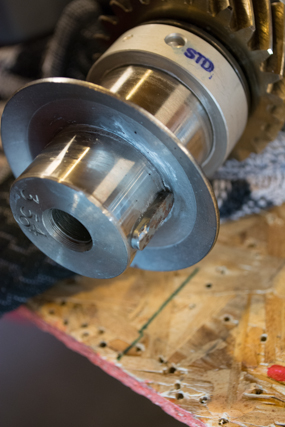
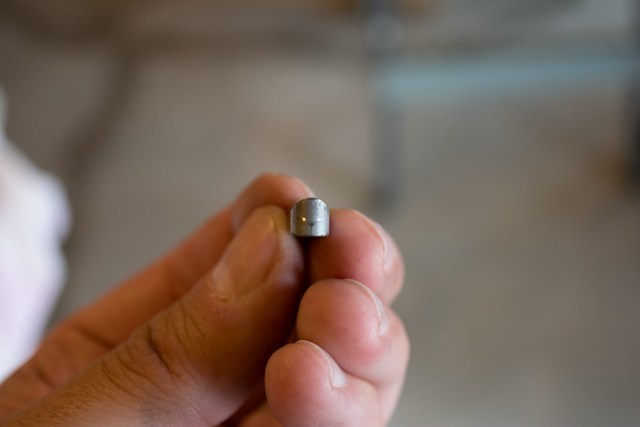
The round part of the key should be on the outside of the crank.
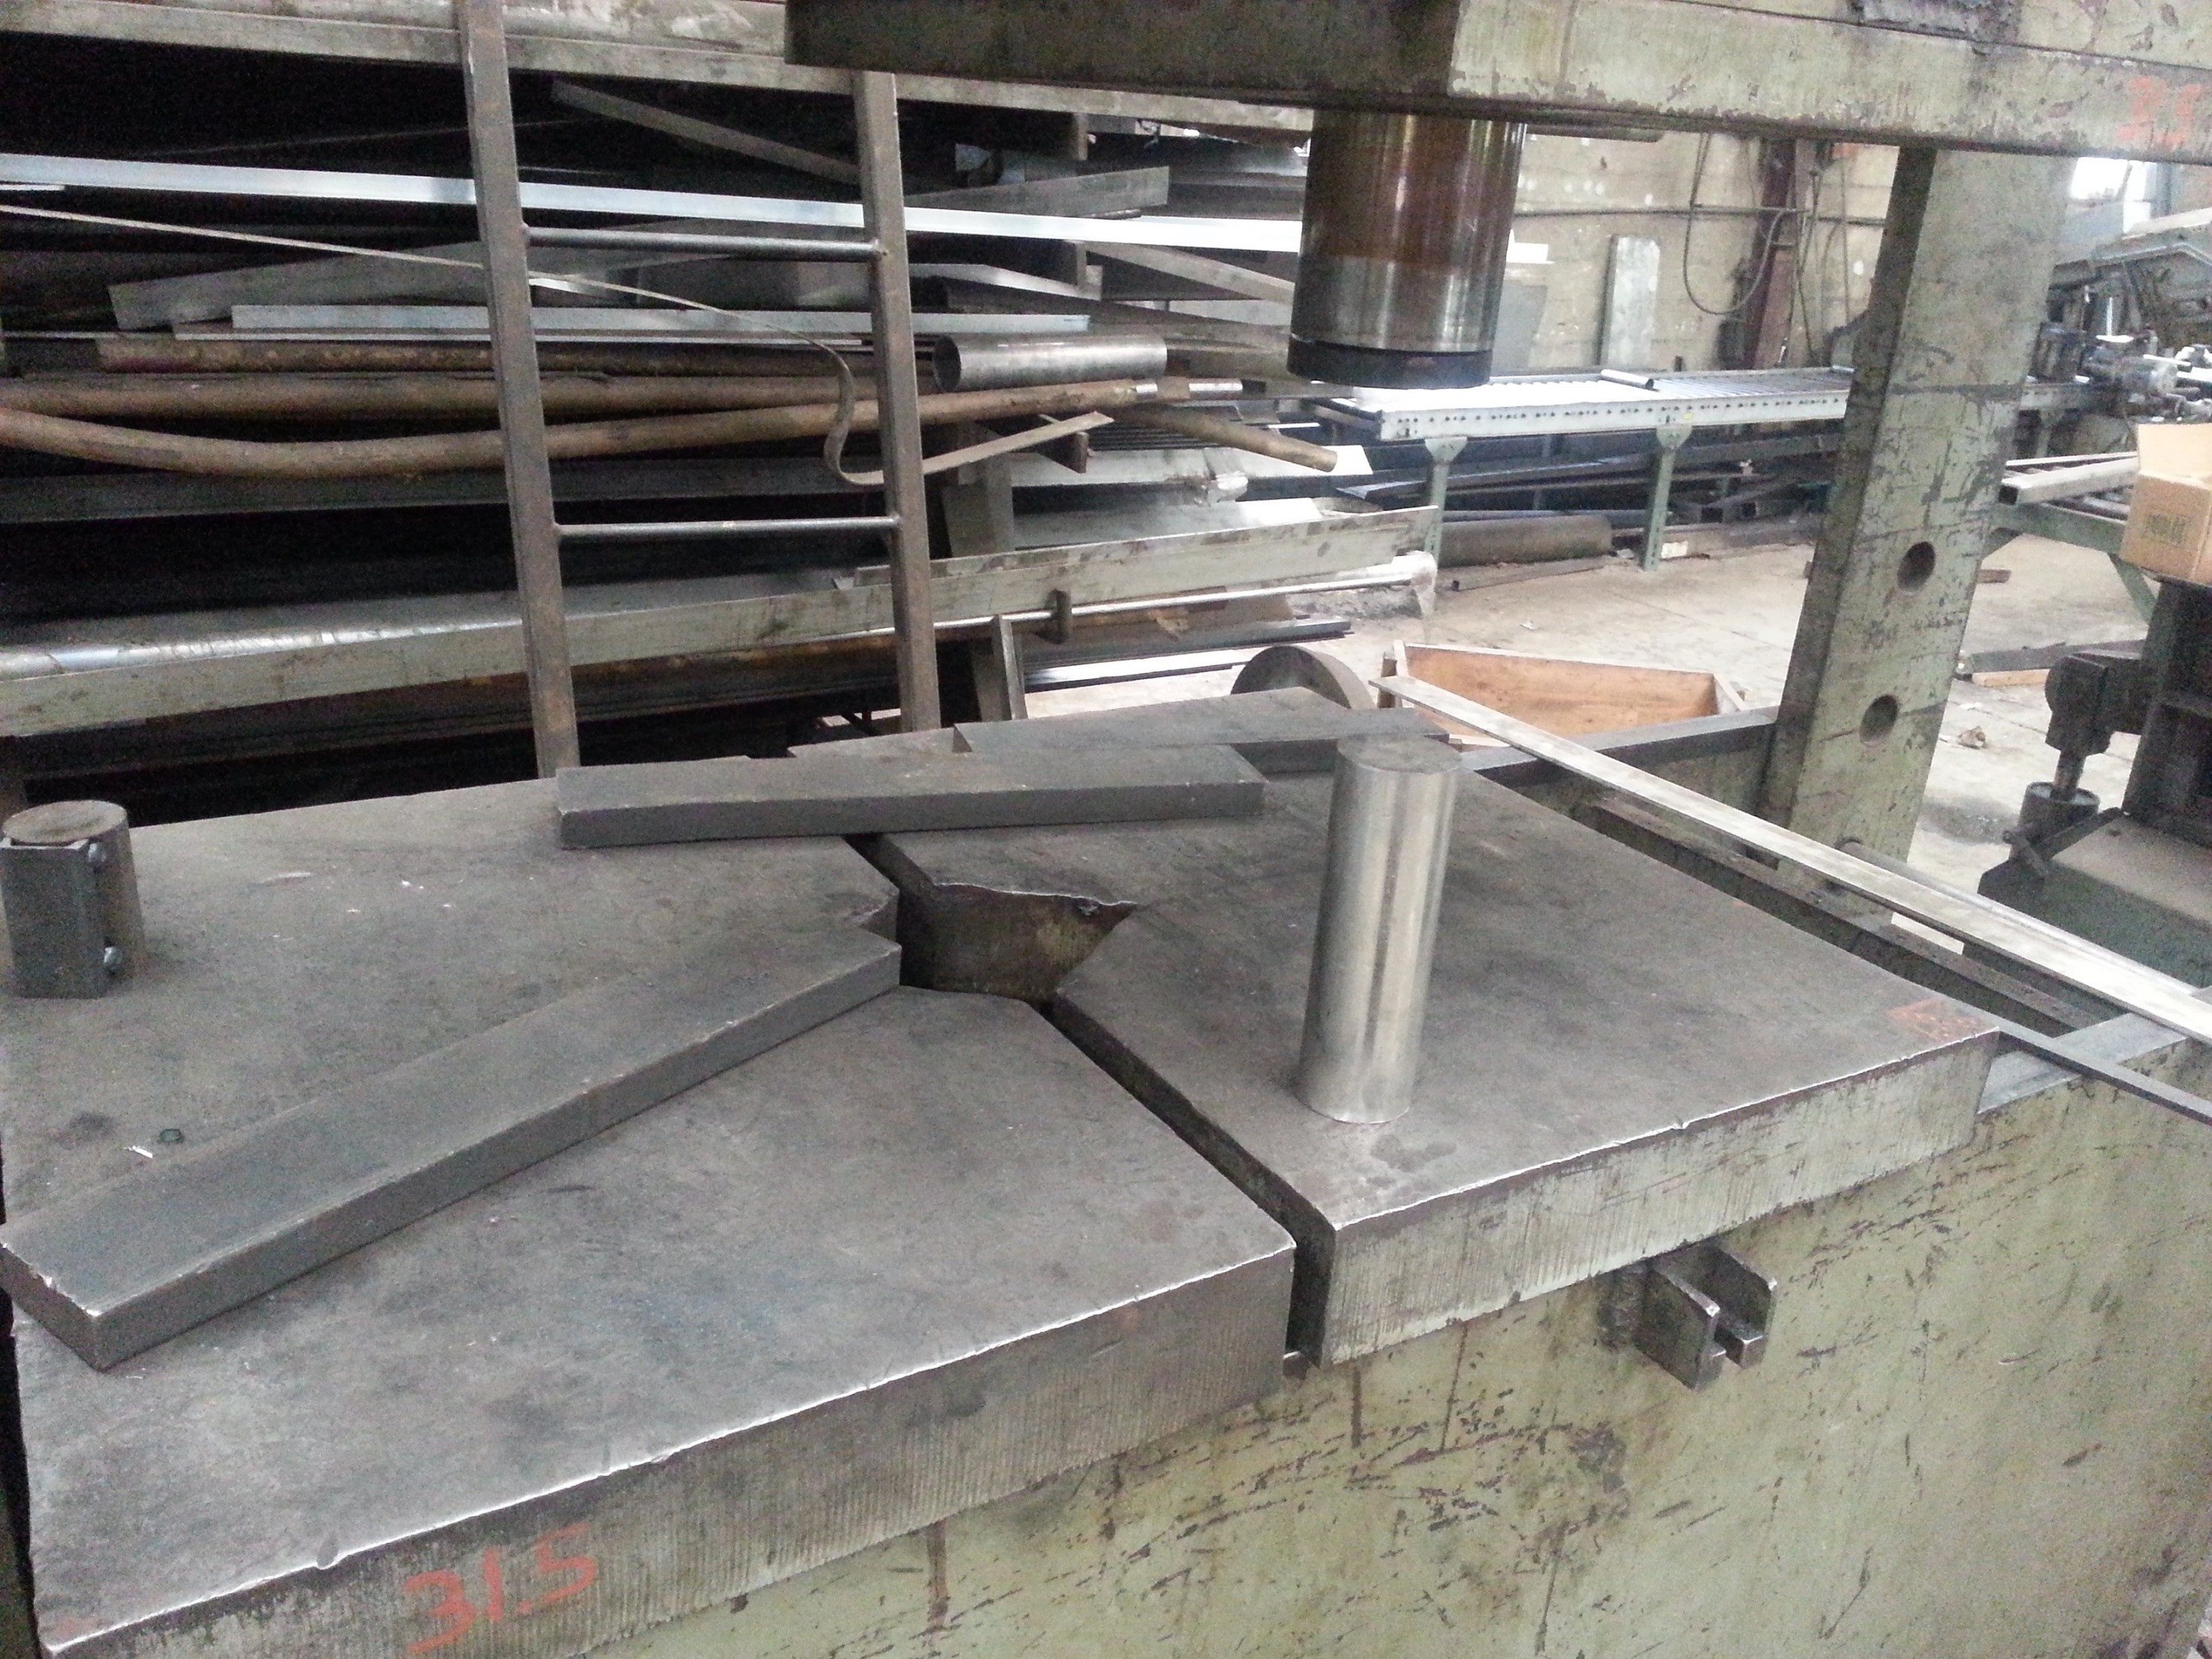
I cleaned up the keythen inserted it correctly and tried again, heating the hub in a 450 degree oven for 2 hours and freezing the crank overnight. This time, I was able to get the hub on most of the way, but was about 1/16″ short of fully pressing against the oil slinger. After exchanging emails with Sonex/Aeroconversions, it was determined that I could use a press to finish the assembly. After the difficulty/frustration/time expense I experienced with this part of the assembly, I definitely recommend the pre-assembled crankshaft option offered by Aeroconversions.
I found a local machine shop with a press sufficient to fully seat my prop hub. They charged me $10 for time spent.
Finally, I have a properly assembled crankshaft.