Total Build Time: 698 Hours.
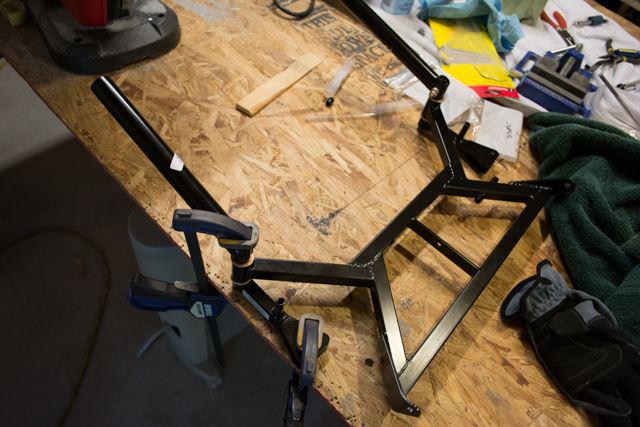
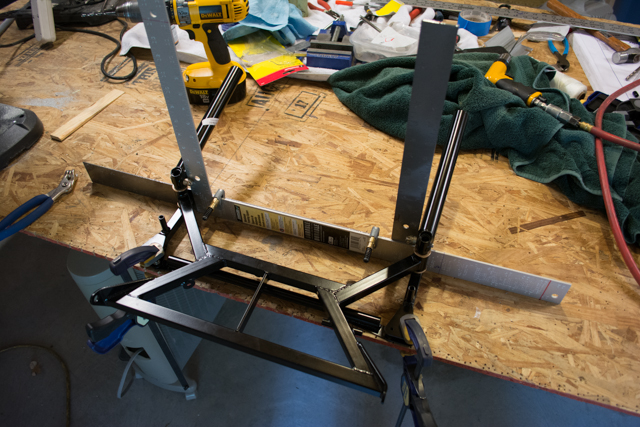
The Waiex comes standard with dual-control sticks. For roll input, each stick is connected to its respective aileron, and the sticks are linked together. For pitch input they are both mounted on a frame that pivots fore and aft.
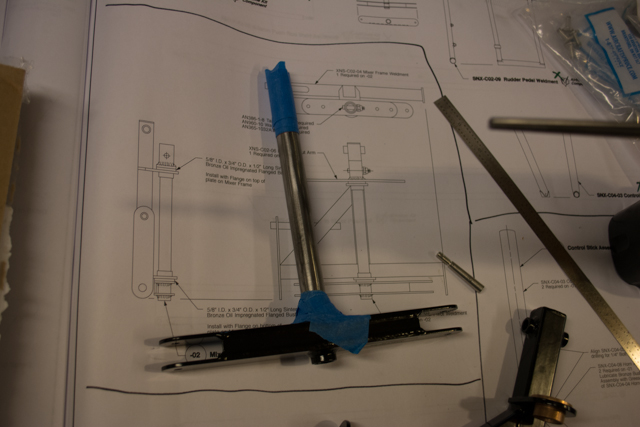
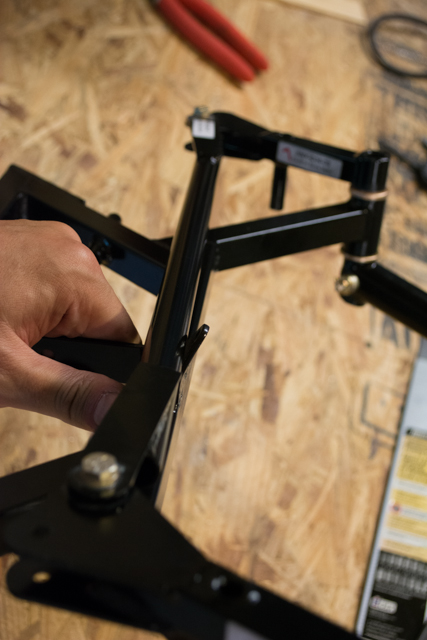
Basically the parts are fit together, clamped in place and drilled to keep everything straight and aligned. I used 2 squares clamped together to measure the width at the base of each control stick, then matched that length and clamped the sticks in place at the top, to keep the sticks parallel.
I decided to use taper-pins rather than bolts to secure the control sticks, to provide a more slop-free attachment.
Once assembled, I found that the small triangular tab (which attaches the spring for the pitch trim system) would interfere with full travel of the control sticks. I bent this tab up to provide clearance.
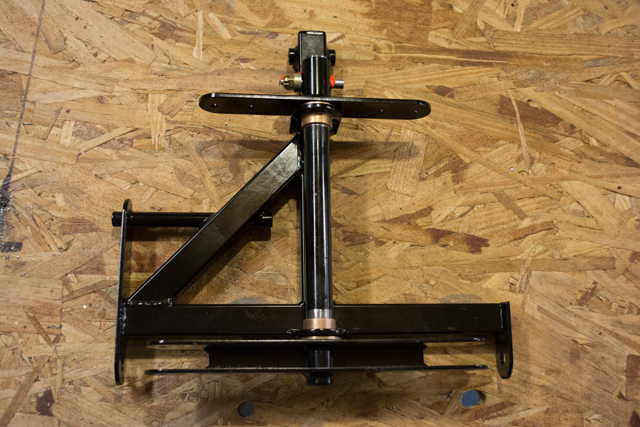
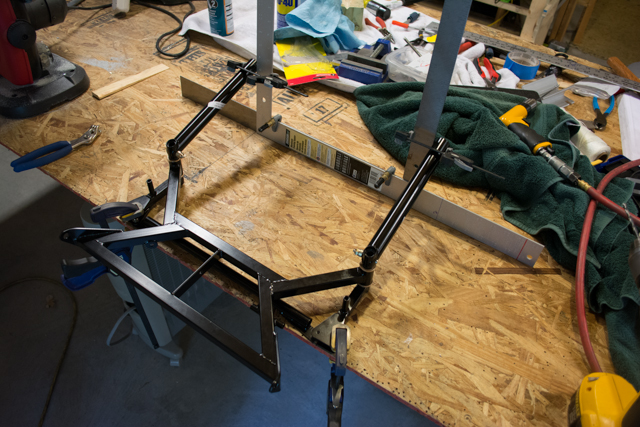
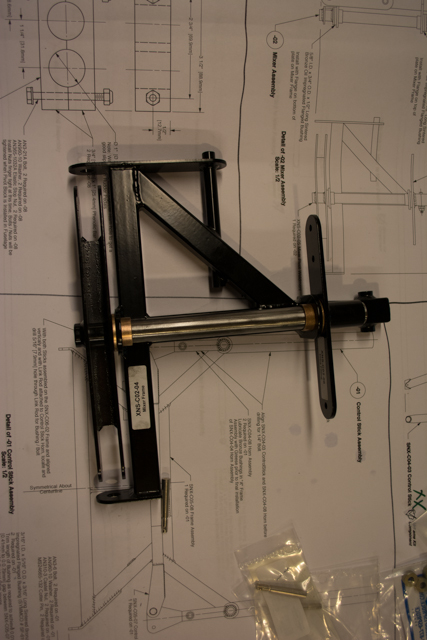
The mixer is an assembly that will combine pitch input from the control sticks plus yaw input from the rudder pedals, and output to the 2 ruddervators in the tail. This is necessary since the “Y” Tail configuration does not contain a full-sized rudder, so the ruddervators need to work in tandem to provide full yaw authority.
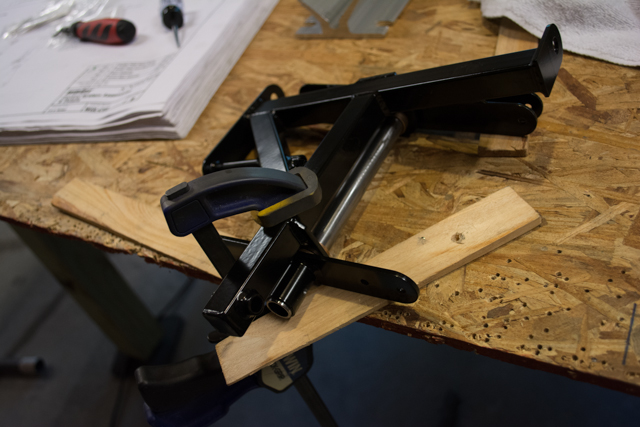
Assembling the mixer required the removal of powder-coating on the pre-welded steel parts, so as to add brass bushings to allow for smooth rotation. I used a combanation of methods to remove the powder coat, including sandpaper, a scotchbrite wheel, and a blowtorch plus wire brushes.
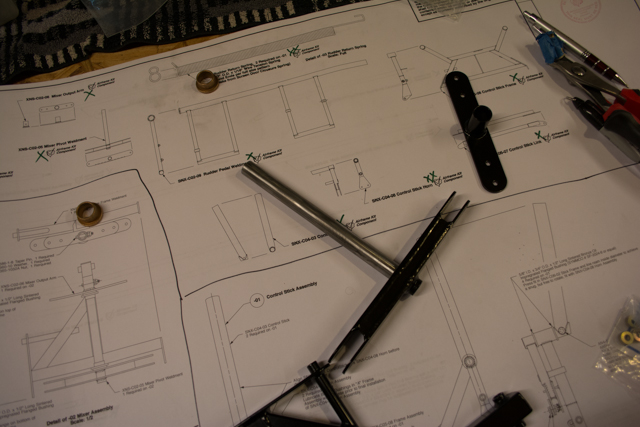
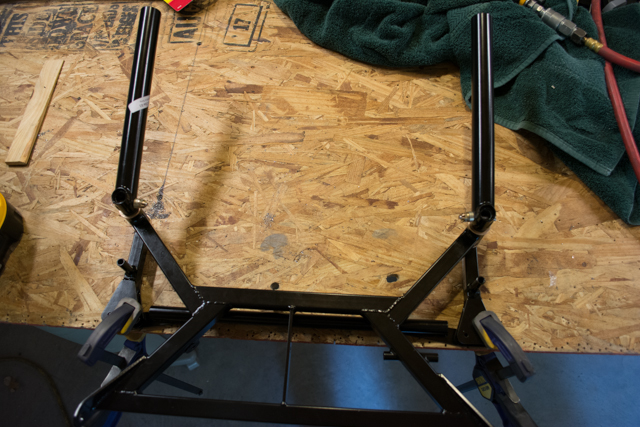
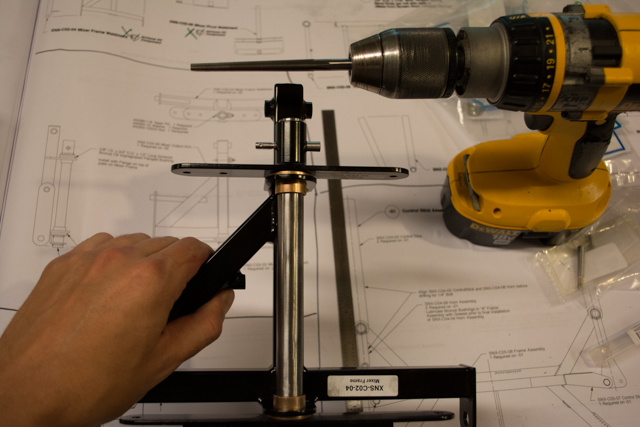
Once I had the assembly in place, I drilled a hole for the taper-pin that is used to provide a snug and slop-free attachment. First I drilled a 3/16″ hole, then I used a taper-pin reamer to bore the proper hole.
Finally I sprayed the exposed steel with protective enamel and lubricated the fittings with white lithium grease.