

Total Build Time: 705 Hours.
The rudder pedals are held in place using phenolic blocks. I used a 1″ forstner bit to bore the holes in the blocks, and then used a brake hone to ream out the holes for a good fit. I removed the powder coat from the pedals where they will be contacting the phenolic block bearing surface.
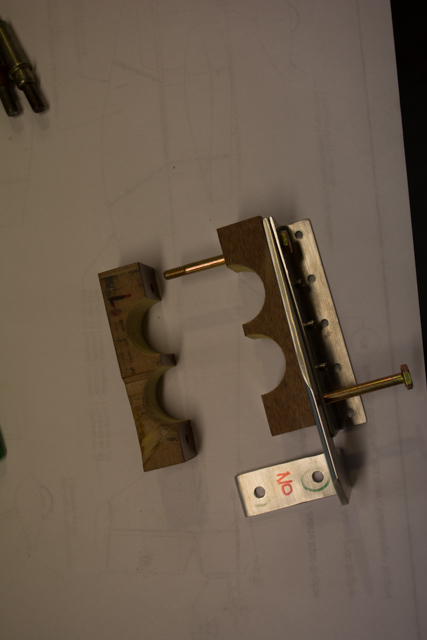
The blocks needed to be beveled in order to clear the weld in the rudder pedals, allowing full range of motion of the installed pedals.
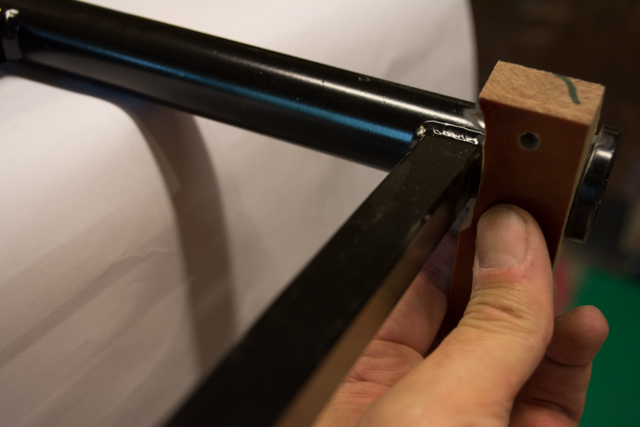
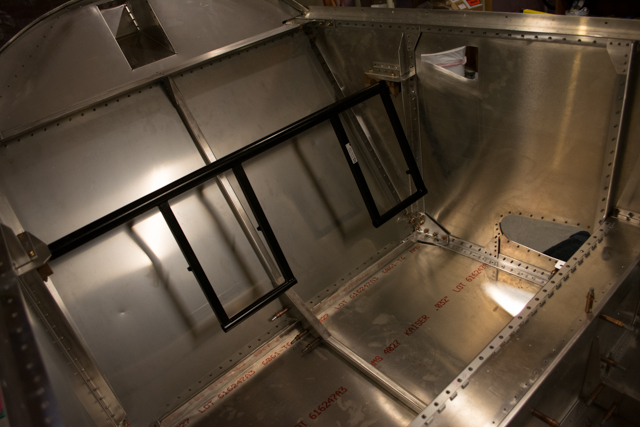
Since I had not yet riveted in place the rudder mount assemblies, it was fairly easy to repeatedly insert and remove the rudder pedals as I adjusted fitment.

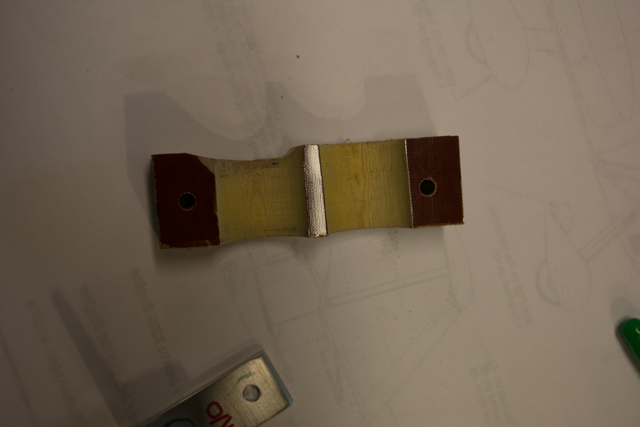
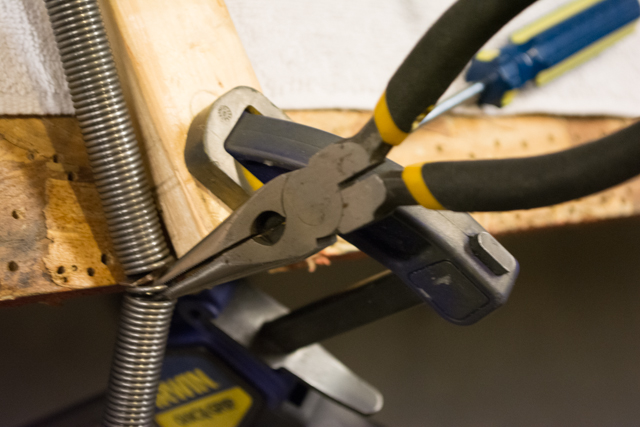
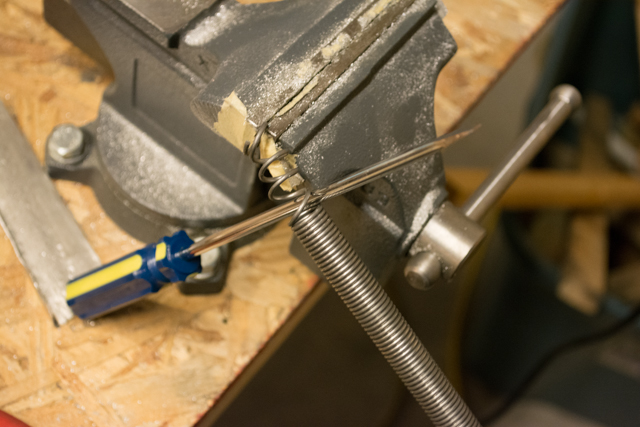
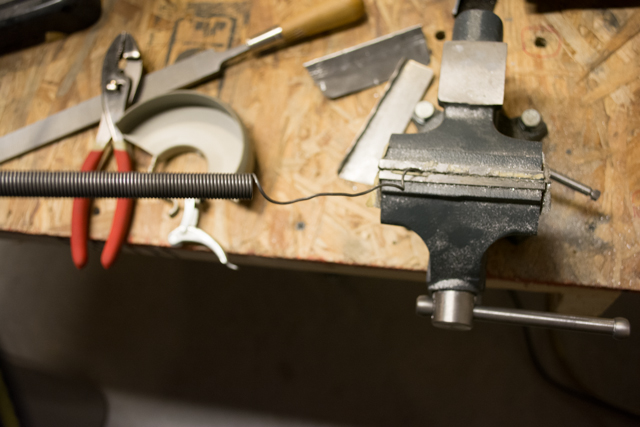
Also I made the rudder return springs. These were not easy to work with and took quite a bit of grunting a blood to make them into the correct shape. I’m sure there are easier ways to do this part, but here are some pictures of some techniques I used to bend the shape. These springs are very stiff and hard to bend!
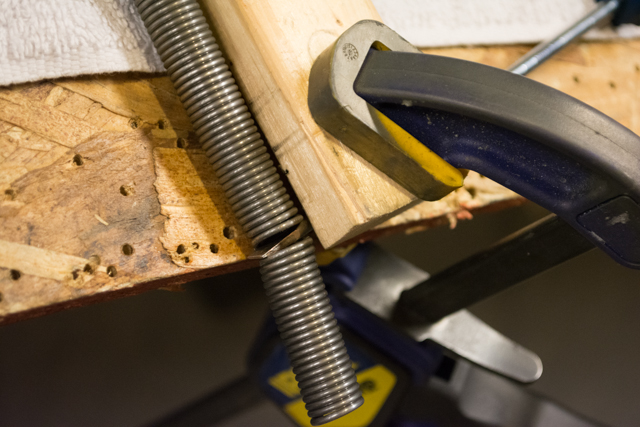
To get a (relatively) straight line into the spring, I clamped the end of it in a vise, inserted a screwdriver and then pulled on the screwdriver.
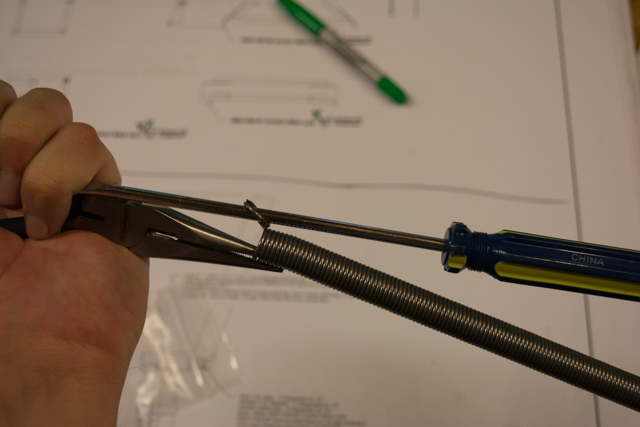
Making the loop at the other end.

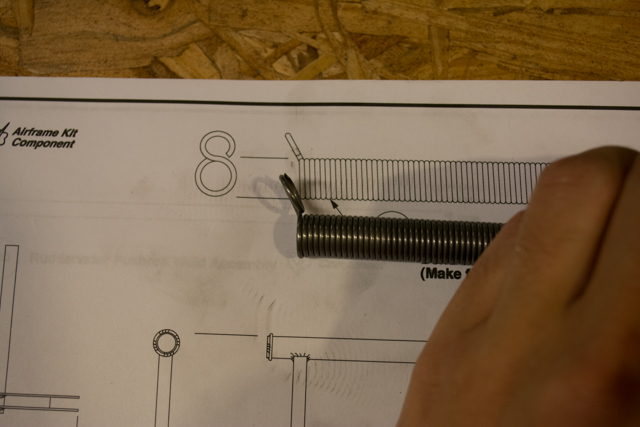
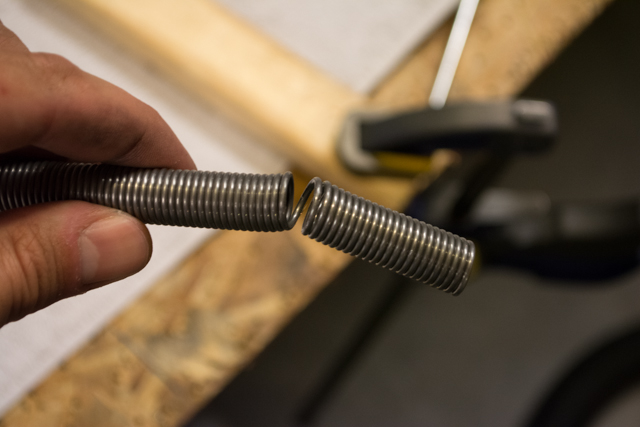
The final spring shape isn’t the prettiest thing I’ve made for the plane, but it will do the job.
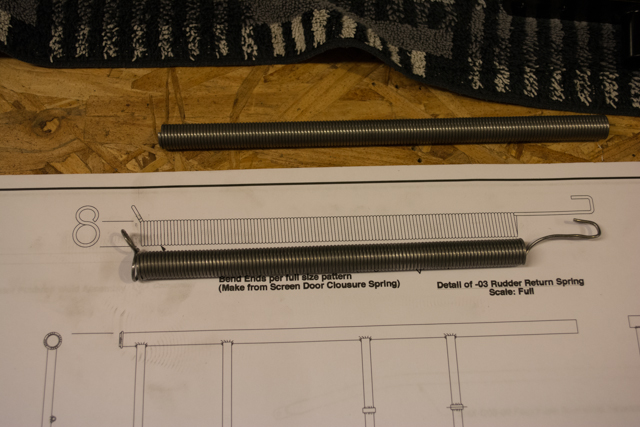
Once the rudder pedals are connected to the mixer (and rudder) with cables, these springs will be used to keep the rudders centered and keep slack out of the rudder cables.
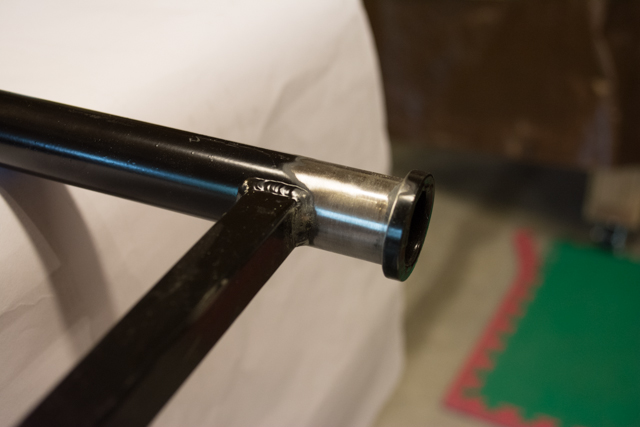
Also at this time I fit the flap drive tube, which used the same processes as the rudder pedals (and was quite a bit easier since there’s only 1 tube.) I cut away the flap handle attach point at the middle of the tube since I will have my flap handle on the left side of the cockpit. The phenolic blocks for the flap also needed a bit of beveling to clear the welds while keeping the drive tube slop-free. I didn’t want to remove too much material since I don’t want the tube to wiggle laterally.
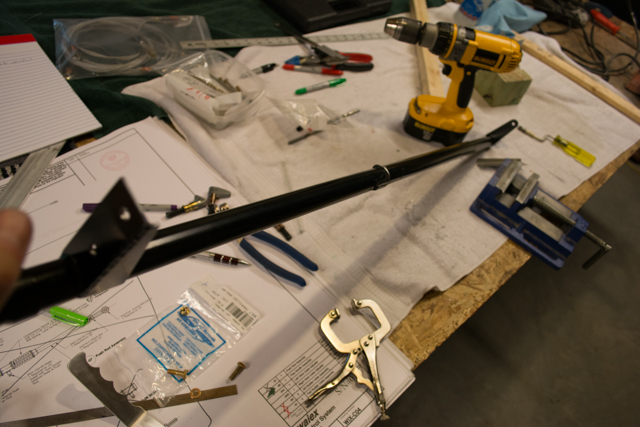
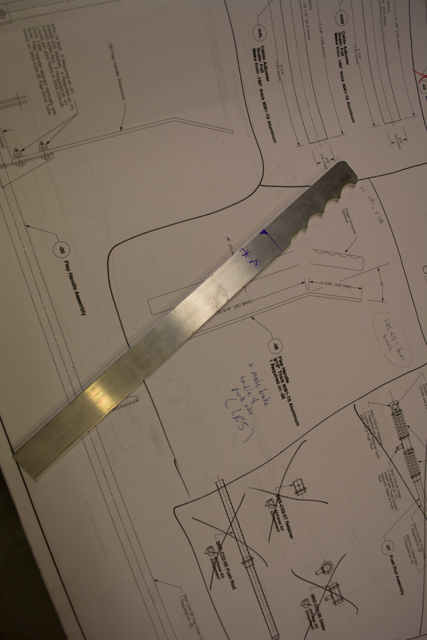
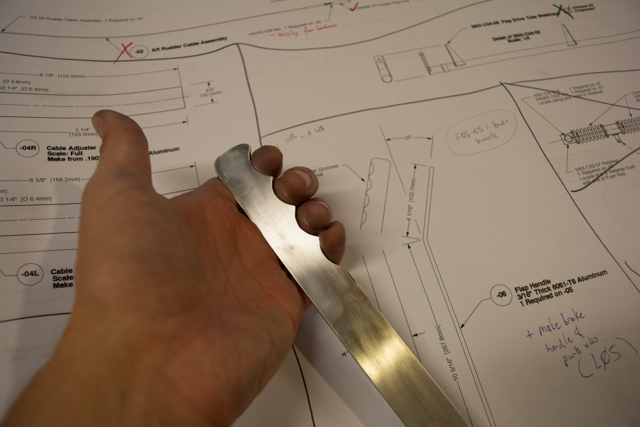
I fabricated and bent the flap handle. It turns out that I had a half-round file that was the perfect size for my fingers, so I made some nice cutouts for my hands.
Flap drive tube with handle installed in the cockpit.
Ryan, I’m working on the flap drive tube phenolic blocks. If I drill the 3/16 mounting holes now and the 1″ hole, how can I be sure the assembly will not bind up when bolted to the aluminum mounts. Did you make the 3/16 mounting holes with enough slop (wiggle room) so the flap drive tube will not bind? It seems this alignment depends on the aluminum mounts being exactly parallel to each other, from one side of the fuselage to the other.
It seems to me the 3/16 mounting holes in the phenolic should be drilled as the last step, if that is in fact possible? Do you remember the sequence in your build?
Thanks for any advice.