

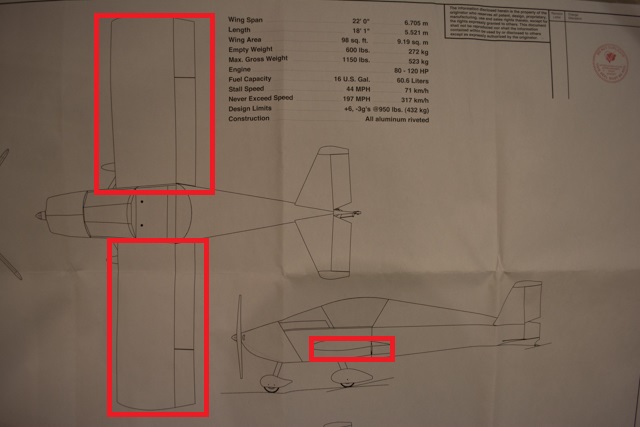
Total build time: 350 hours.
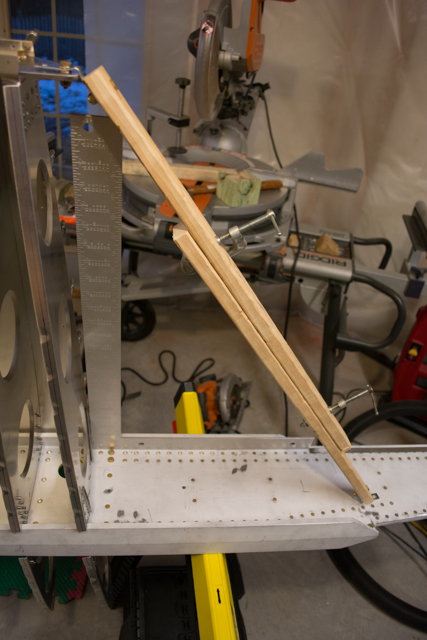
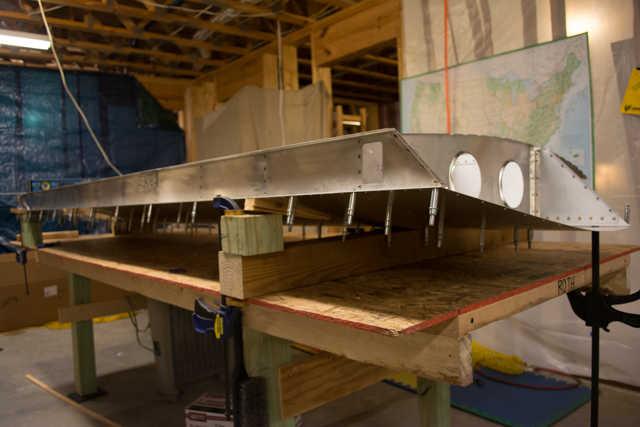
Before the skins can be positioned on the wing, the substructure must be made square and free of any twist. My initial method for doing this was to use 2 sawhorses. To hold the frame square, I used 2 pieces of wood bolted to the spars, and clamped them tight in the proper position.
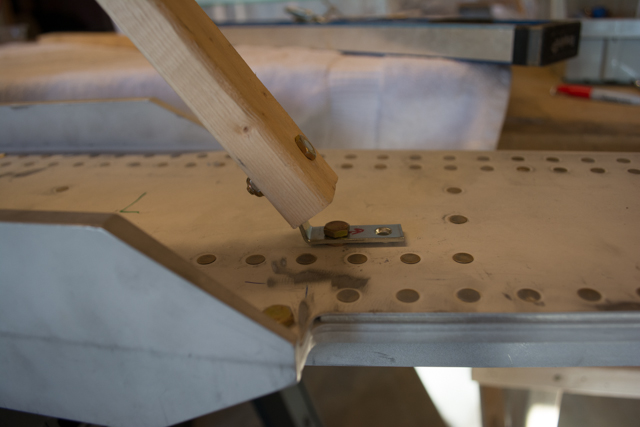

Proper position is defined by the aft spar hole being 19″ horizontal from the hole at wing spar station zero. In other words, the 2 holes I used to mount my squaring rig. I used a carpenter’s square (and a ruler since the square was only 16″ long) to be sure I had proper alignment.
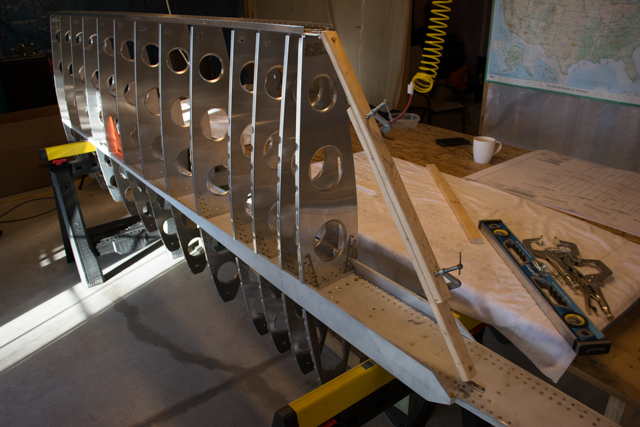
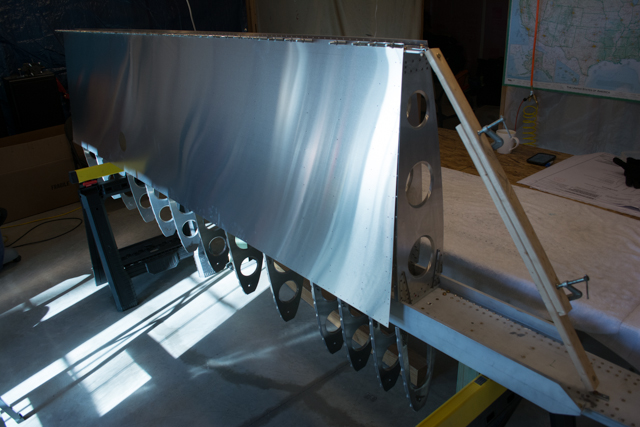
At first I intended to mount the upper and lower aft skins with the wing in this position on the sawhorses. I spent a lot of time eliminating twist, but as soon as I mounted a skin I found that the weight of the skin pulled everything out of plumb. I was not convinced that the wing in this position would stay free of twist no matter how I tried to shim it.
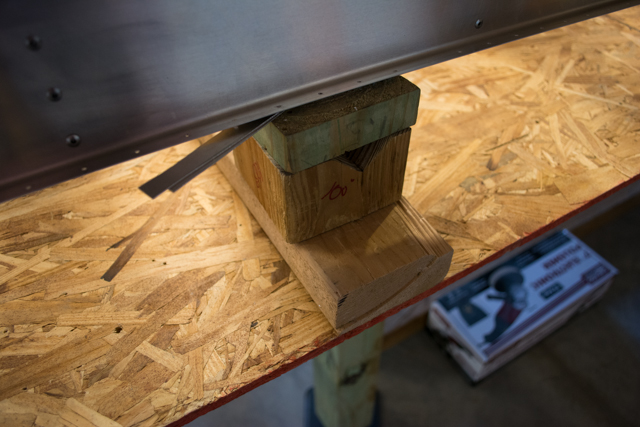
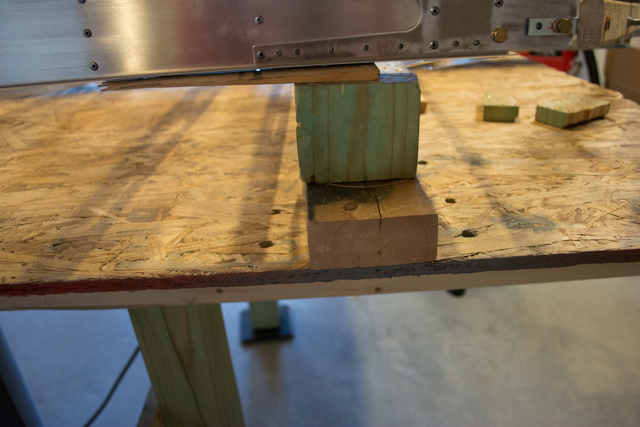
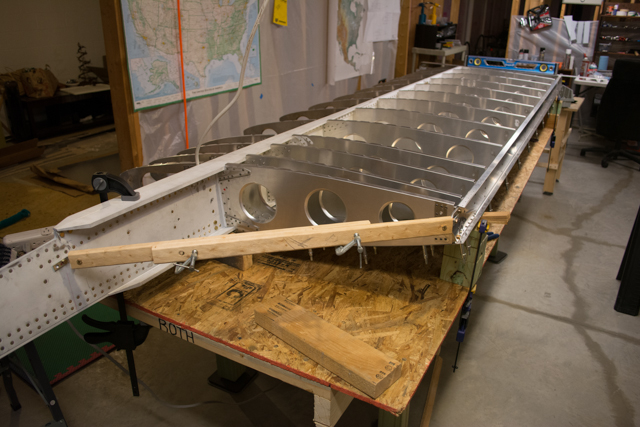
A quick discussion with Kerry at Sonex convinced me to use their method. This involves placing the wing flat on the table and shimming at either end to eliminate twist. This is a much broader shim arrangement and should be much more secure in holding everything in place once you have it set.
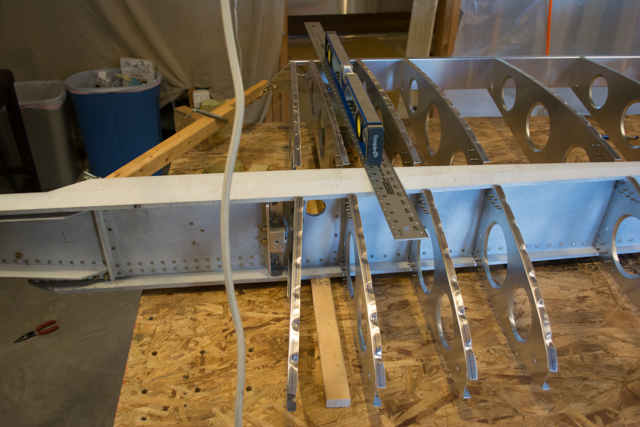
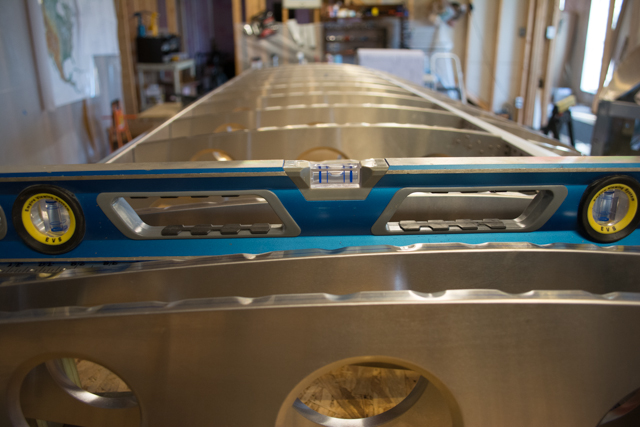
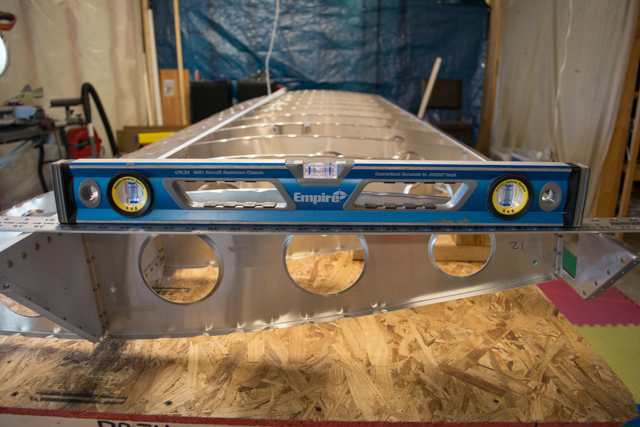
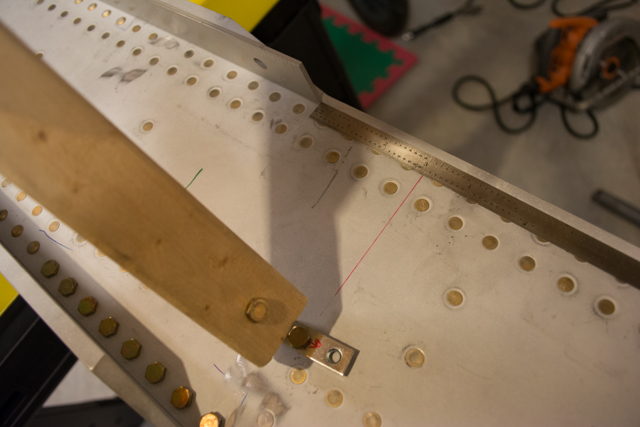
Note: My level wasn’t quite long enough to reach both spars. To lengthen it I used a ruler. As you might see in the pictures, the ruler bowed slightly under the weight of the level, so I did my best to eliminate any error by centering the ruler on the spars, and centering the level between the spars, so that the bow would only affect the height of the level and keep it parallel with the wing spars.
Also important is to be sure your leveling method is identical for each end of the wing, since the point of this setup is to remove twist from the wing. As long as each end of the wing is parallel with the other (using whatever method you use to measure it), twist will be zero.
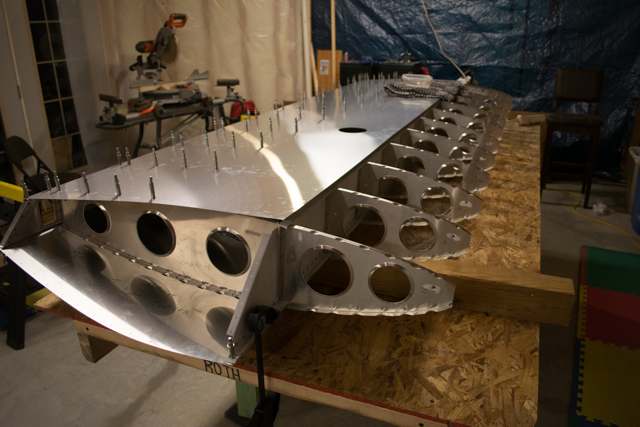
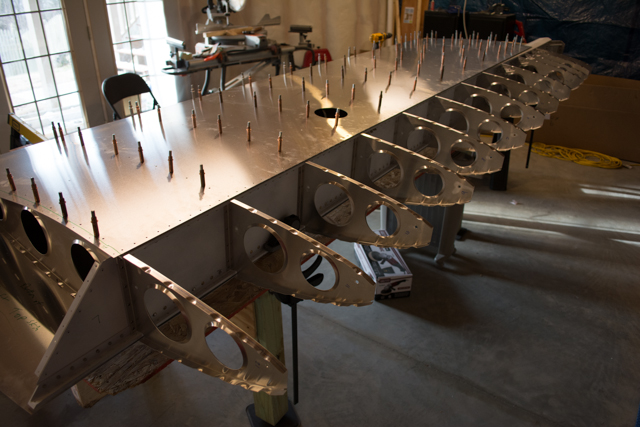
On goes the upper aft skin. The holes in the skin are pre-laser cut, so my task was to find the blue center-lines I had marked the ribs and drill all the way through. This is a lot of holes! I worked from the middle outwards and from the aft spar towards the main spar.
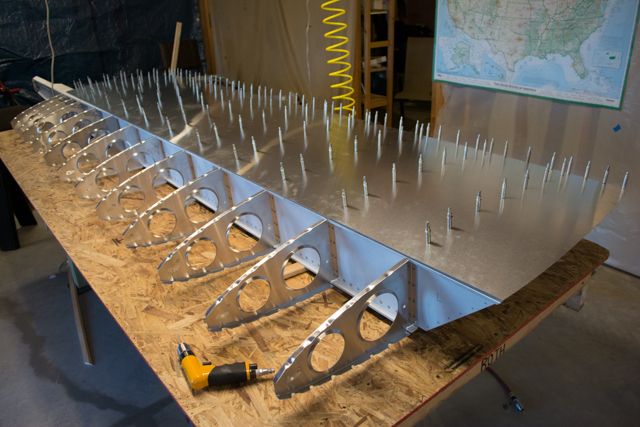
I then had to flip the wing, no easy task alone! I did make a mistake while flipping the wing by not placing any padding on the 4×4 I used as a spacer to keep the wing from resting on the cleco heads. I discovered later a subtle indentation on the upper wing skin from the 4×4 pressing into the skin. It’s only cosmetic and might be flattened out during the riveting process, but it’s not something I intend to repeat.
I drilled the lower aft skin in the same manner as the upper aft skin, after re-shimming the wing to again eliminate twist.
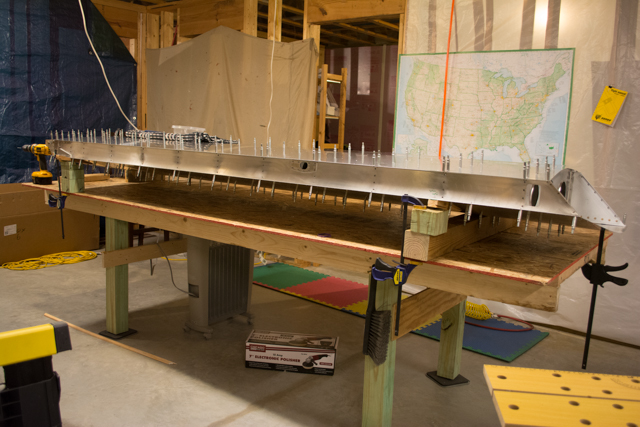
As I run low on silver clecoes I began updrilling the aft skins, in preparation for adding the 3rd and final leading edge skin.
Very very nice and informative. I will be starting my wings this year sometime, and do have some concernsa, but your demo here has told me some things I was concerned about…leveling..saw hores or table. I will most likely do the table thing as I have good access all around. I am finishein the tail feather instal just now, and will be doing the MLG and engine mount soom. then I can climb in and make some noises that would be questionable for a fellow of my age !! thanks again!
Thanks for the feedback Joe! I’m almost ready to rivet the left skin, then it’ll be on to skinning the right wing. Best of luck with your build!