

Total build time: 359 hours.
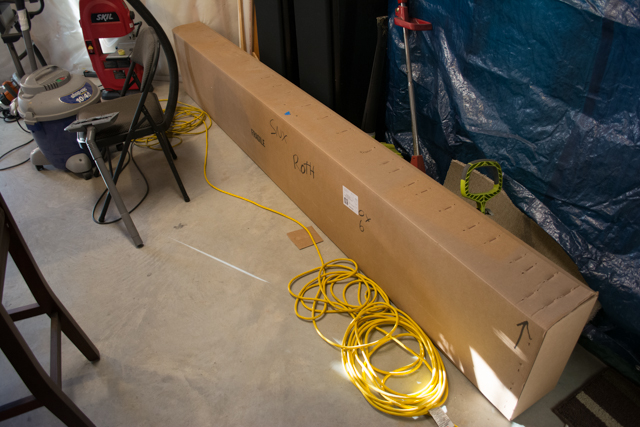
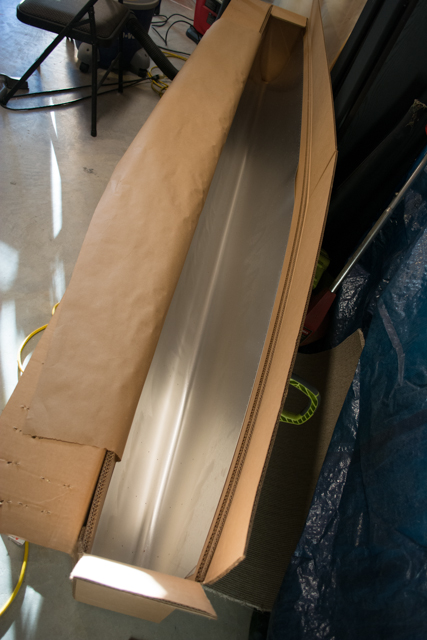
The leading edge skins came packed in one of the 2 remaining unopened boxes in my shop. The leading edge bend was pre-formed by the factory.
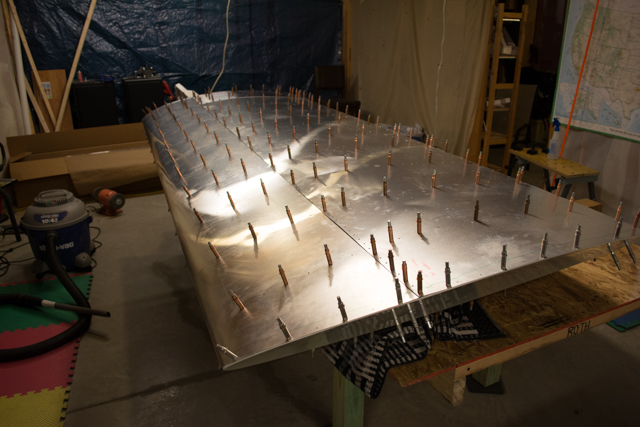
This skin takes multiple steps to position and drill. The first step is the easiest, done by draping the skin over the ribs and cleco/drilling it into place in a manner similar to the aft skins. I left the forward-most hole in each rib undrilled as there was just too much pressure needed from this side to properly align the hole. I will come back for them after the skin is positioned on the other side.
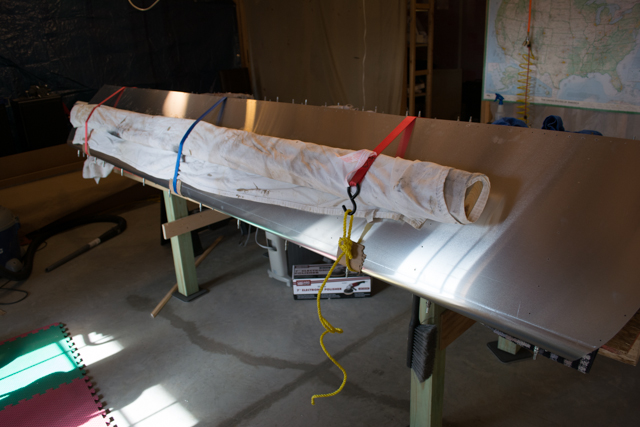
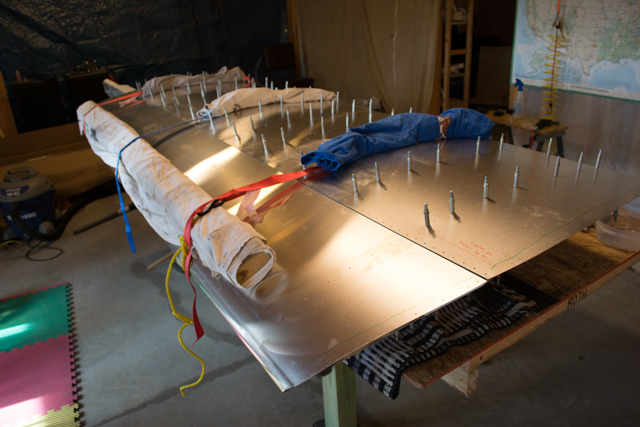
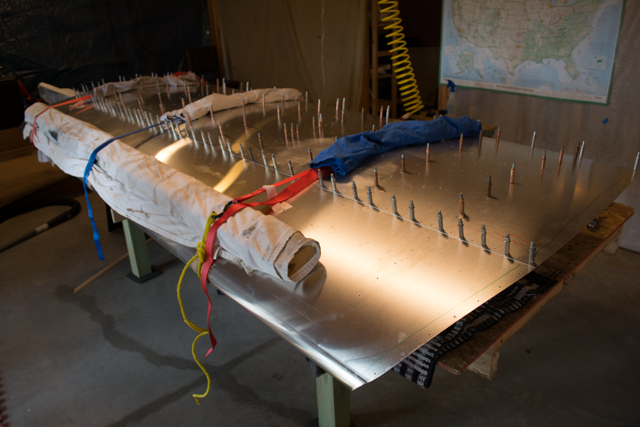
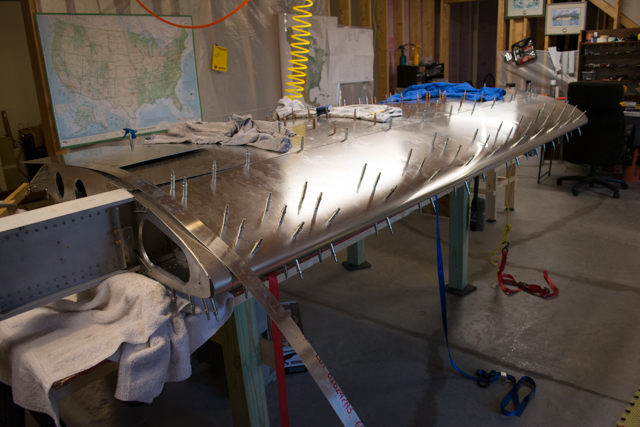
Then the wing is flipped. This was really a bear to do alone, and this time I took extra precautions with extra padding to protect the skins and the aft spar. With the wing on its back (actually, right side up now if you’ve been keeping track) the ratcheting process begins to pull the leading edge down and into position.

I used 3 straps and a padded 2×4 to carefully coax the skin down into position. Keeping the 2×4 low and nearer to the leading edge helped to tighten up the leading edge bend and flatten out the skin towards the spar, making it much easier to cleco to the spar. I folded the leading edge skin under the aft skin at the spar for extra support. In final assembly the leading edge skin will be on top.
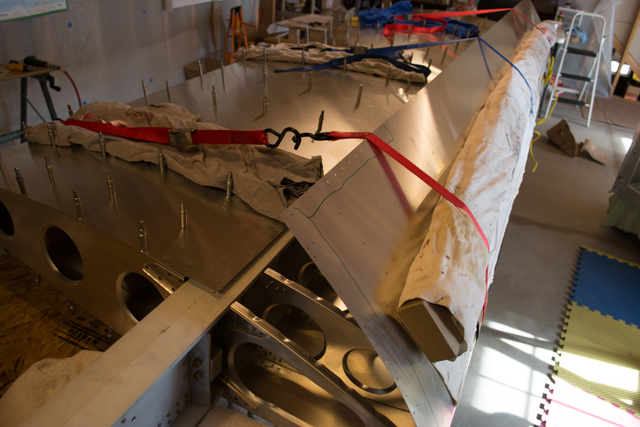
With the skin now securely clecoed to the main spar, I released the straps. This allowed me to work on drilling from the spar forwards, which again helped to flatten the skin to the ribs and allow the bend in the leading edge to take its proper shape. The last holes to be drilled were the forward-most holes on the top and bottom sides of the leading edge.
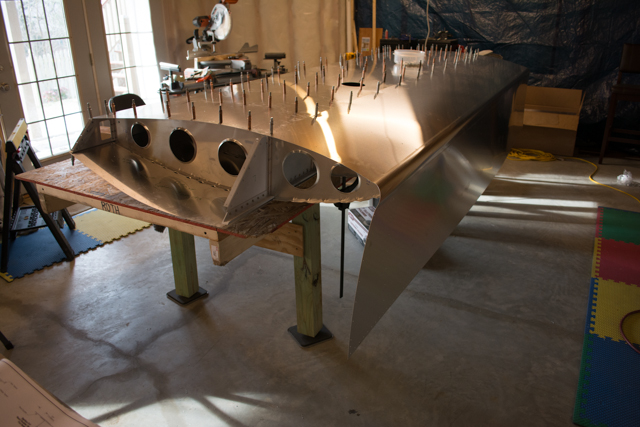
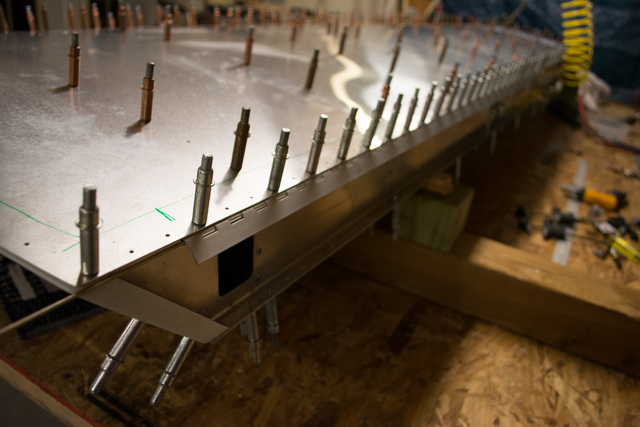
I also drilled out the root doubler/wing walk. The left wing is used to step up and into the cockpit, so this extra reinforcement of thick aluminum protects the wing.

I also drilled and clecoed my fiberglass wingtip/tip rib, though I apparently didn’t take any pictures of the process. I did have to cut off a strip about 1/2″ wide and 12″ long to clear the main spar and 12th ribs on the lower side of the wing. Also notches to clear the main and aft spars. I did end up with a small gap between the leading edge and the wingtip that I’ll fill in later. Solution was probably to use firmer pressure on the wingtip before drilling to really fill in that leading edge shape.
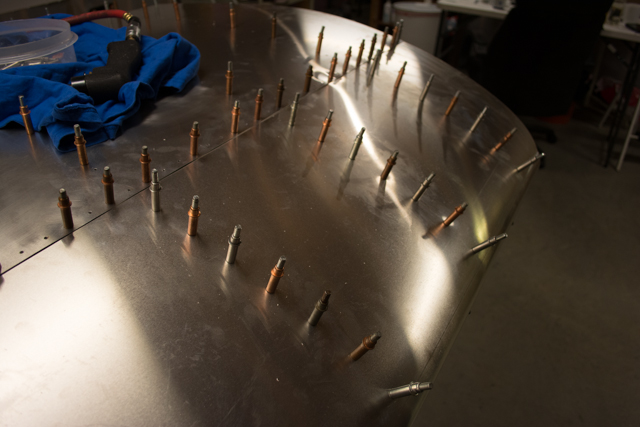
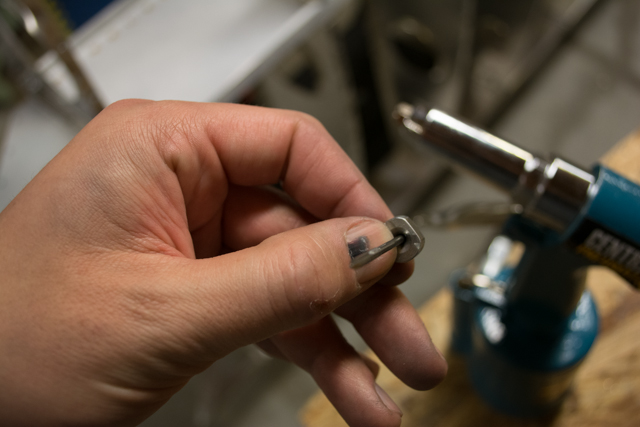
With all of the skins in place, everything gets updrilled (that wasn’t already). Forward wing skin was drilled with a #32 bit since they will be dimpled for flush rivets. Aft spar gets updrilled including the aileron and flap hinges. It was at this point that I officially made the decision to install the aerobatic aileron option, since the hinges need to be of appropriate lengths.
Here is the aileron hinge going on, along with my piano hinge drilling rig (a ruler with proper holes drilled in it.)
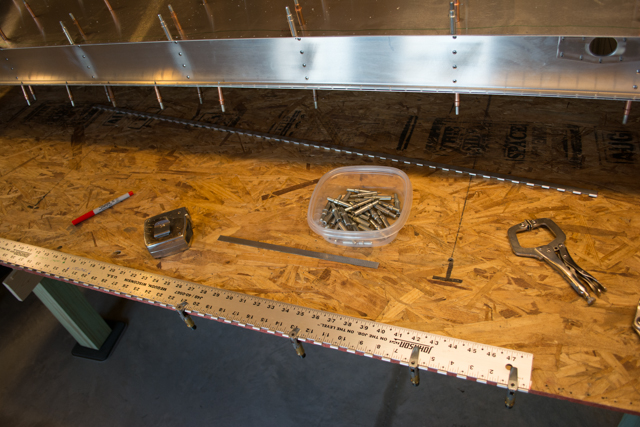
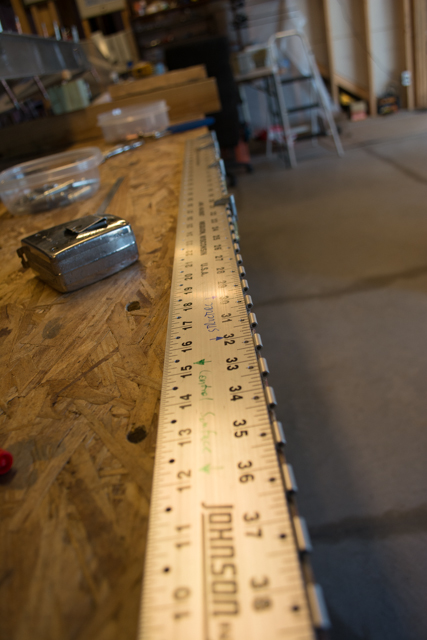
A note on my piano hinge ruler… I have 2 types of holes, one on either edge of the ruler. In the picture above, the holes on the right have the proper setback for piano hinges that are on structural parts, that call out for the center of the hinge pin to be flush with the edge of the skin. The holes on the left are for control surfaces, with the standard 1/2″ setback of the holes. So far every piano hinge I’ve needed to pilot drill has been one of the two types.
A few more items taken care of that I don’t have pictures of is flipping the wing again to finish installling the root doubler/wing walk, drilling out the tie down bolt hole and inspection plate screw holes.
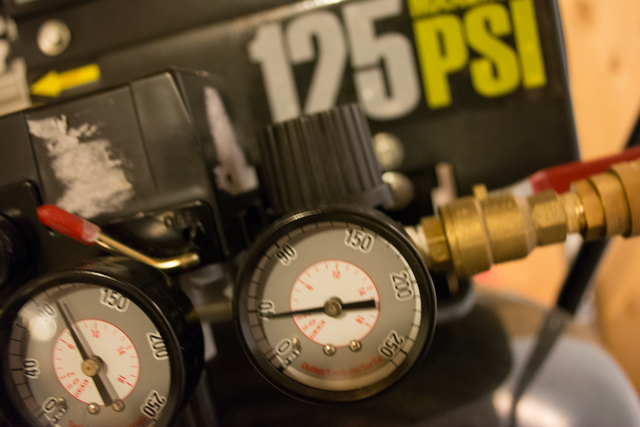
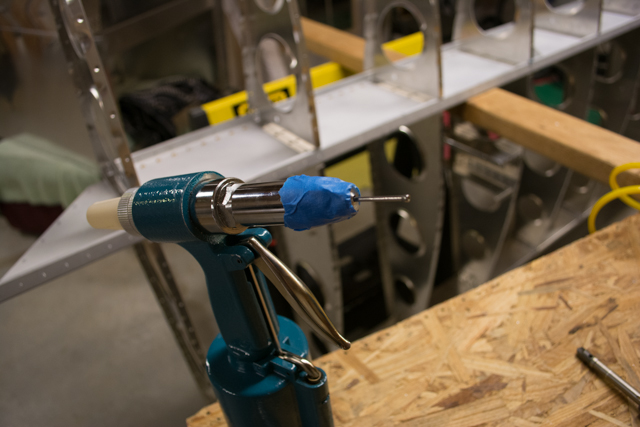
The skins are all removed for deburring and polishing. At this time I also dimpled the leading edge ribs (after deburring the holes). I did this using the Sonex simple dimple die with an edge filed down to fit against the inside of the rib flanges. My pneumatic riveter was set to about 35 psi and I taped the male portion of the dimple die to the tip of the riveter. This worked great and it took me about 30 minutes to do all of the forward ribs top and bottom. The dimpled #32 holes came out as perfect #30 fits for the rivets.
Except for one final project for this wing, everything is ready to be deburred. There are now about 1000 holes in this wing. The leading edge skins will be dimpled after polish.