

Total Build Time: 1082 Hours.
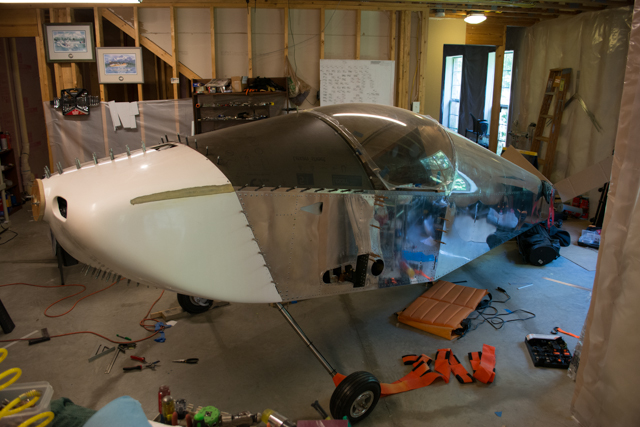
With my repairs/reshaping of the cowling complete, I could now focus on the full fitment of the cowling.
I noticed that there was some slight interference between the top side of the cowling and the oil cooler in the Turbo Aerovee installation. Removal of the small flange on top of the oil cooler would give me the clearance needed.
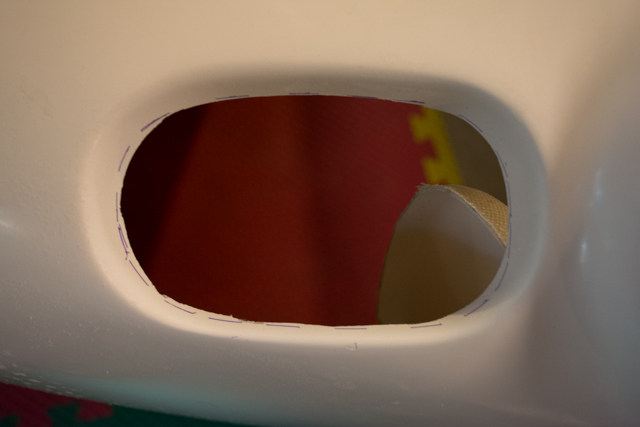
Next I cut the air inlet on the front of the left-side cowling. For clarity I’ll state here that I did this while my initial fiberglass repair was curing on the right-side cowling. This is the reason in subsequent photographs that the left-side inlet is full sized while the right-side is yet to be cut.
My primary tool for cutting fiberglass was an oscillating multi-tool.

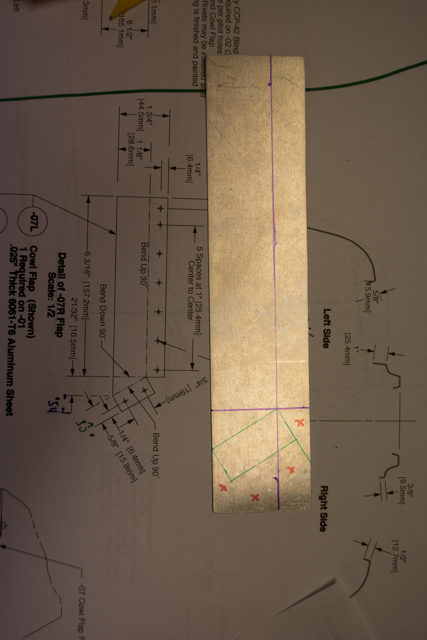
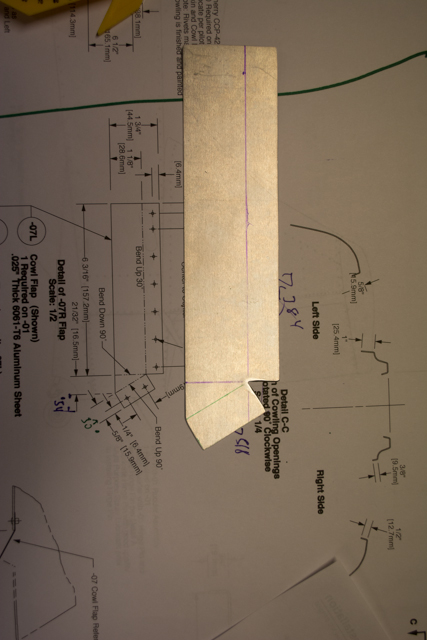
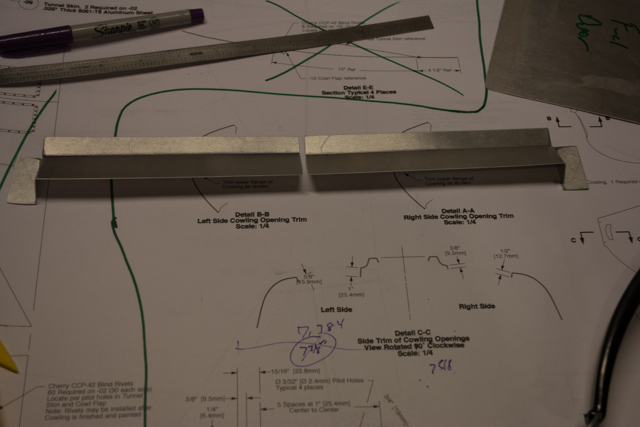
I also used the time waiting for resin to cure to fabricate the permanent cowl flaps and the fuel filler door called for in the plans.
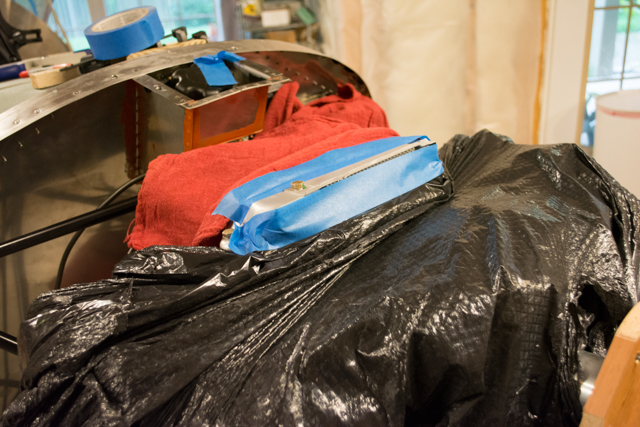
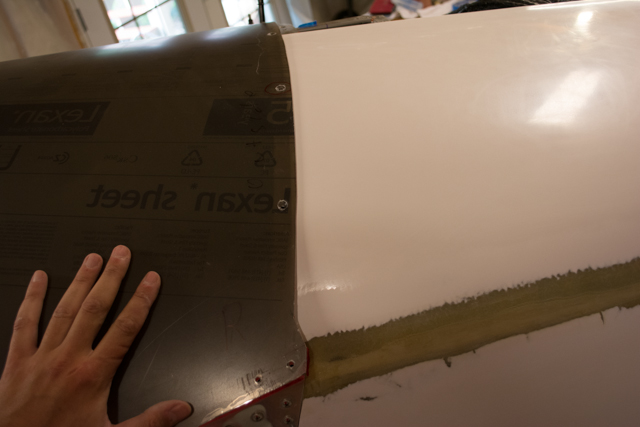
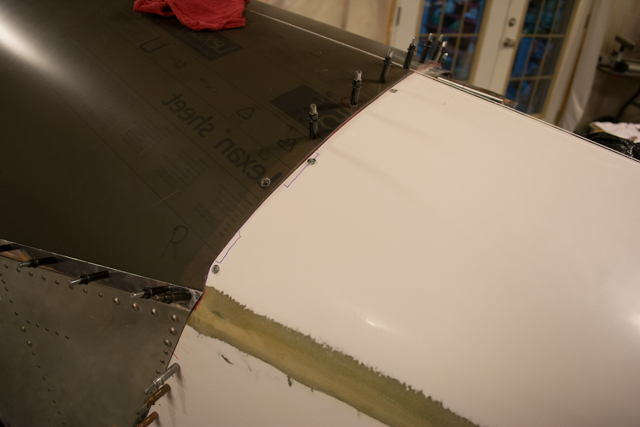
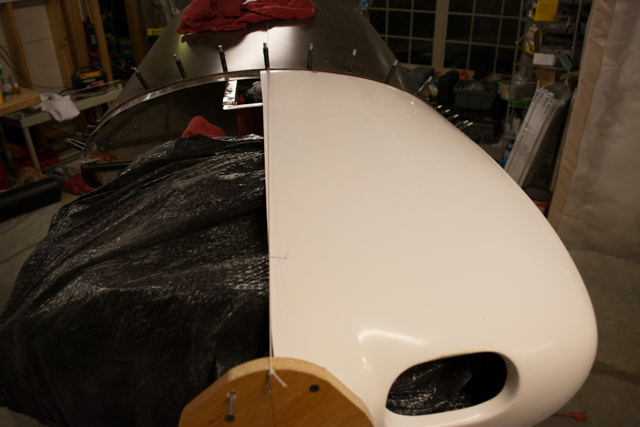
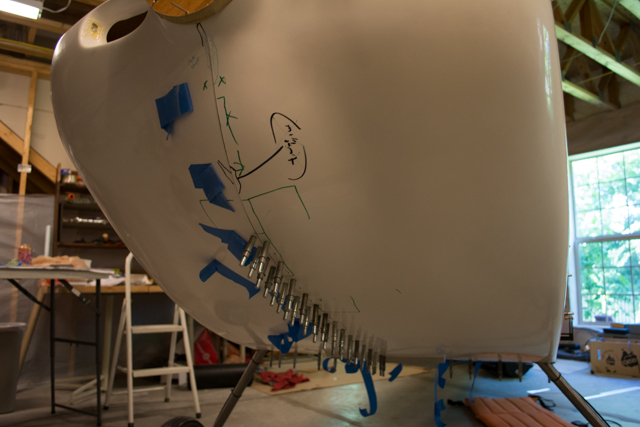
With the fiberglass repair complete, I temporarily installed the windshield to guide my cut lines for the cowling along the windshield strap.

I marked the center-line on each upper cowling half and matched them against each other.
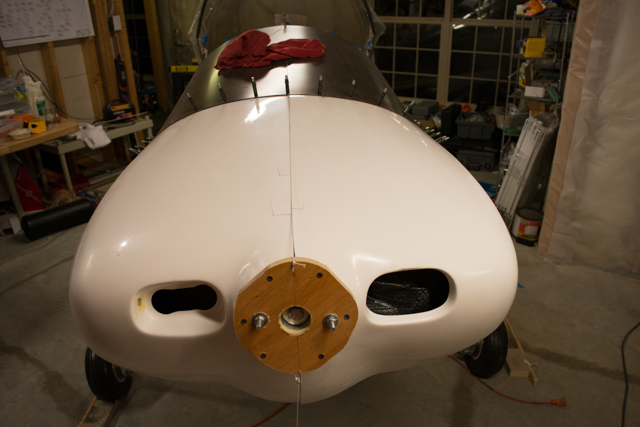

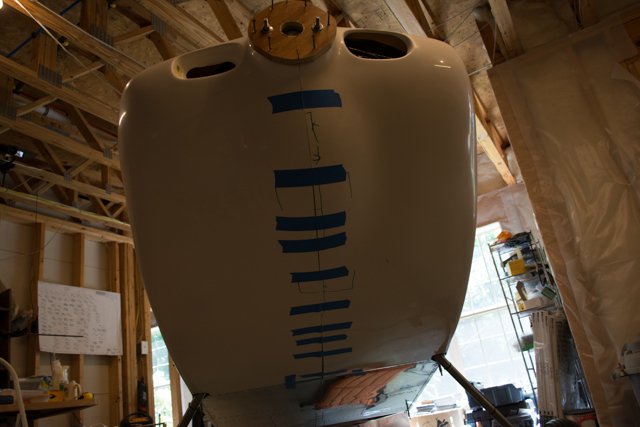
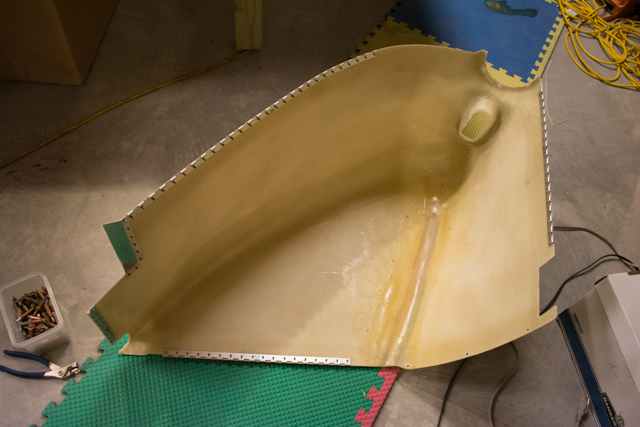
Next came the centerline on the bottom cowling halves. This took many iterations to get correct, and I still had more material to remove after locating the bottom cowling halves to the bottom of the fuselage.
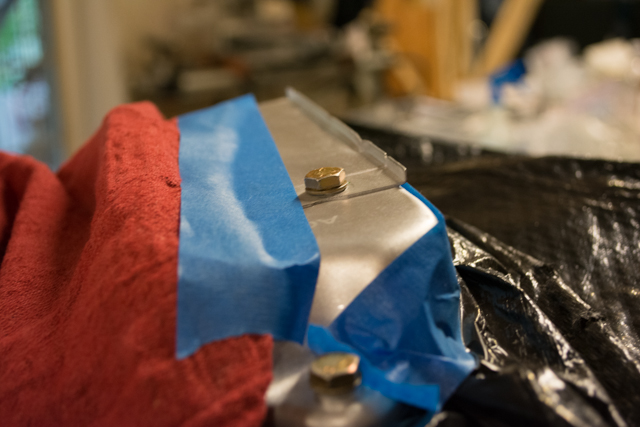
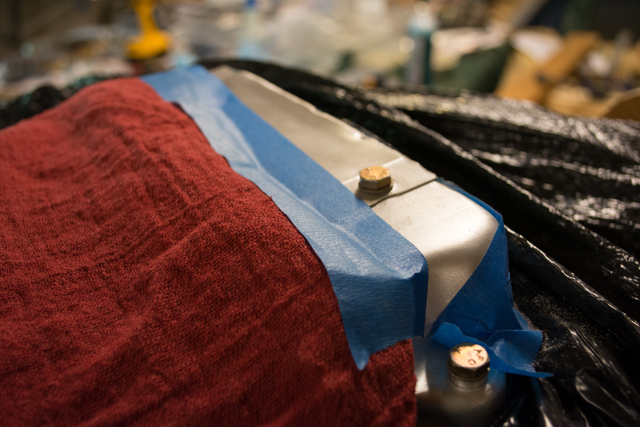
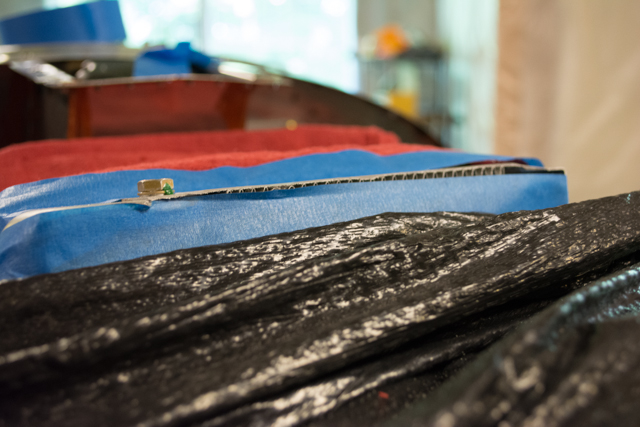
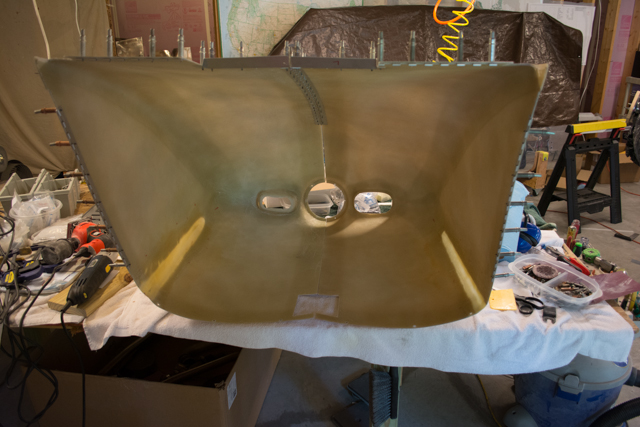
The following picture might not be obvious, but what it shows is my removal of several of the “lugs” of the pre-installed piano hinge on the lower firewall… those “lugs” are actually in the way of the piano hinge pin that will eventually be installed. This is due to the nature of the cutout of the cowling air exit in the Aerovee installation.
Initial cut of the cowling air exit. I ended up enlarging this in depth by an additional inch after reviewing other builder information, and accounting for the fact that the lower part of my tailwheel-engine mount may affect airflow in this area.
My procedure for locating the piano hinge along the lower center-line was to first install it on the right side cowling, then pilot-drill the left side cowling, and finally drill through the piano hinge on the left side while attached to the fuselage.
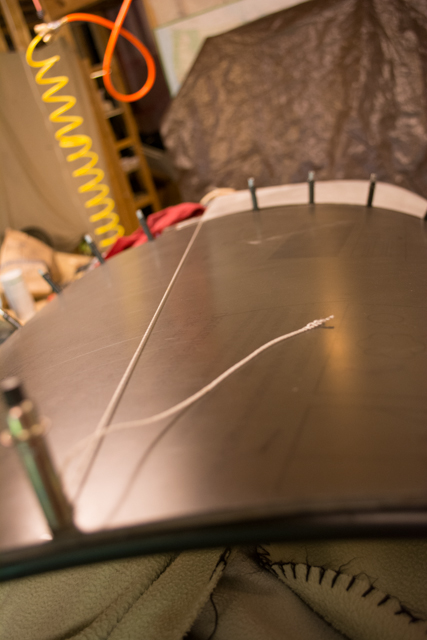
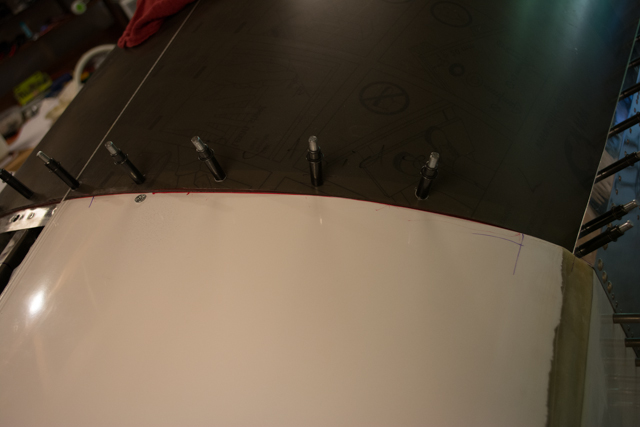
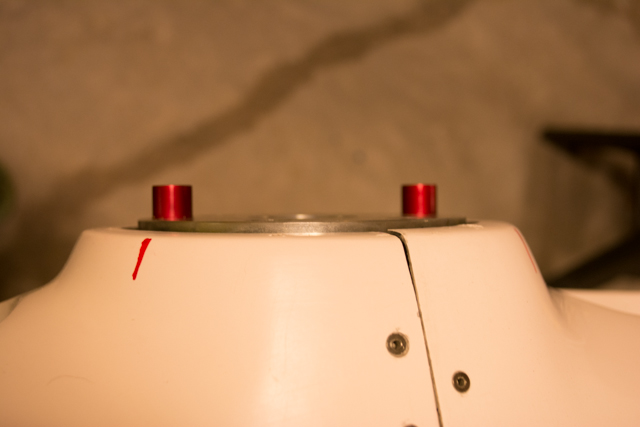
Upper center-line piano hinge was installed off the fuselage.
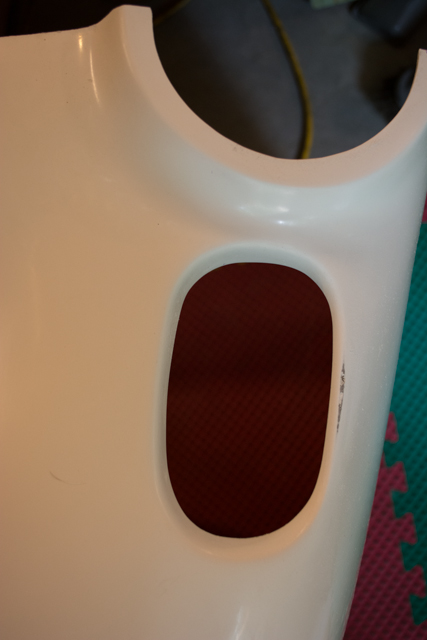
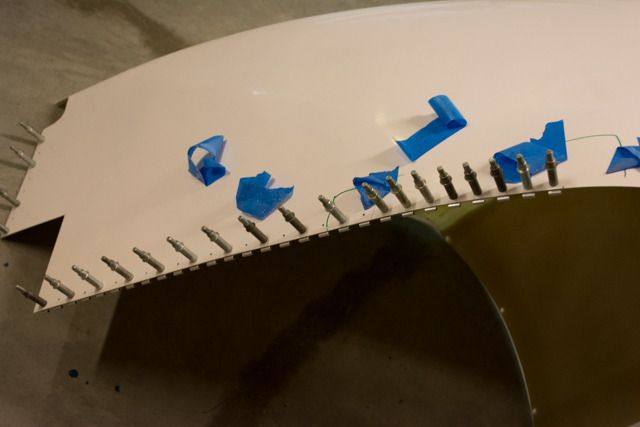
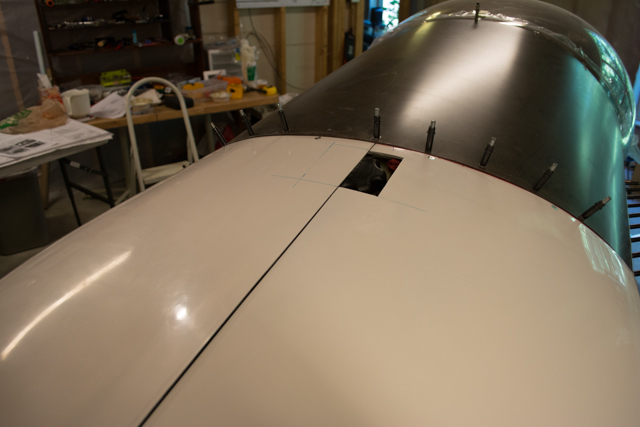
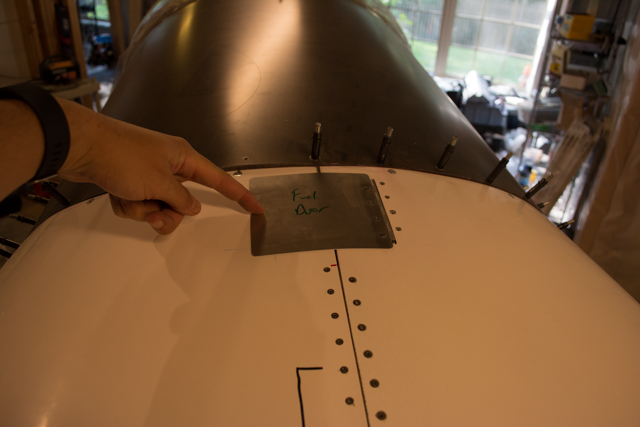
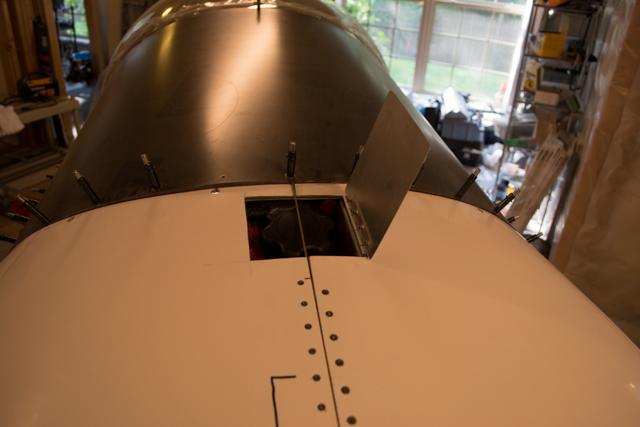
Fuel filler cutout.
All hinges clecoed in place:
All hinge rivet holes deburred and countersunk, then riveted.
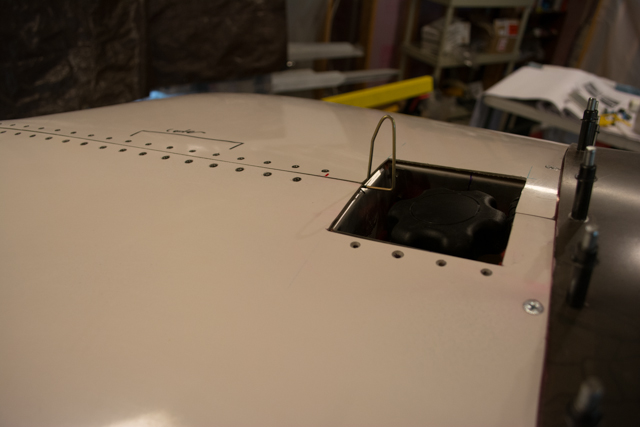
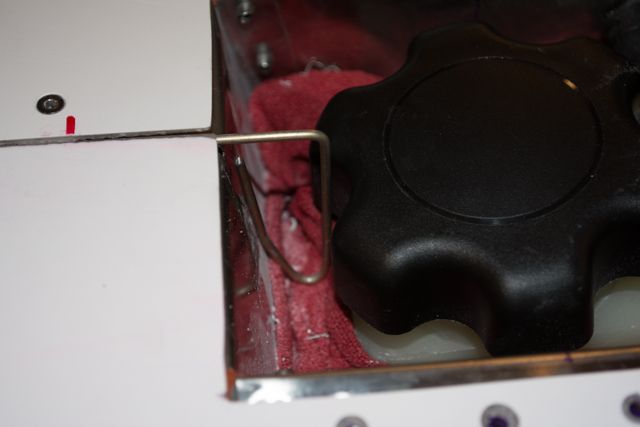
Fuel filler door located.
Upper centerline hinge pin bent in a fashion that it prevents both forward and aft movement by pressing against either the front of the fuel filler area, or aft against the fuel cap. It can be rotated out of the way of the cap when refueling.
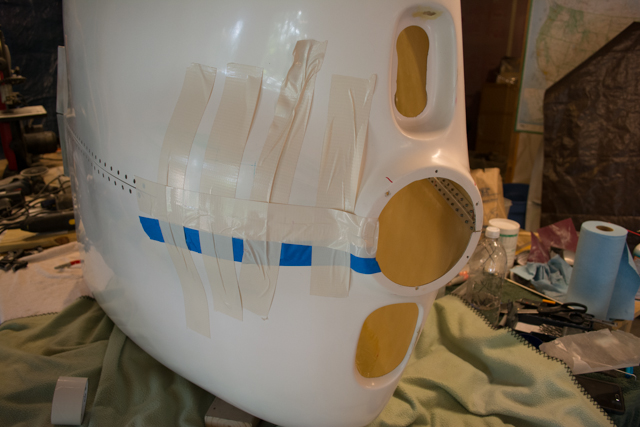
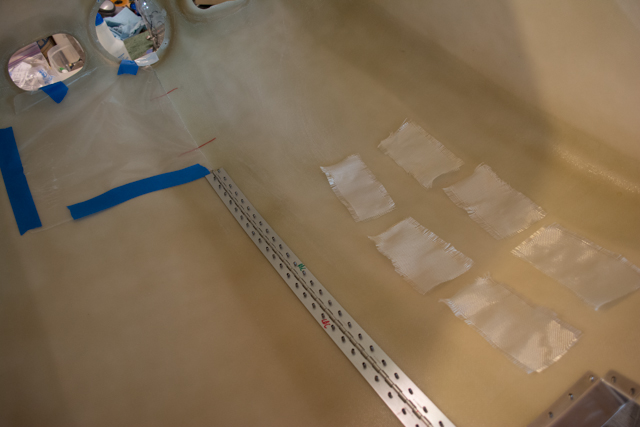
Taping the bottom-front of the cowling halves together to prepare for fiberglass tabs. I ended up shortening the piano hinge on the underside of the center-line to make for easier cowling hinge pin installation/removal, so instead of installing one tab I’ll install two.
Also worth noting here that the 3rd air inlet below the prop hub is not required (or even desired) for the Turbo Aerovee installation, per email from Aeroconversions.
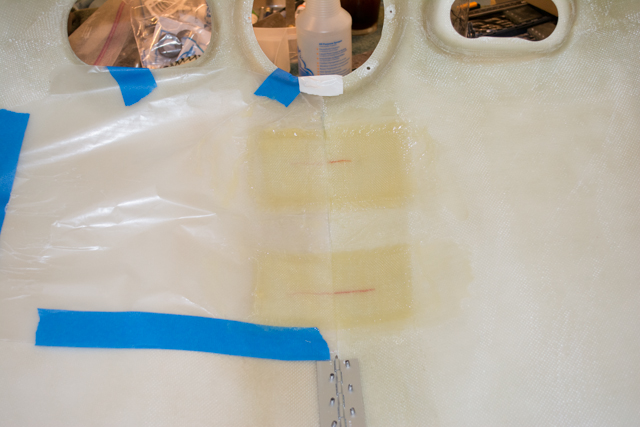
Here’s the cowling after splitting the halves once the resin had cured. I used wax paper on the left side of the cowling so the halves would easily seperate.

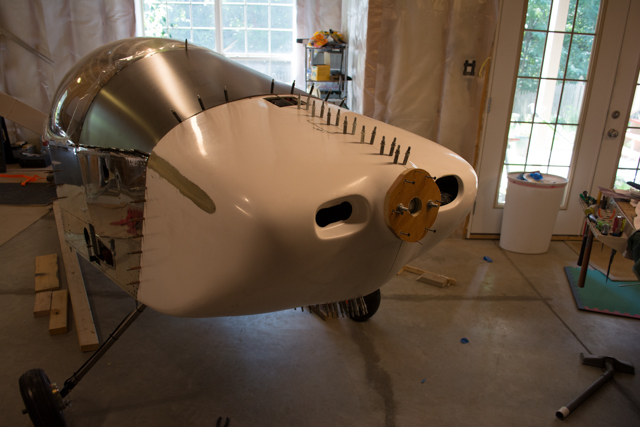
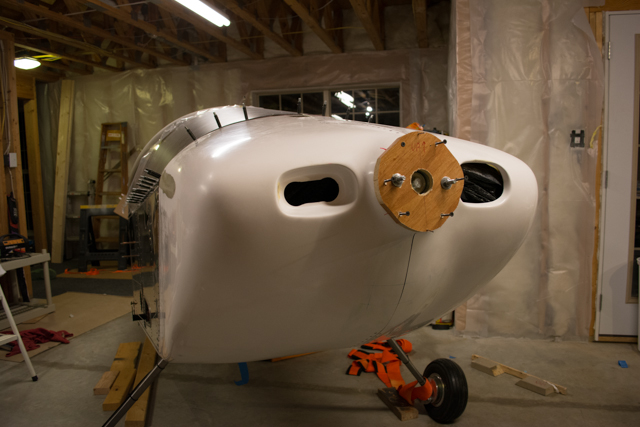
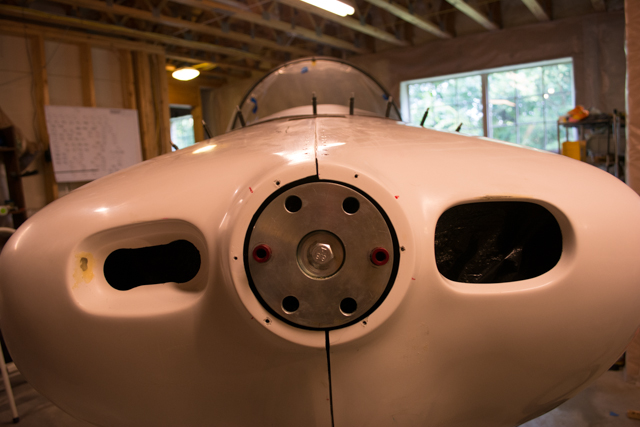
I trimmed up the 2 tabs a bit, then reinstalled the cowling to check on my final fitment. I removed the wooden spacer plate so I could see the true positioning of the cowling relative to the prop hub.
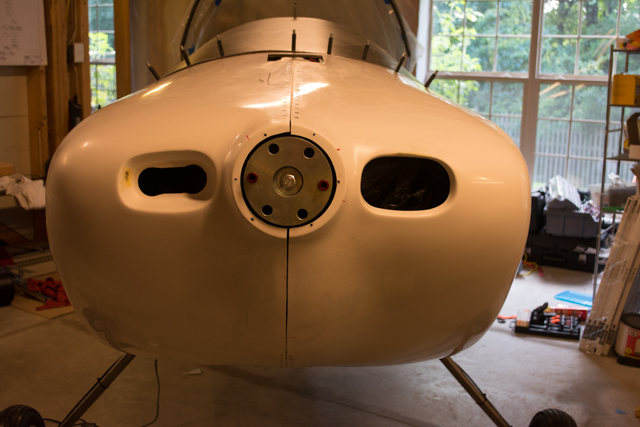


The final fitment of the cowling is excellent! I’ll do some small filling/filing work to clean up the holes and lines, but at this point the cowling is fully fitted.