Total Build Time: 1015 Hours.
This post details my testing and installation of the fuel tank. Included is my method for marking the fuel tank quantity and leakage testing. Also how I cleared debris from the bottom of the fuel tank. Additionally in this post is the installation of my cockpit air vent hoses.
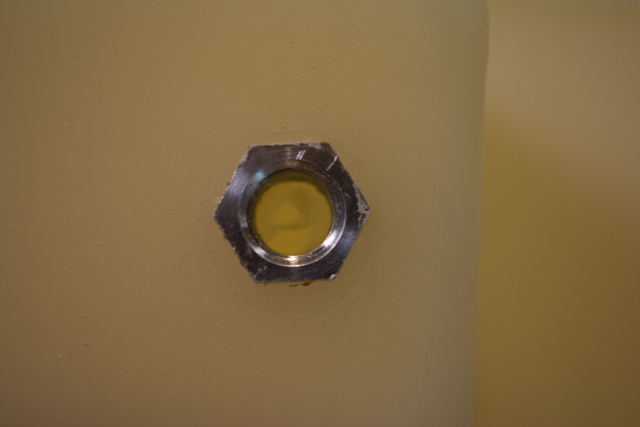
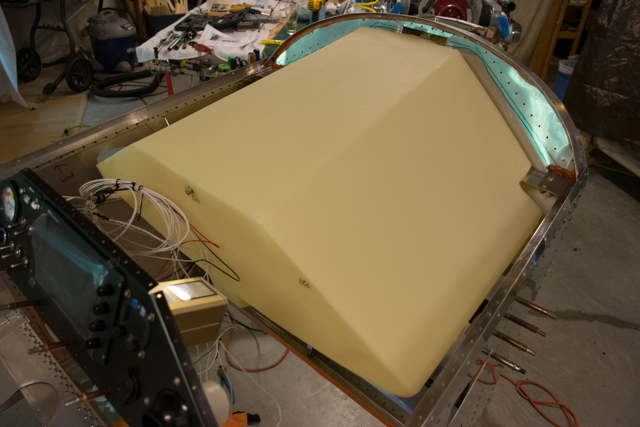
It may or may not be apparent in the below photos, but there was an excess of tank material (from the moulding process) on the far side of the hole in the pictures below.
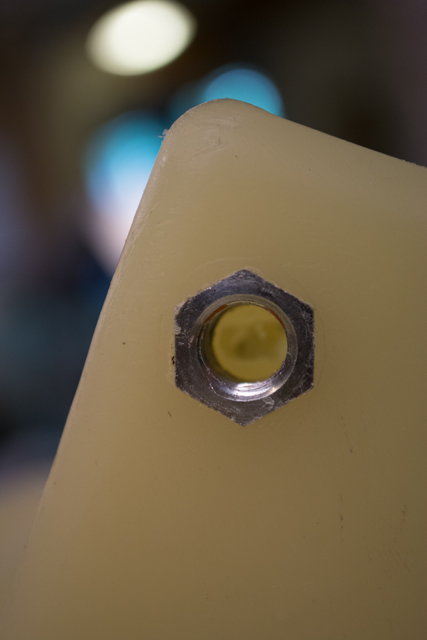
I pulled the excess plastic out using a pick and needle-nosed pliers.

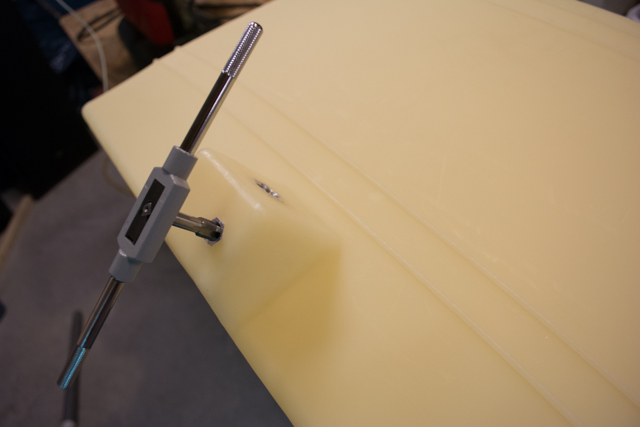
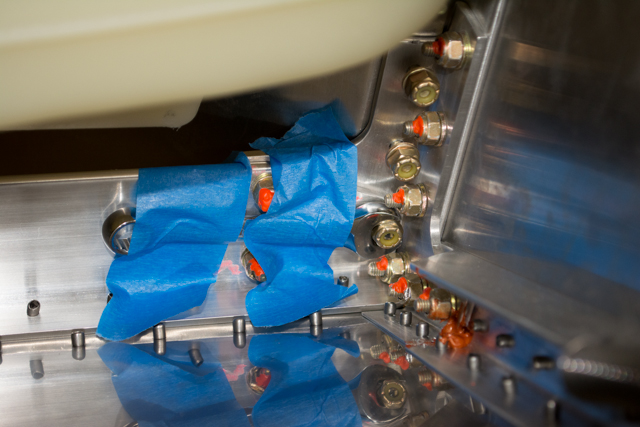
I then cleaned the threads of the fuel tank fittings using NPT taps, per the Sonex instructions (don’t use too much torque!)
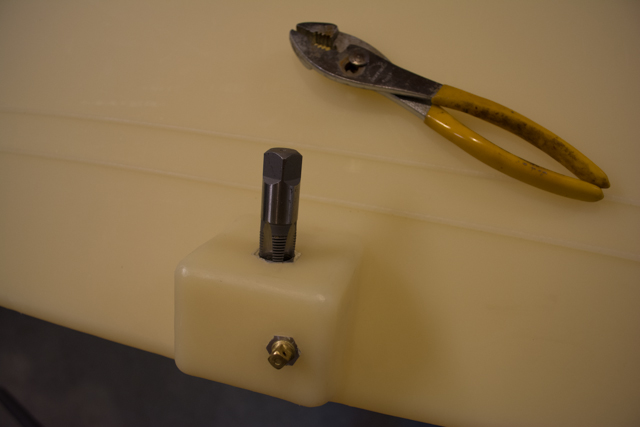
To seal the fuel tank fittings, I used Rectorseal #5 from Home Depot.
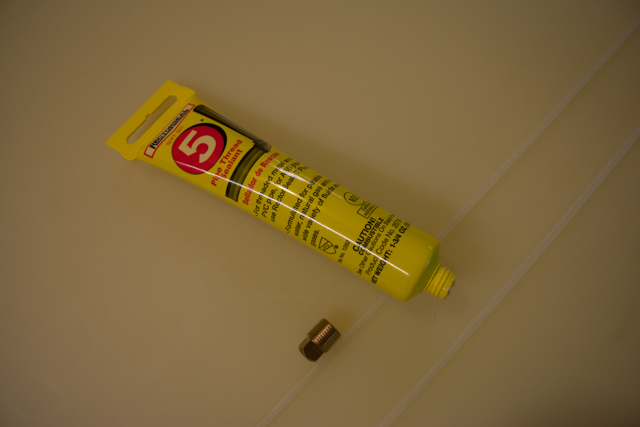
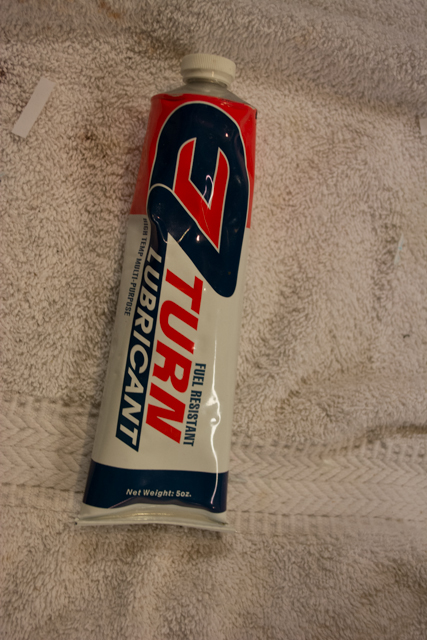
There is some debate over preferred sealants for fuel tank fittings. Sonex recommends teflon paste, but this seems ambiguous. Rectorseal #5 is what I used on the tank, however I turned to a different sealant for fuel lines going forward, something that was rated for high temperature. EZ Turn fuel lube from Aircraft Spruce.
I rinsed the tank out best I could with water after fitting all of the plugs.
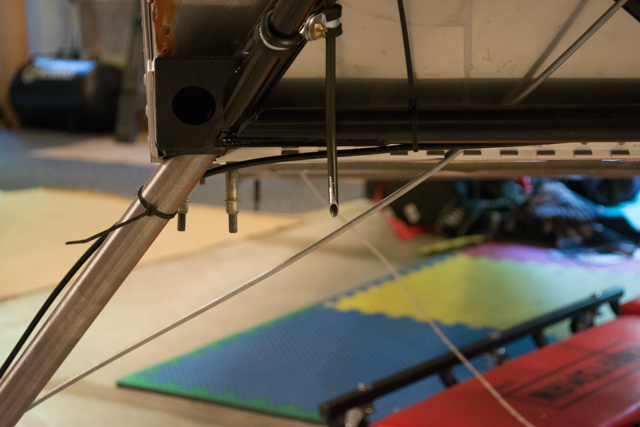
I then (again) fit the tank in order to locate the fuel vent near the top of the tank.
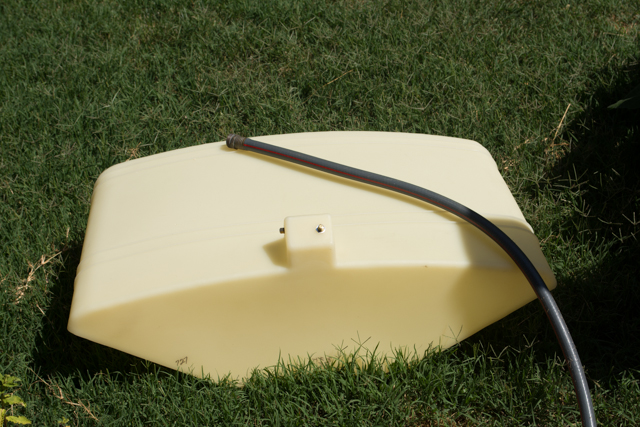
Using steel automotive brake line per the plans, I drilled a hole and inserted a grommet for the fuel vent line (pictured above), then routed it forward of the firewall and terminated it facing the airflow (this brake line is very easy to bend.)
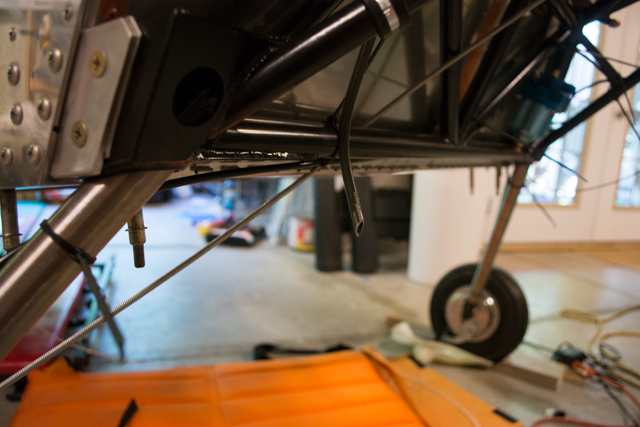
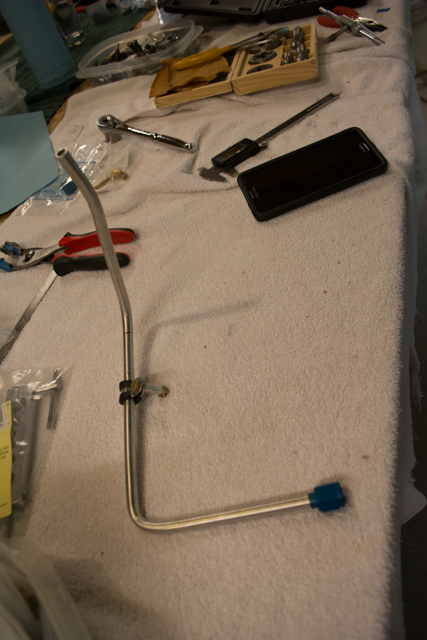
With the tank in its installed position, I cut the fuel line that runs from fuel tank to gascolator (through the firewall.) The installed position of this fuel line is shown in later pictures below.
I then removed the tank, ensured all fittings were sealed, then did a leak test using a balloon on the vent line.
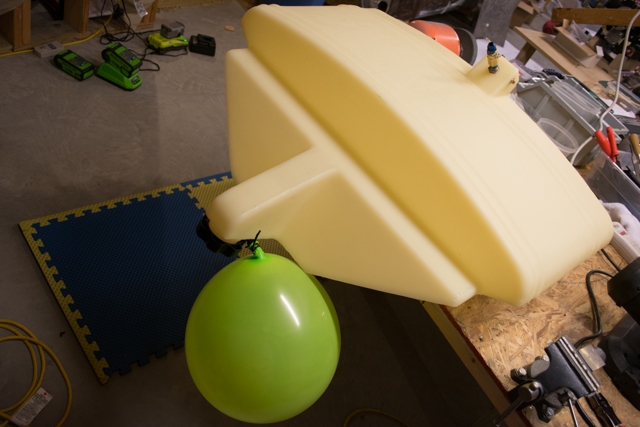
The balloon test passed, which I then followed with a fill of about 1/2 gallon of mineral spirits. This sat in the tank for a week while I took vacation. When I returned, there were still no leaks.
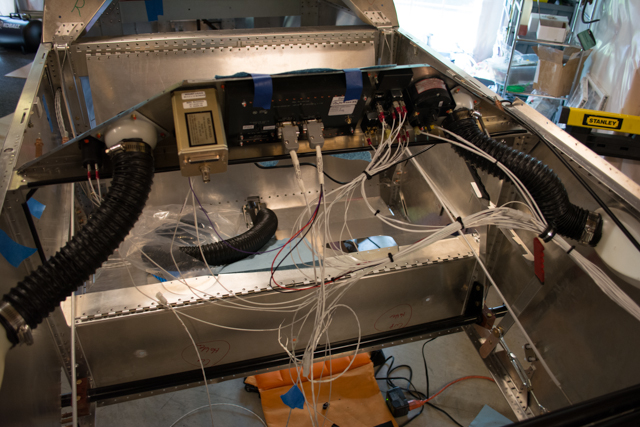
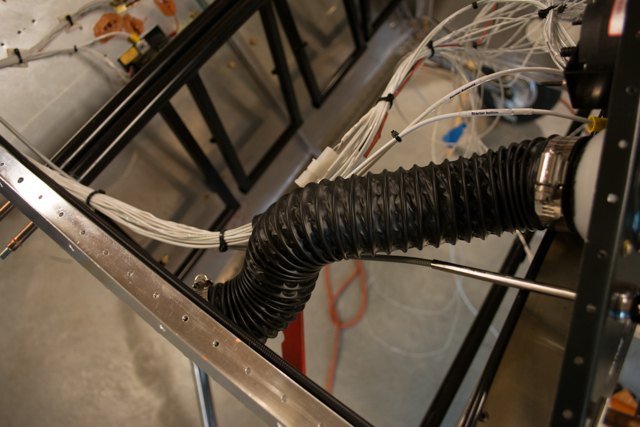
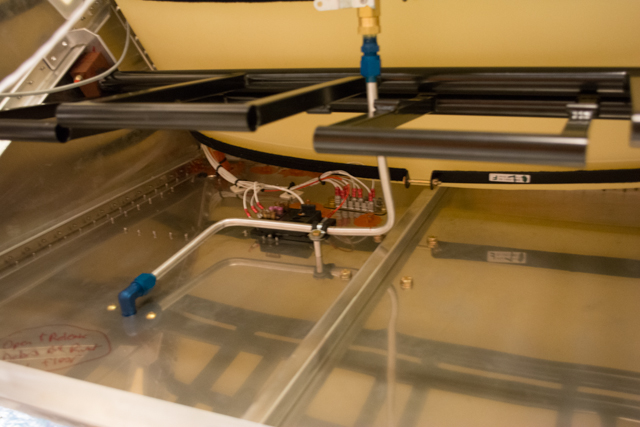
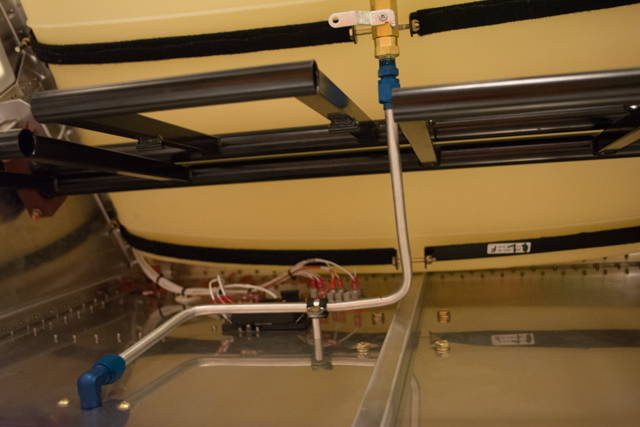
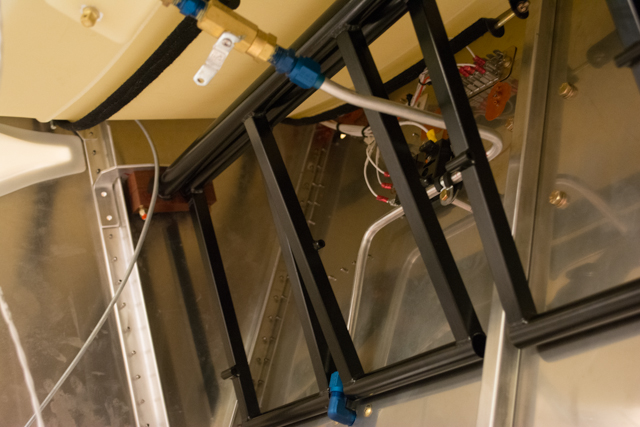
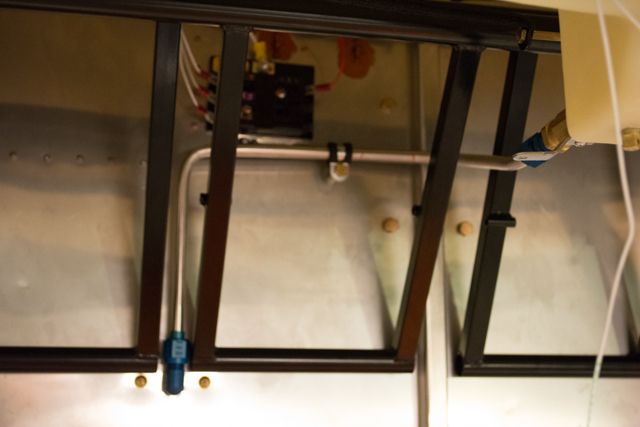
Prior to reinstalling the fuel tank, I installed my cockpit air vent hoses (they are the large black hoses in the pictures below, running from NACA vents in the fuselage side panels to eyeball vents in the instrument panel.)
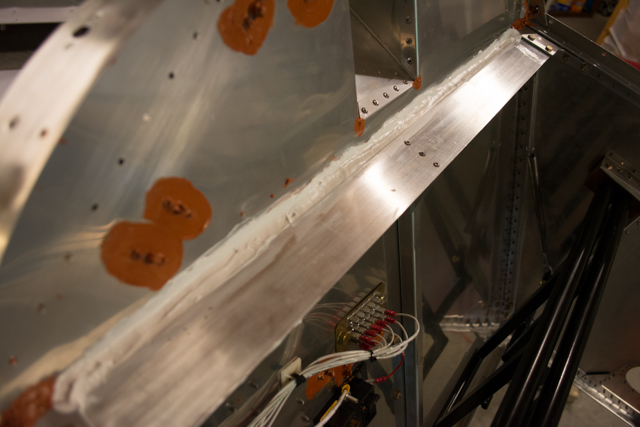
There is a large gap on the cockpit side of the upper/lower firewall junction that just begs to get filled with gunk. I cleaned this out and then caulked it full of… caulk, to prevent further debris/fluid from accumulating here. It will be impossible to access/clean this area after the fuel tank is installed.
Finally, I was ready to install the fuel tank and glareshield for the final time. However the forward-most bolts for the glareshield and fuel tank are in very difficult to reach locations. This proved to be an arduous task. At first I thought it would be impossible to accomplish without help. Since I had not yet installed my forward fuselage floor, I did have maximum access, and this definitely helped. However a few tricks helped me accomplish it alone. I didn’t take a picture of the top side, but I used tape (to hold the bolts down while I inserted washers/nuts from the bottom side) and a magnetic pickup tool positioned on the top of each bolt to keep the washers in place. I then used some wheel bearing grease on the tip of my finger to help position the washers onto the bolts from below. It took me about an hour (and a lot of swearing) just to get washers and nuts onto the 8 most difficult to reach bolts.
It then took me at least another hour just to tighten those 8 nuts onto the bolts. The trick I performed to make this possible without help was to tape a wrench into position on the nut from below while tightening from the bolt above. It is indeed possible to perform this task solo (though I don’t recommend it.)
Finally the fuel tank and glareshield are fully installed… except for the fact that I ran out of CCP-42 rivets! 2500 CCP-42 rivets were provided in the kit, and while I definitely removed (drilled out) my fair share, I also had 100 additional rivets supplied to me due to the aluminum material recall I mentioned earlier in my blog. Still, I ran out of rivets and have ordered 500 more to complete my airframe assembly.
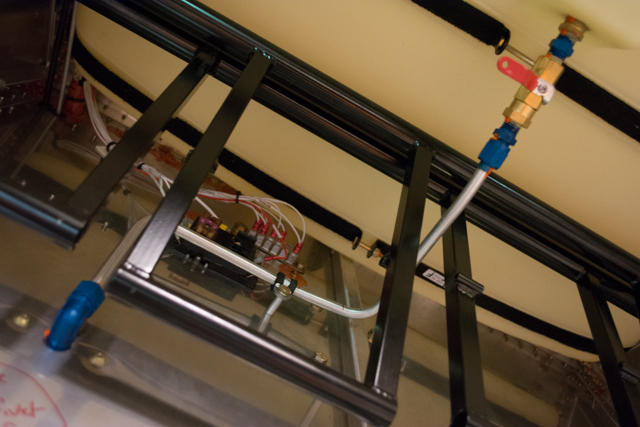
With the fuel tank in its final location, I flanged and located the fuel line from fuel tank to gascolator at the firewall. I used 1 clamp (with a spacer fabricated from aluminum tubing) to securely position its location to the firewall.
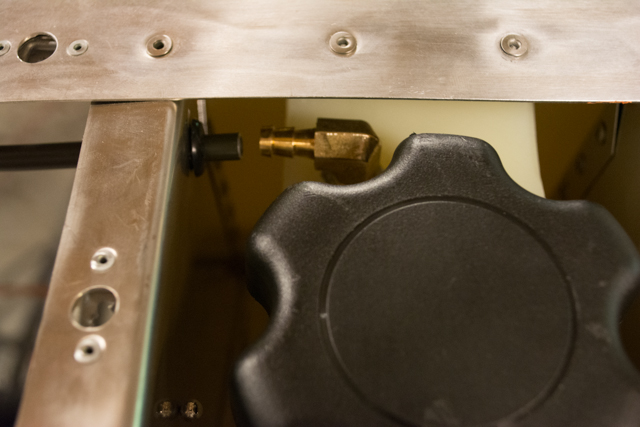
I brushed on some red plasti-dip to the fuel shutoff valve to help identify/grab it.
Some builders have fabricated a watertight plate to help prevent spillage of fuel from running down the fuel filler on the firewall down into the cockpit. Rather than fabricate this myself, I decided to just stuff some clean shop rags into the void and replace them if/as necessary. This will also prevent random debris from entering this area as I progress on the build.
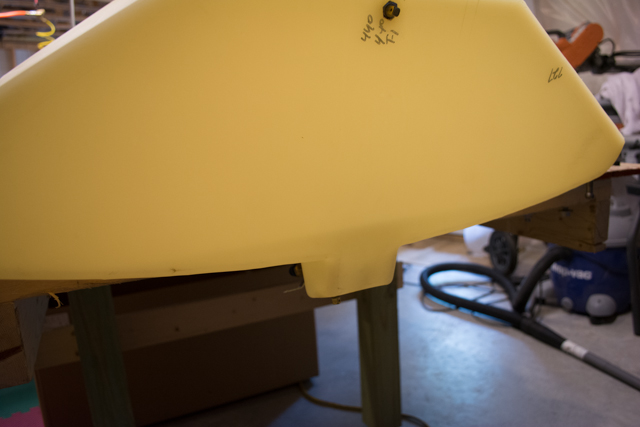
Next comes marking fuel levels onto my fuel tank. I decided not to use an electronic fuel level measurement device for simplicity. I’ll be able to visually check fuel quantity during flight by leaning over and shining a flashlight onto the bottom of the tank.
I began by adding 1 gallon of water to the tank and marking it as ZERO. I alternated between tailwheel-on-the-ground (for measurement on the ground) to level flight (tail on a sawhorse with fwd longerons level).
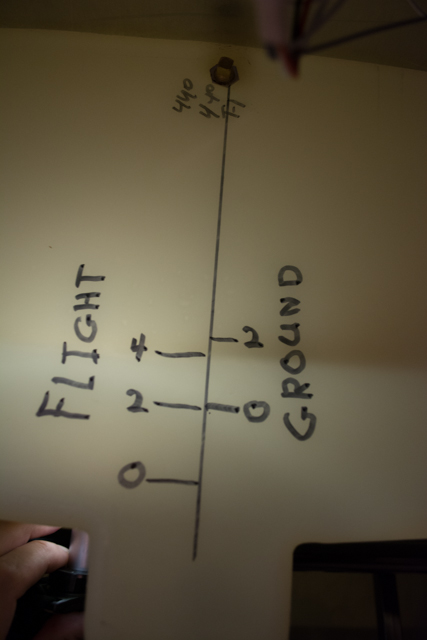
I added 2 gallons at a time until reaching 12 gallons (and the tank filling near the brim when in the FLIGHT configuration.)
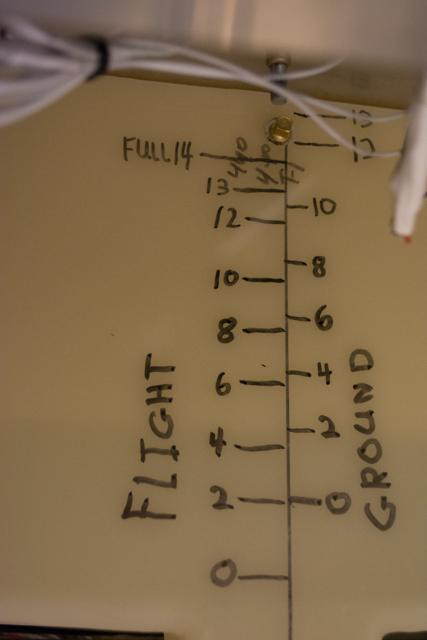
After 12 gallons, things started to get close on the filler end of the tank when in the FLIGHT orientation, so I added 1 gallon at a time until reaching 14 gallons.
At 14 gallons, I lowered the tail to the ground (tailwheel configuration), then vertically marked “FULL” on the area of the fuel filler. When looking down the nozzle, this tells me how far up the filling tube (when on the ground) I can fill the tank before I may run into spillage once airborne (level flight).

It’s likely that I can still add some fuel above this line without spillage, but for now this gives me a baseline.
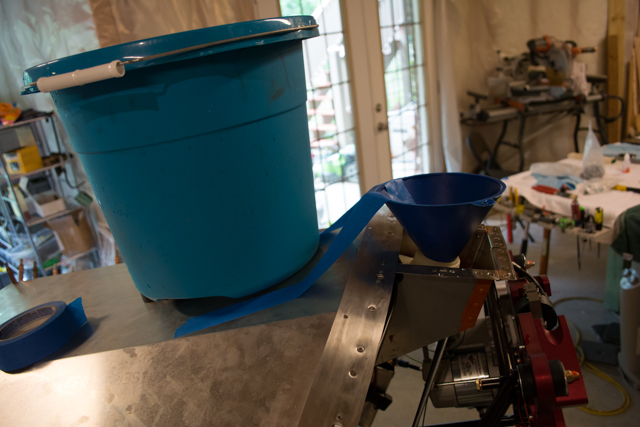
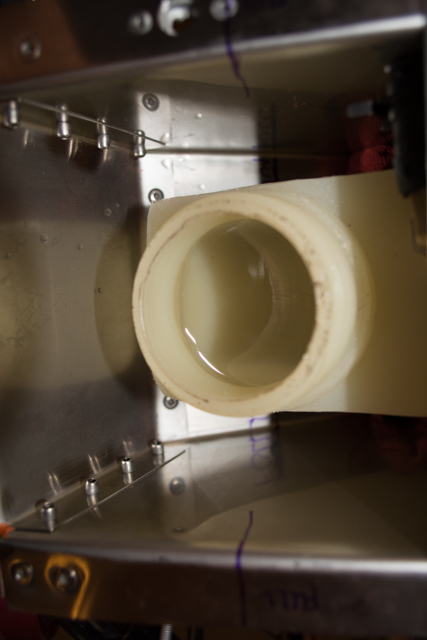
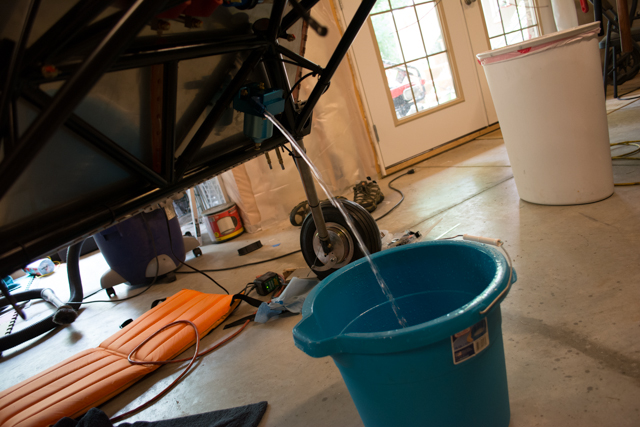
Next, I drained the tank of the water. I let it flow through the gascolator, so that I could check the gascolator screen for debris once done, along with checking for leaks in the system.
I checked for debris in the gascolator and found none, much to my surprise.
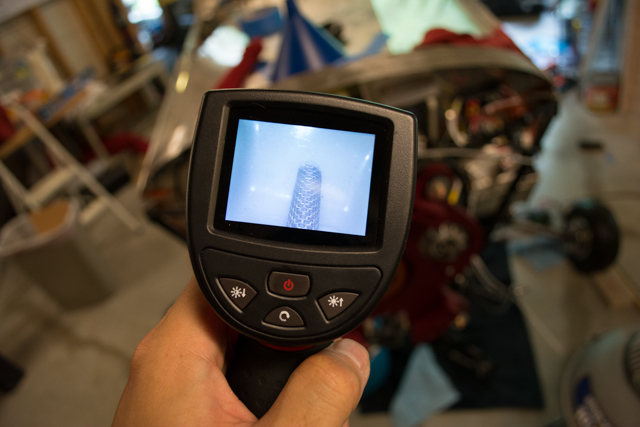
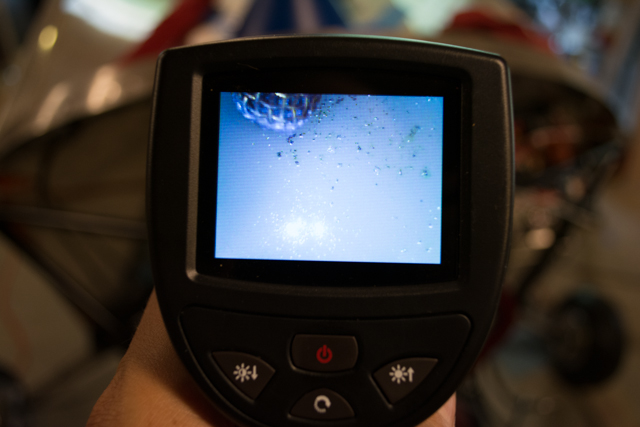
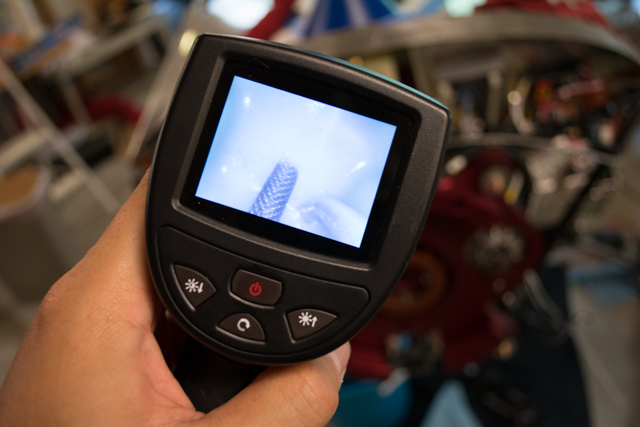
However I then inserted a boroscope probe (Harbor Freight) into the tank and did find some debris at the bottom.
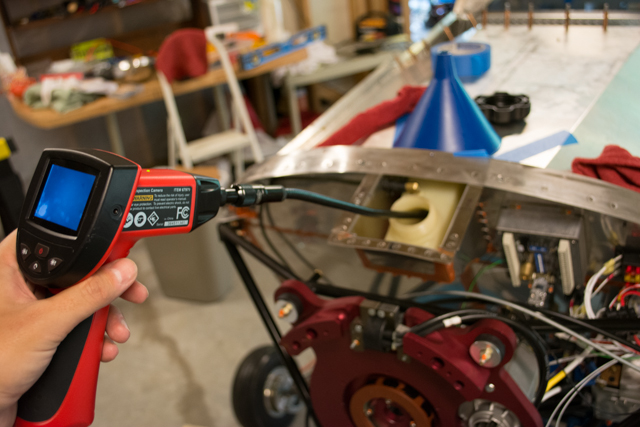
To vacuum out this debris, I took some spare aluminum tubing and bent the tip to create a suction tube that I can maneuver in the tank.
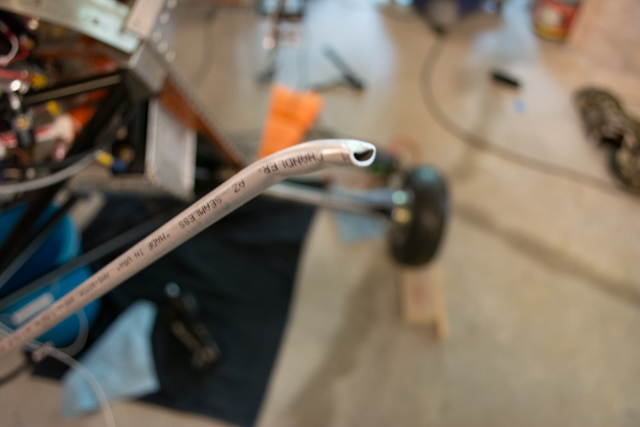
I then slid the hose of my shop-vac over the tube and used my boroscope probe to help guide the tip. I used my hand over the end of the hose of the shop-vac to control suction in the aluminum tube (i.e. making a fist over the tube would give me maximum suction, and releasing my hand allowed me to re-locate the tip of the tube in the tank without it sticking to the sides.)
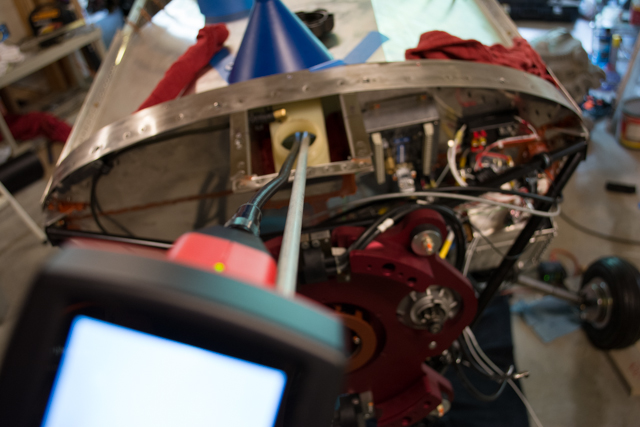
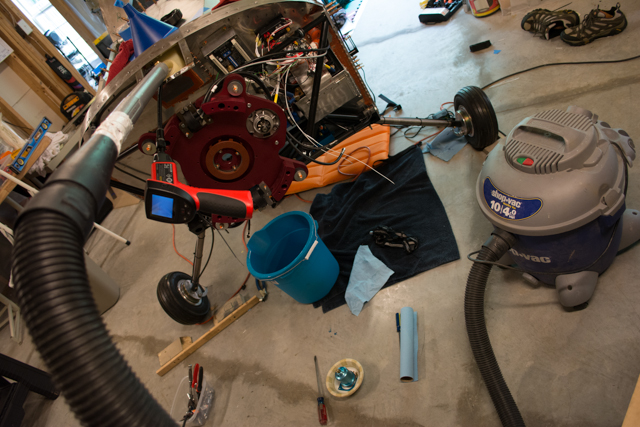

End Result: No more debris in the bottom of the tank!