Total Build Time: 846 Hours.
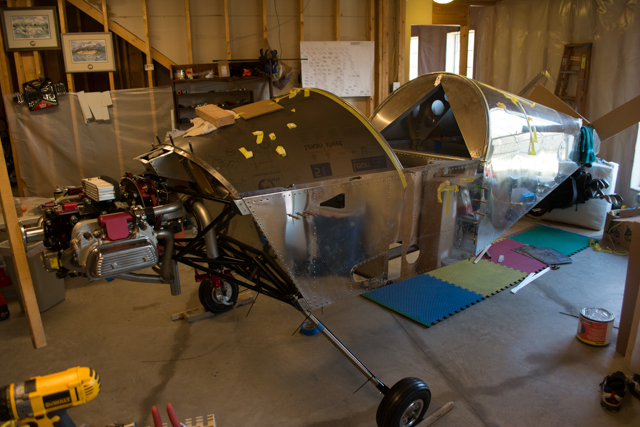
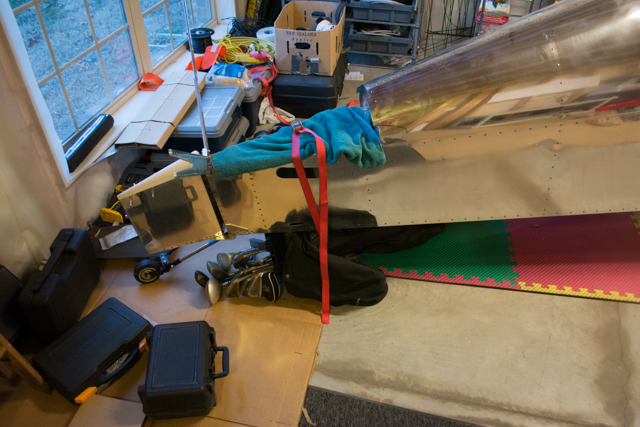
So I had an engine resting on a table next to the airframe, and I took these pictures while trying to decide how many people I should invite over to help me mount the engine to the airframe.
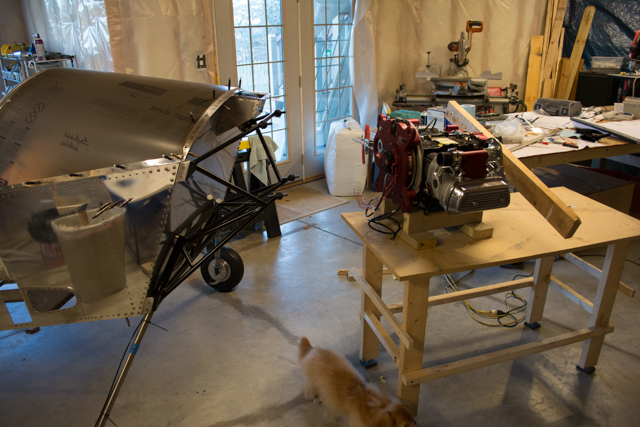
Upon looking at those photos, a thought dawned on me, and I moved the table a little closer to the airframe..
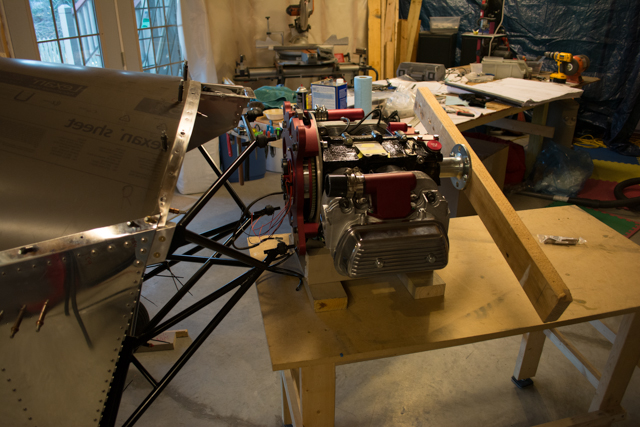
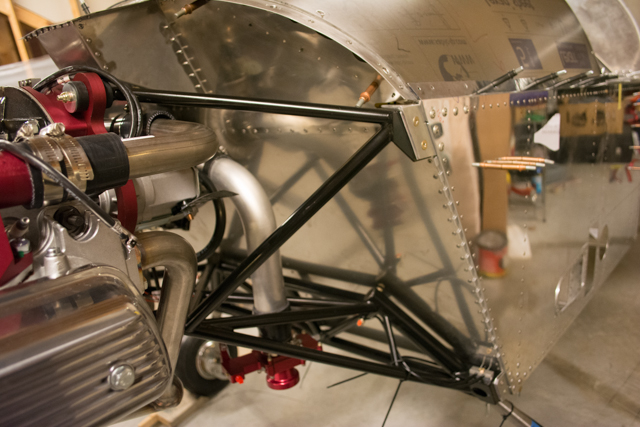
The table height was almost perfect to the height of the engine mount! I put some shims under the tail-wheel to “tip” the engine mount into the engine block. This allowed me to effectively “plug” the airplane into the engine without additional help!
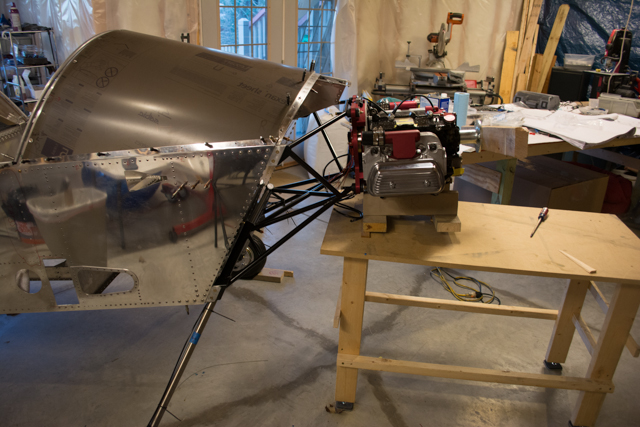
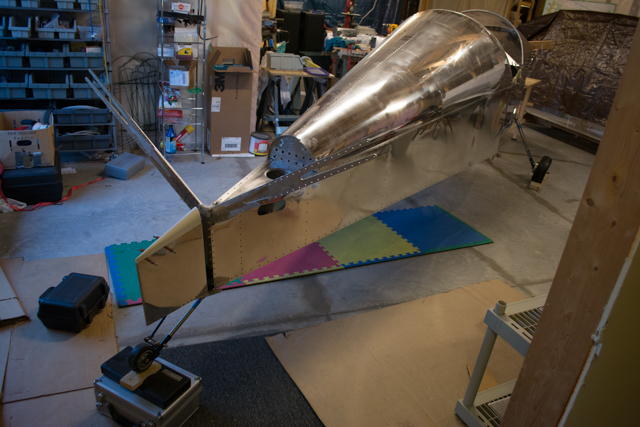
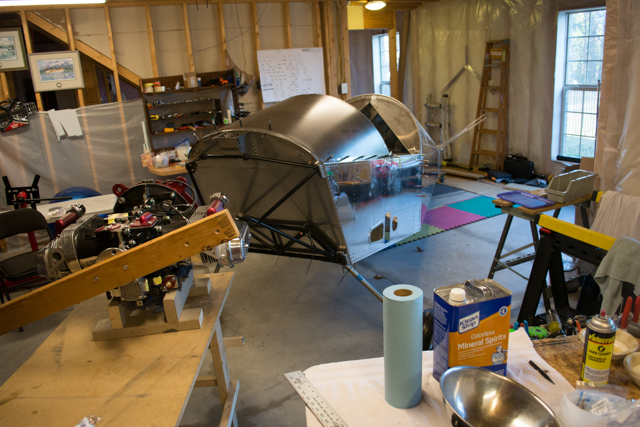
With the engine on the engine mount but without the tail mounted to the fuselage, the balance was barely in favor of keeping the tail on the ground. If i applied just a little pressure with 1 finger down on the engine, the plane would start to tip forward. I added ballast to the tail to keep it down.. golf clubs strapped in place. Not ideal, but it worked, and allowed the fuselage to tip an inch or 2 before picking up the golf bag, which gave me fair warning if I had too much weight in the front.
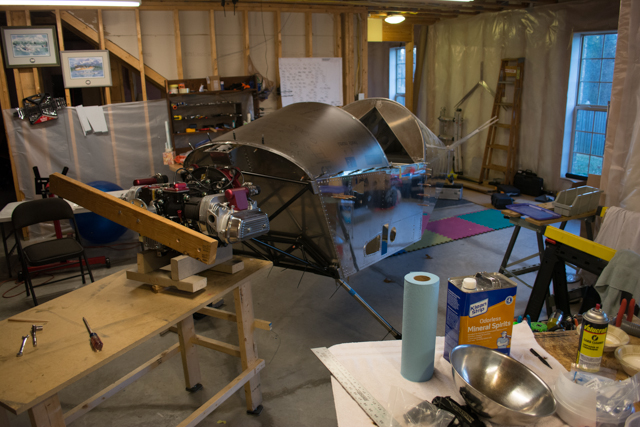
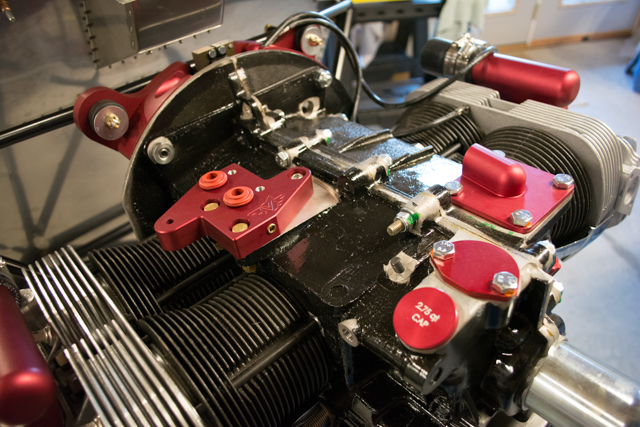
Once the engine was mounted, I took the appropriate measurements to locate the correct position/orientation of the prop hub relative to the fuselage. I found that I was very close, but would need a very slight adjustment by adding a washer under each of the top engine mount bushings. This would require removal of the engine however, so my plan at this point is to mock up the engine with as many accessories as I can (intake, exhaust) so I can start planning my firewall accessories. Once I know how much room I have to work with on the firewall, I can make a plan, remove the engine, then install the accessories (another post.)
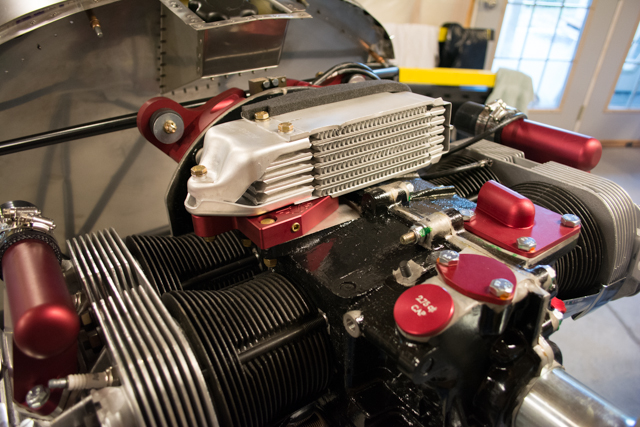
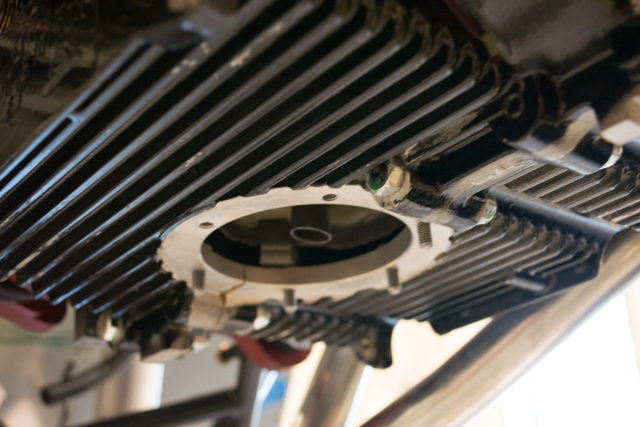
I then proceeded to install the oil cooler.
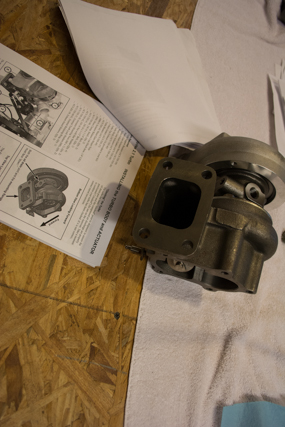
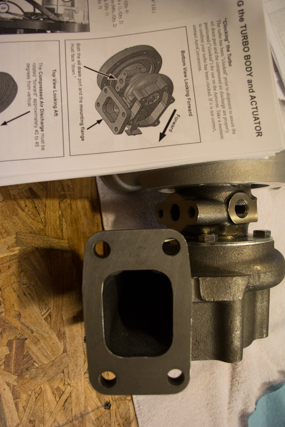
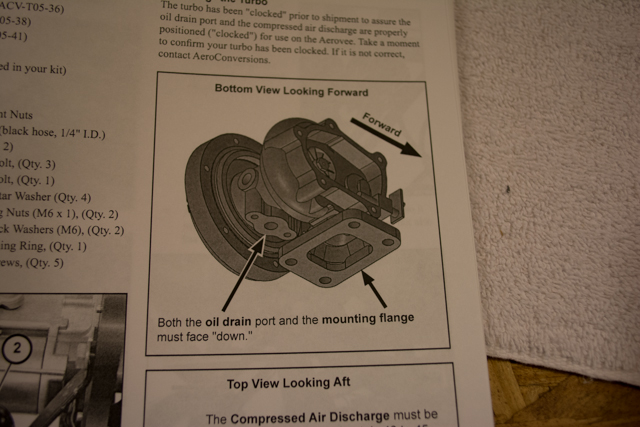
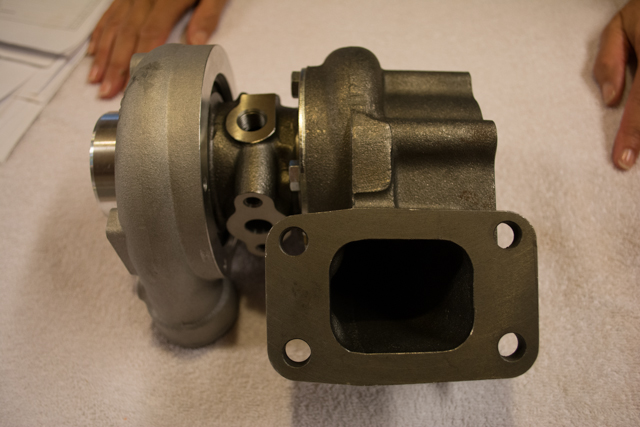
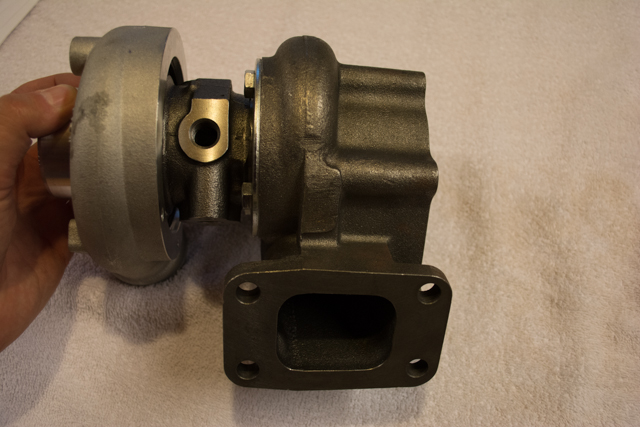
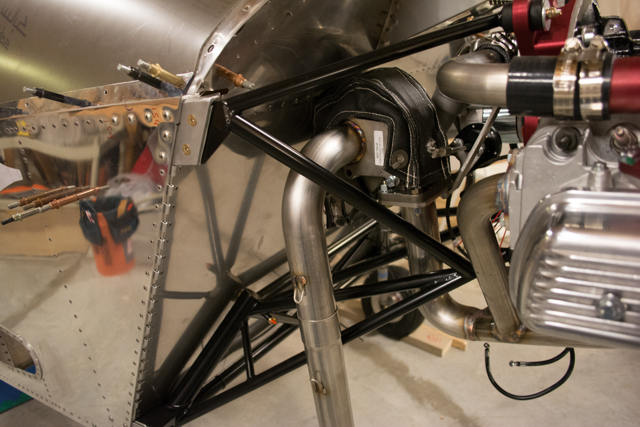
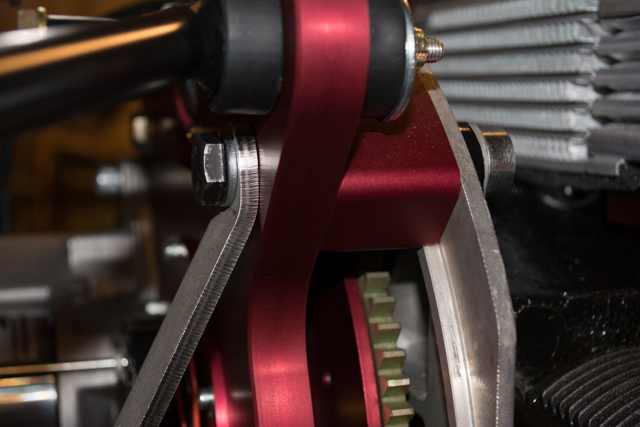
After this, I decided to trial-fit the exhaust manifold and turbocharger. I quickly discovered that the turbo was sent from the factory “unclocked”, meaning that it would need an adjustment made to correctly align the parts of the turbocharger. In the following pictures, the center part of the turbo is not in the correct orientation relative to the top and bottom portions. It’s easily fixable, but just requires a special tool I”ll need to buy (heavy duty snap ring tool.)
The issue with the turbo is something I can handle later, so I continued with installing the exhaust manifold.
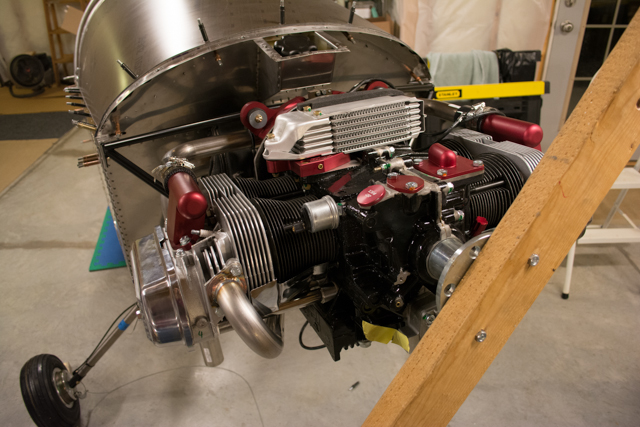
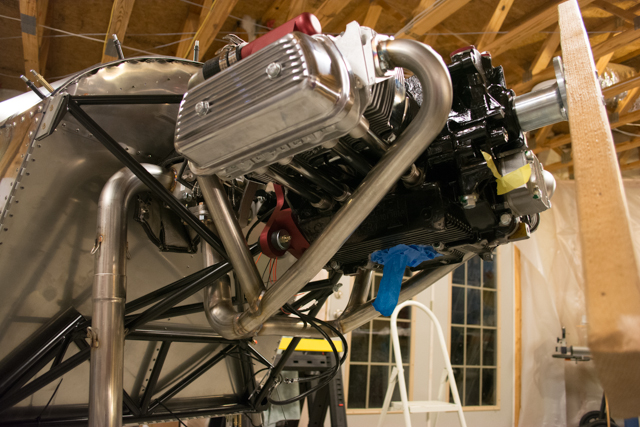
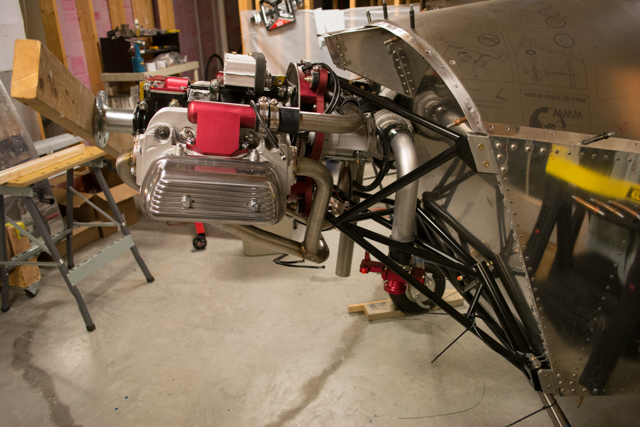
Then the intake manifold.
These 2 pictures show just how much room on the firewall is taken up by the Turbo and exhaust system. Basically the entire right side of the firewall is filled, and the left side is partially intruded upon by the intake. It will take careful planning to locate everything I need to on the firewall.
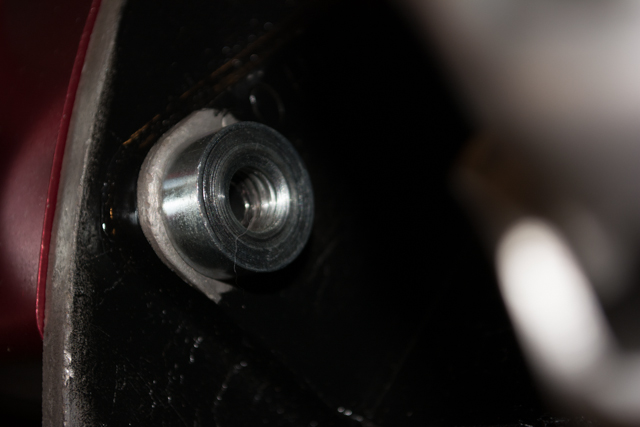
The bolt that holds the turbo support bracket to the accessory plate was too short in my opinion.
The picture below shows how far the provided bolt goes into the the engine.
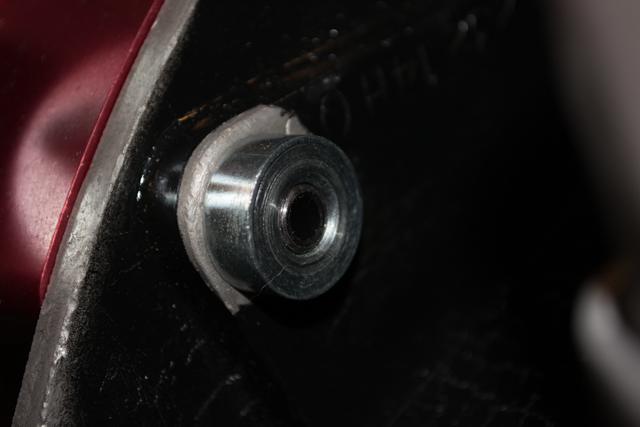
The picture below is how far it SHOULD go in. I replaced the provided bolt with a longer bolt to solve this problem.
Oil filter screen installation.

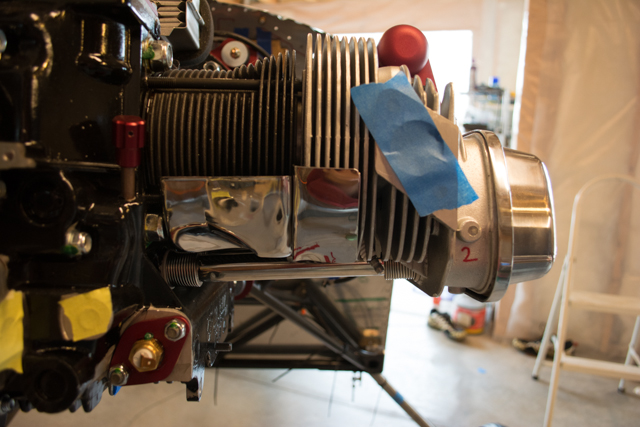
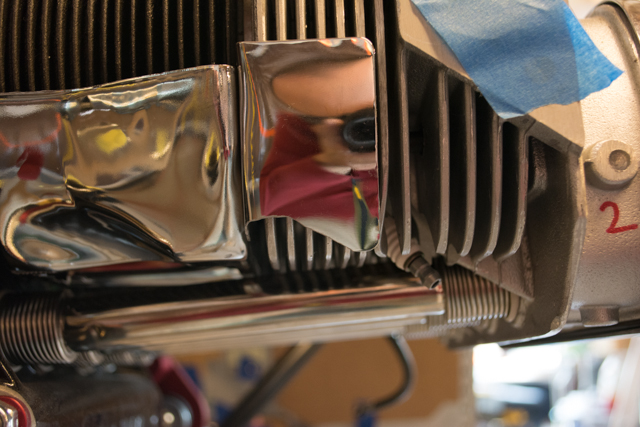
I had some contact between the exhaust manifold and the “super tin” on the left side of the engine. I trimmed the super-tin to clear the manifold.
Next for the engine comes firewall planning/prep, before removing the engine to re-shim the engine mount.