

Total Build time: 820 Hours
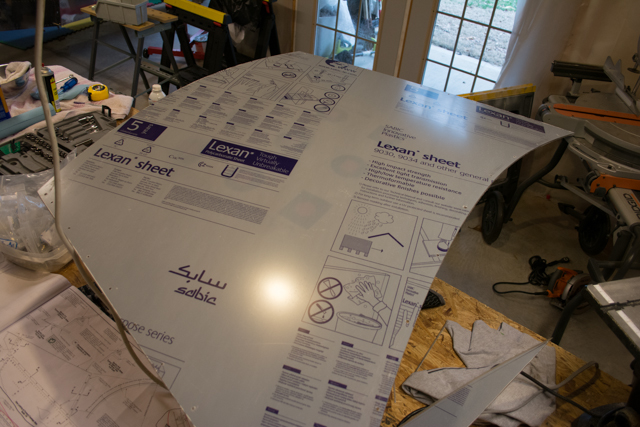
With the fuel tank and glare-shield temporarily in place, I turned my attention to the Polycarbonite (Lexan) windshield. The typical (plans) method is to fit the bow first, then cut the windshield to fit the bow. Since I am tall, I decided to follow a method advised by some other Sonex builders, which was to first fit the windshield itself using the maximum amount of material provided in the kit, followed by installing the supporting windshield bow to match the windshield. The end result (hopefully) being a slightly taller windshield (and thus canopy) location.
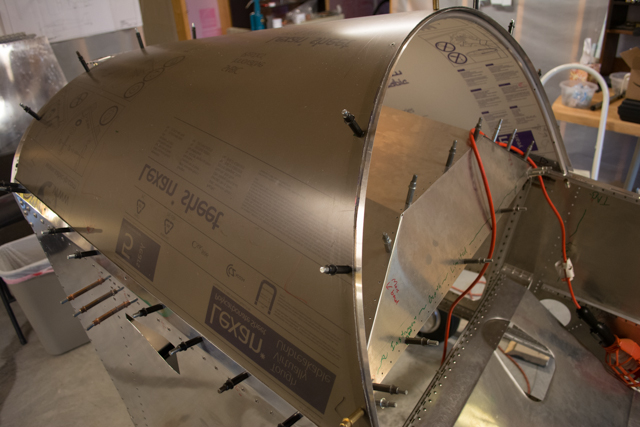
Interestingly, the windshield material itself is flat. It is cut into a sort of trapezoid that is then “flat wrapped” along the firewall and windshield bow to create a rounded windscreen.
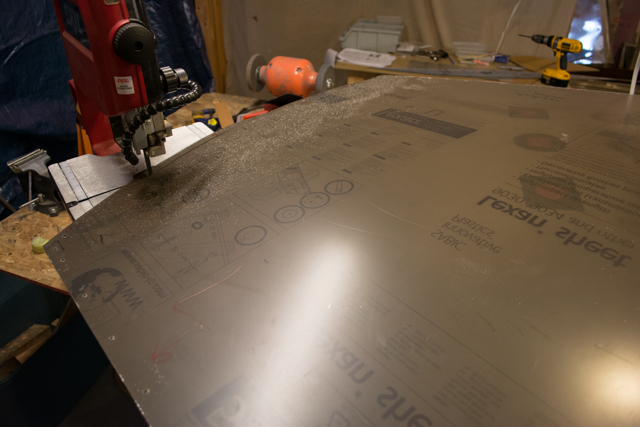
My process began by trial fitting the windshield and noting how much “extra” material there was. My plan was to cut zero material from the aft end of the provided material. This meant that I would progressively make angled cuts beginning at the forward (firewall) end of the windshield and ending just ahead of the windshield bow location. I made the cuts using my band saw.

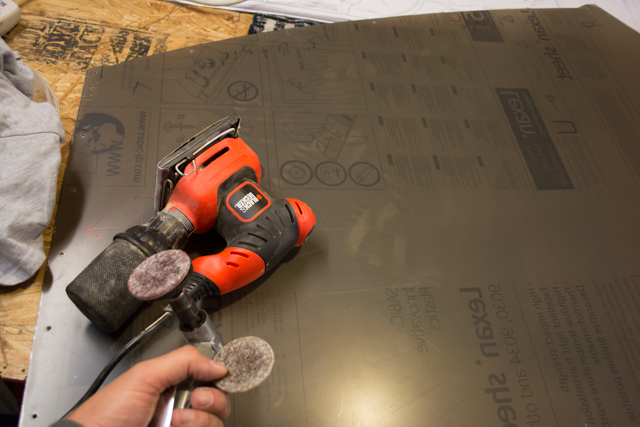
I used several different tools in order to finish the cut edges. Usually I’d start with a vixen file to remove large amounts of material and even out the edge. Then I found that my small scotch-brite discs in my air grinder did a great job of both removing material and smoothing the edge at the same time. I”d finish each edge with an orbital sander. I imagine a belt sander would work equally as well.
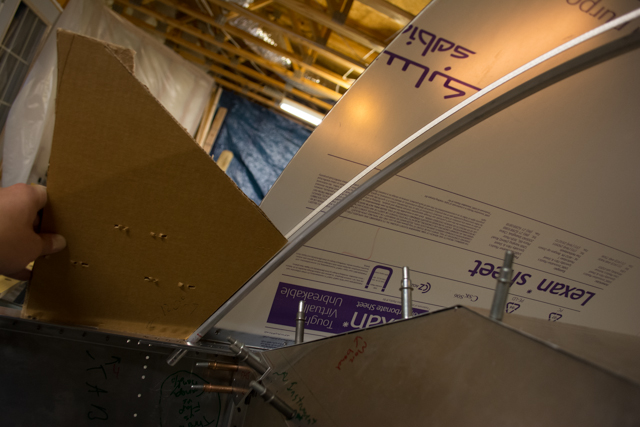
As for the windshield bow, I needed to put additional bend into the bow in the kit in order to easily insert/remove it from the holes in the upper longerons. I opened up the longeron holes slightly to allow smooth insertion of the windshield bow. I then made an angled piece out of cardboard so I could easily measure the angle of the windshield bow as I progressed through fitment. I’ll note here that the process of installing the windshield took dozens upon dozens of trial fitments and minute adjustments. I spent many hours fitting, sanding, and re-fitting the windshield. The flat-wrap nature of the windshield means that any excess material will cause the curved edges to bulge, and a lack of material will create gaps and/or poor holes for hardware. I took my time.
I put a bend into the forward side panels for the windshield using a block of wood and a rubber mallet. The upper longeron helped make a straight bend.
The black 5/32 clecoes from the build of my main wing spar came out from storage during the windshield fitment, as they were a good size for the 8-32 screw holes used here.
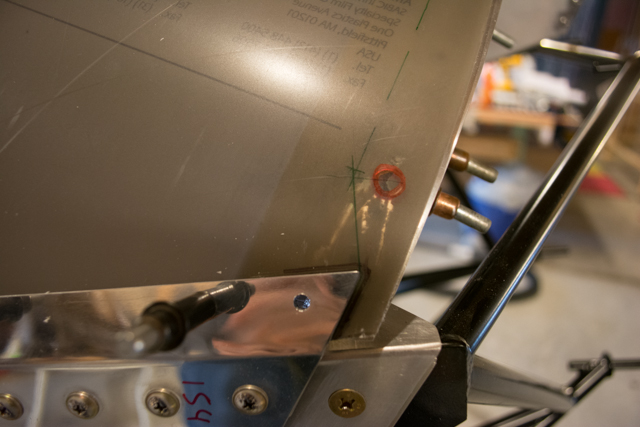
I needed to make an adjustment for the location of my forward windshield strap (along the upper firewall) in order to allow for the engine cowling fasteners. There is supposed to be a 1 inch gap between the forward edge of the strap and the windshield, which is referenced from the fuselage side panels. I needed to make these 2 lines meet, so I decided put a slight angle into the windshield at the outer edges. To those Sonex builders that end up with fuselage side panels that are exactly 1 inch from the forward edge of the windshield strap (with the glare-shield and fuel tank in place) I say BRAVO. I blended an adjustment of about 1/4 inch (represented by the green line below.)
The windshield bow was a chore in itself, needing to combine the arc of the windshield plus the arc of the bow plus a strap in between them.
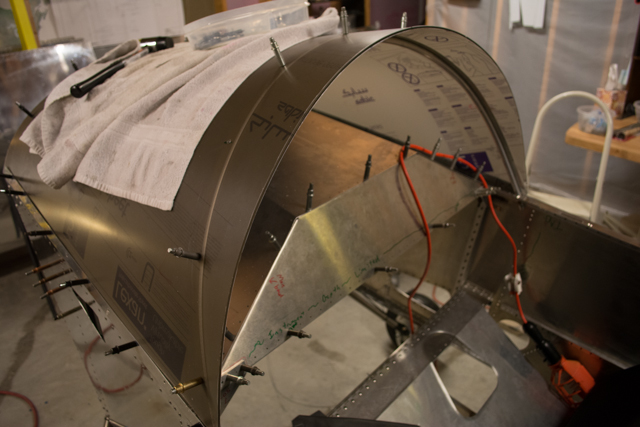
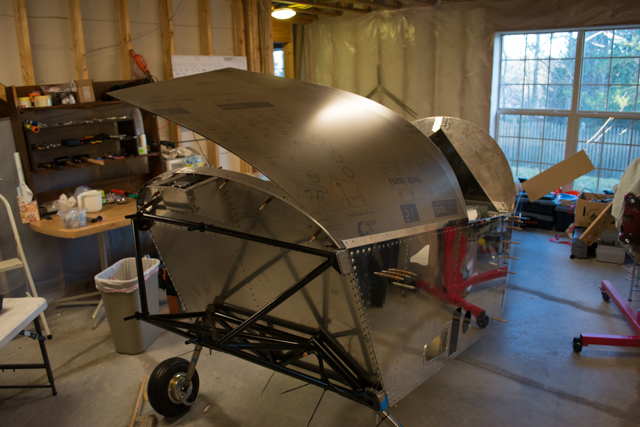
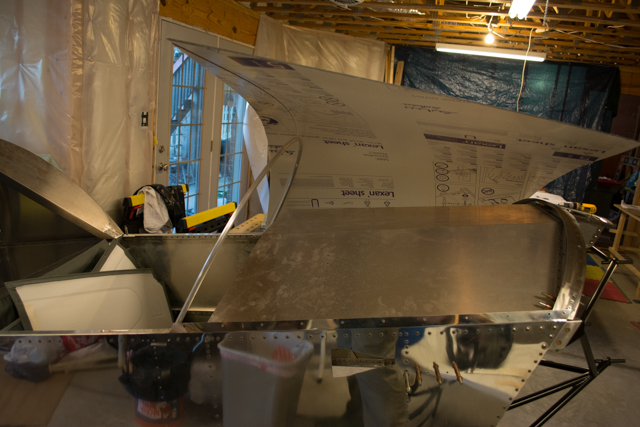
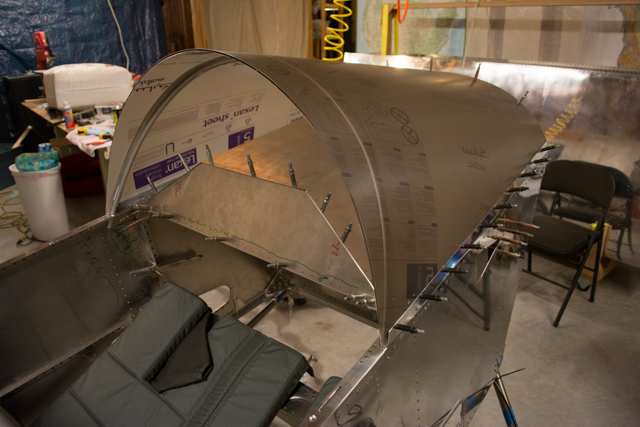
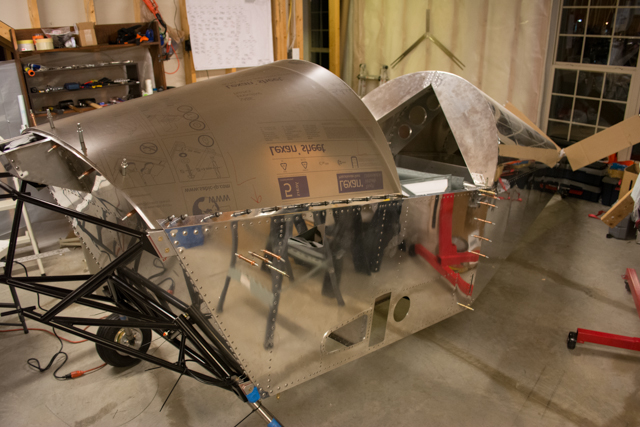
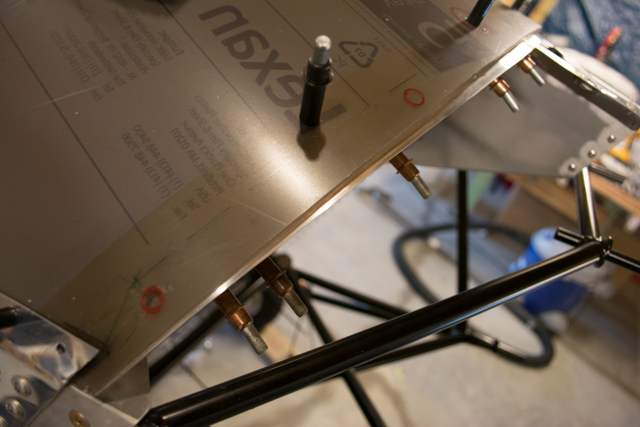
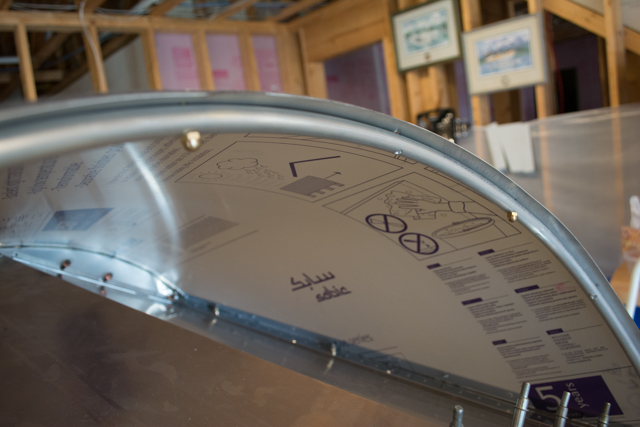
The following pictures show my final cut and finished polycarbonate windshield in place. The black (5/32) clecoes in these pictures tell a small tale of their own.
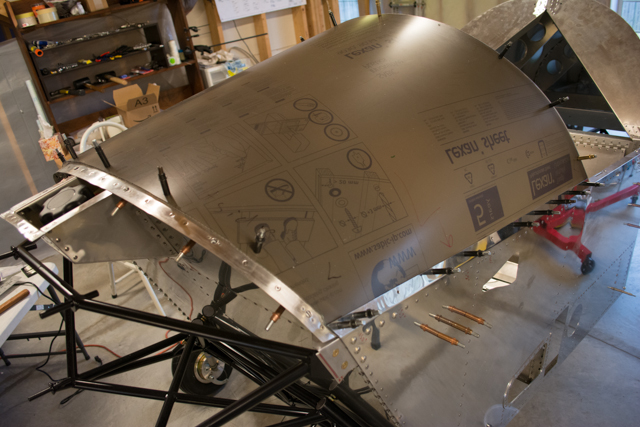
Per the plans, there should not be black clecoes (5/32″) along the windshield bow. This is because 8-32 machine screws (4/32″ or 1/8″) are to be inserted into tapped holes in the bow. I missed this step and drilled the holes over-sized. I had 2 solutions to this issue: #1 is to lengthen the bolts and use nuts to secure them. #2 is to use larger screws and tap the bow to hold them. I decided on option #1, since it would allow me to use lock nuts, and since #2 could still be used at a later time if necessary. The following pic shows acorn nuts holding the windshield bow screws, though I will likely use low profile nylon lock nuts in the final assembly.
Another issue I ran into was the forward most screw along the fuselage side panels. This screw goes through the side panel, windshield, and forward windshield strap. My issue was that the stainless steel upper firewall was too close to the hole on the right side of the airframe (the left side was close but OK.) My solution was to cut away a small amount of the SS firewall to allow room for a nut to secure the windshield. I will fill this gap with fireproof sealant. I don’t have a picture as of this posting but future pictures of the completed firewall will show a fireproof seal.
I countersunk the windshield for the forward windshield strap and the windshield bow.
However for the fuselage side panels, I ran into an issue with how to dimple the side panels since they were already installed. I tried a few methods on some scrap including my Sonex simple dimple die, using a punch onto the head of a screw, and others. I finally decided that I would secure my windshield along the fuselage side panels using AN525-832 machine head screws. This means no dimpling. I will post a picture once I complete final installation of the windshield.