

Total Build Time: 722 Hours.
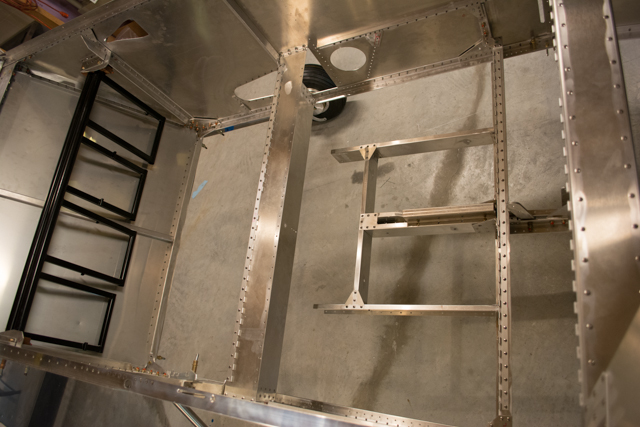
Finally, the big day has come. My wings have been sitting on a rack in the corner of my basement for the last 7 months. Now I will finally be able to pull them off the rack put them onto the plane for the first time. To prepare the fuselage for this I removed the forward and aft floor panels, allowing me maximum access to the inside of the fuselage. It’s important to be sure that the longerons are firmly secured via the splice plates (bolts, not just clecoes) with the floor removed, since they will be all that is holding the forward and aft fuselages together during this process.

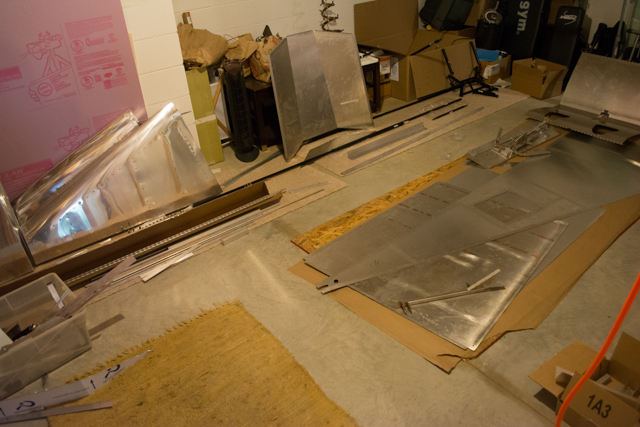
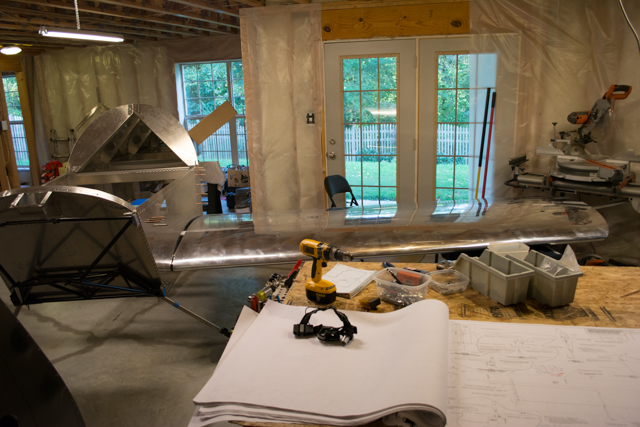
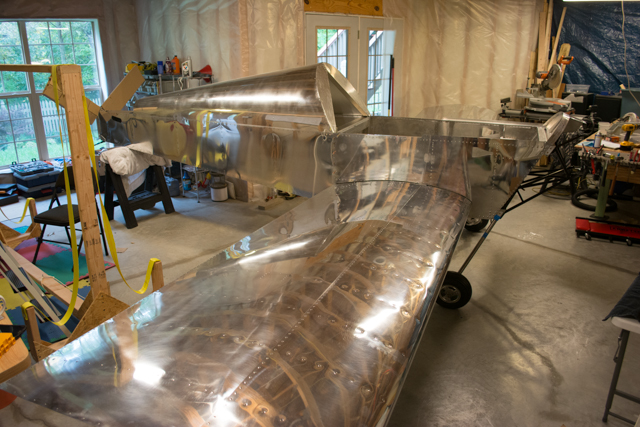
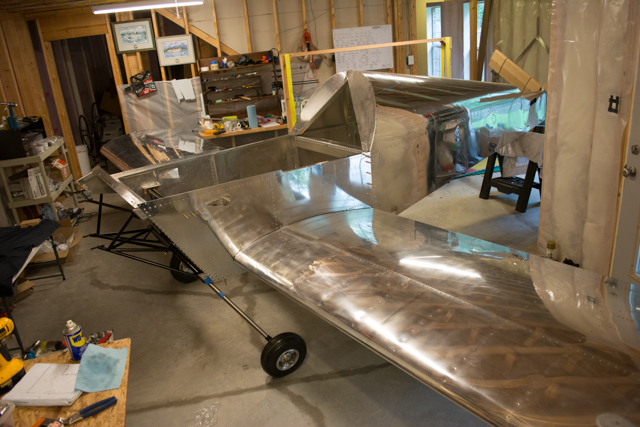
Here is a shot of most of my parts that are basically complete, but are not currently installed on the airplane. Parts include the fuselage floors, the stabilators and ruddervators, rudder, glare-shield, seat pan, instrument panel, control sticks, and flight control pushrods.
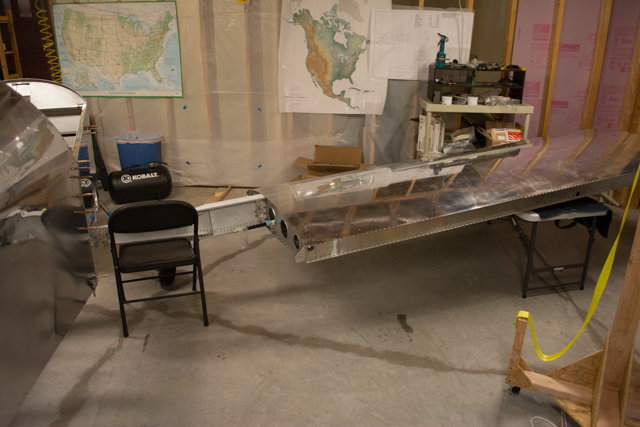
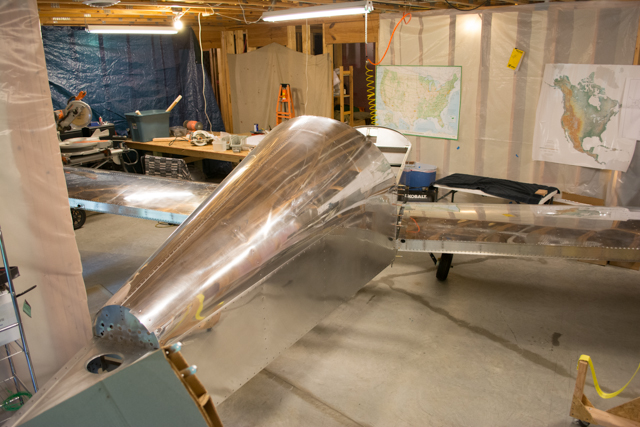
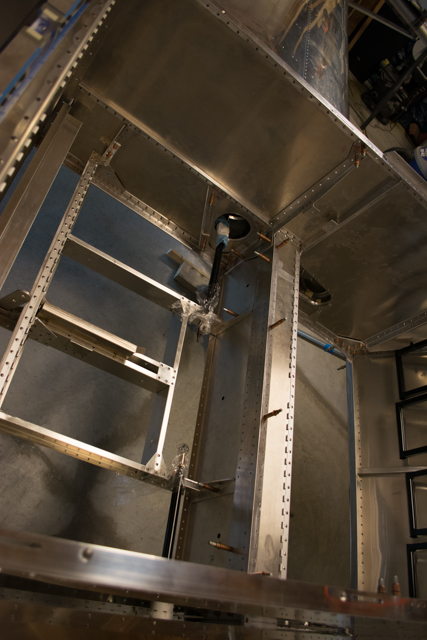
I then removed the aft spar tunnel and its associated parts.
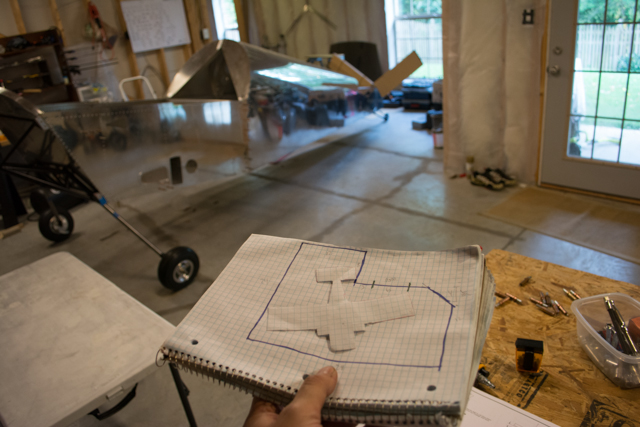
One last check of my drawing from this post back in December 2013. This will be the moment of truth to find out if I actually have enough room in my basement to insert both wings.
I was working alone for this process, so there was a lot of shuffling around, moving one thing at a time. Here is the wing rack positioned on the left side of the fuselage (flaps and ailerons have been removed from the wing.) I lifted out the left wing and placed it next to the fuselage.
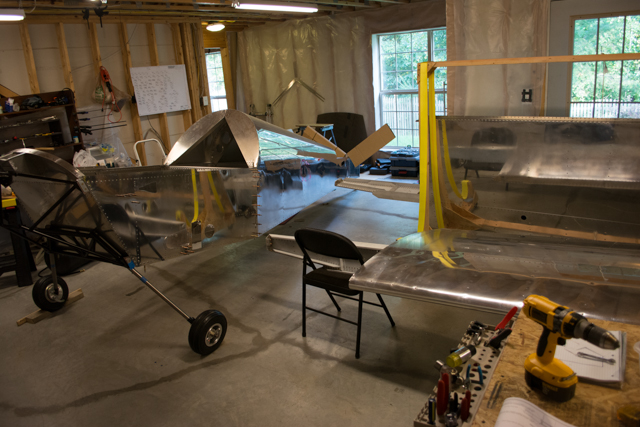
Bit by bit I slid in the left wing. The hardest part at this point was actually getting the wing rack with the right wing still on it, around to the other side of the plane.
Left wing is positioned, time for the right wing! It took almost every inch in my basement to make this part work.
It fits in my basement! YAY!!
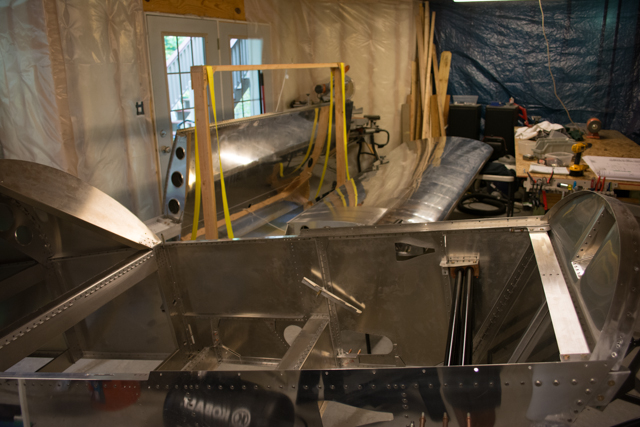
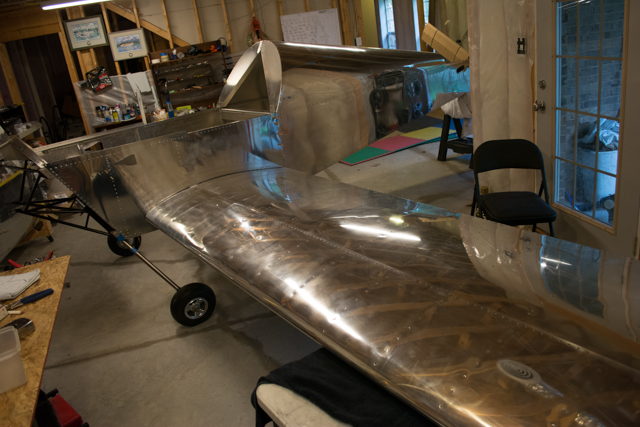
I pinned the spars together via the alignment holes, and shimmed everything level per the plans. The poured concrete floor in my basement is very level, and made this part relatively easy.
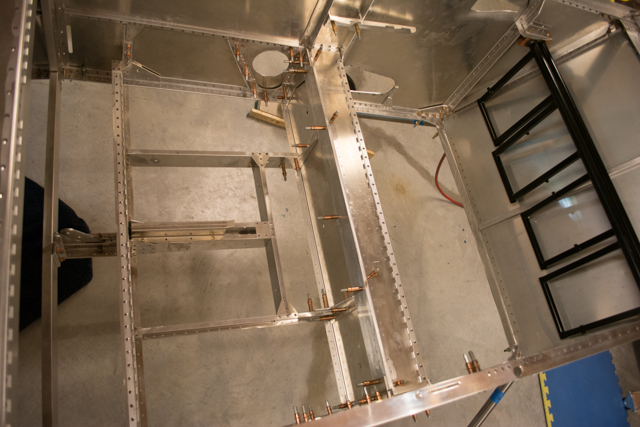
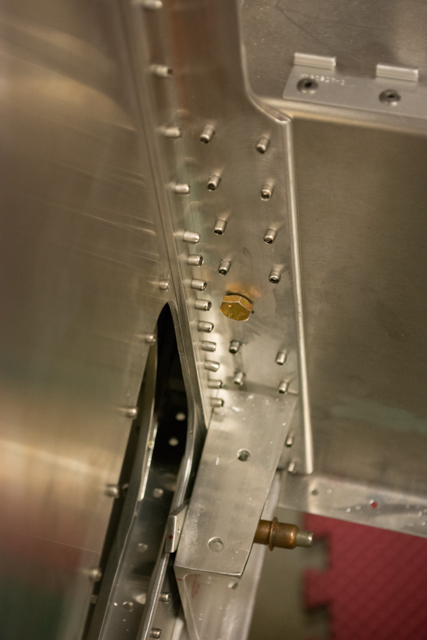
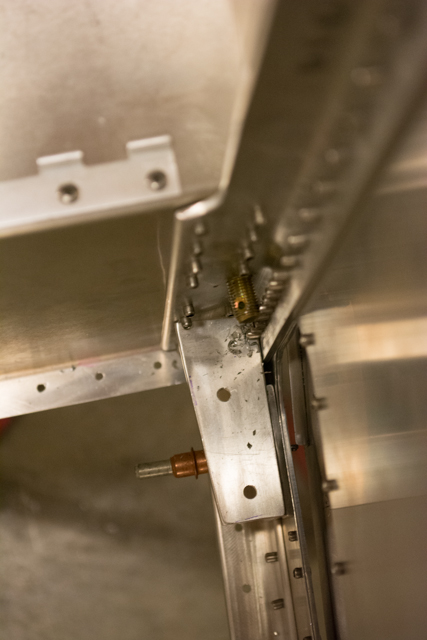
Next the aft spar tunnel is reassembled, and fitment of the rear spar carry-through is performed.

The rear spar fitment is mostly about locating the carry-through such that the wing incidence is set per the plans. That is, the height of each rear spar is in the proper location. To do this, I pinned the rear spars to the carry-through using the 3/16″ holes already present. I shimmed the rear spars to proper height, centered the rear spars, then drilled and clecoed the attach angles to the sides of the fuselage.
At this point I discovered that updrilling the 3/16″ holes on the rear spars + carry-through would be very difficult, because there just wasn’t enough room to fit a full sized drill bit. I made the decision to up-drill these holes separately, using a drill press on the carry-through, and a stubby drill bit in my air drill for the hole in the rear spars. In hindsight, I could have up-drilled these holes to 1/4″ outside of the fuselage and it would arguably have been more accurate. However my result was good, so I’m happy with how it turned out.
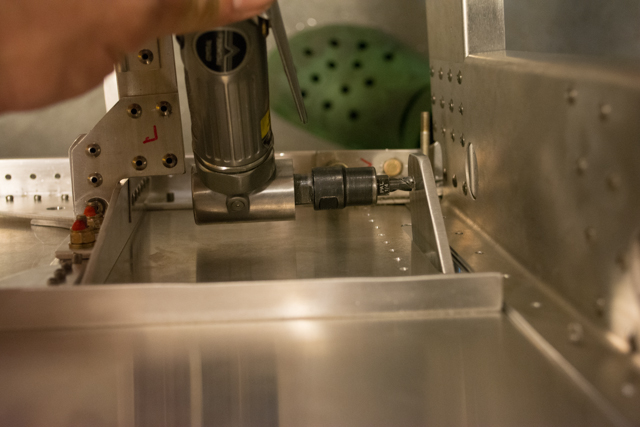
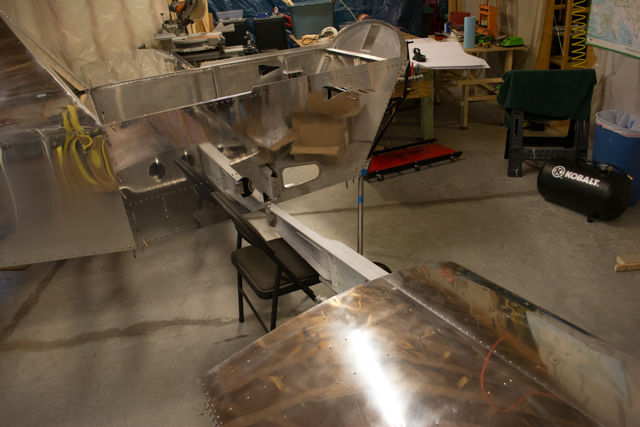
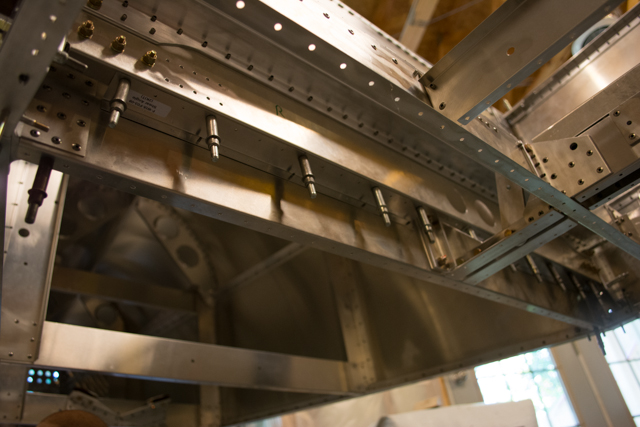
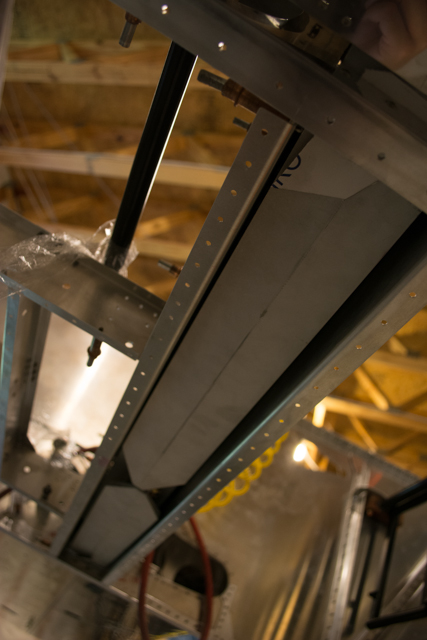
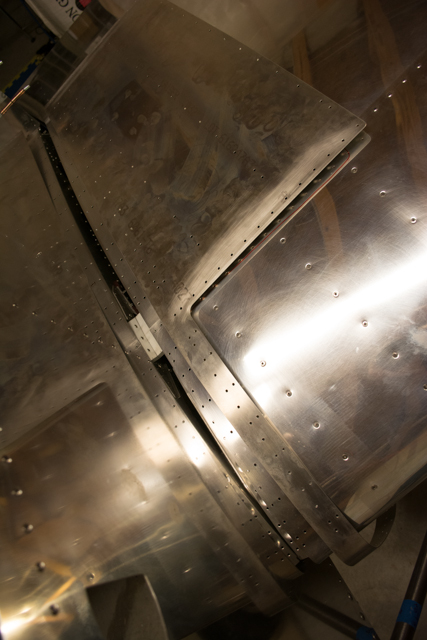
Finally the rear spar is complete and in position (minus some rivets that can only be pulled once the wings are removed.) The next, and most nerve-wracking step is drilling the main spar bolt holes. Here is a shot of the underside of the main spars.
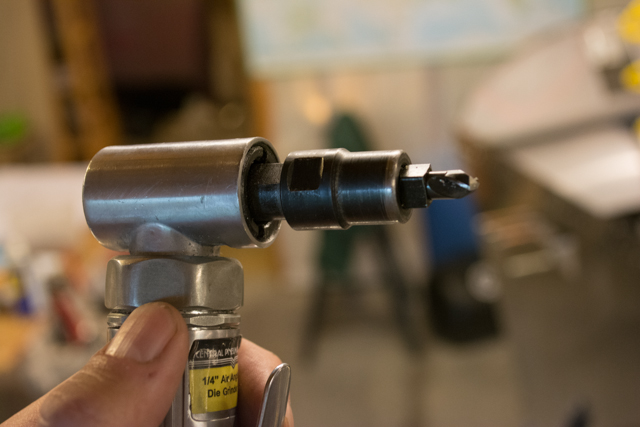
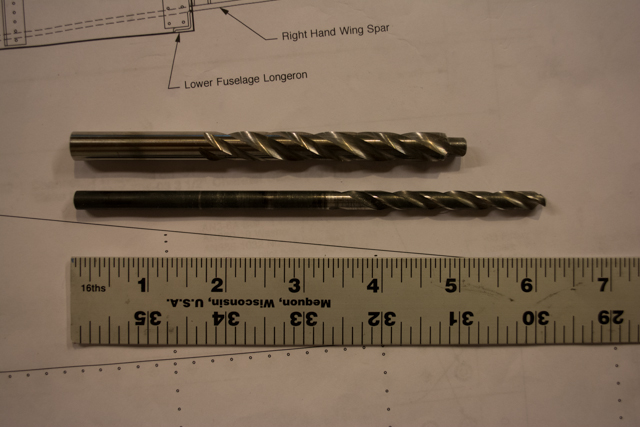
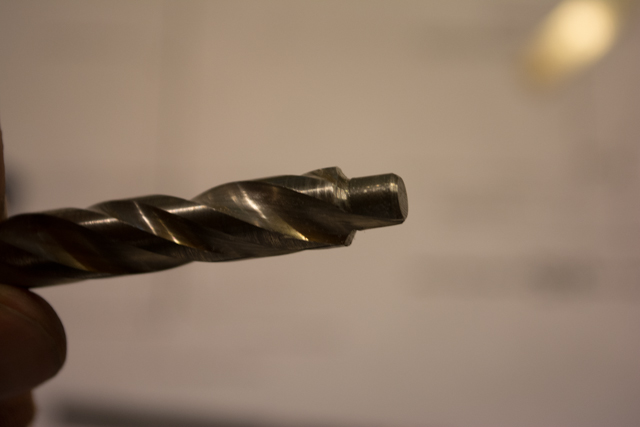
I borrowed from another builder a set of 3 drill bits to be used to drill the main spar bolt holes. Pictured here are the 2 main bits (a 6″ 1/4″ drill bit for starting the holes, and a 3/8″ double-margin bit with a non-cutting 1/4″ pilot.) In my opinion this 3/8″ bit is the best possible way to drill these holes, here is a link to a discussion about how to drill these holes. The 3rd bit was a 6″ long 3/8″ bit that was used to finish the holes, since the double-margin piloted bit is a bit short.
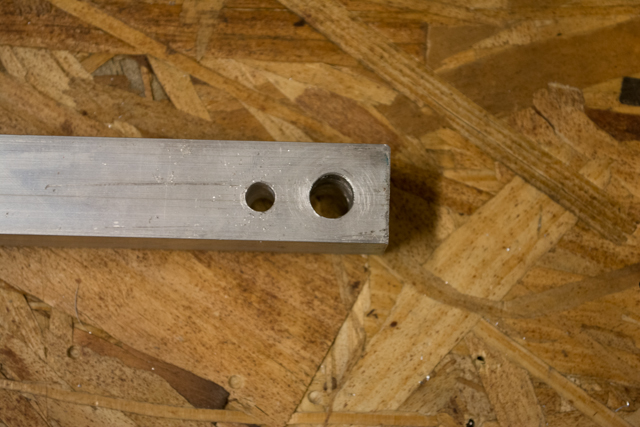
I drilled some test holes before working my way up to the wings themselves. The hole on the left demonstrates the piloted bit keeping the hole centered and round, while following the 1/4″ pilot hole.
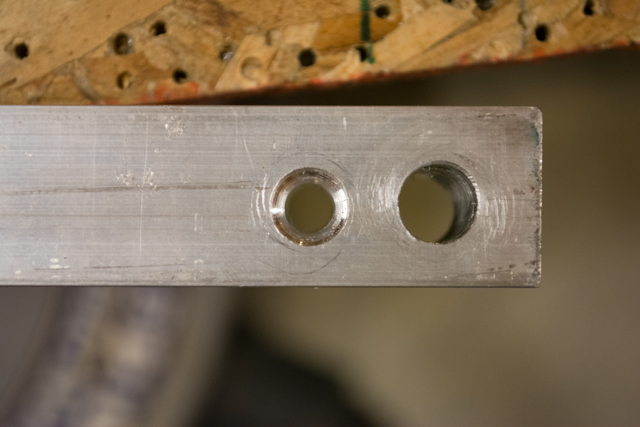
I drilled up the spars to 1/4″ per the plans and pinned them with a long 1/4″ bolt.
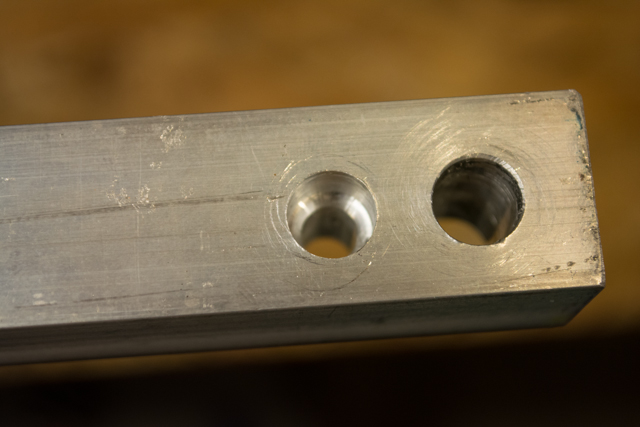
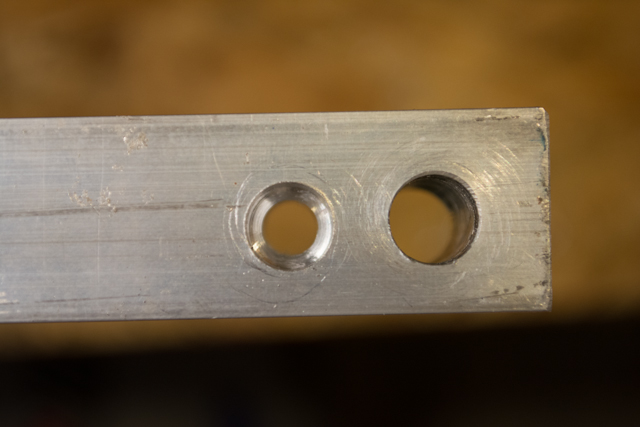
And up-drilled them very carefully to the requisite 3/8″. Having access to the underside of the plane (because the fwd fuselage floor was removed) helped a lot here, as the angle was awkward.
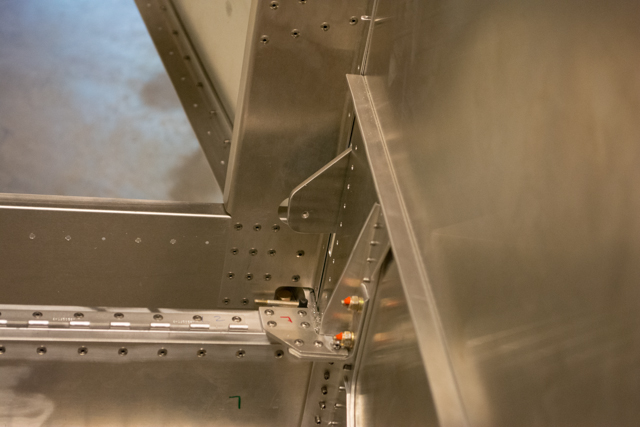
The holes ended up being very close to the fuselage side panels, and I’ve read that many builders have experienced this. The holes themself are true, and centered in the wing attach blocks. It would be basically impossible to screw a nut onto the bolt in this position. My solution to this will be what many others have done (including Sonex factory aircraft), which is instead to use a high quality 3/8″ trailer hitch pin instead of the AN6 bolts called for in the plans. This removes the need to fit a nut on the end of the bolt, and makes insertion of the pin easier.
I ended up with a very nice, tight, slop-free fitment for my bolts that I’m very pleased with.
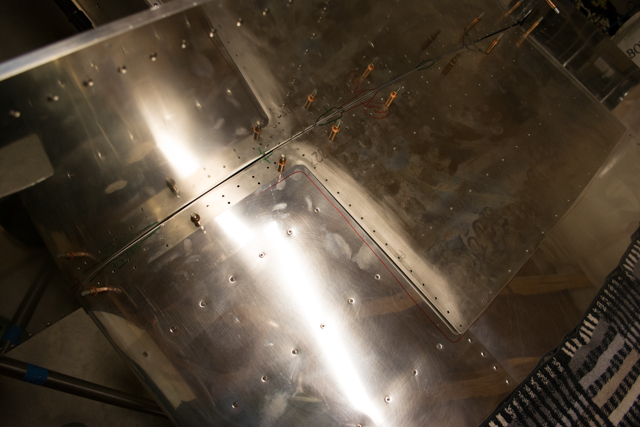
With the position of the wings now fully set, I went ahead and trimmed the wing doublers which fill the gap between the wing root and the fuselage. I used pneumatic shears to make the initial clean cuts in the doublers, and used files and scotchbrite to finish.

What a relief and sense of satisfaction to have successfully completed this milestone!