

Total Build Time: 584 Hours.
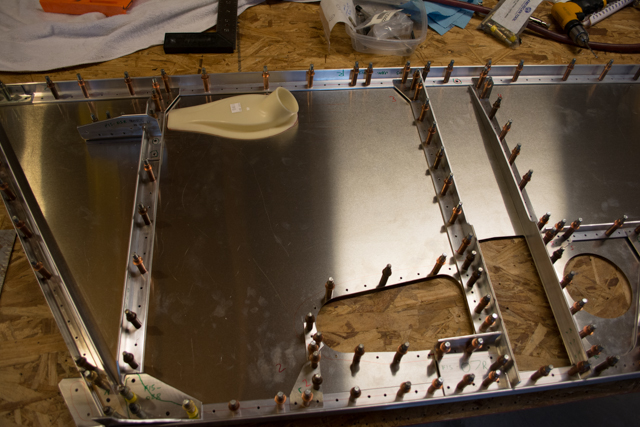
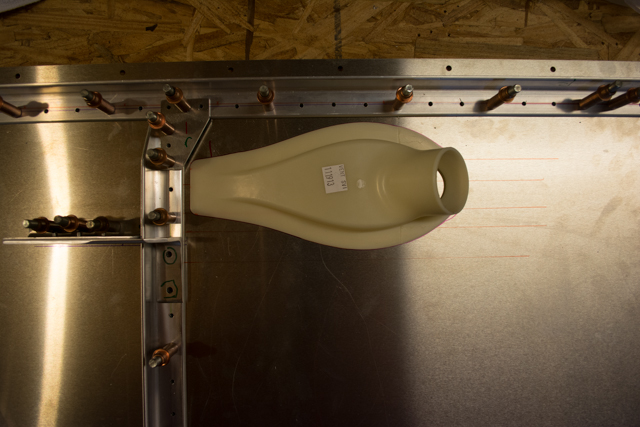
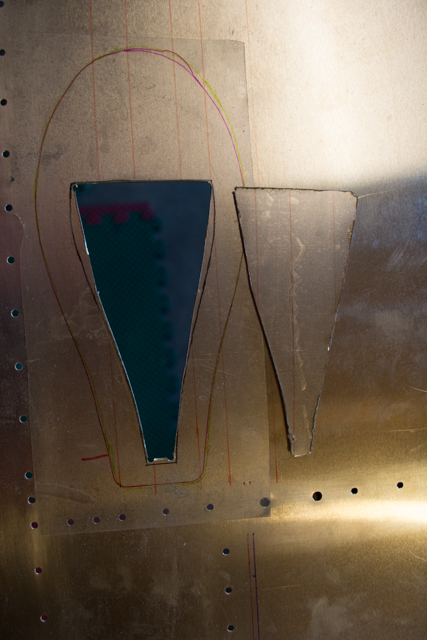
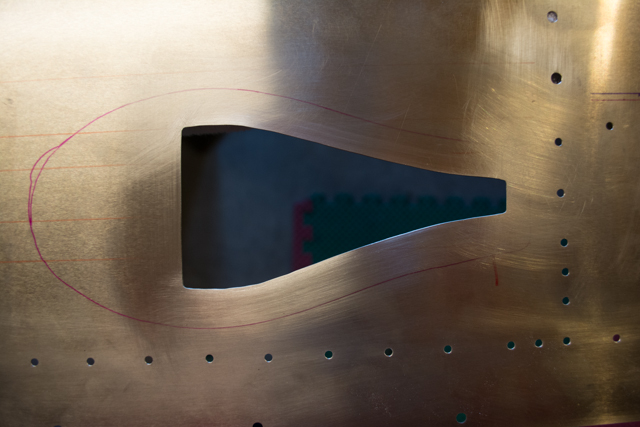
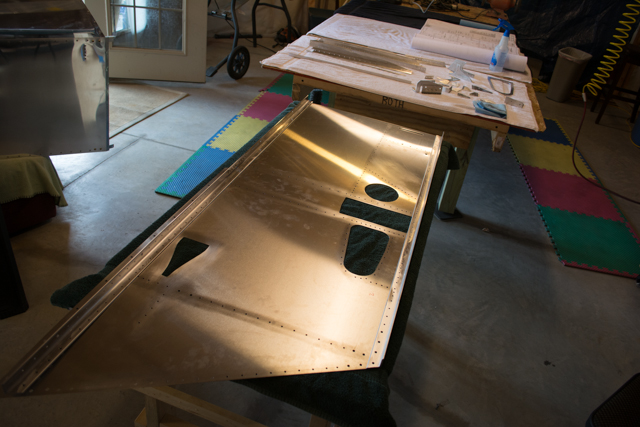
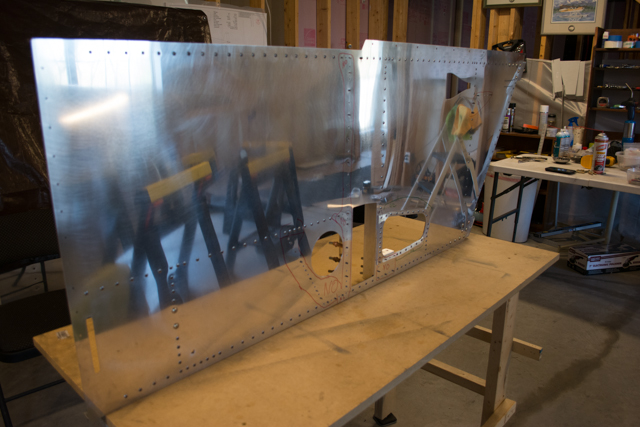
At this stage in the project, I made a couple decisions that would further modify my Waiex from the plans. One decision was to add some large vents to the side panels to provide extra ventilation in the cockpit. After reviewing pictures and consulting some other builders, I found what I consider to be the best location to locate the vent ducts. Basically, as high and forward as possible while remaining clear of the fuel tank once installed.
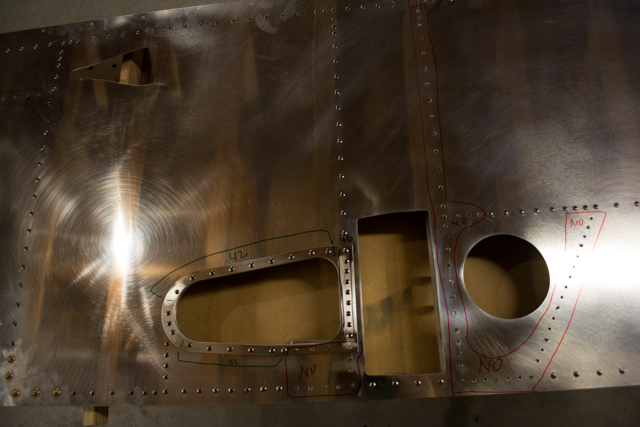
Here is a link to the vent product I purchased from Van’s. I received the “VENT SV-COMBO X2”, and will install vents on both side panels. For now, I just need to cut the holes. https://www.vansaircraft.com/cgi-bin/store.cgi?ident=1385266189-146-465&browse=heatvent&product=ventilation-components
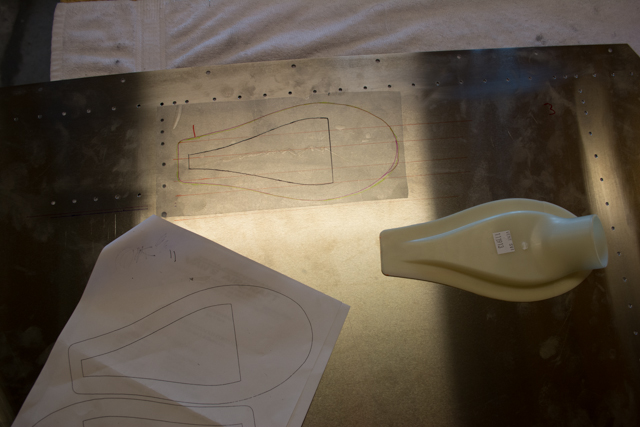
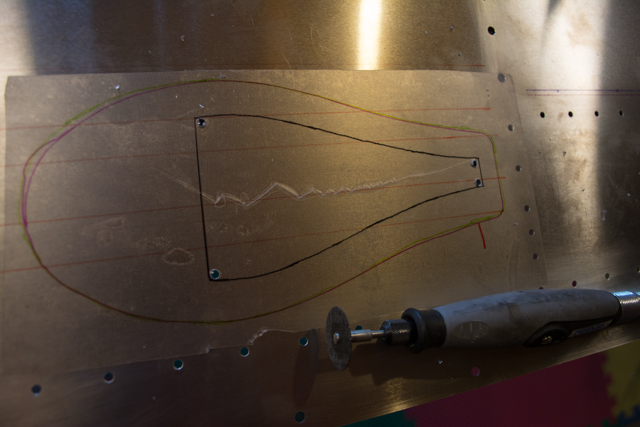
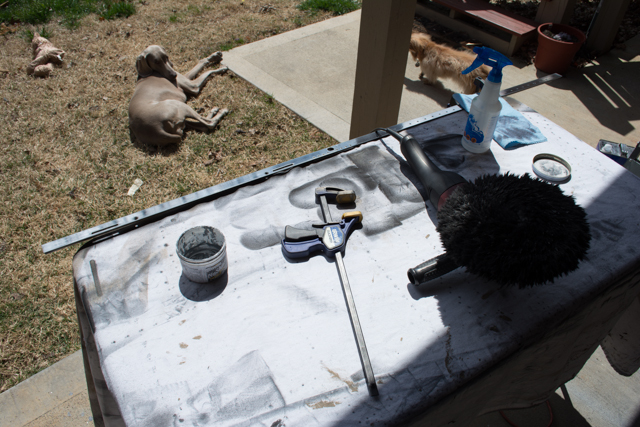
I drilled holes in the corners, then used a Dremel cutoff wheel to cut the general shape. I then enlarged the hole using a burr in my die grinder, then progressed to some hand files and finally various grades of scotch-brite pads.

The other modification I decided upon was to eventually install a swing-back style canopy, purchased from the American Sonex Association. Here is a link to the product:
http://www.americansonexassociation.org/swingback/swingback.html
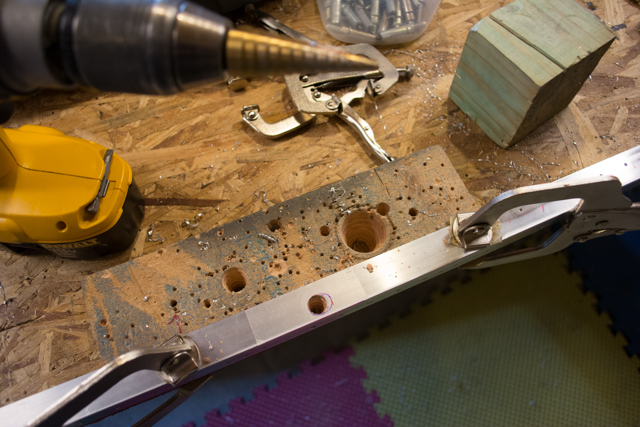
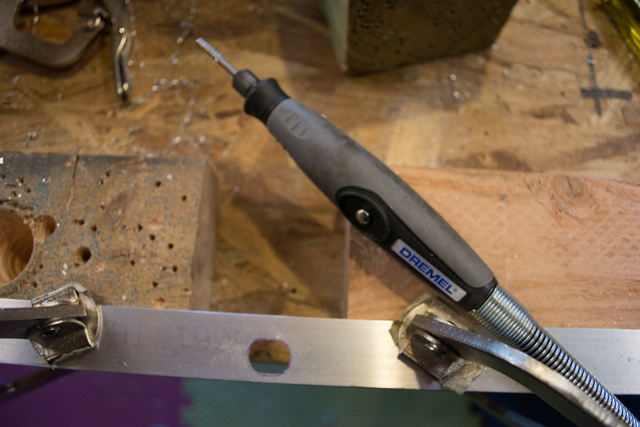
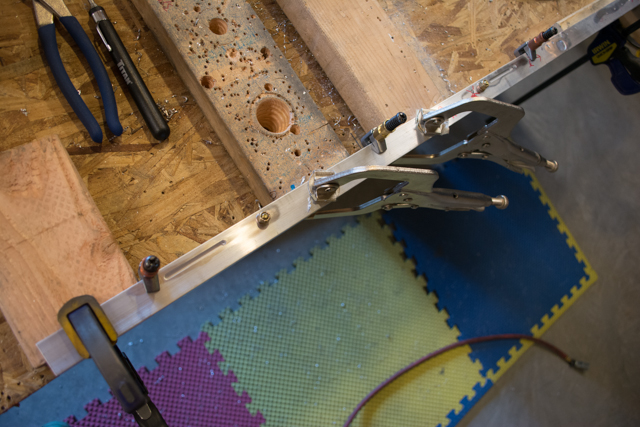
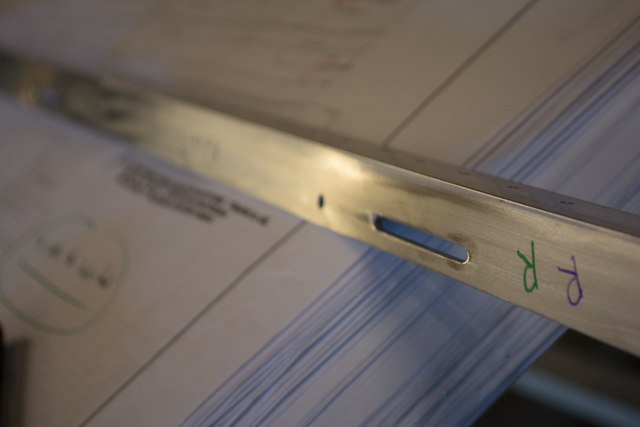
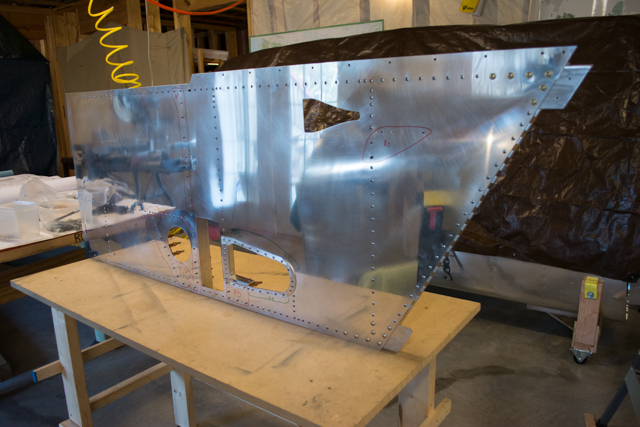
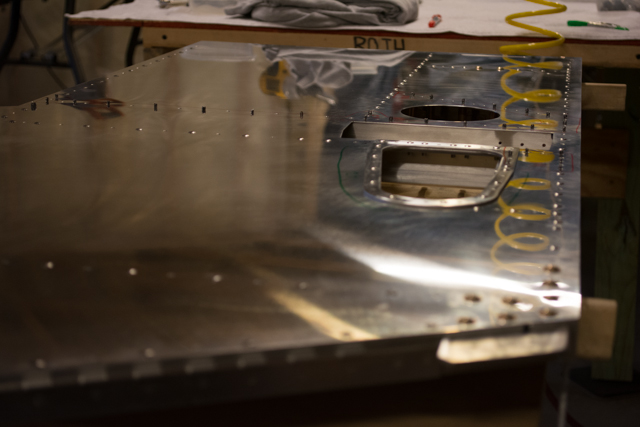
The installation of the canopy will come later, but for now I need to cut the appropriate holes and slots for the latching mechanism into the upper longerons of the side panels. Included in the canopy kit was a template, which I used to accurately locate the holes and slots.
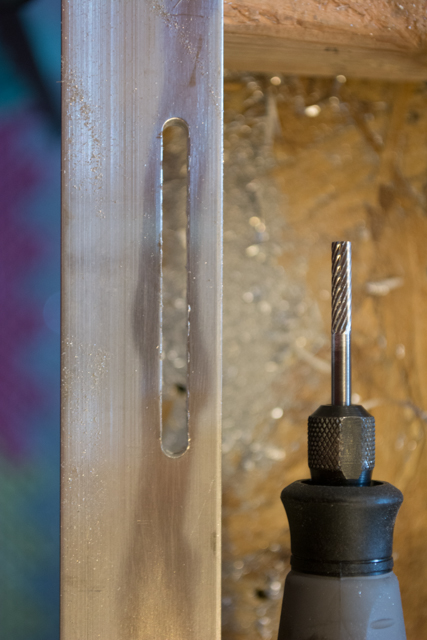
To cut the slots I first drilled material out using a drill bit, then cleaned up the hole using a carbide burr in my Dremel, then small files and scotch-brite pads.


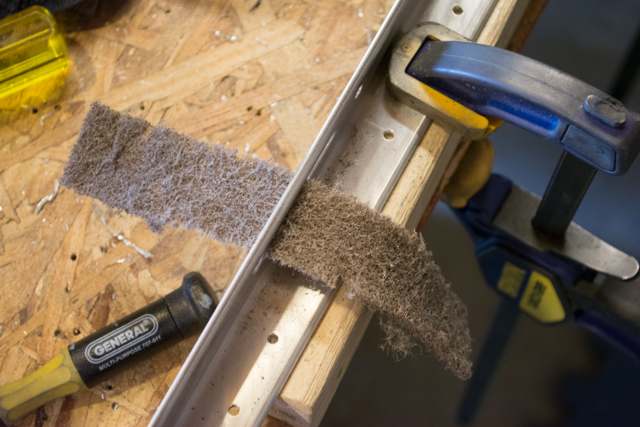
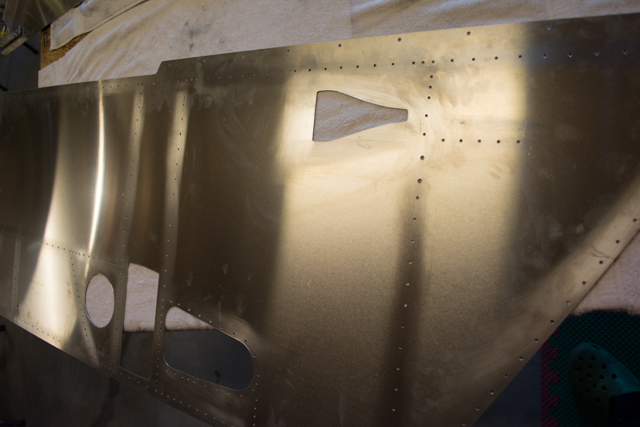
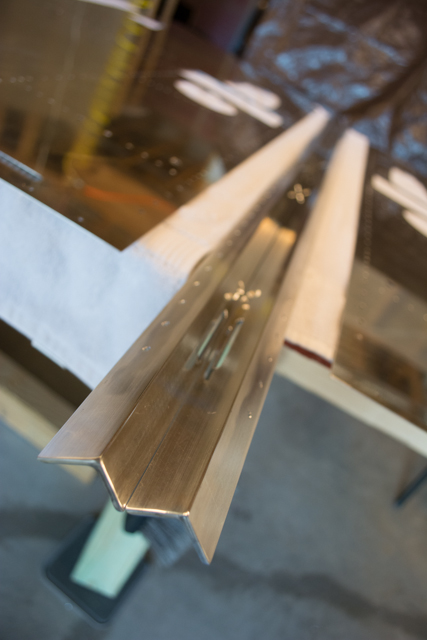
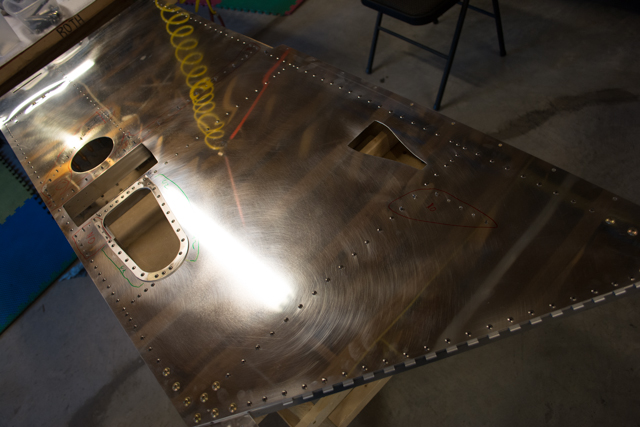
After all the cutting and deburring was finished, I polished up the side panel skins. As a curiosity, I also polished the top of the upper longerons. I wasn’t sure how the angle components would take to the polish, but it turned out pretty well.
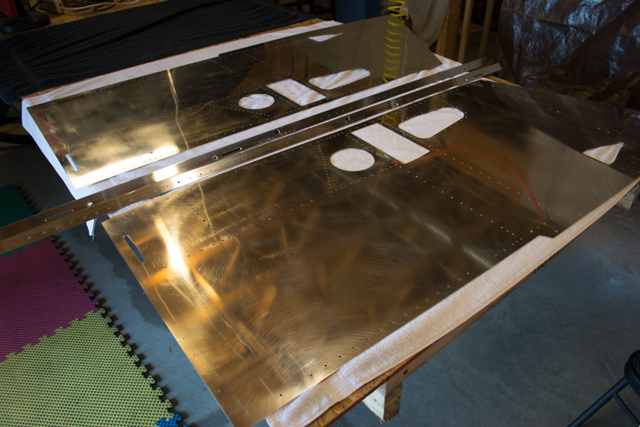
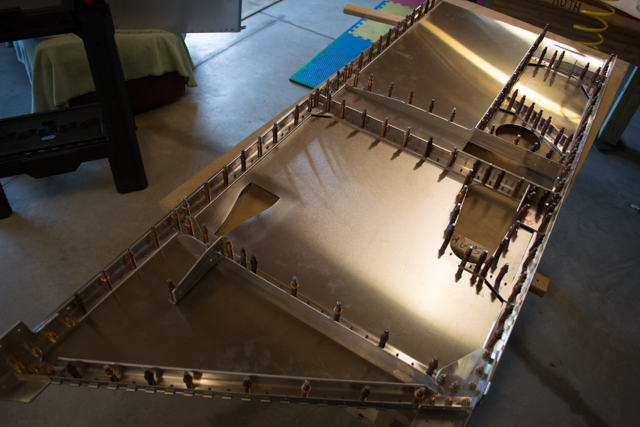
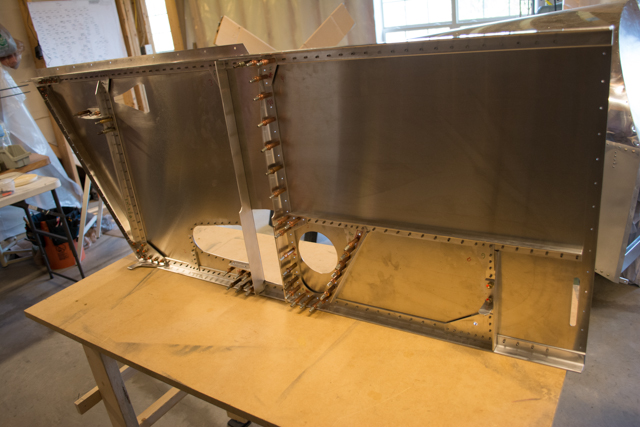
Everything is now ready for riveting, so up it goes. I left the flap and rudder drive assemblies un-riveted at this time, so I can have them free when I install phenolic blocks later.

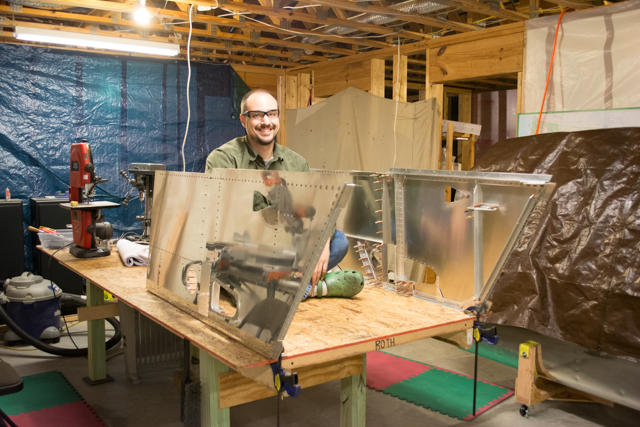
One step closer to a cockpit! I took this opportunity to pose in the approximate location of the seat, between the side panels.
Hi Ryan, I didn’t know about or think about side vents as I was building my forward fuselage side panels, but did learn about them now that my fuselage is nearing completion. I bought the same kit from Van and am now in the process of installing them. First thing I did was to look up in your blog about how you did it. I don’t think it will be difficult, now that I see where you placed them. I was wondering about that because the instructions say to put them somewhere where they wont interfere with the rudder pedals.
Thanks again for posting your progress.
AL