

Total Build Time: 576 Hours
The firewall is literally a wall of steel near the front of the aircraft that separates the cockpit from the engine compartment. It serves to contain the heat of the engine from the cockpit, as well as a safety barrier in case of a fire in the engine compartment.
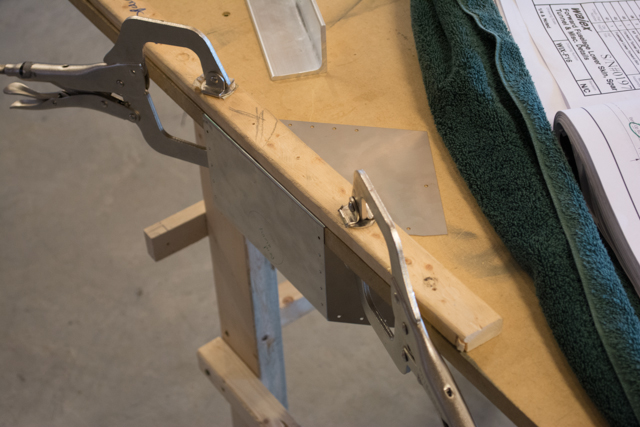
The firewall is made of stainless steel, as opposed to aluminum alloy used in the rest of the airframe. It’s a very different material to work with… it is heavier and bends easier than aluminum (like a paperclip), but is much more difficult to cut and drill. Drilling stainless steel requires an opposite method to drill through… whereas aluminum likes a high drill speed with low feed pressure, the steel must be drilled with a very low speed and high pressure. The reason is that as you drill the steel heats up quickly and hardens. If it hardens too much the drill bit can’t cut it anymore. I made this quick video illustrating a method of drilling that worked well for me.
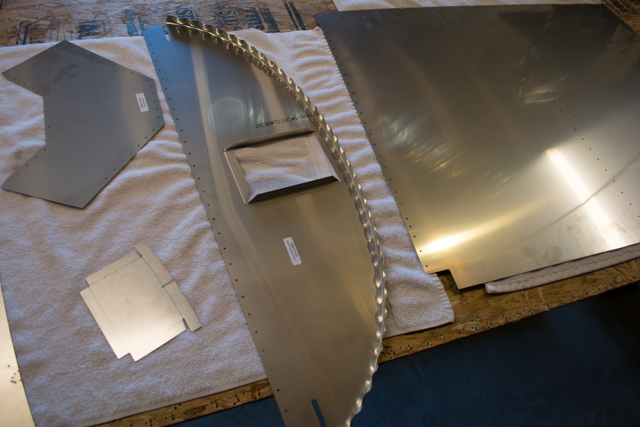
Here are the stainless steel parts of the firewall, all of which will be bent to shape.
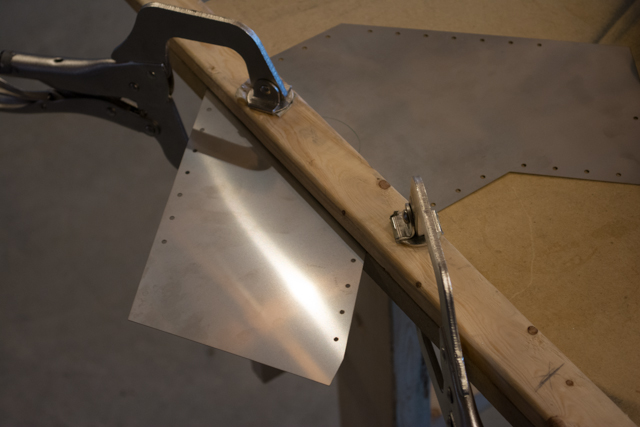
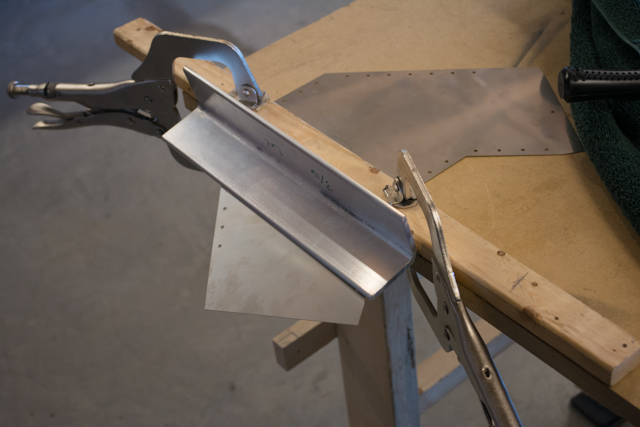
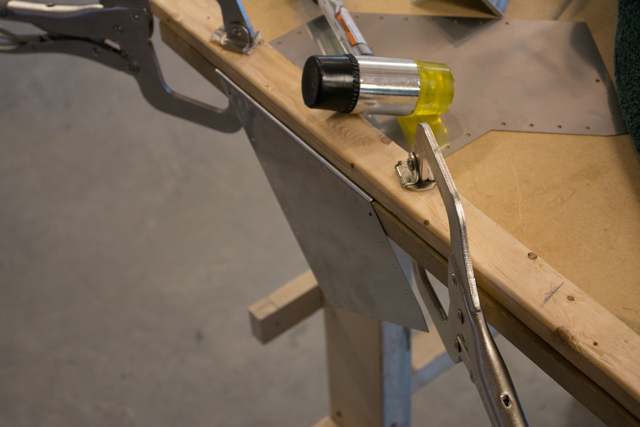
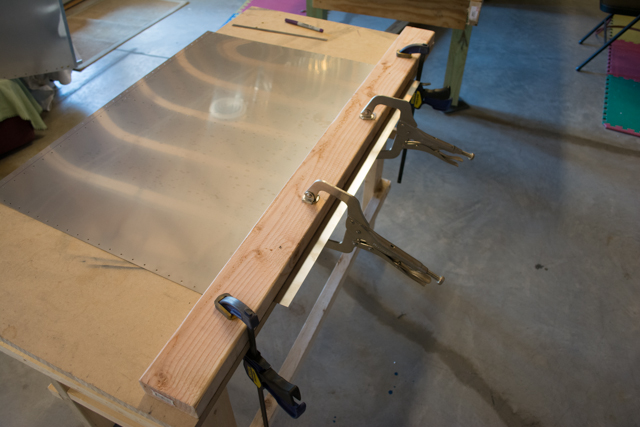
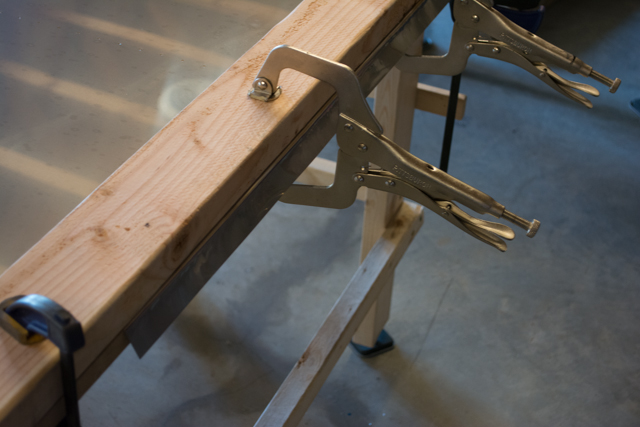
For making the bends, I used a combination of seaming pliers, a plastic mallet and a makeshift bending brake on the edge of my table. I would start the bend using even pressure on a piece of aluminum angle scrap, and finish the bend with the mallet.
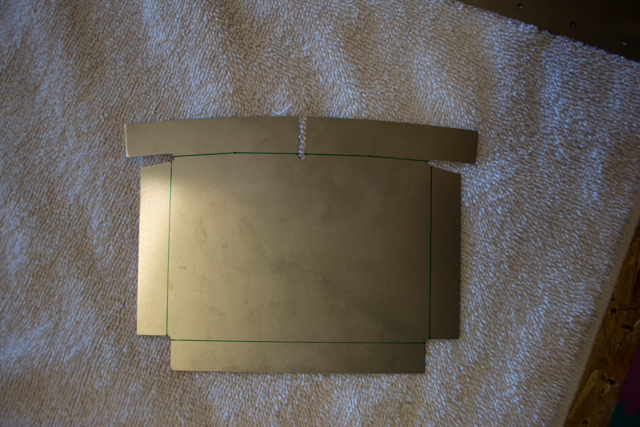
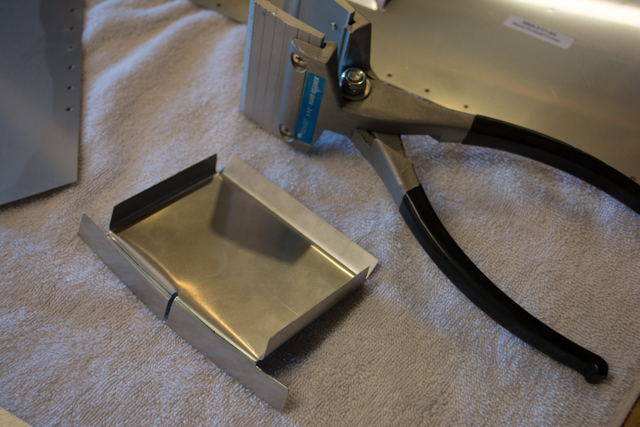
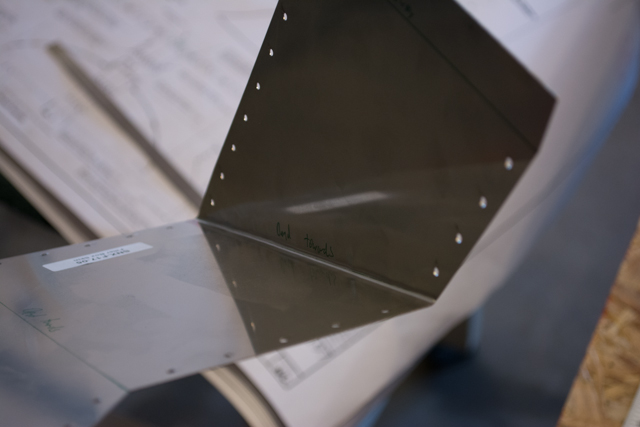
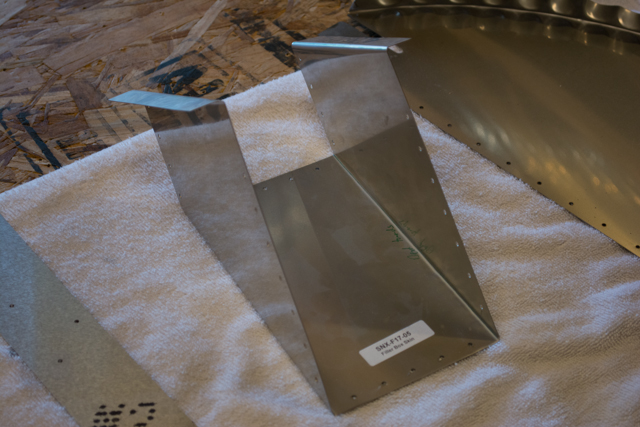
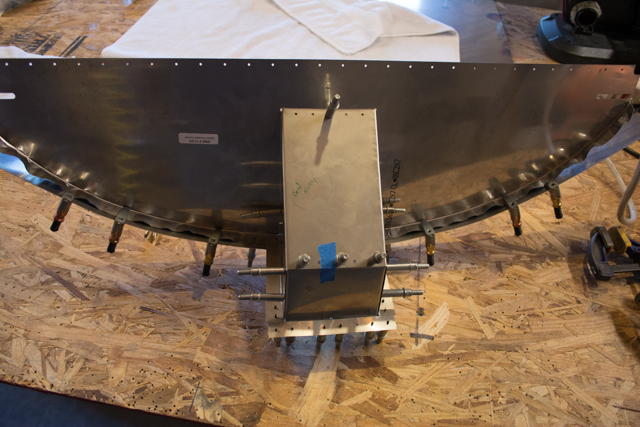
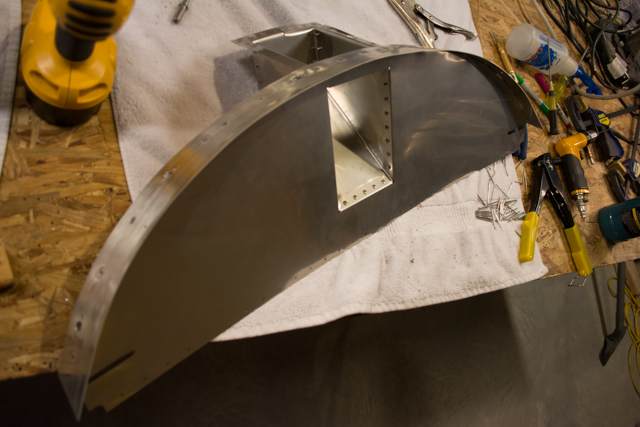
To help visualize the assembly shape in my head, I used tape to pre-assemble the parts of the upper firewall. The little neck is called the “filler box”, and is where the fuel nozzle protrudes to the top of the cowling. This is where I’ll have access to fill the fuel tank, and the tank is still protected from the hot engine compartment behind the fire-proof wall of stainless steel.
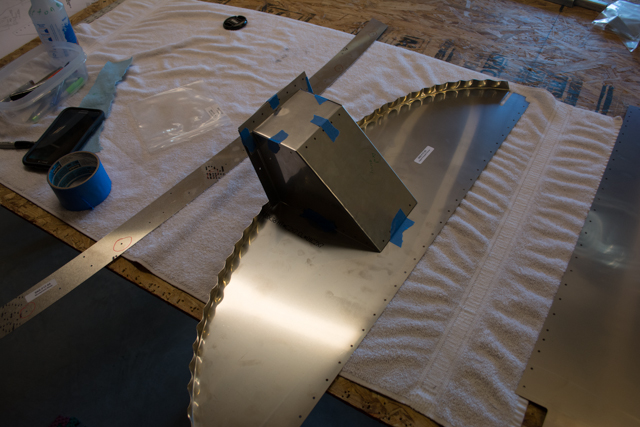
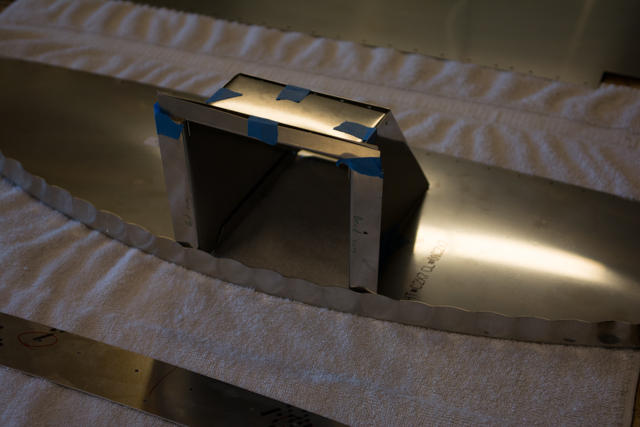
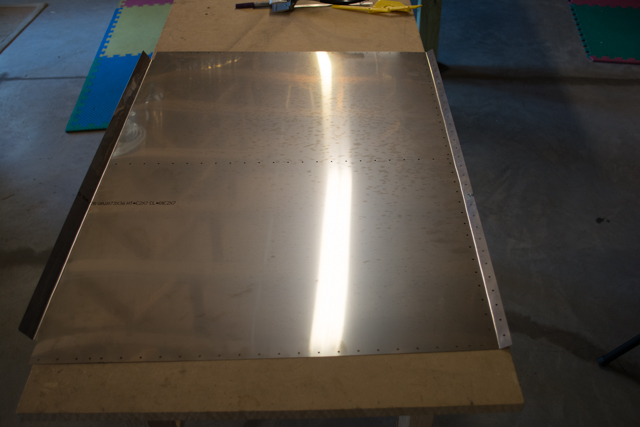
I basically had to re-bend all of the flutes along entire edge of the upper arc, in order to make good contact where all the rivets will be placed. The plans are specific about the orientation of the flanges and the rivets… some rivets have heads on the inside and some on the outside, I had to pay particular attention to this.
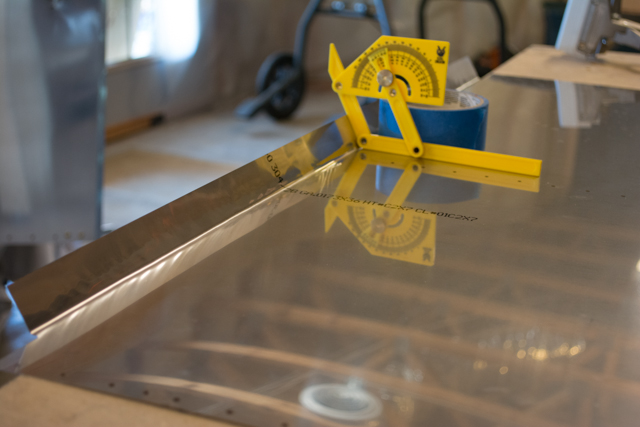
The flat wrap on the top will eventually serve as a bridge between the top of the engine cowling and the forward windscreen.
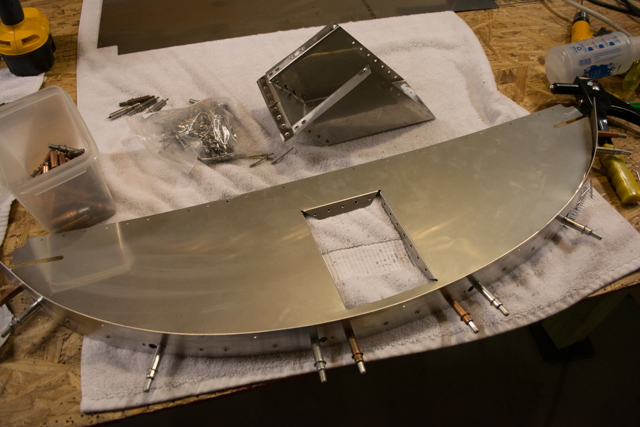
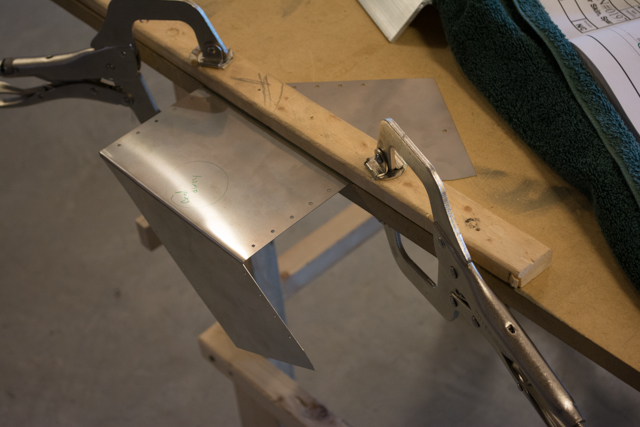
The lower firewall required just 2 bends to complete this part of the assembly. While the stainless steel was a pain to drill through and deburr, bending it was actually pretty fun. It gives way fairly easily.
The firewall is now ready to be installed on the forward fuselage, once I reach that step.