Total build time: 264 hours
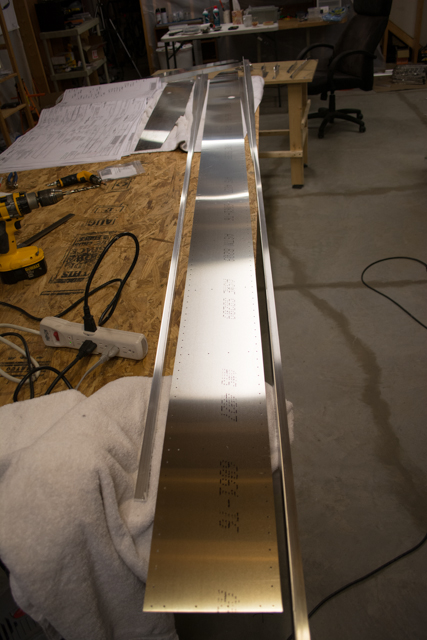
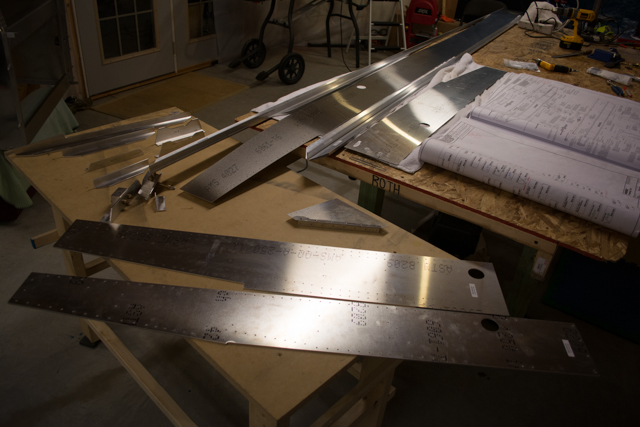
With all my prep work complete, it’s time to start building the wing spar itself. I start with the left spar. Pictured here is the spar web, with the top and bottom spar caps. The web itself came rolled into a tight circle about 14″ in diameter, surprisingly when unrolled it came out perfectly flat.
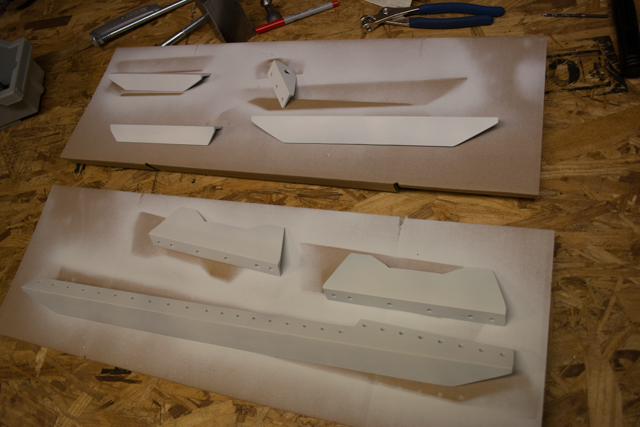
Pictured below you can see one of each of the parts I fabricated earlier, plus 3 additional strengthening webs that help make the spar extremely strong at the root.
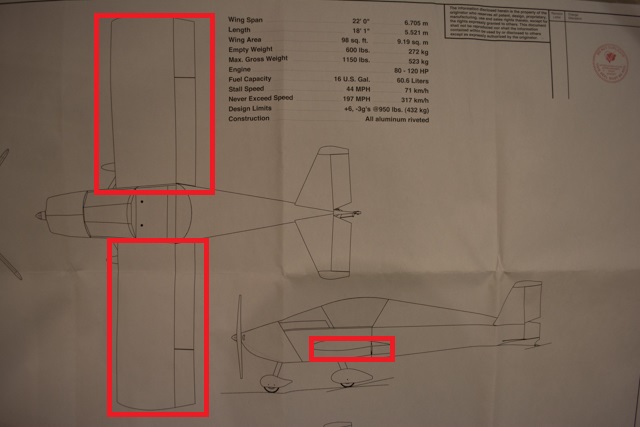
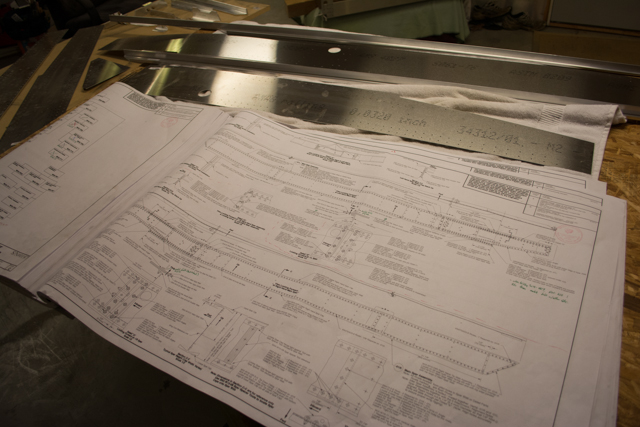
The plans for this part of construction are by far the most detailed and complex yet. The top half describes the left spar, the bottom half the right spar. The spars are each built differently as they will overlap each other inside the fuselage and be bolted together to form the complete wing spar.
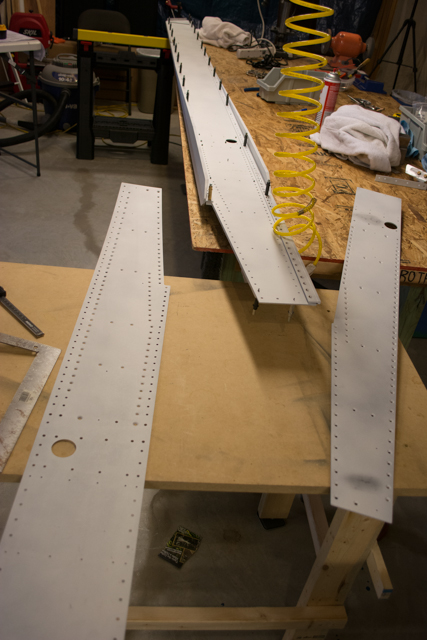
Here is the spar after having VERY carefully clamped everything in place and used the provided spacers and a jig to maintain proper alignment, and drilled pilot holes throughout.
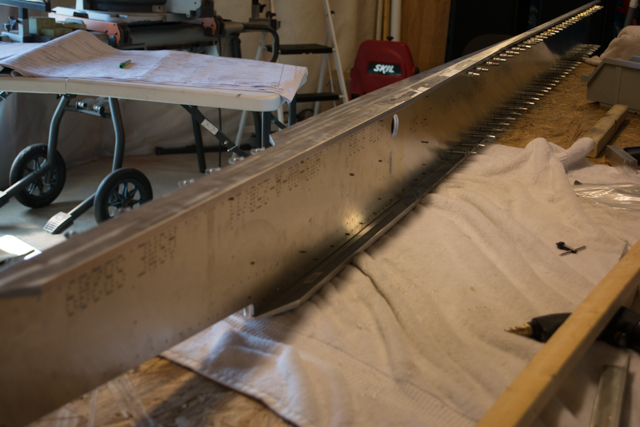
Then came updrilling the holes to proper size. There are 3 different hole sizes in the spars and over 400 holes, it took a lot of care to be sure to get every hole correct.

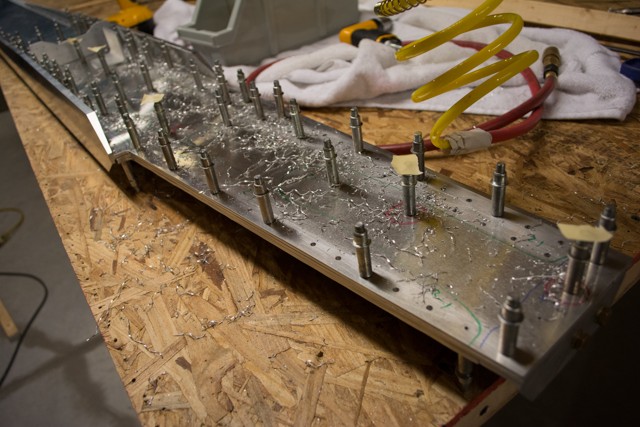
Then, about 120 of the holes have to be countersunk… that is to widen the top of the hole to accept a flush rivet, such that the final riveted surface is flat. This is so the aft of the left spar can smoothly slide and rest against the front of the right spar as you bring them together for bolting inside the fuselage. For this I used a micro-stop countersink and a 5/32″ countersink bit. Once I had the depth right after many test runs, I taped the micro-stop tightly to prevent the setting from changing.
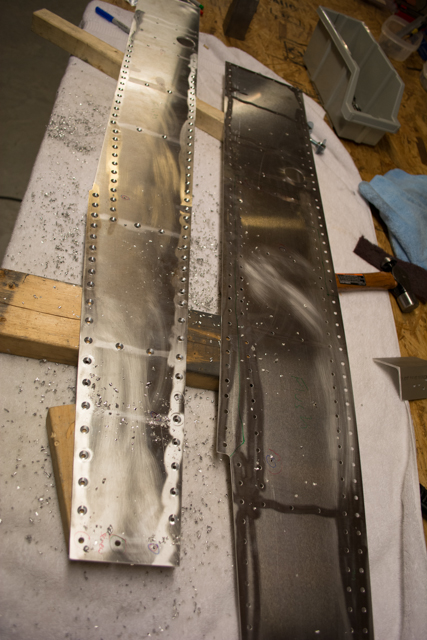
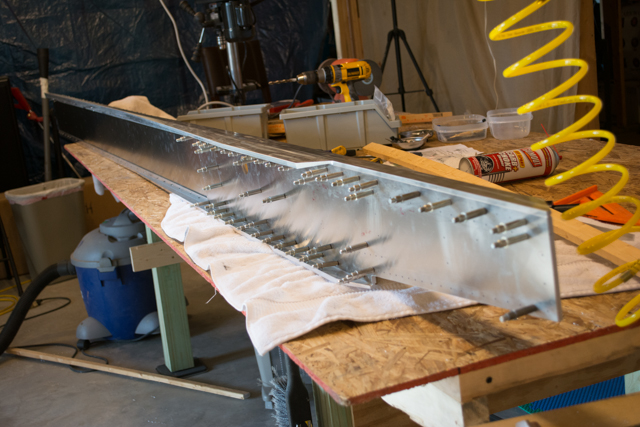
After deburring, I decided to apply a light coat of primer to all the parts of the spar. The debate over primer is an endless debate for Sonex aircraft. The alloy of aluminum used (6061-T6) is highly corrosion resistant, and the factory does not promote priming (nor do they discourage it, other than to say that it adds cost/weight/build time to a plane.) The factory does not prime their fleet of airplanes, and if I’d purchased the pre-built spar option from the factory, they would not have been primed.. Historically, any corrosion problems in Sonex aircraft have been the exception not the rule, and only under extreme conditions.
All that said, and having previously made the decision not to prime my aircraft, I did decide that the spars are simultaneously the most important/high stress component on the aircraft, and the hardest to inspect for/correct corrosion issues (since they’re sealed deep within the finished wing.) If there was anywhere on the plane I did NOT want corrosion first, it was my wing spars. So, I used inexpensive aluminum primer to apply a light coat before riveting.